Hello everyone!
Yes, making the rindou was a huge battle, plus my camera died midway so I had to take pictures with my phone 
In the end, I made it through and only the rindou is left with a scar. As usual, here are some photos. Enjoy!
Soldering.
Fitting.
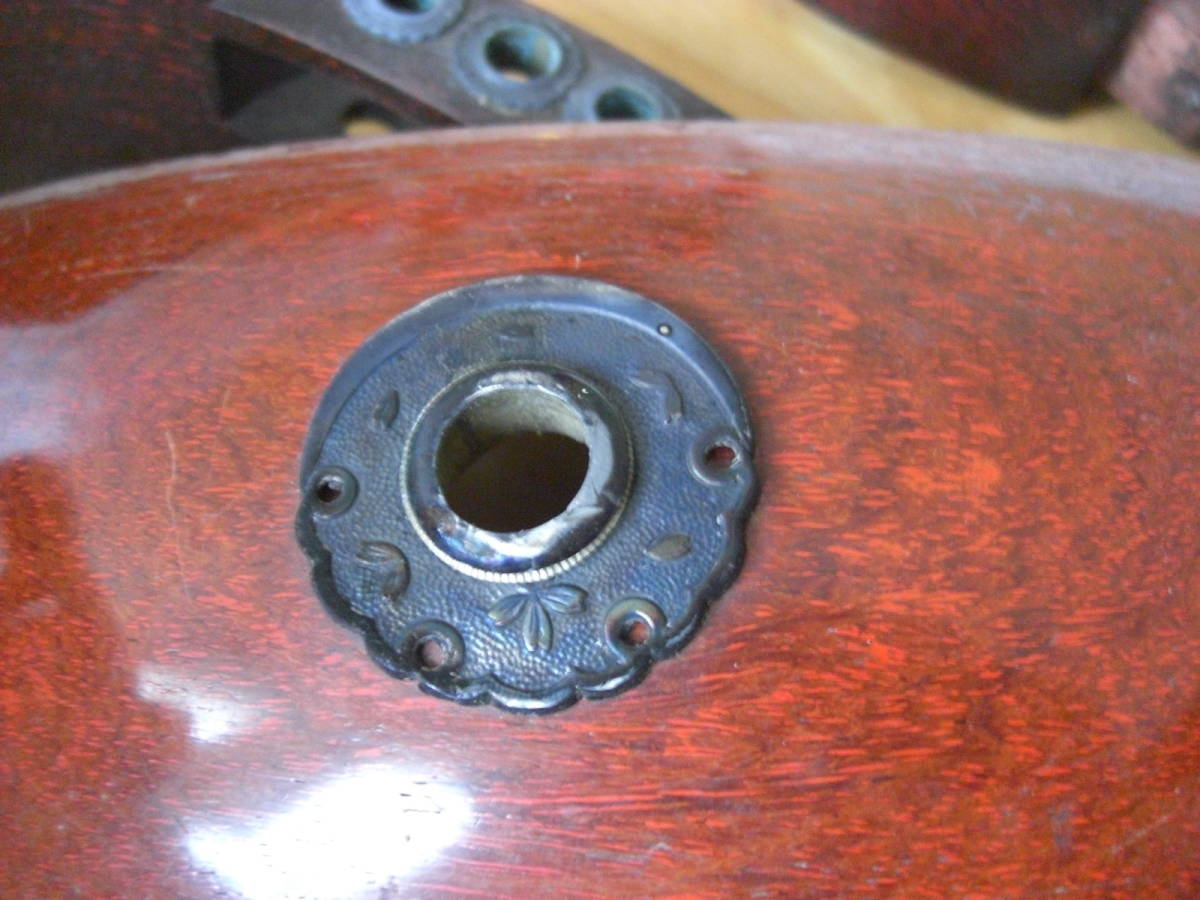
I was inspired by a photo I found on the net:
and decided for a similar design. Or, you may say, I got carried away a little :)))

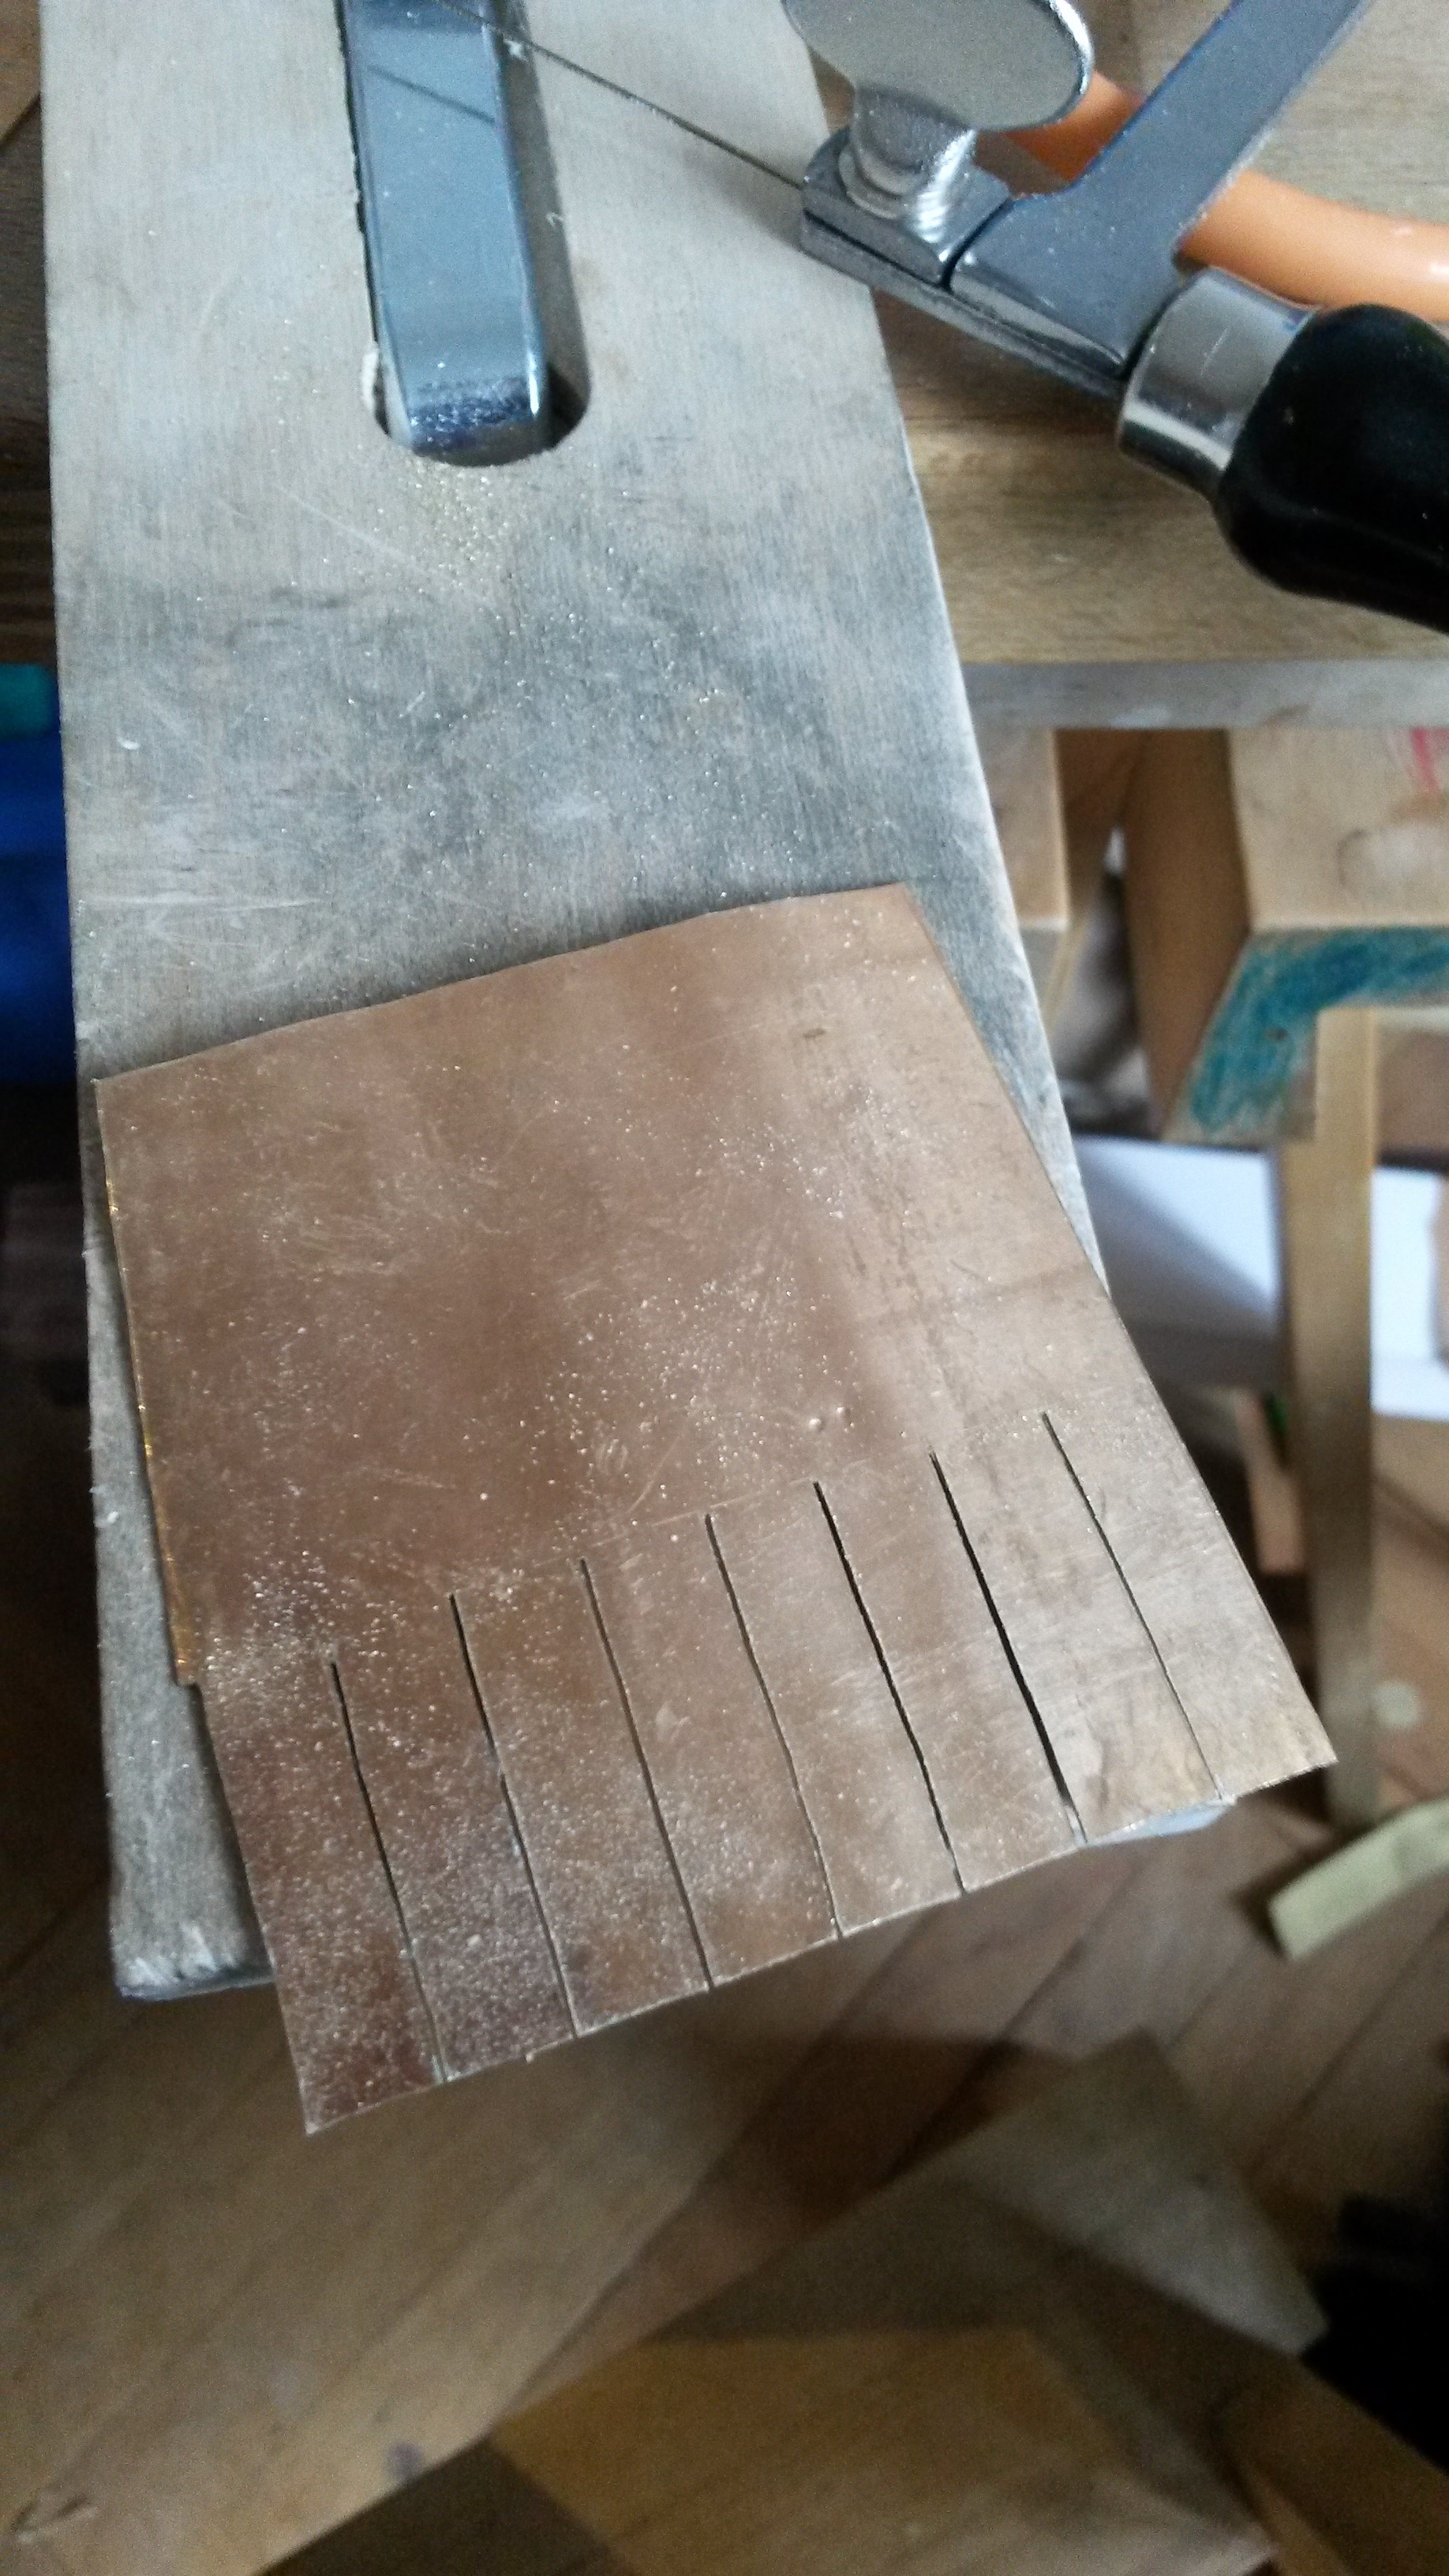
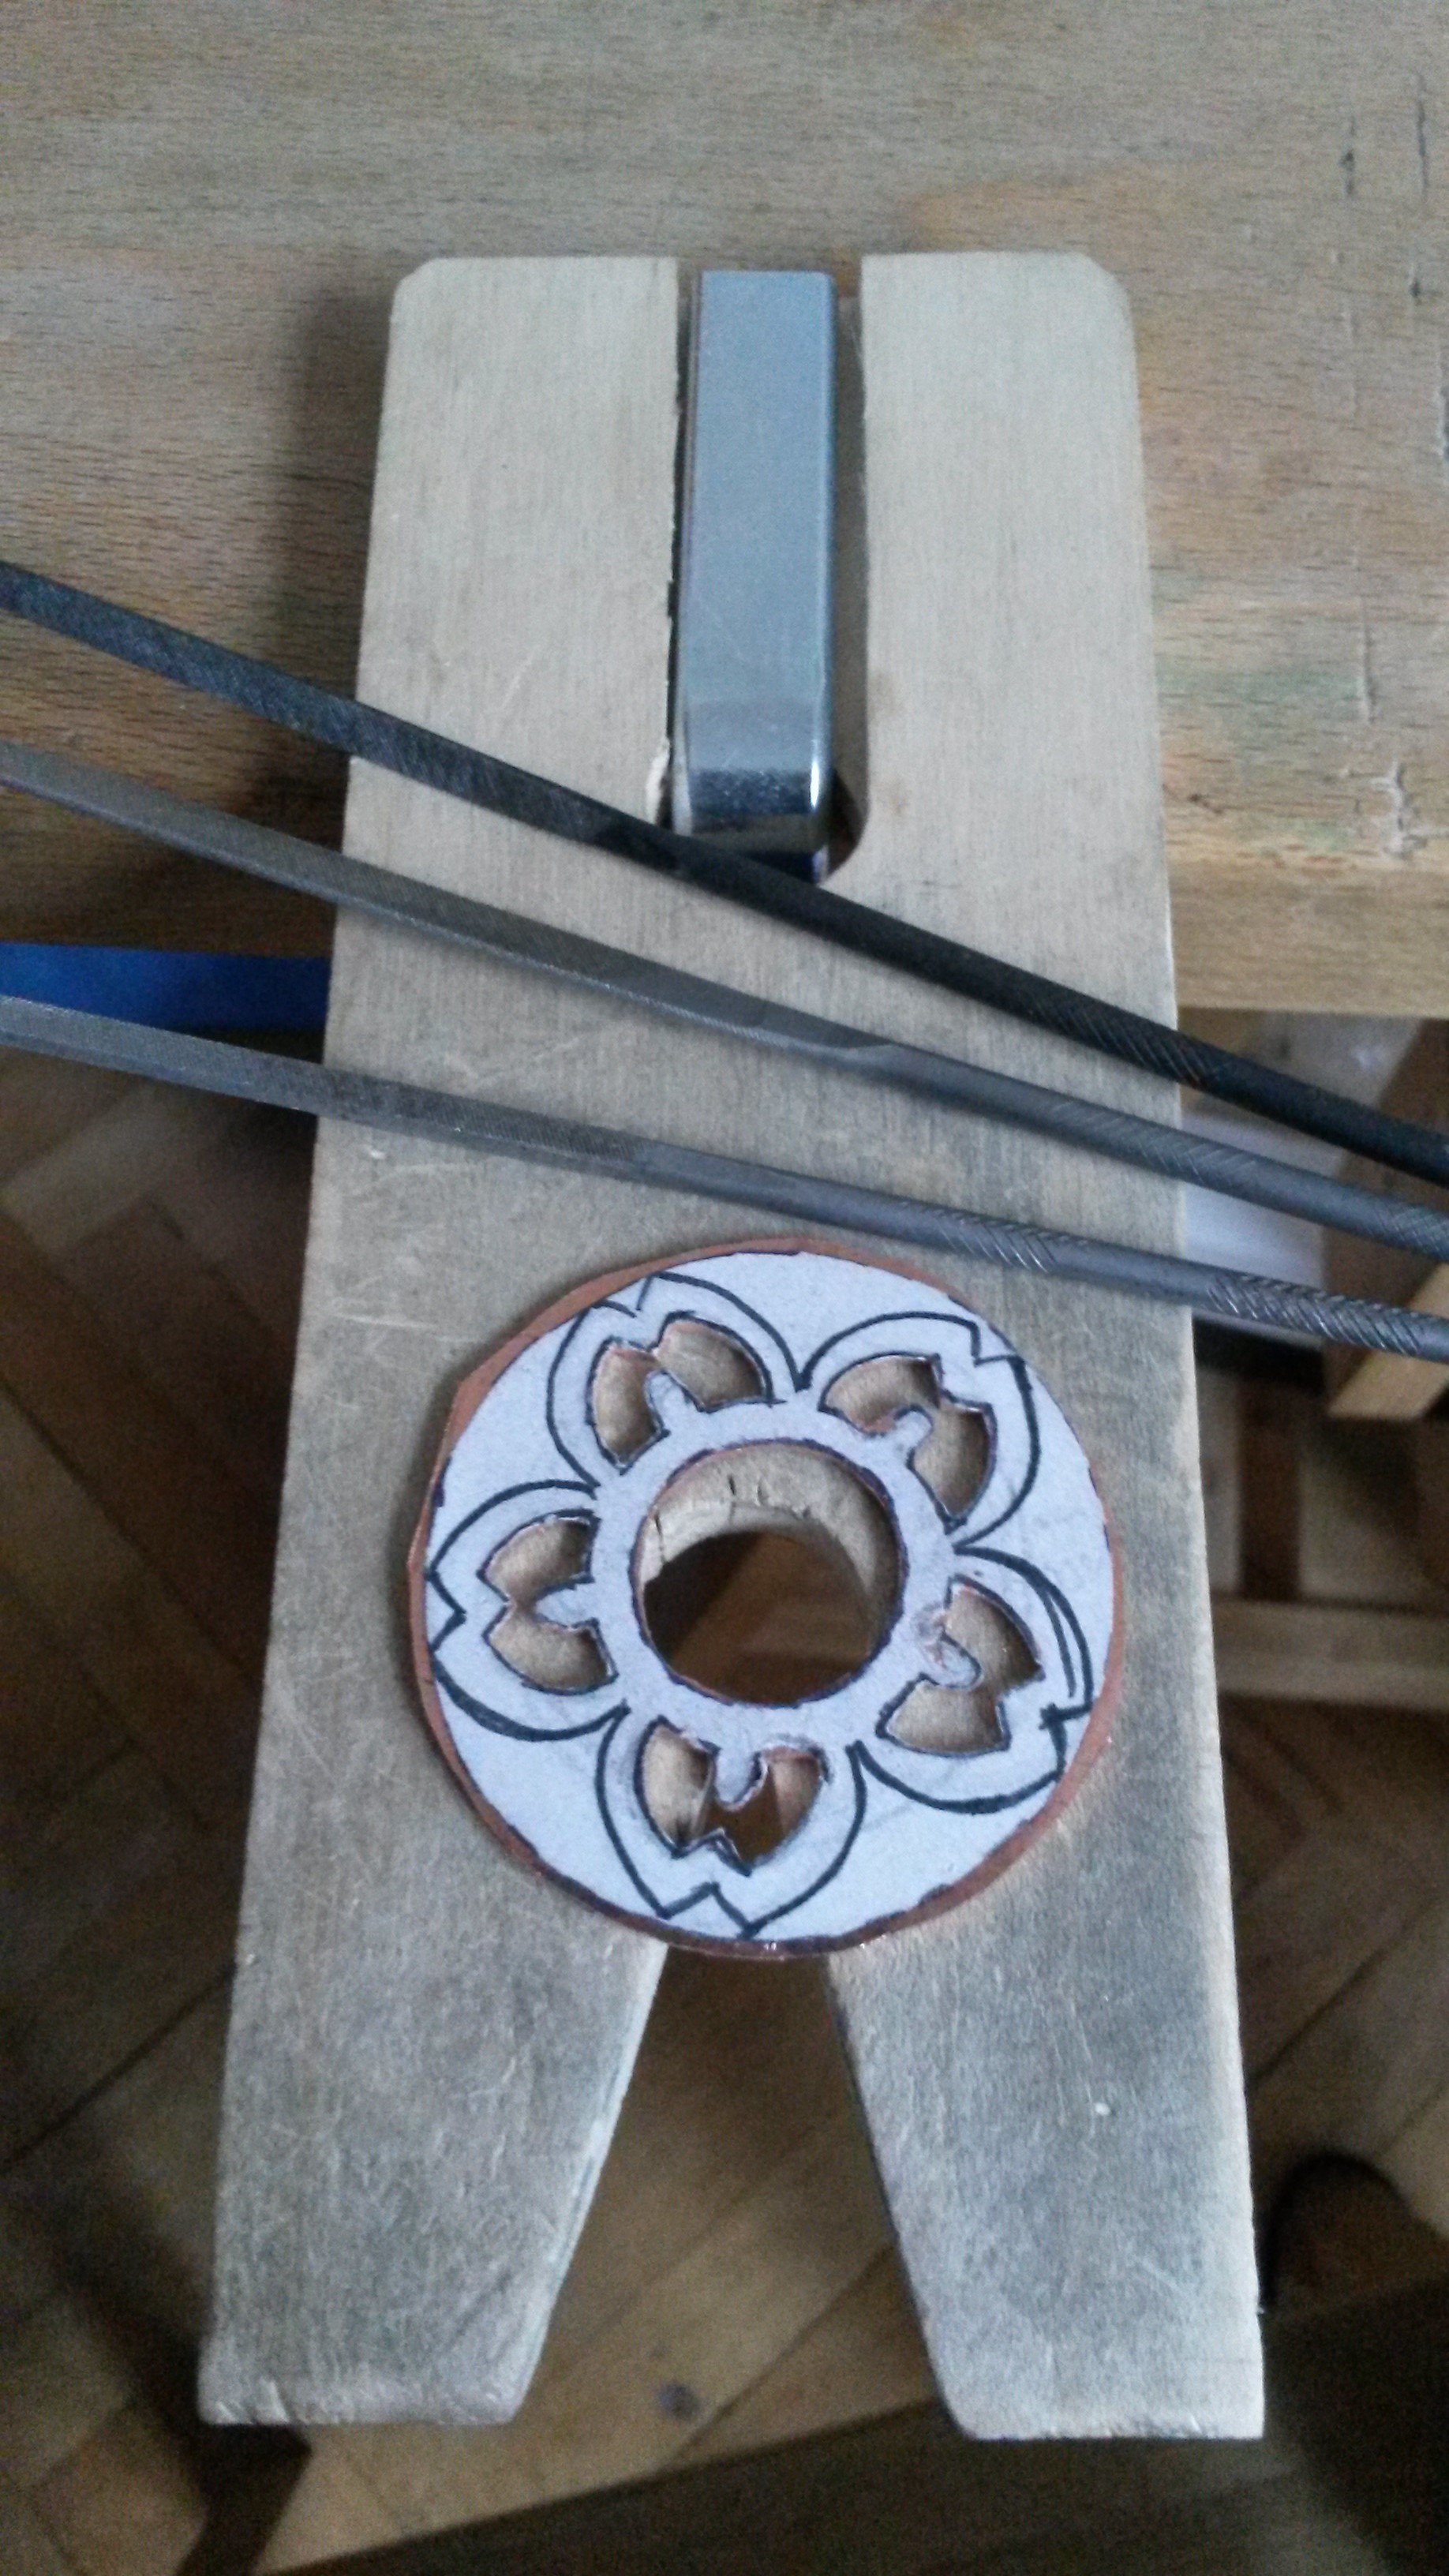
Sawing was fun but messy. I then realized why - the blade, although super thin, was still meant for wood and not metal. The moment I got the correct blade in, cutting out any corner was super easy.

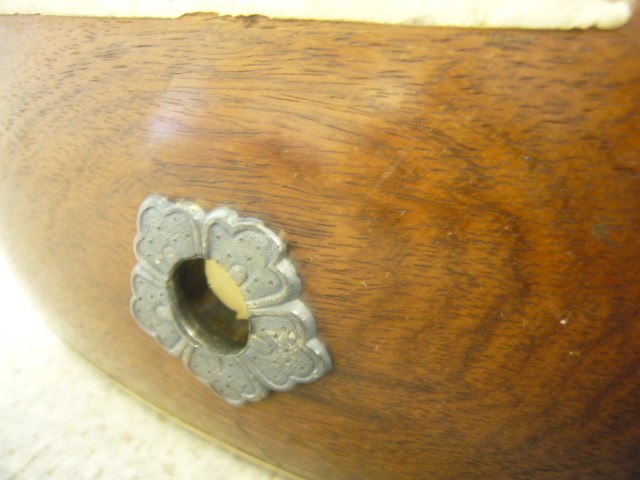
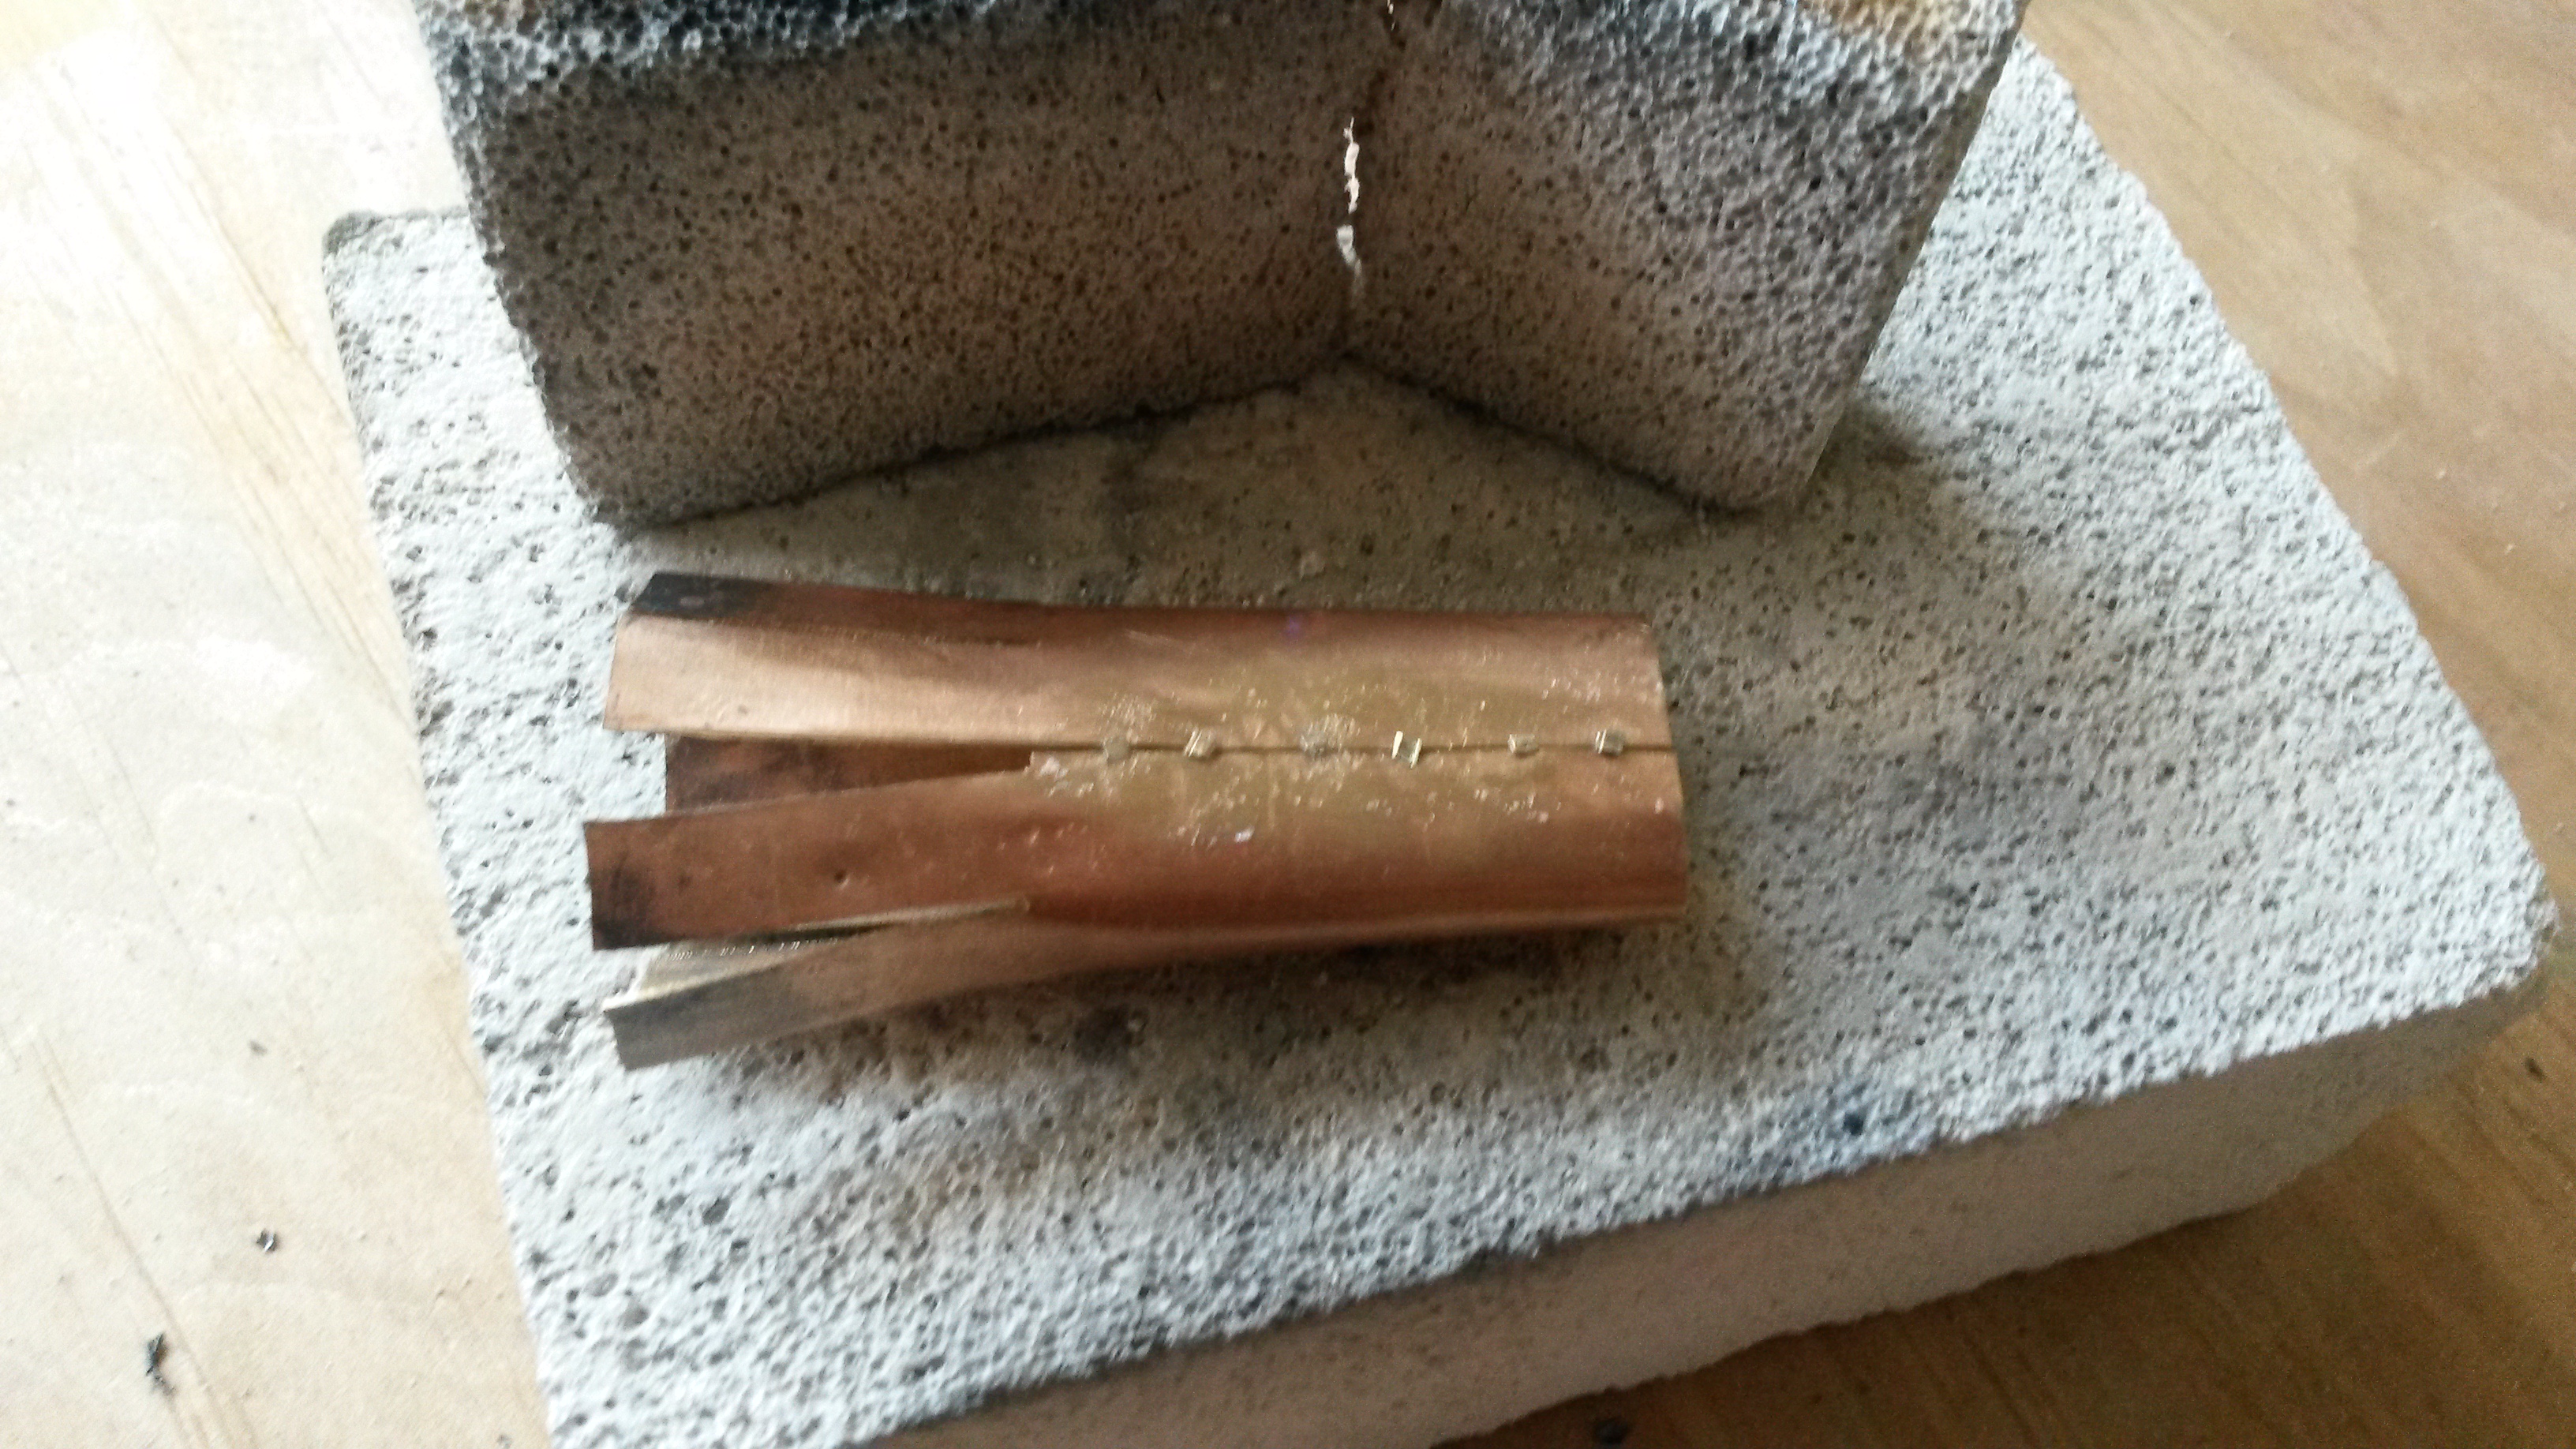
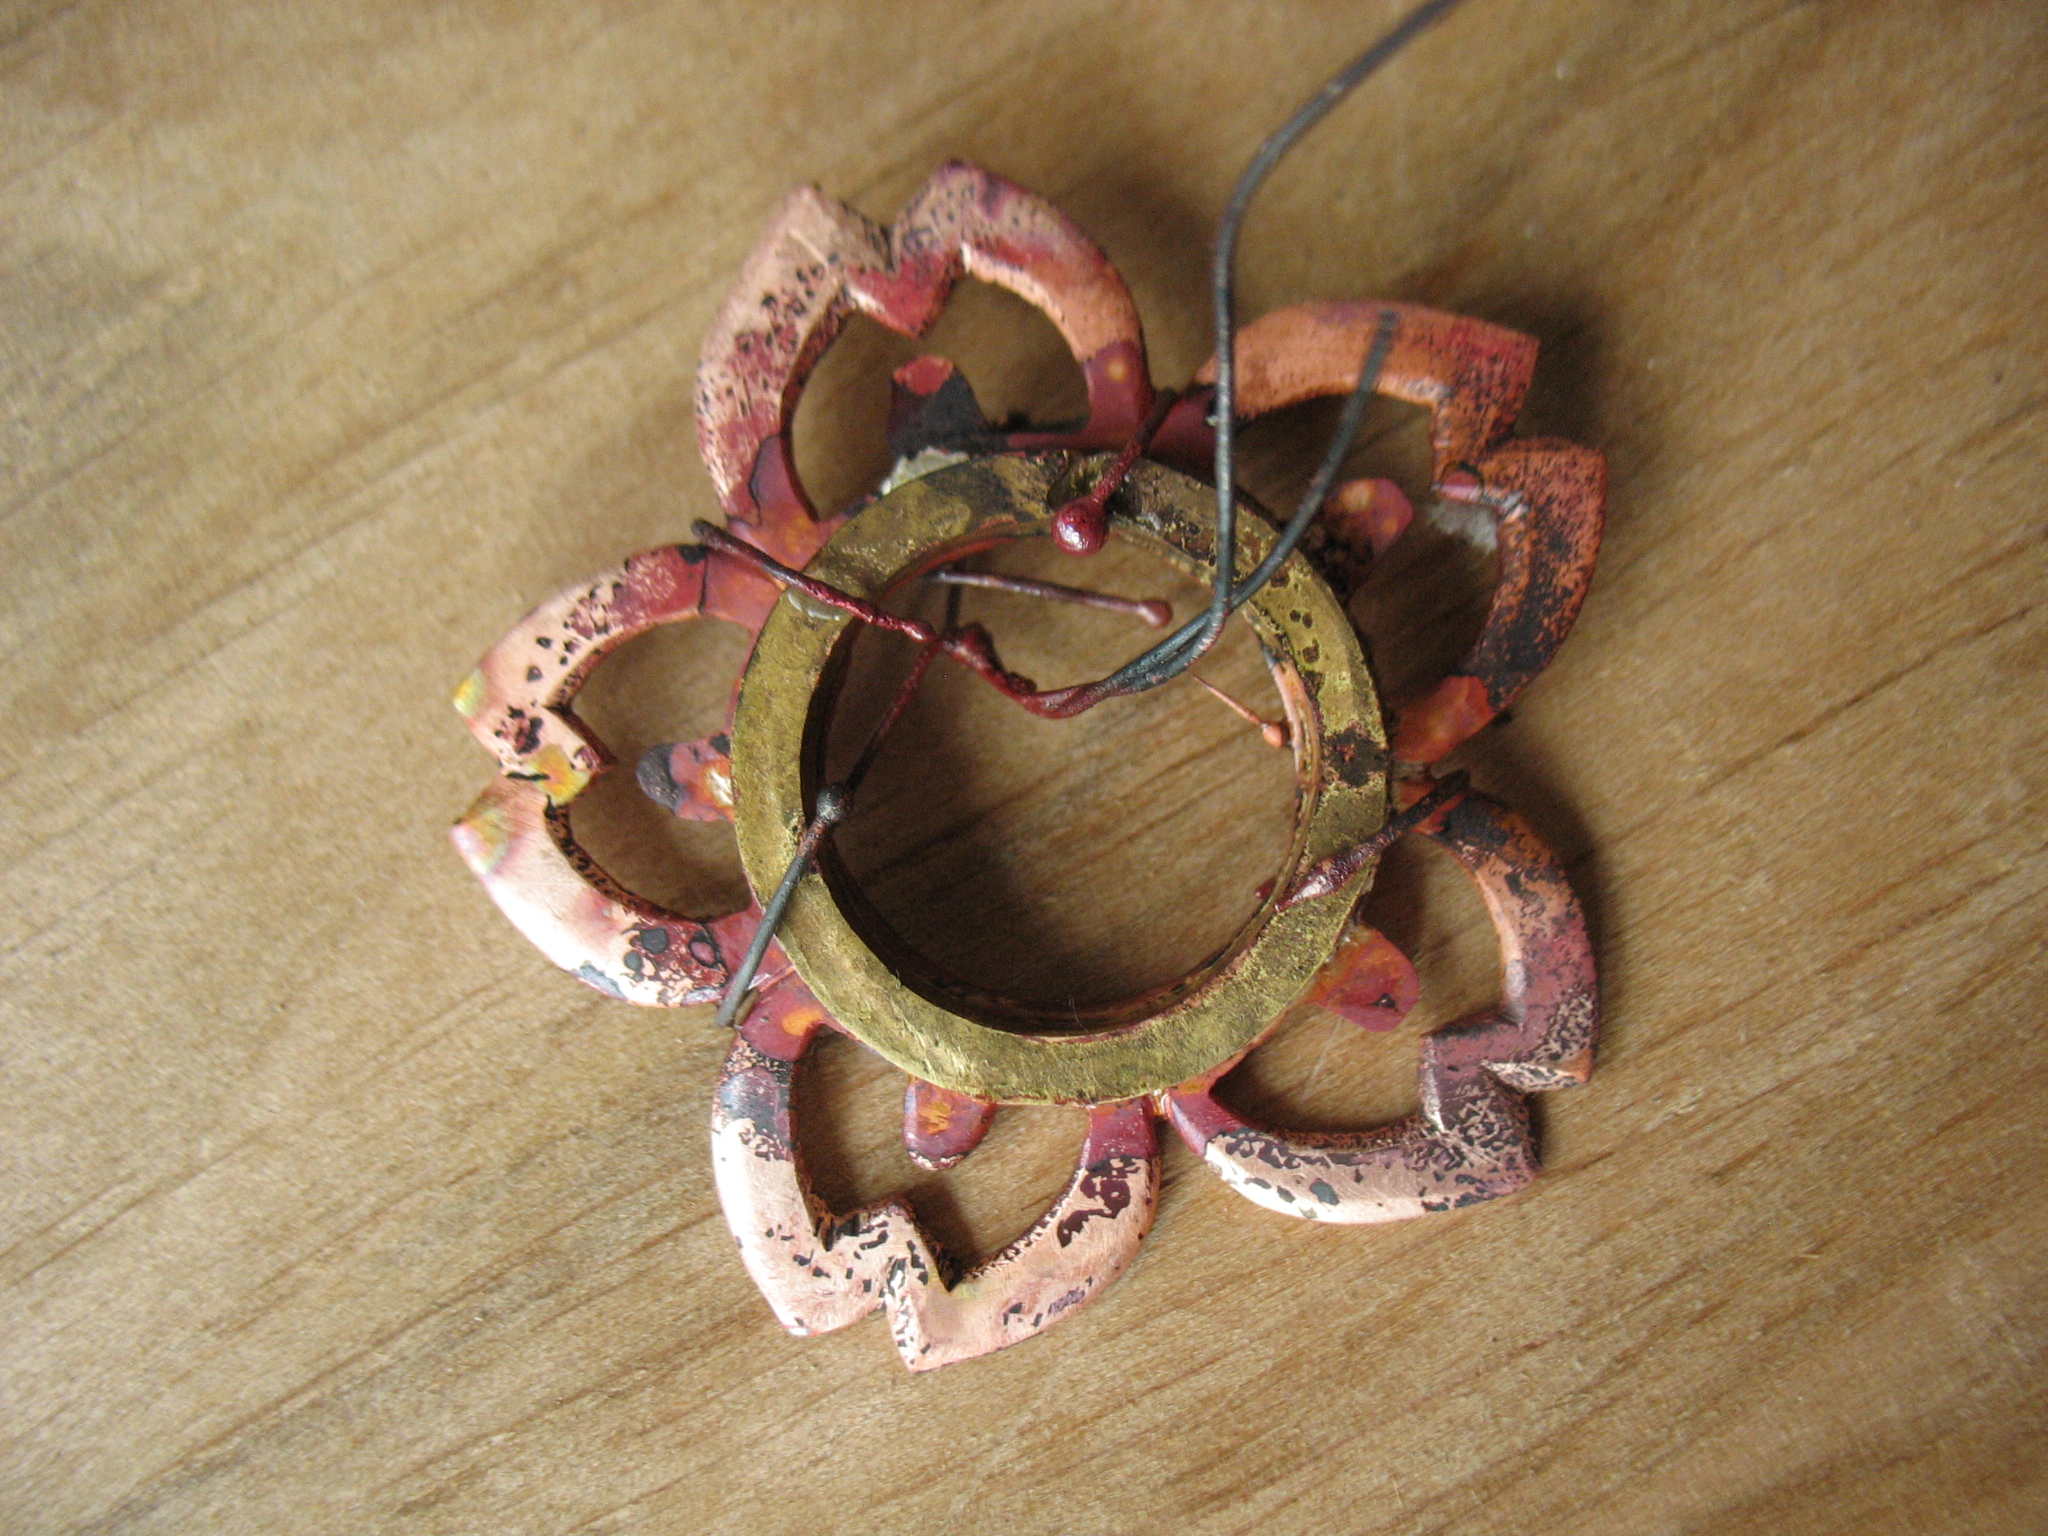
Some cleaning with needle files and then soldering a brass ring onto the flower.
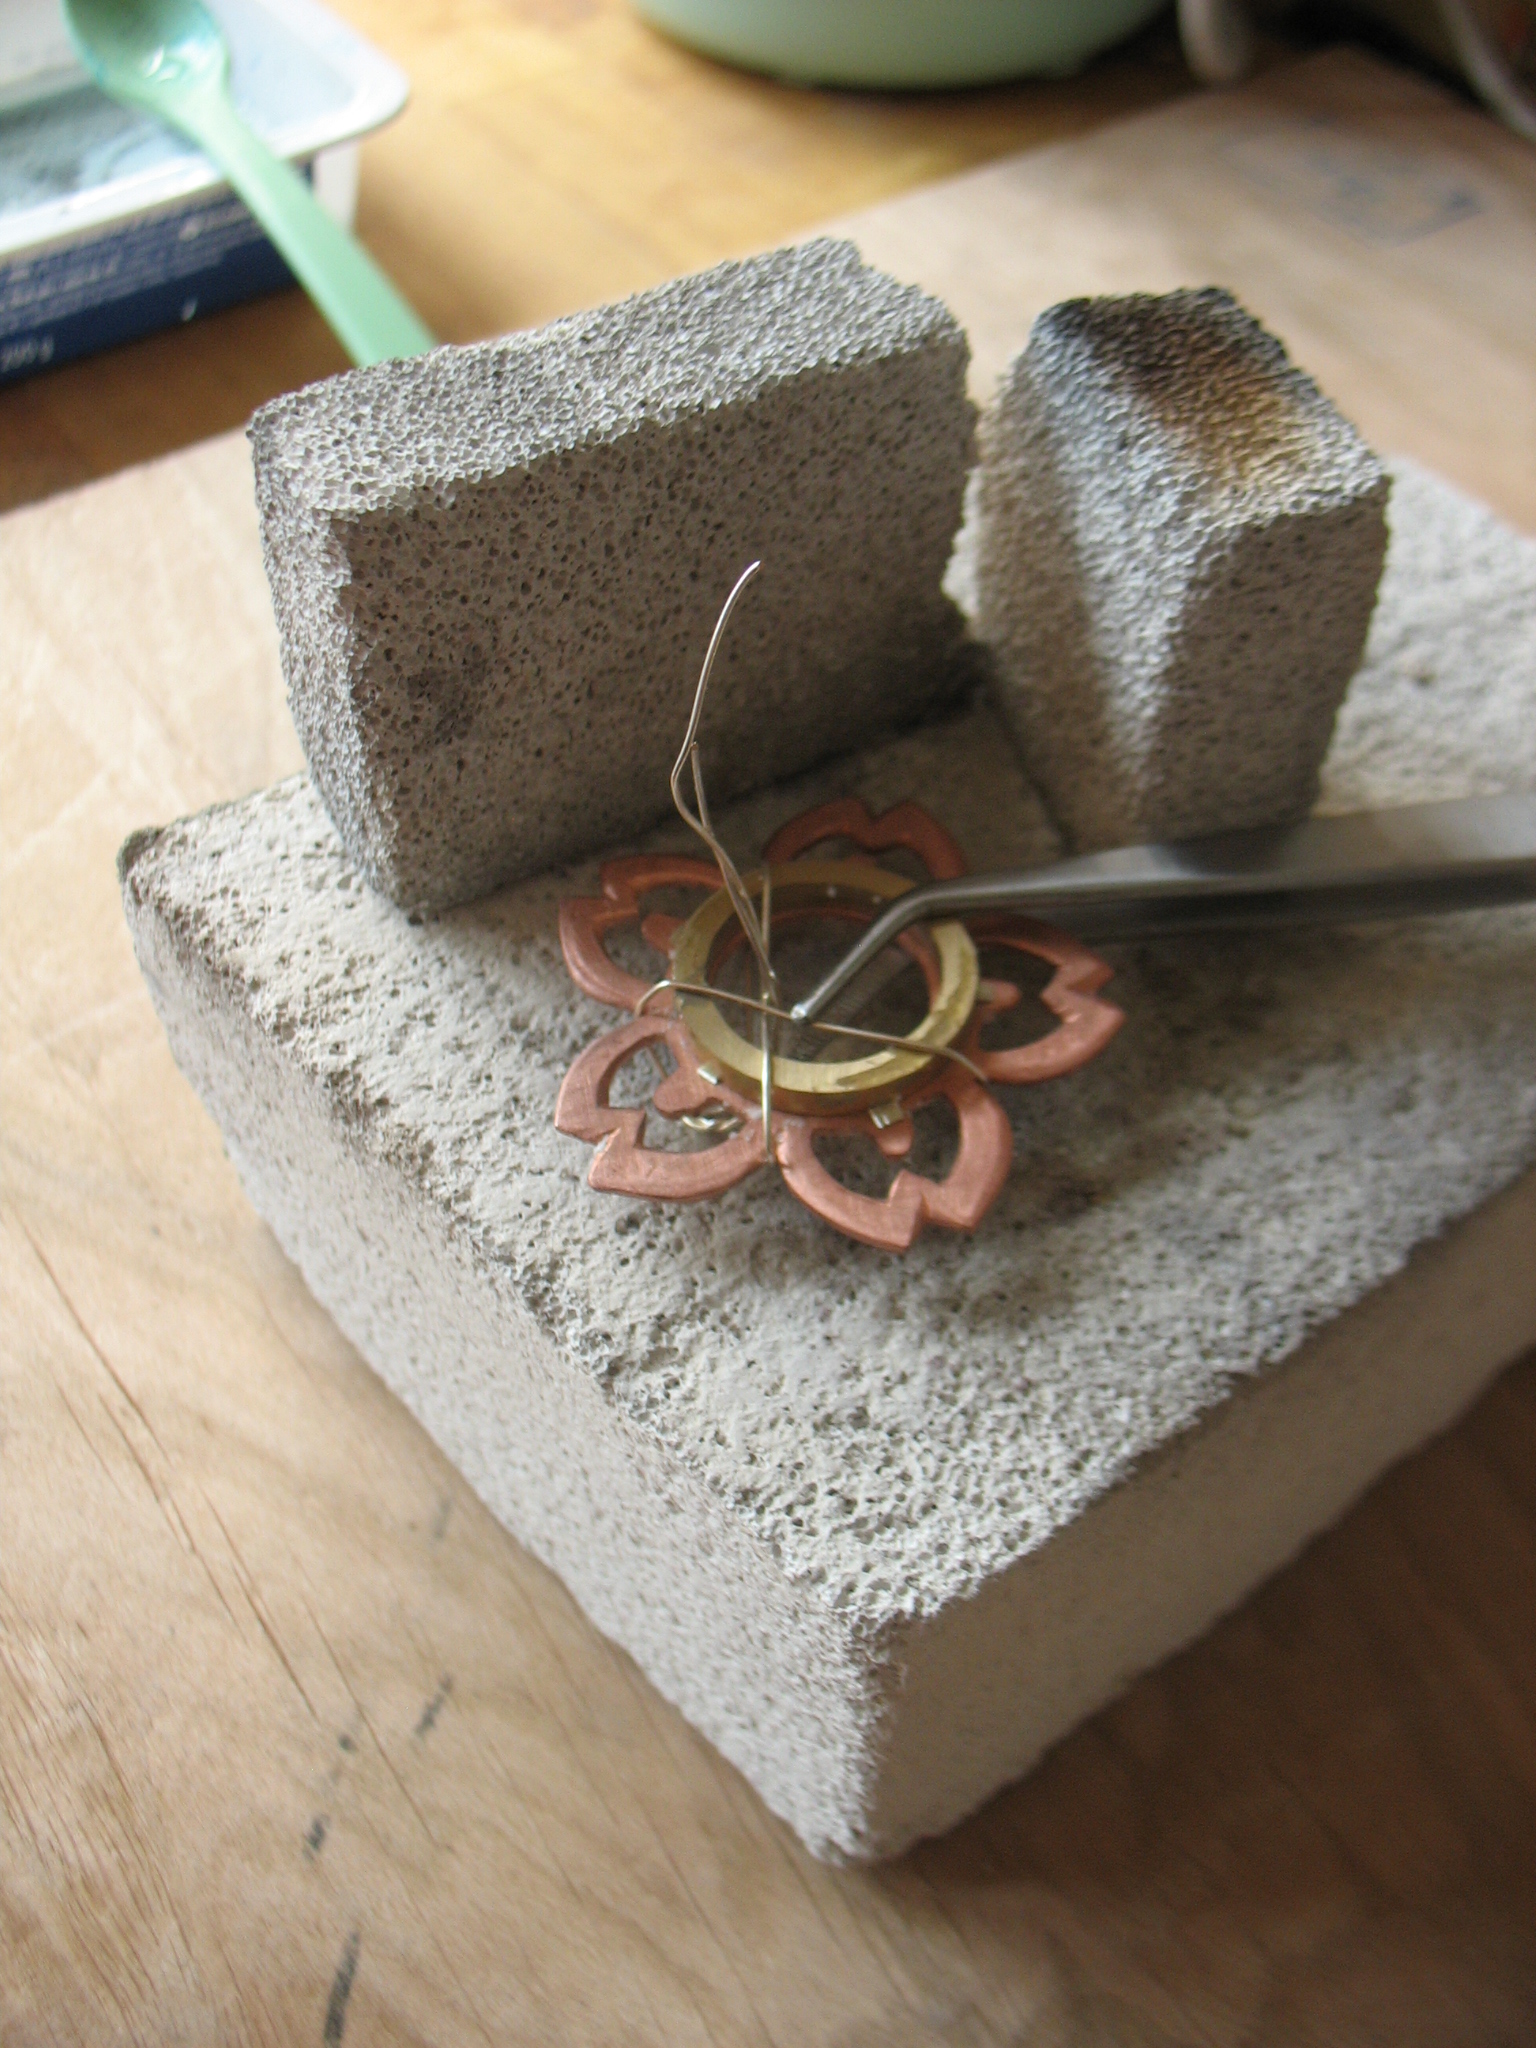
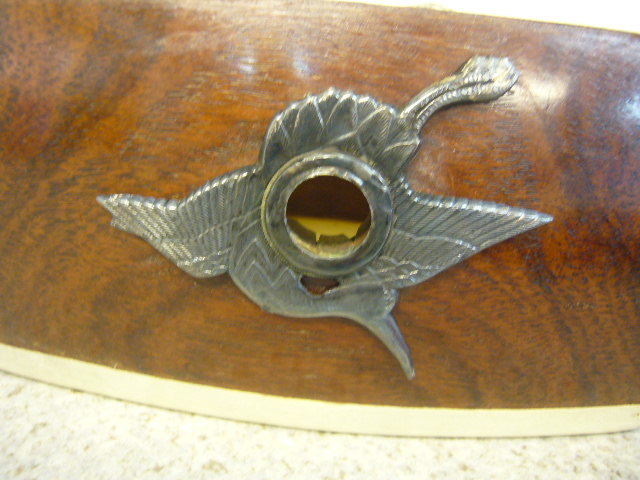
I really liked the resulting colors. However, one of the wires burned out a hole into the brass ring. You can see the place where the wire balled up into this red blob. I did not want to experiment and mess up things further, so I just left it there. The rindou´s “scar”.
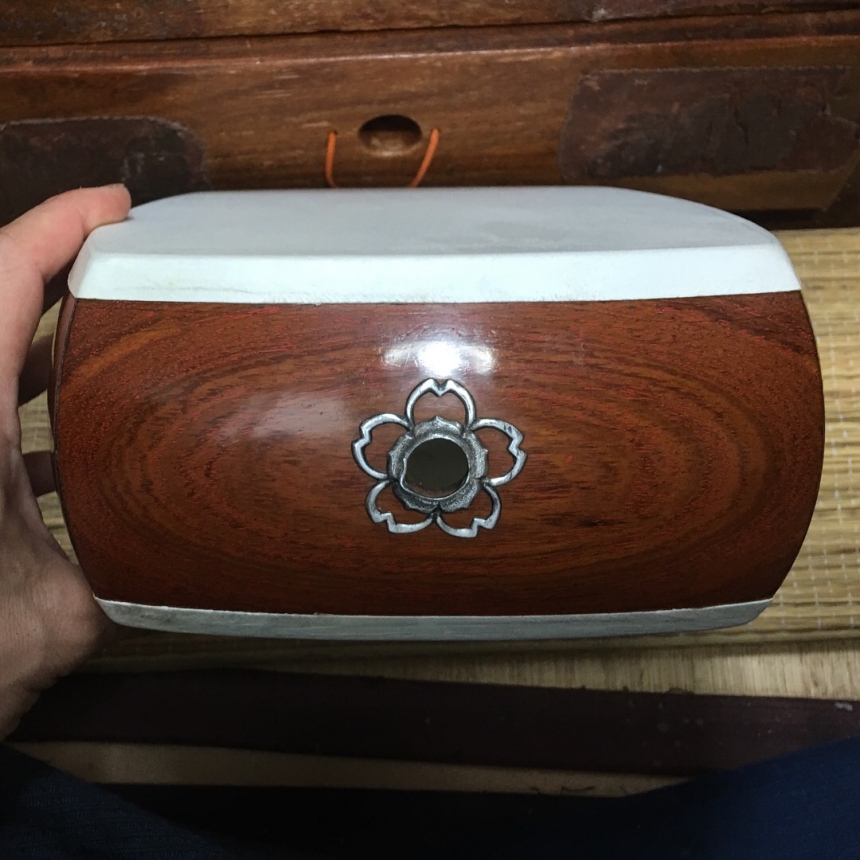
A take after polishing.

I shortened the ends and stamped some decorations on it. I just love dots.

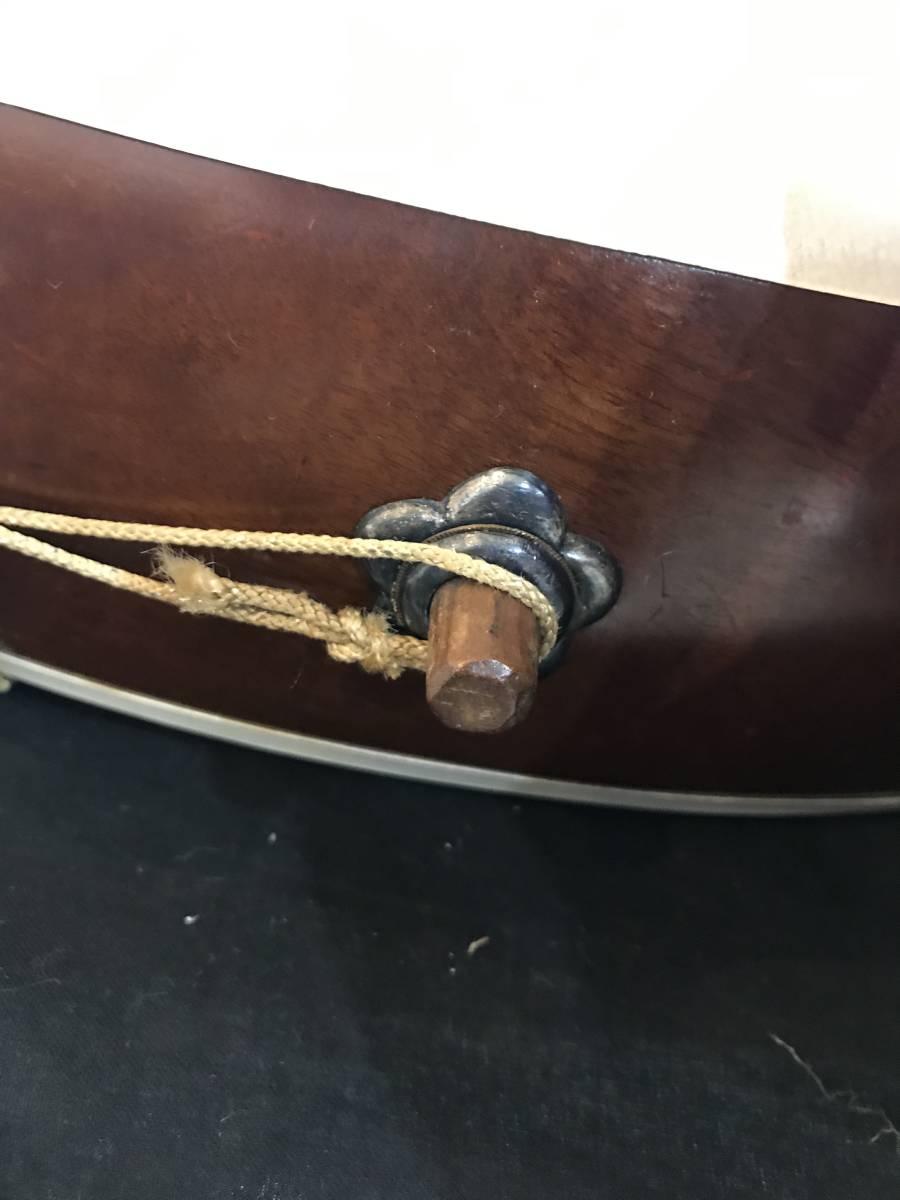
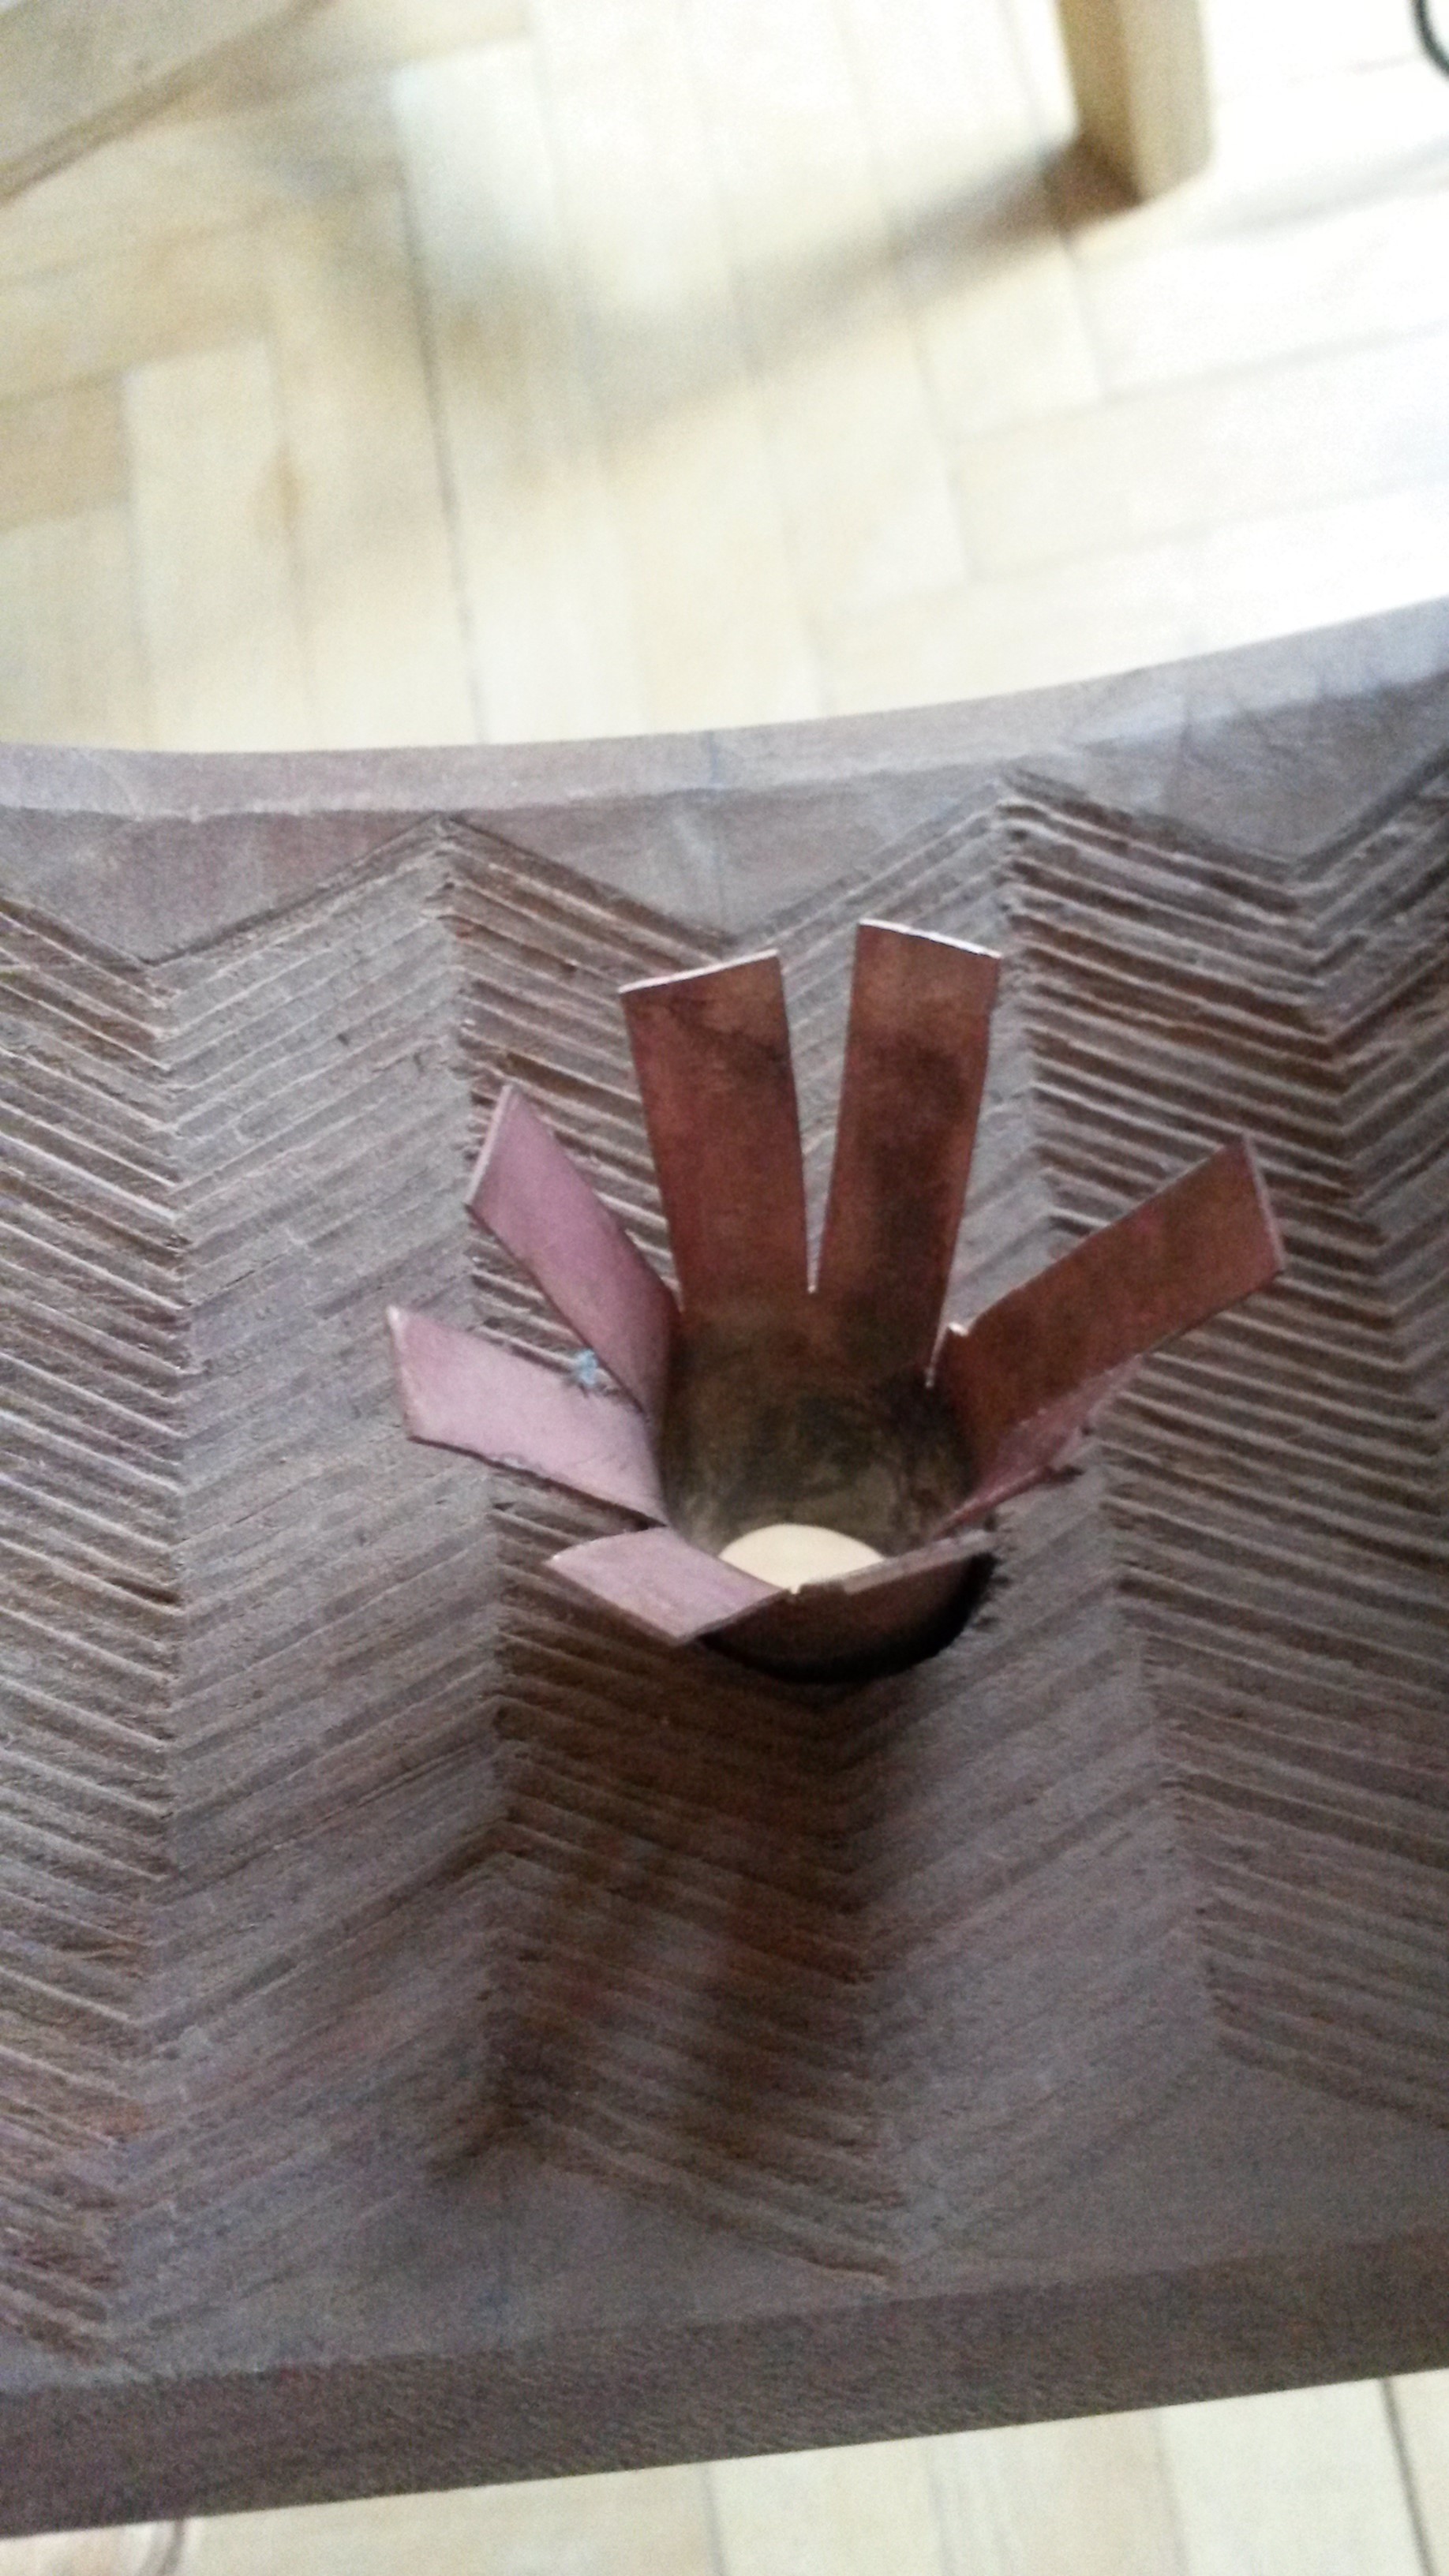
Gathering the ends to put it through the round hole/ “maruana”.
Testing. This part took a long time. Some adjustments still had to be made
and I decided to leave the glueing part for the next day.
The next morning, I got to use epoxy, that kind where you break a seal and the two compounds get mixed in a tube while all is being pushed out. Openi time was 5min. It was my first time using epoxy and I was so stressed, that I ended up glueing the piece upside down. Fortunately, I noticed and fixed it however, I am still not sure if it will hold.

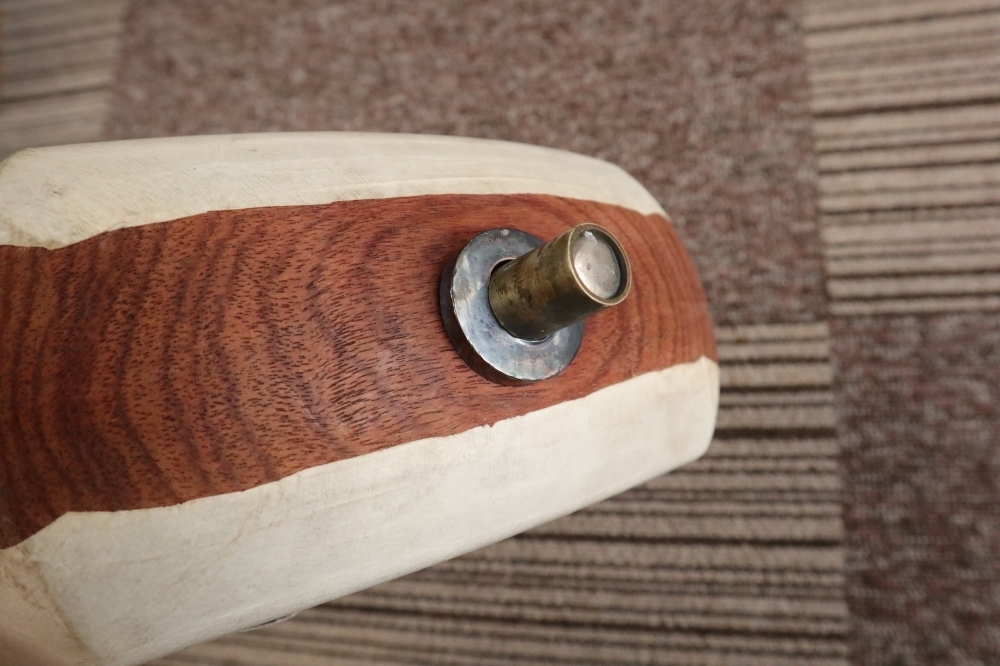
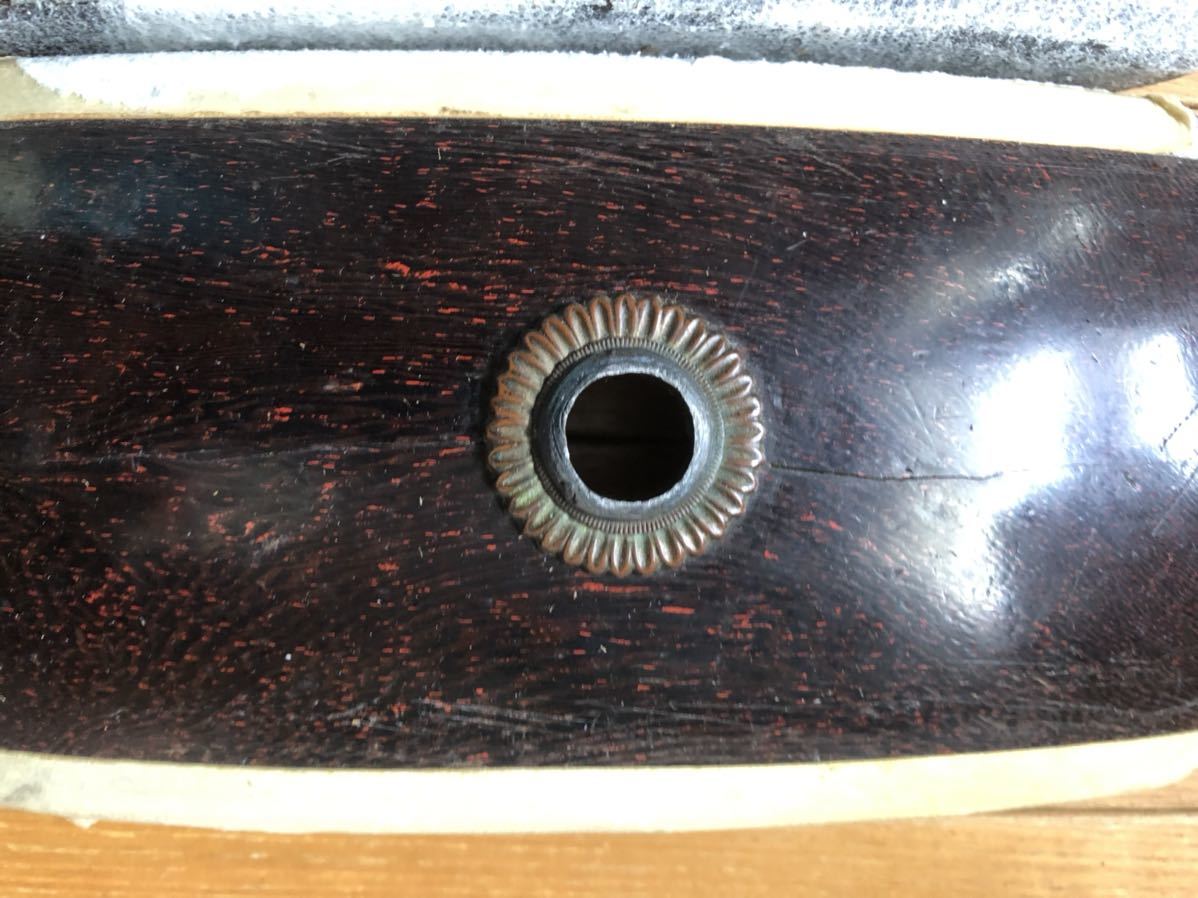
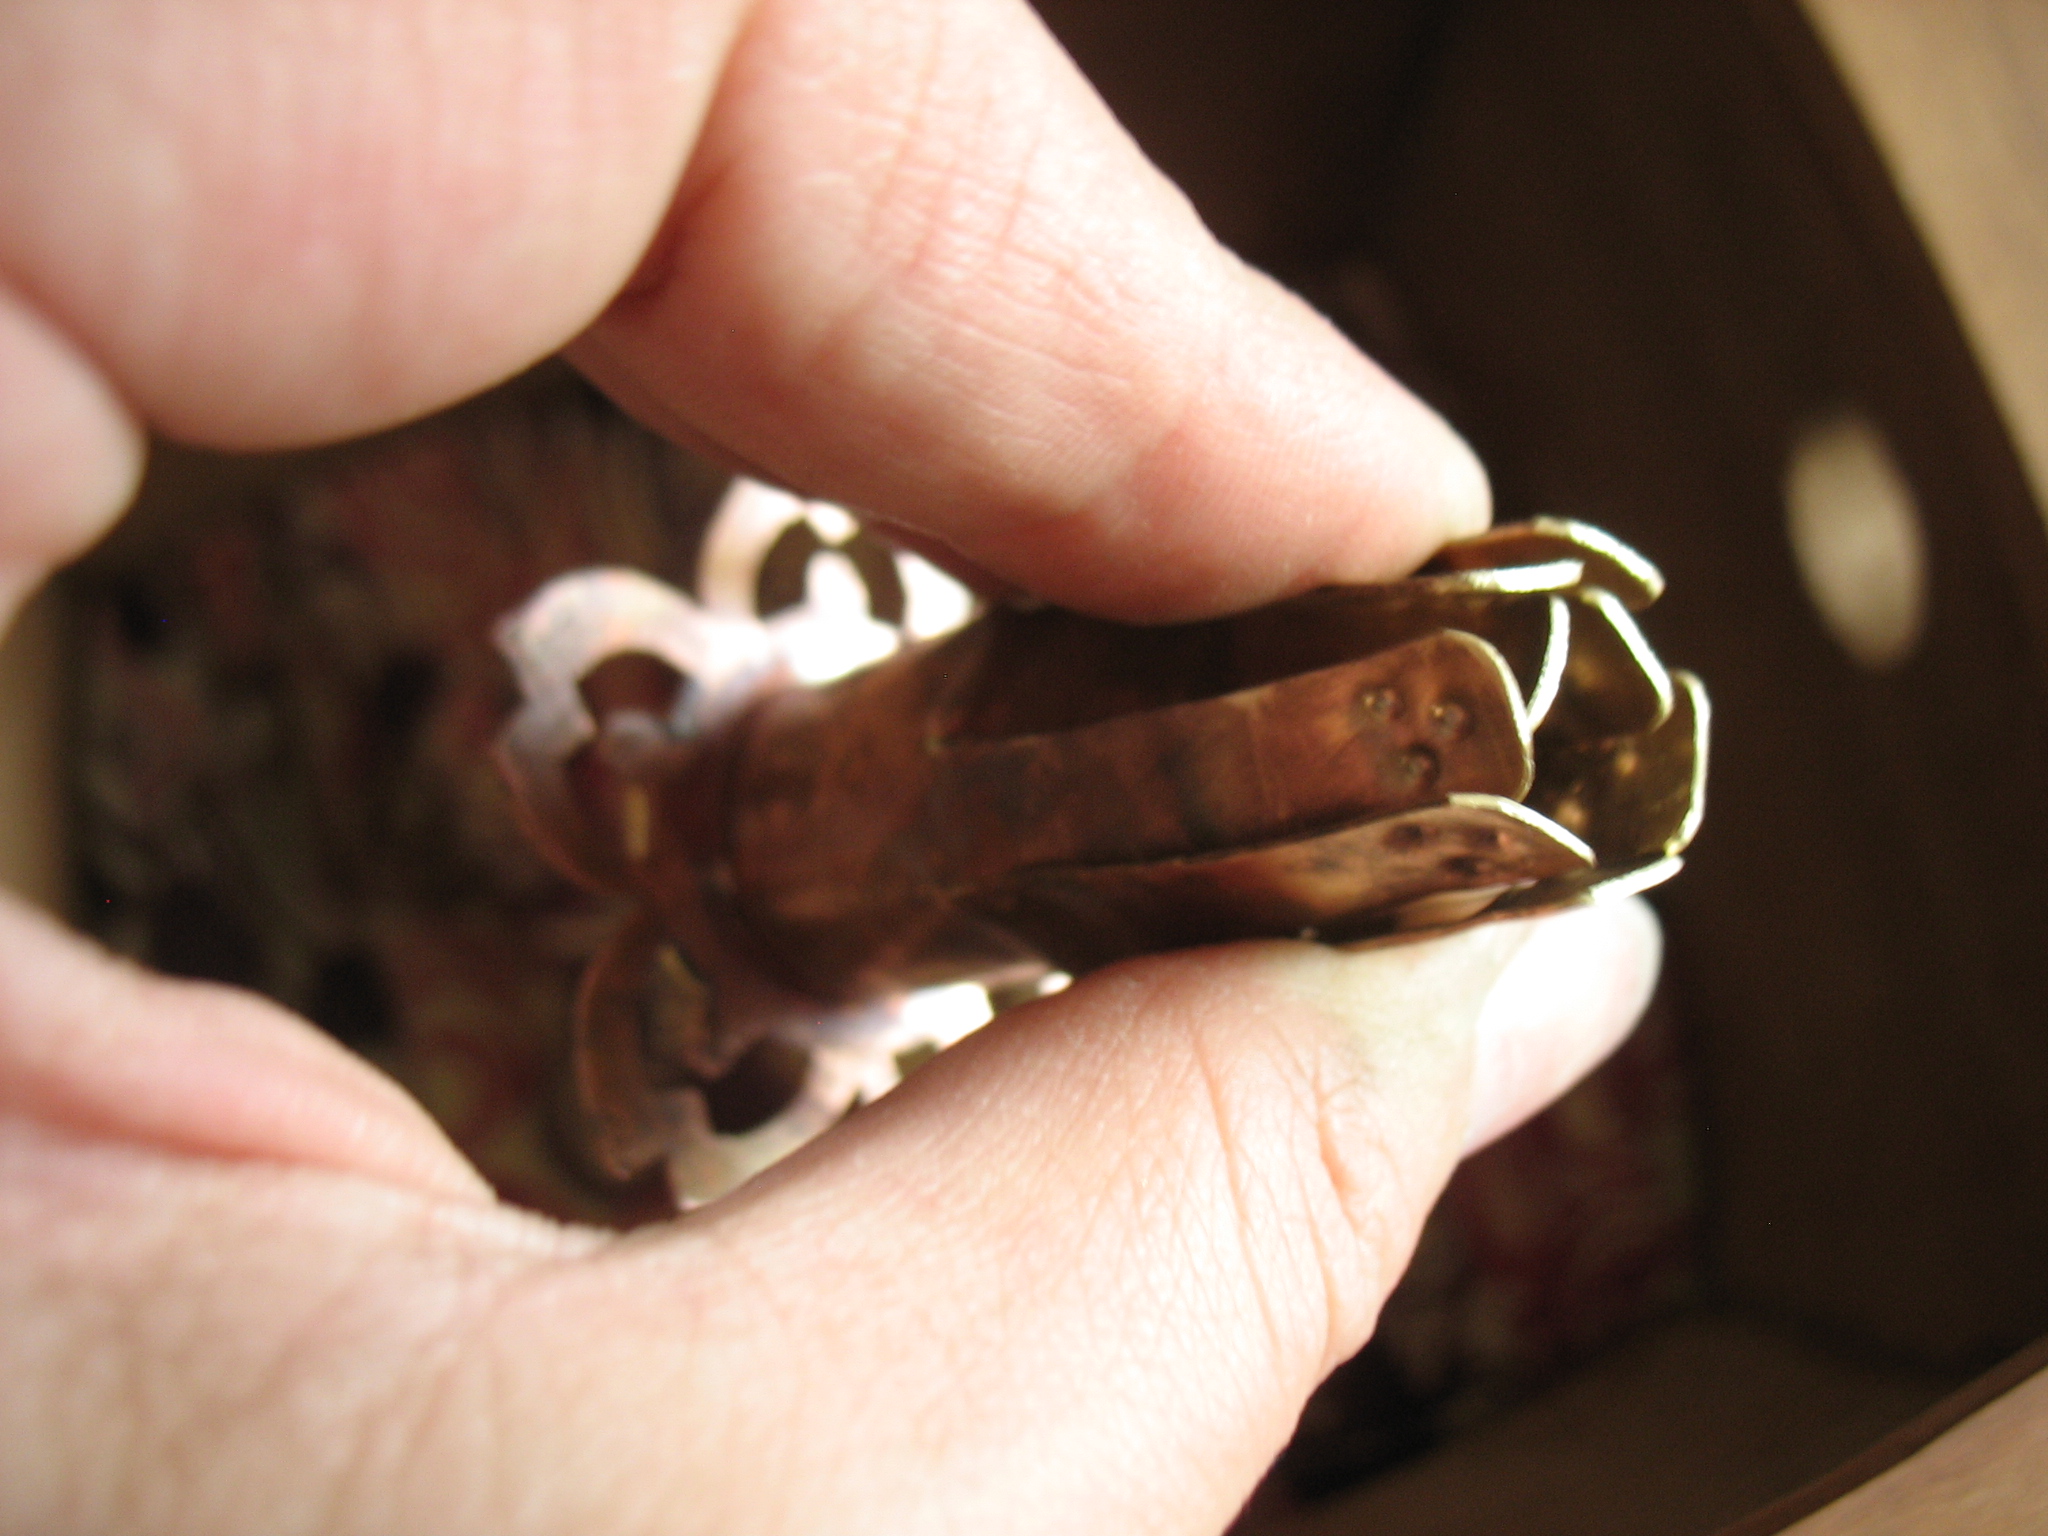
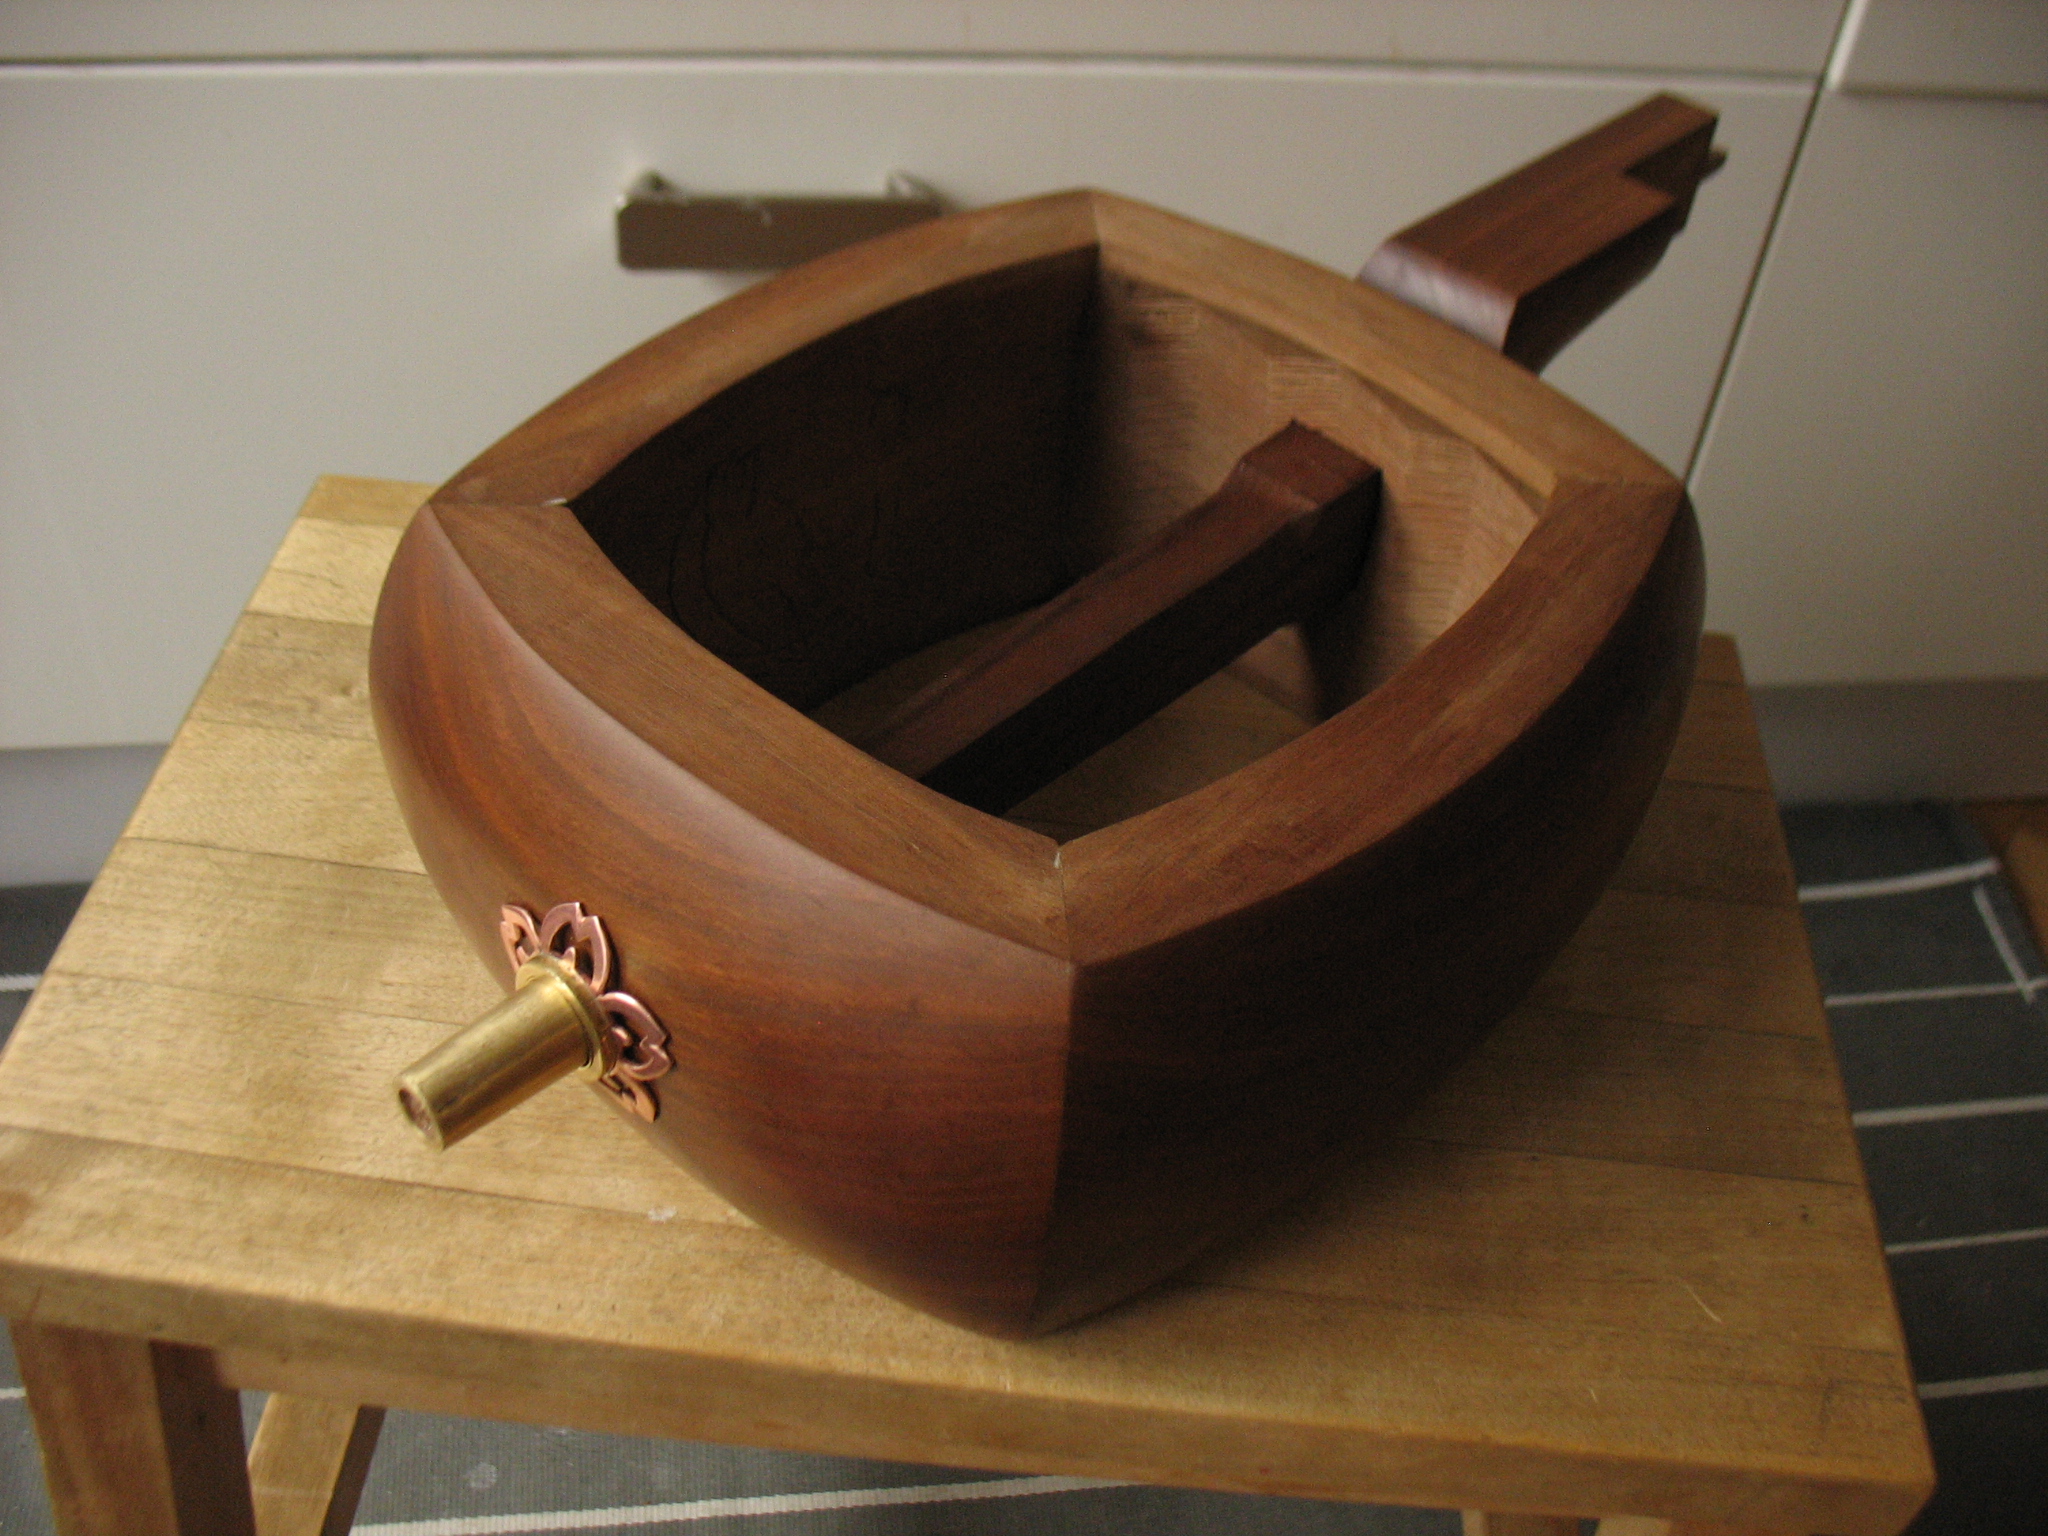
And this is how it looks with the metal part of the nakago sticking out.

Thank you!
Metals used in rindou:
flower: 1,2mm copper sheet
ring: 3x3mm brass square rod
the “inside” : 0,6mm brass sheet
nakago end
“wrapping”: 0,35 (or something like that) brass sheet
The top has a small ringlet cut out and formed from a 2mm thick brass rod. The dotted inside is a cut out sheet but I don´t remember the thickness.
Glue for attaching the metal part inside the round hole/ maruana:
UHU epoxy adhesive 2-K-QUICK (it stinks!)
 It all depends on how workable your material is and if its texture will shine out from a simple or complex form.