
Hello everyone!
It´s been a while since I posted any updates. I have been searching and then waiting for materials to come before I could continue on my shamisen build. This time, I tackled the azuma sawari.
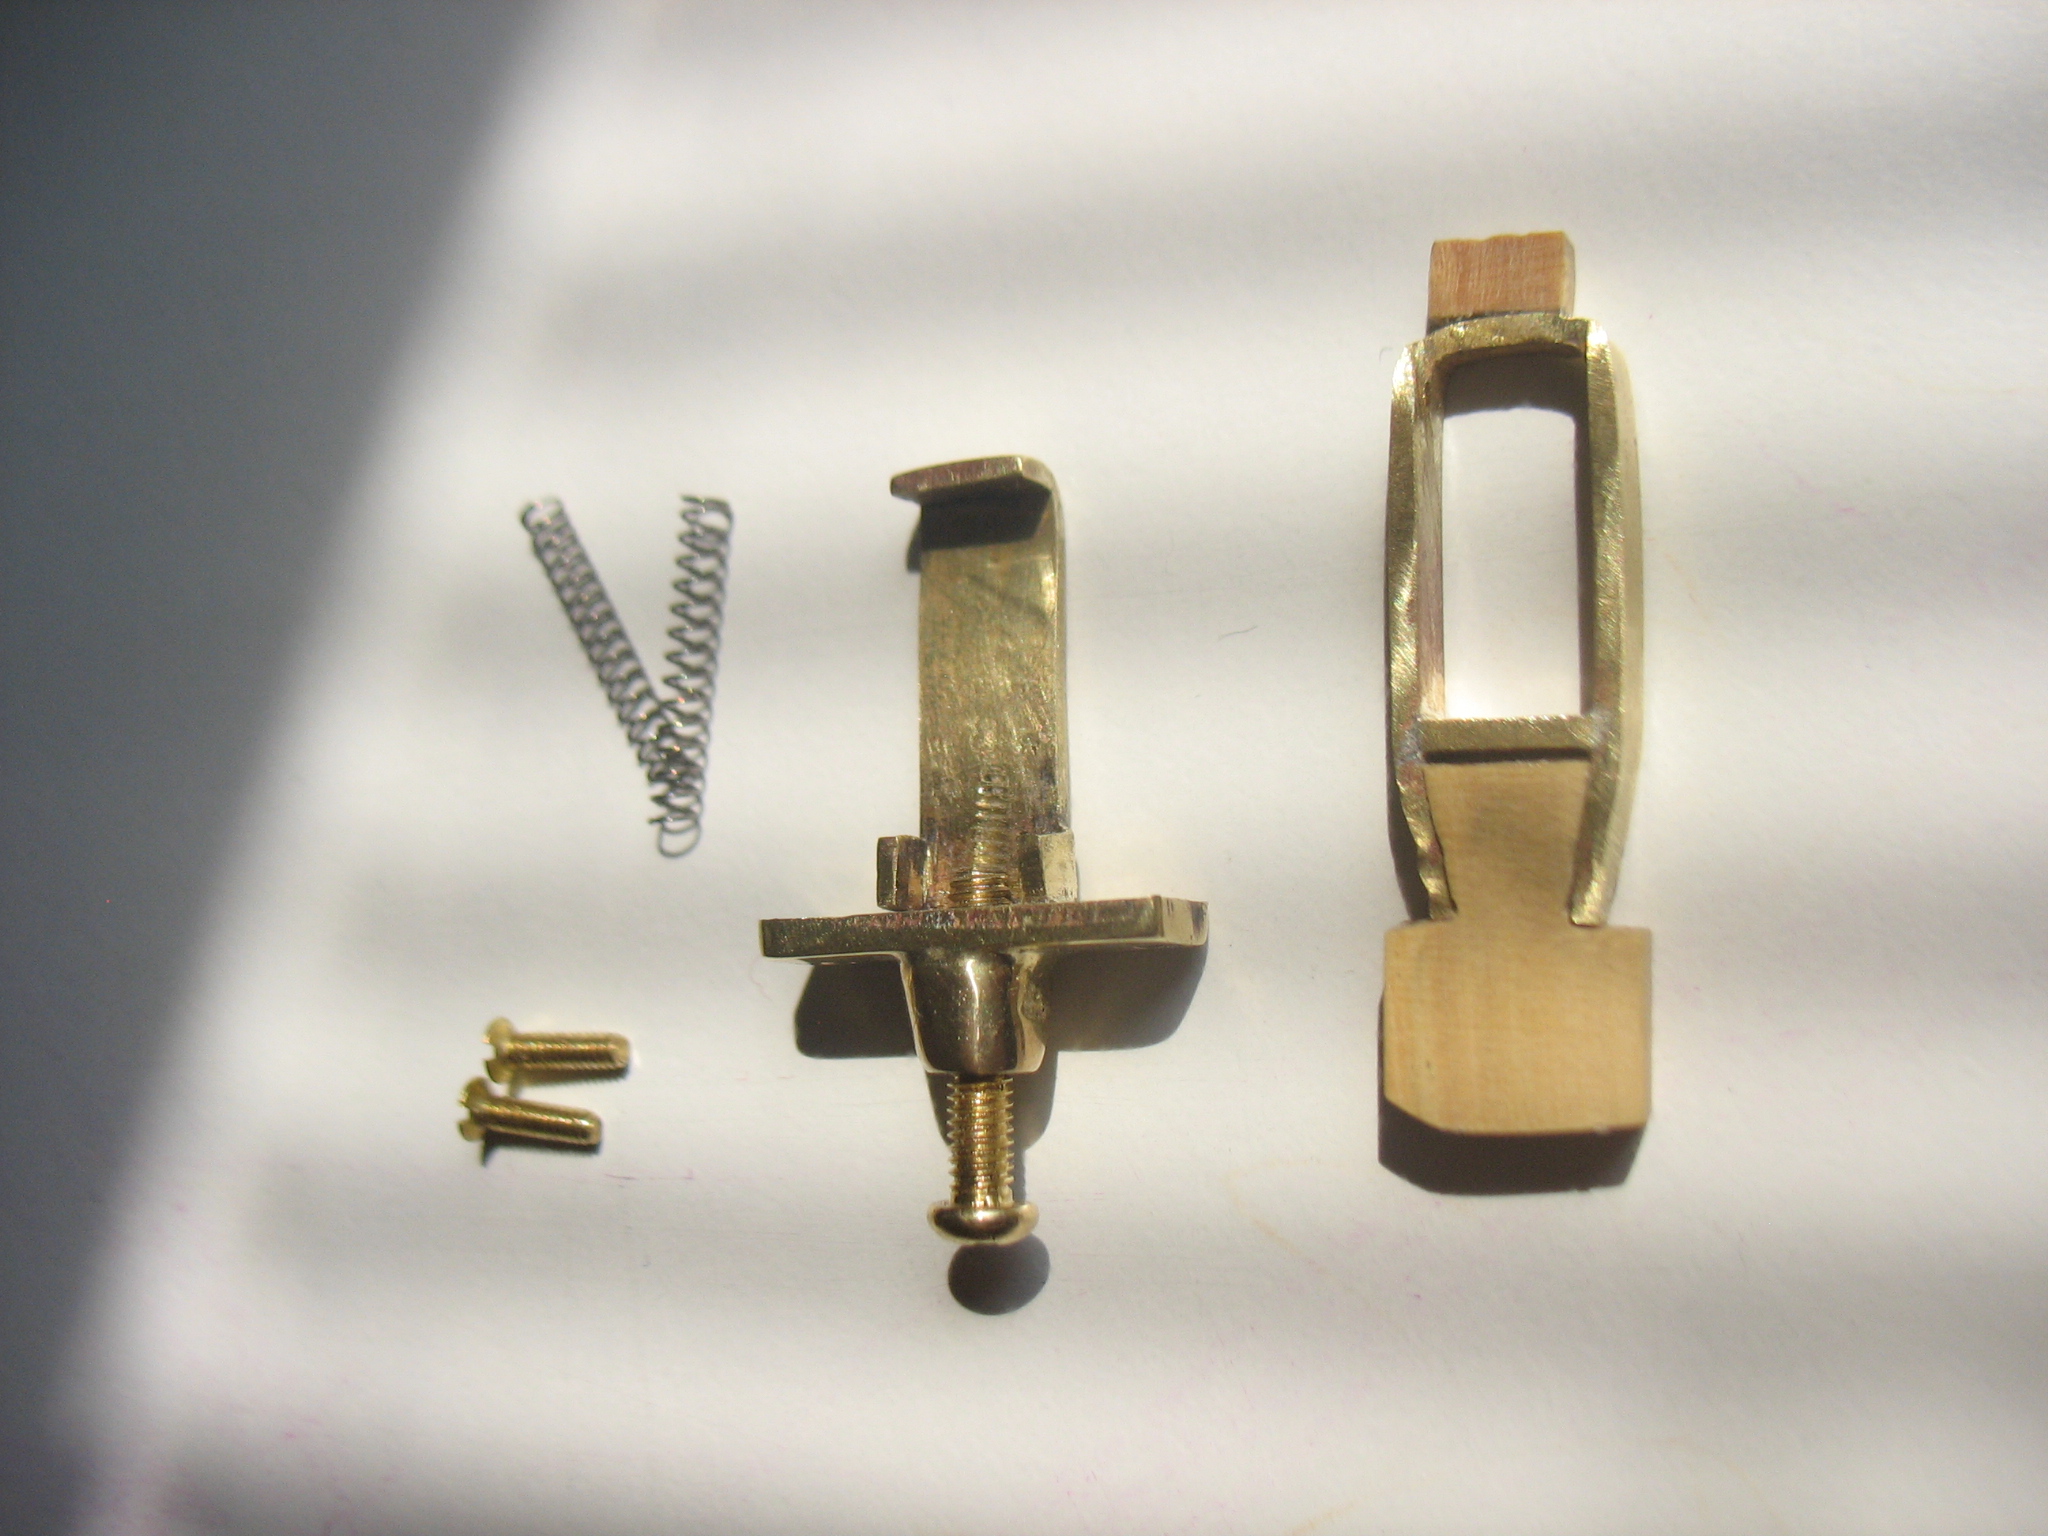
Two years ago, when I was reading through Kyle´s book, building an azuma sawari was something soooo distant. So I was very excited when I realized “hey, you reached the point where you put together the azuma sawari!” Well, yes, here we are. Enjoy the pictures and small comments.
Tapping threads.
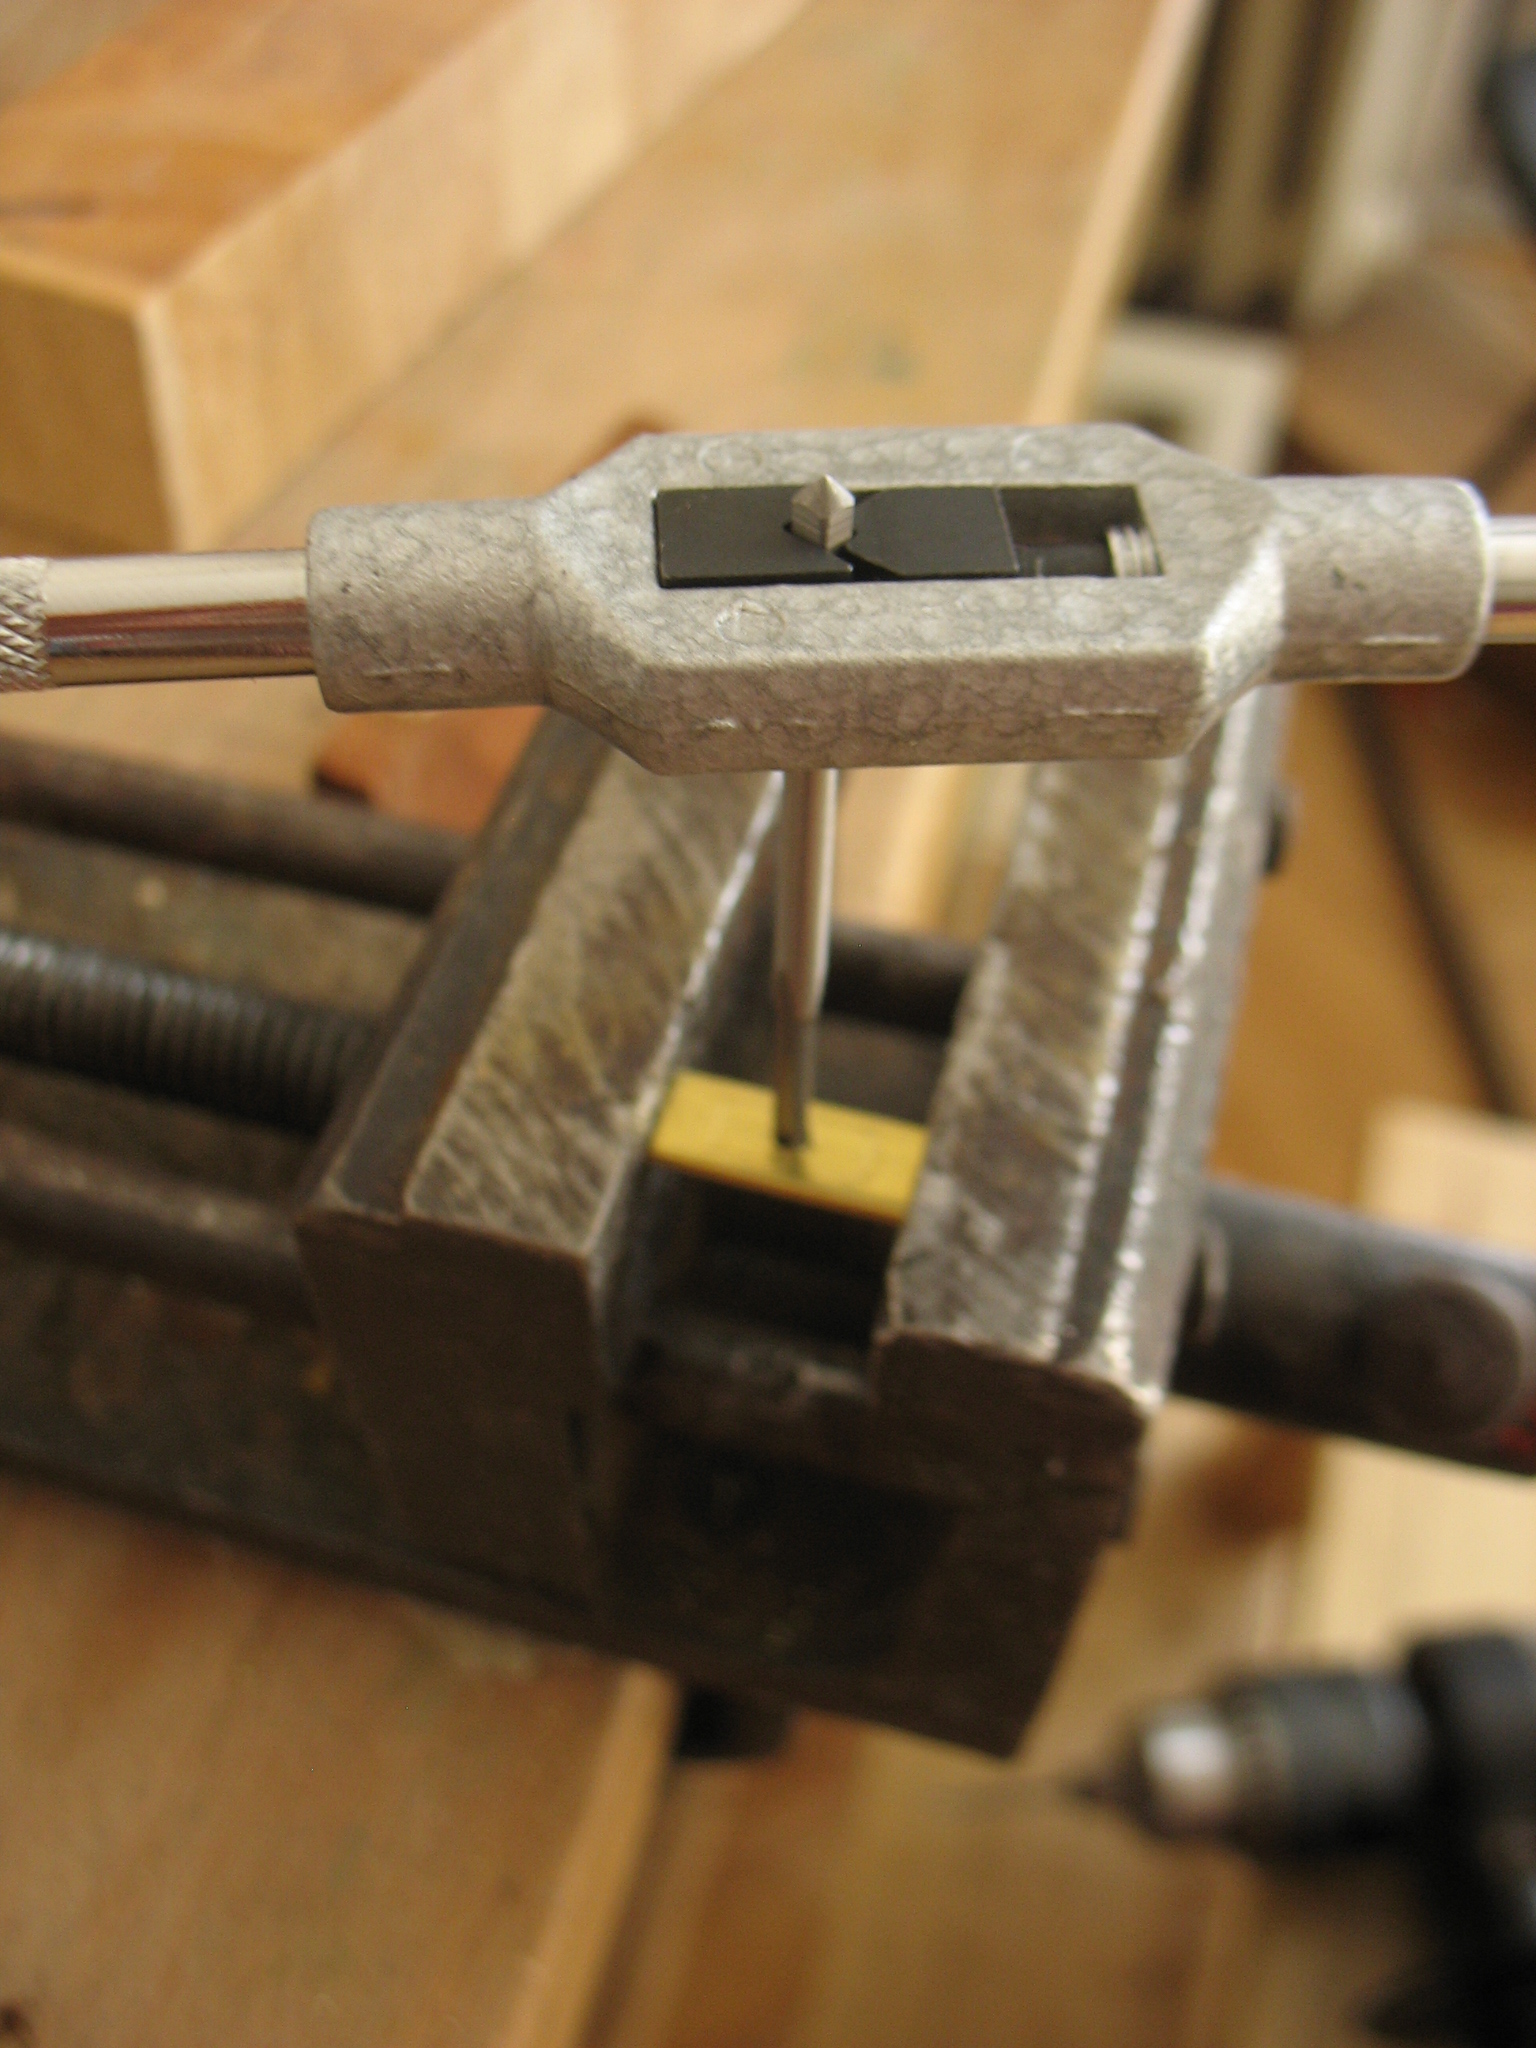
Testing and fitting the tubing.

New best friends for the project. Found these files at a local second hand hardware store.

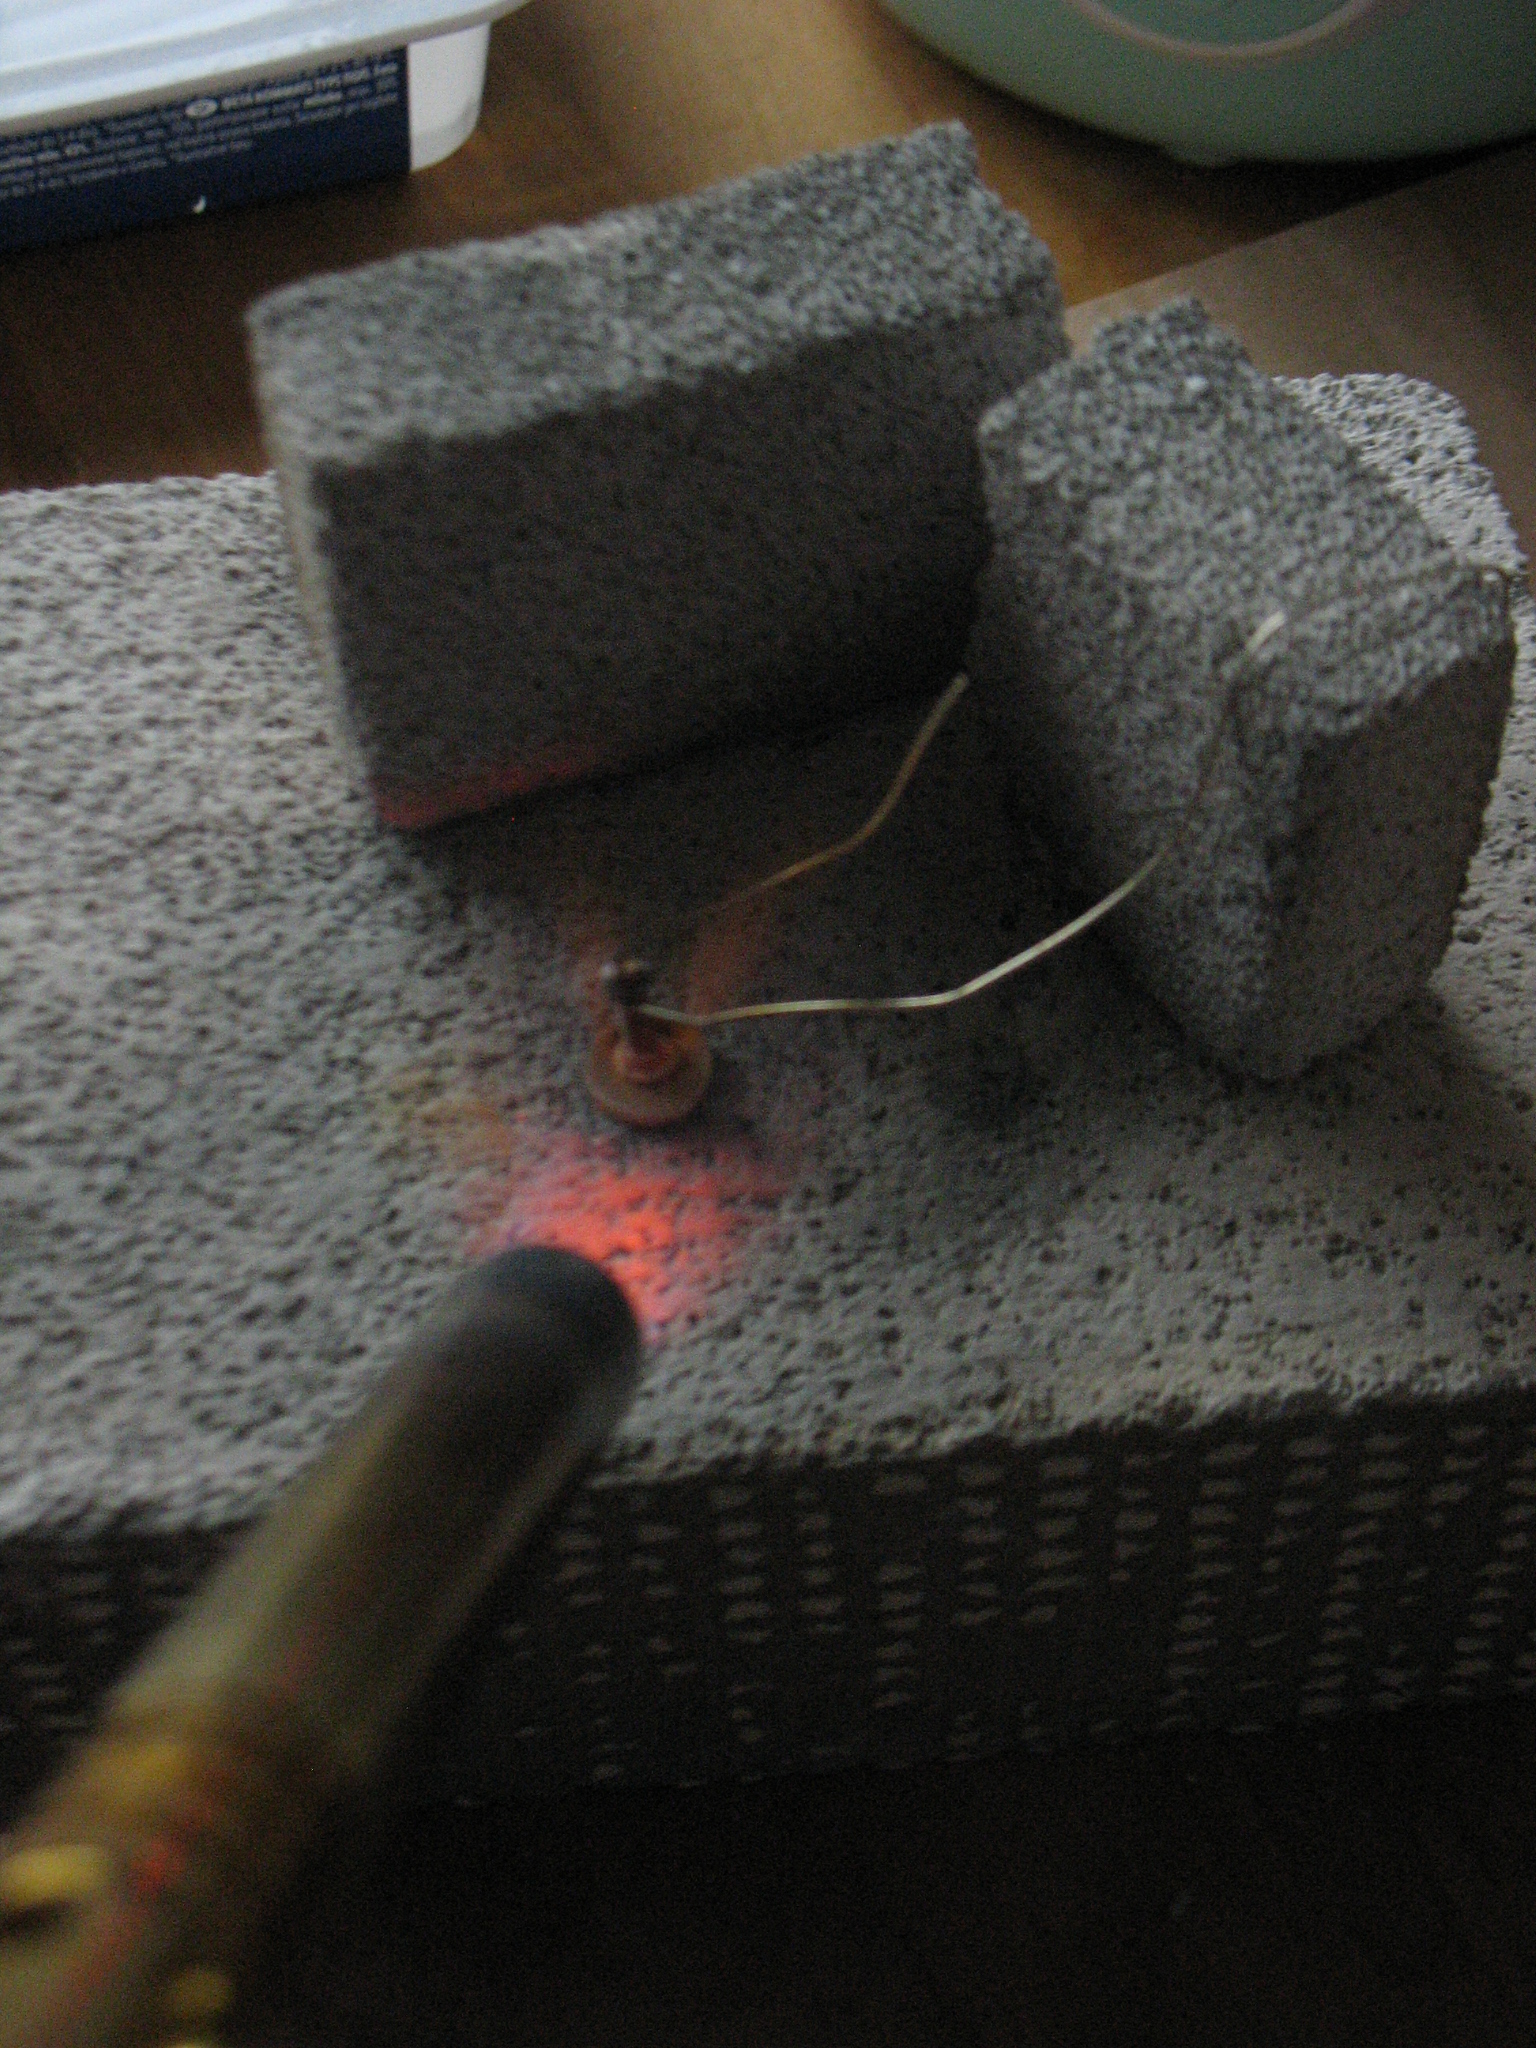
Then came the soldering part. Soldering on a piece of wood was the stupidest thing I thought of. I imagined that when the surface of the wood will be charred, it will be ok but no, it was terrible. Unless you are outside and don´t mind smelling like smoke, don´t do this. Just don´t.


Lots of small pieces. This time soldered on a proper surface.

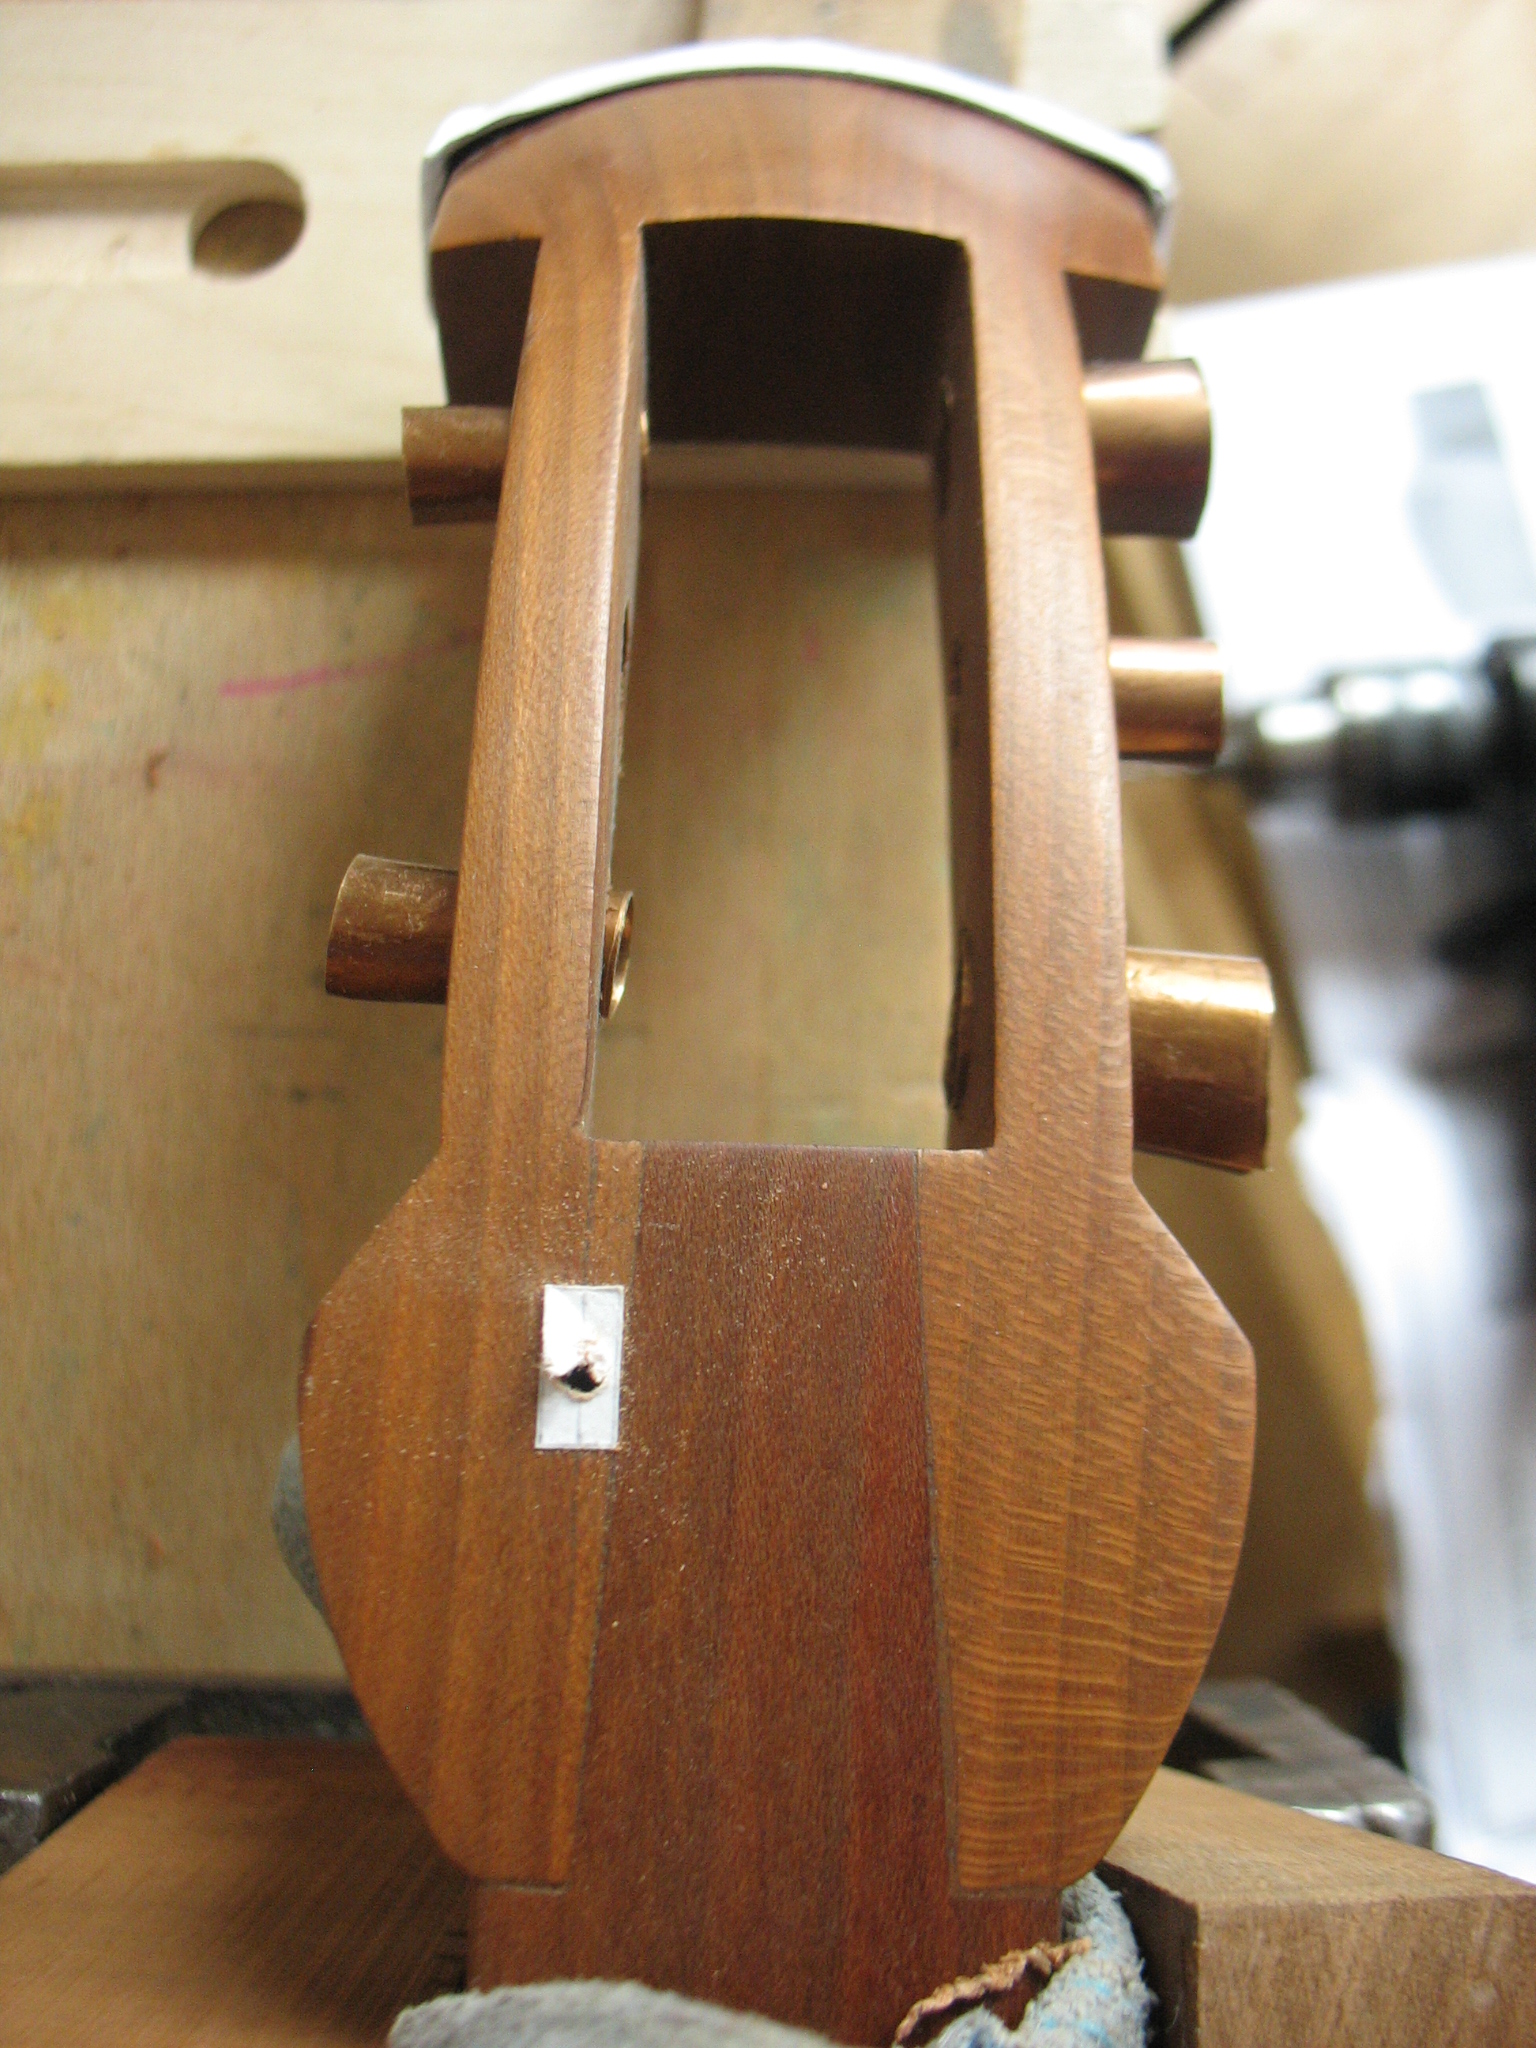
No way back. Drilling through the tenjin was scary. I was affraid of ending up somewhere else on the back side. Luckily, the hole was sideways only by 1mm.
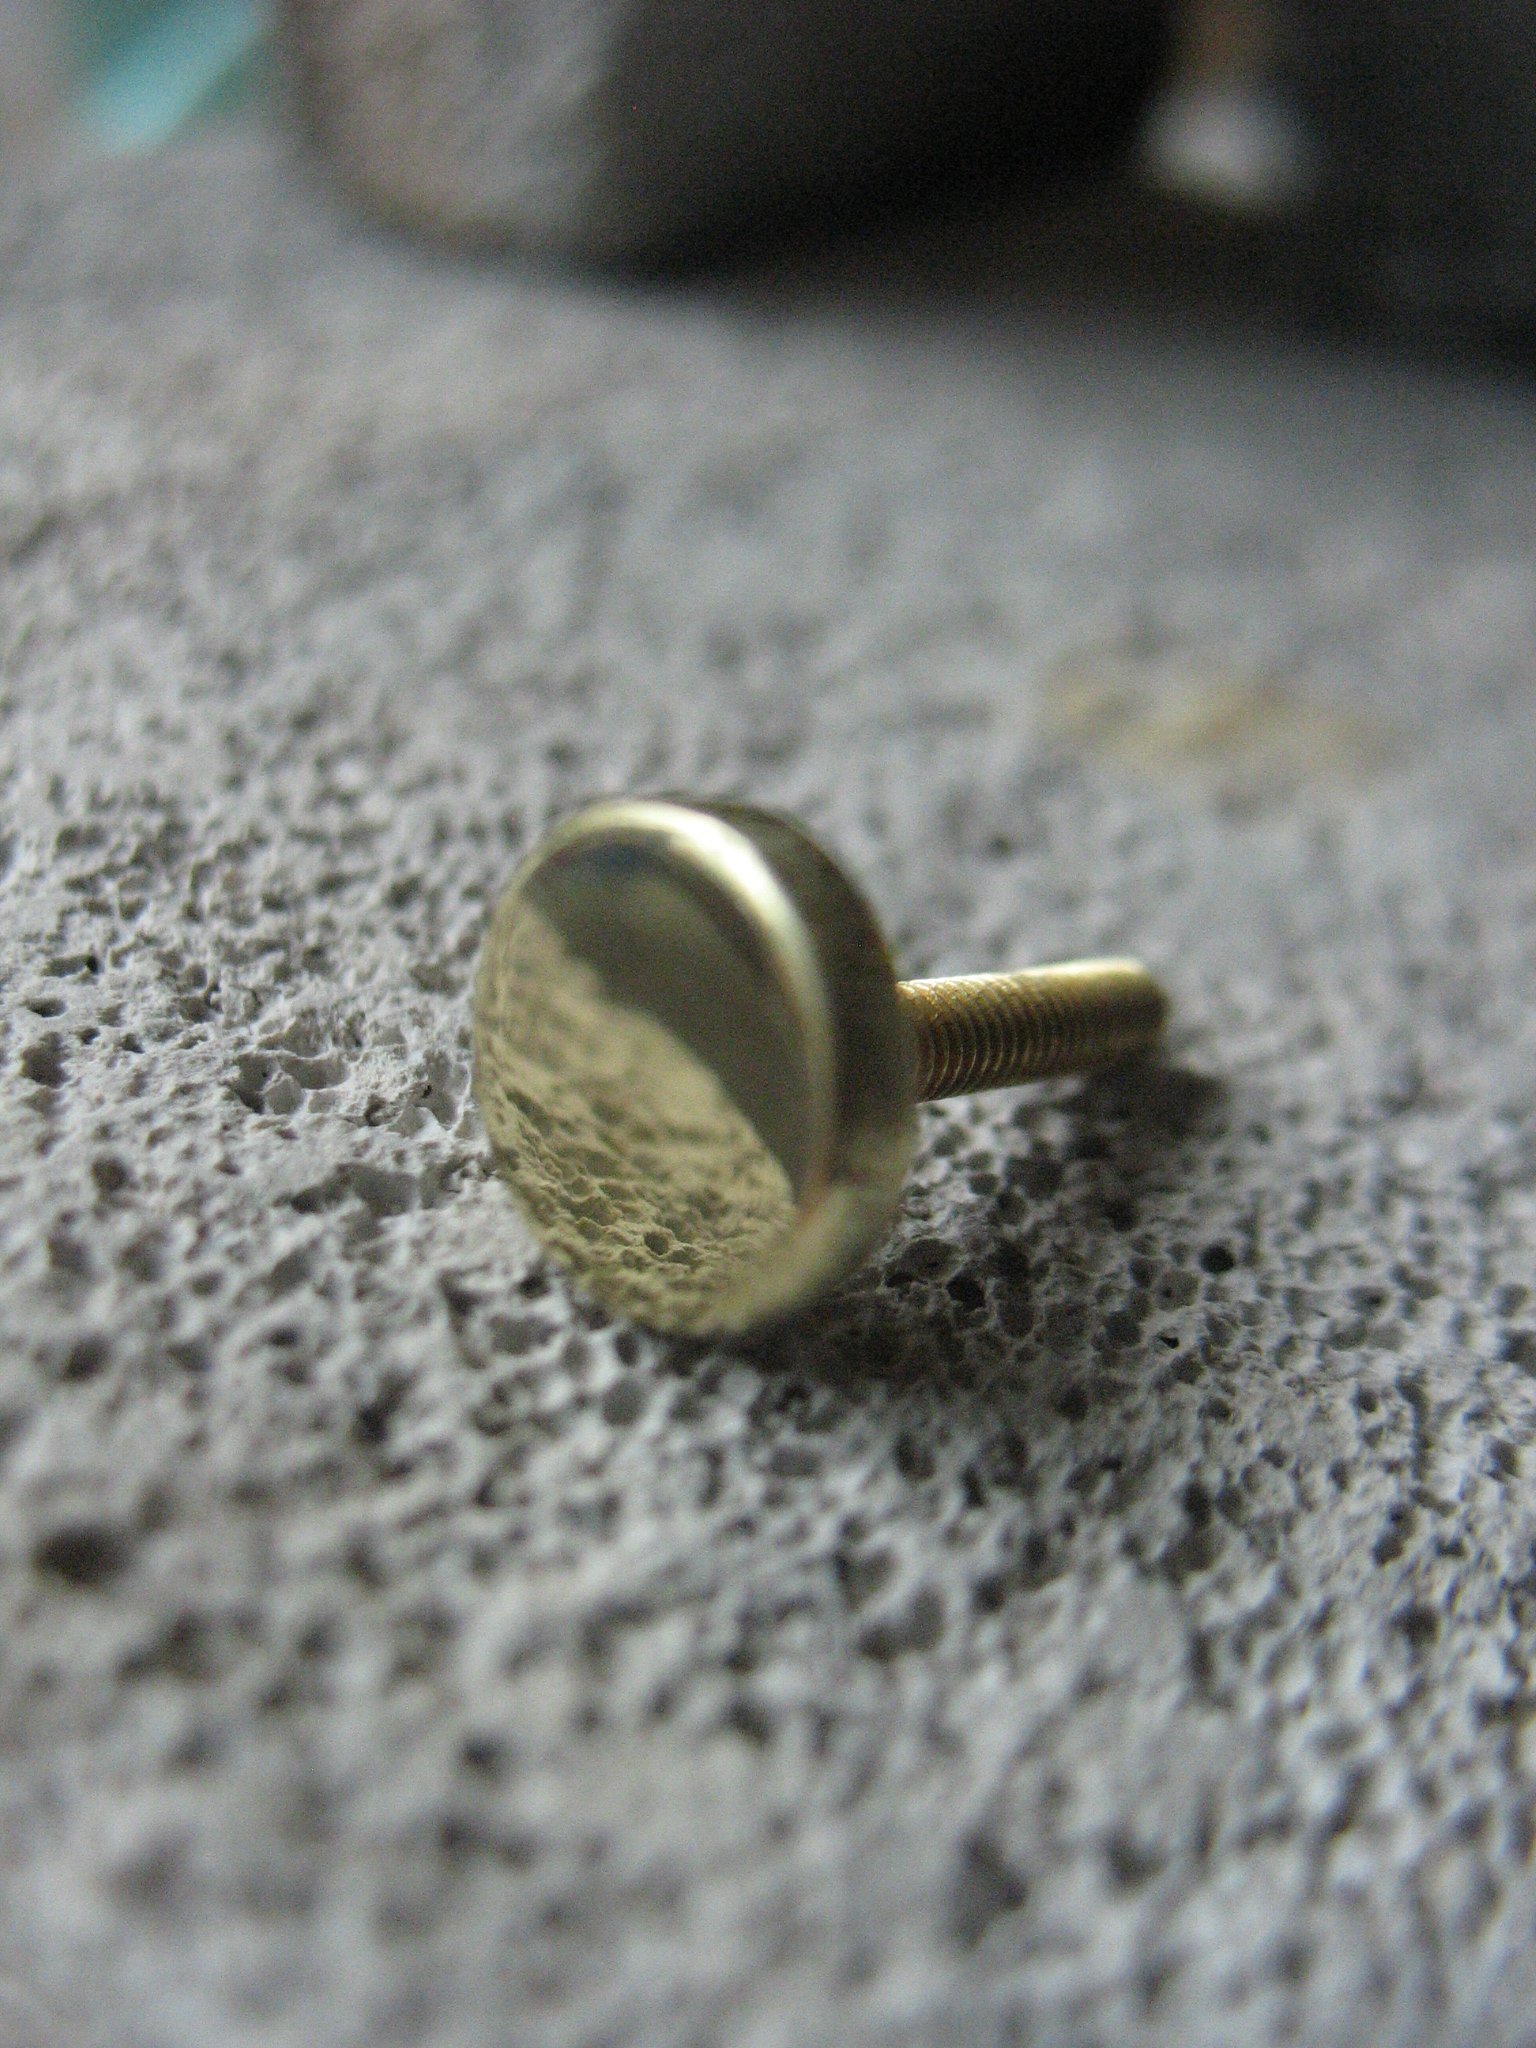
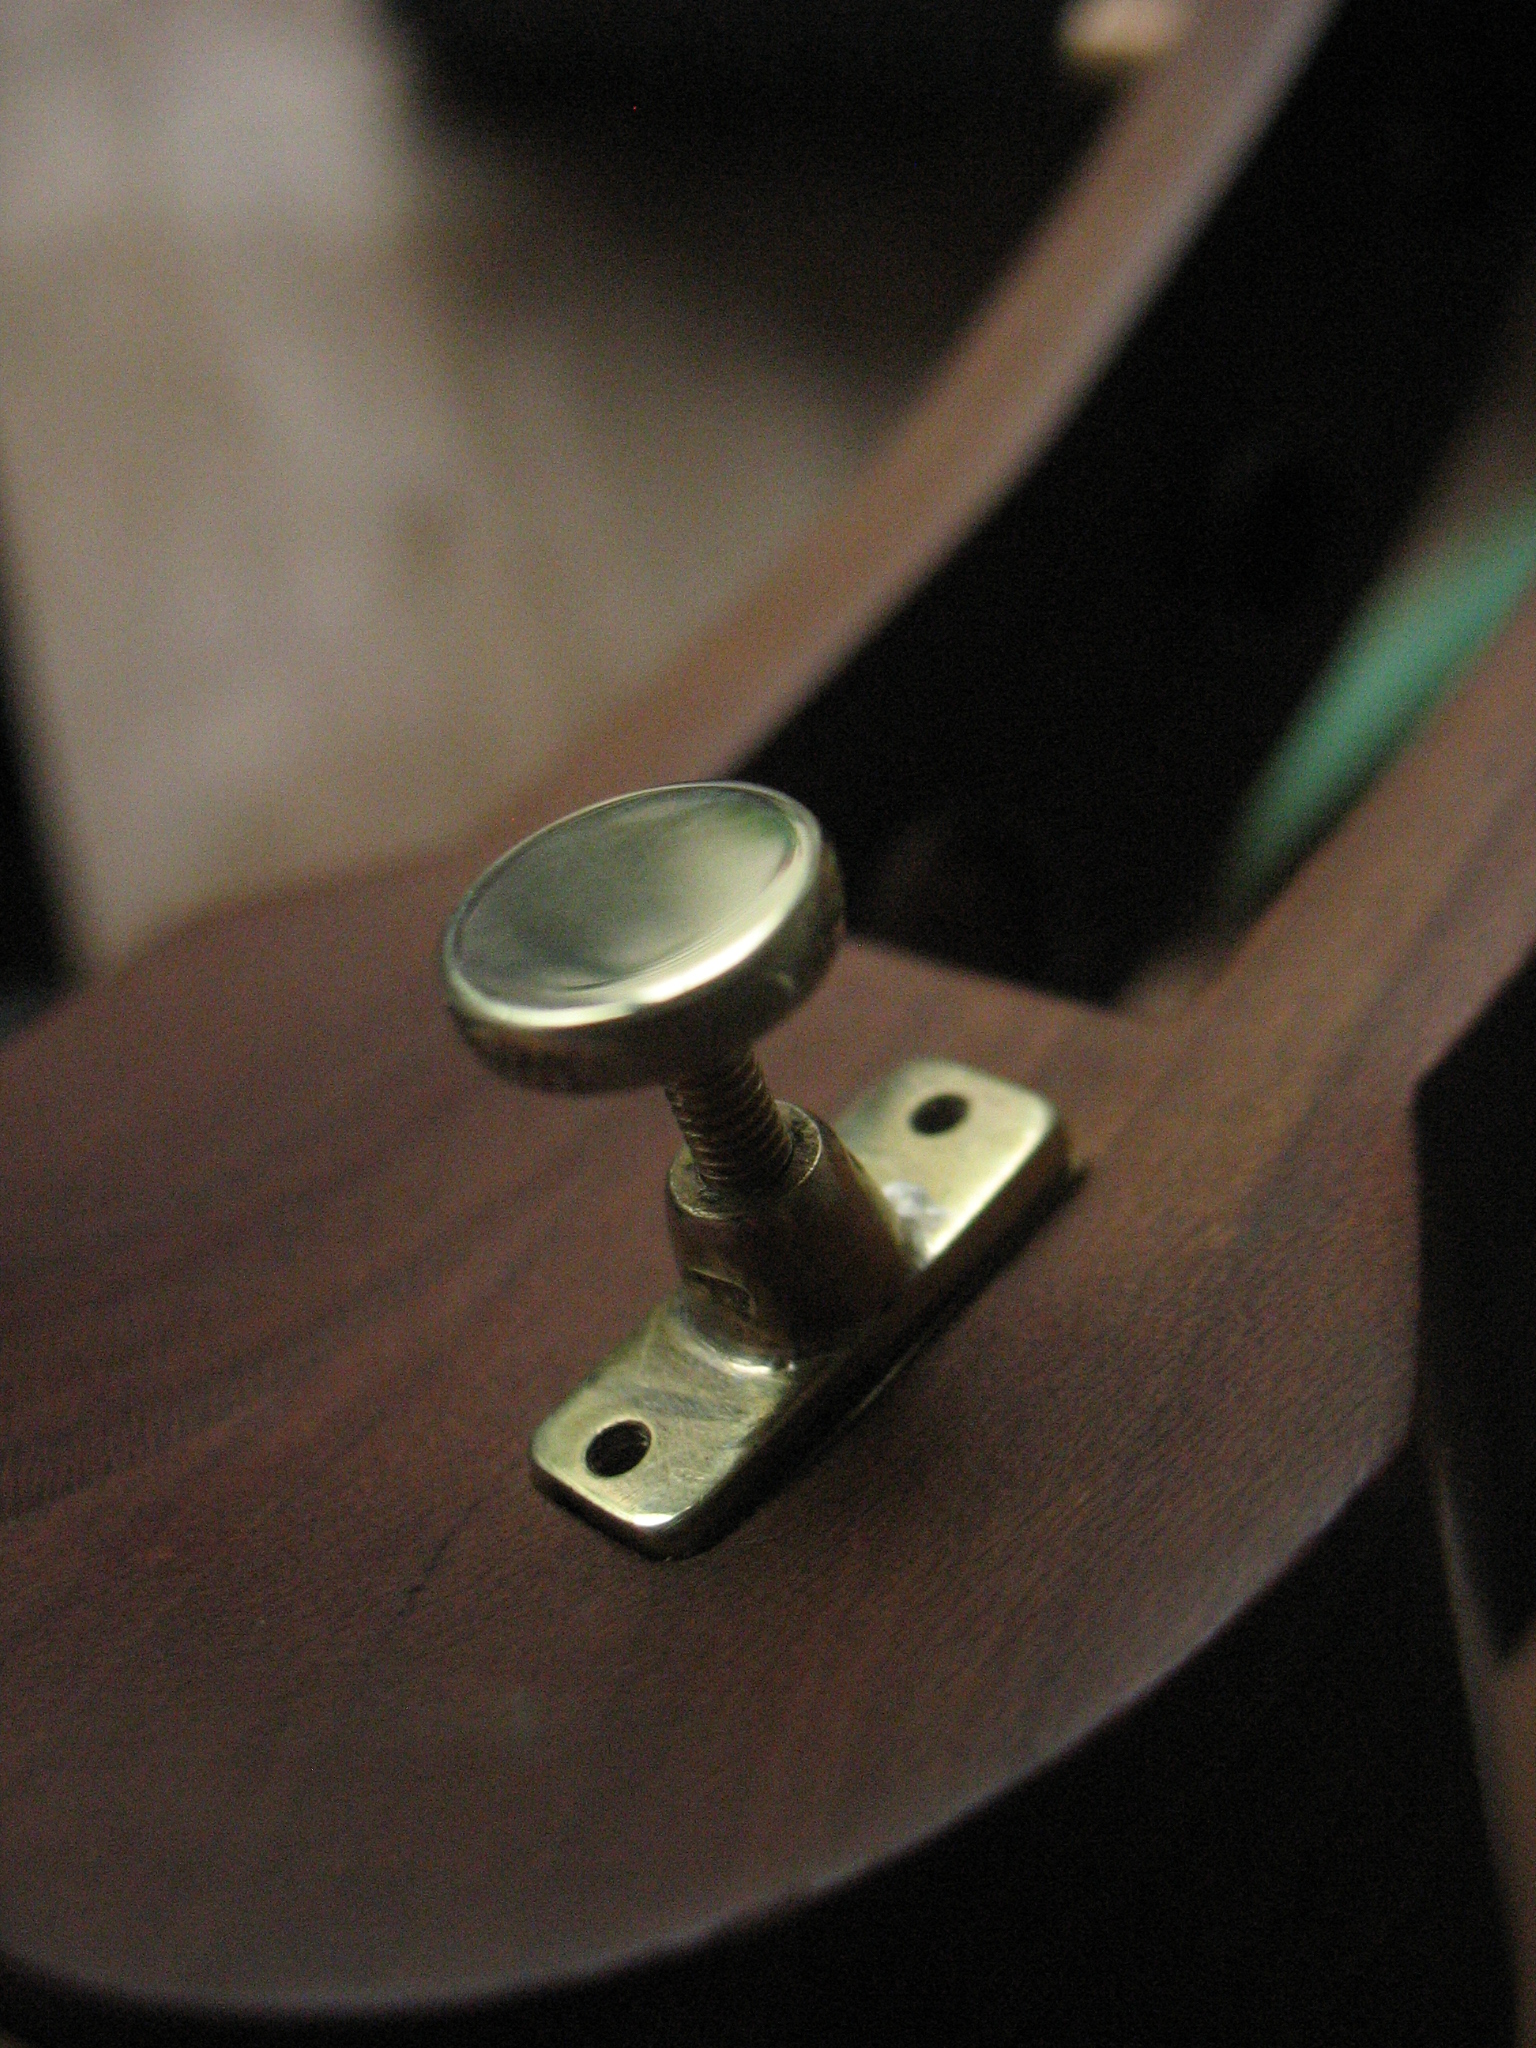
For some reason, I did not take pictures making the flange of the screw… But here it is, soldered and all shiny.
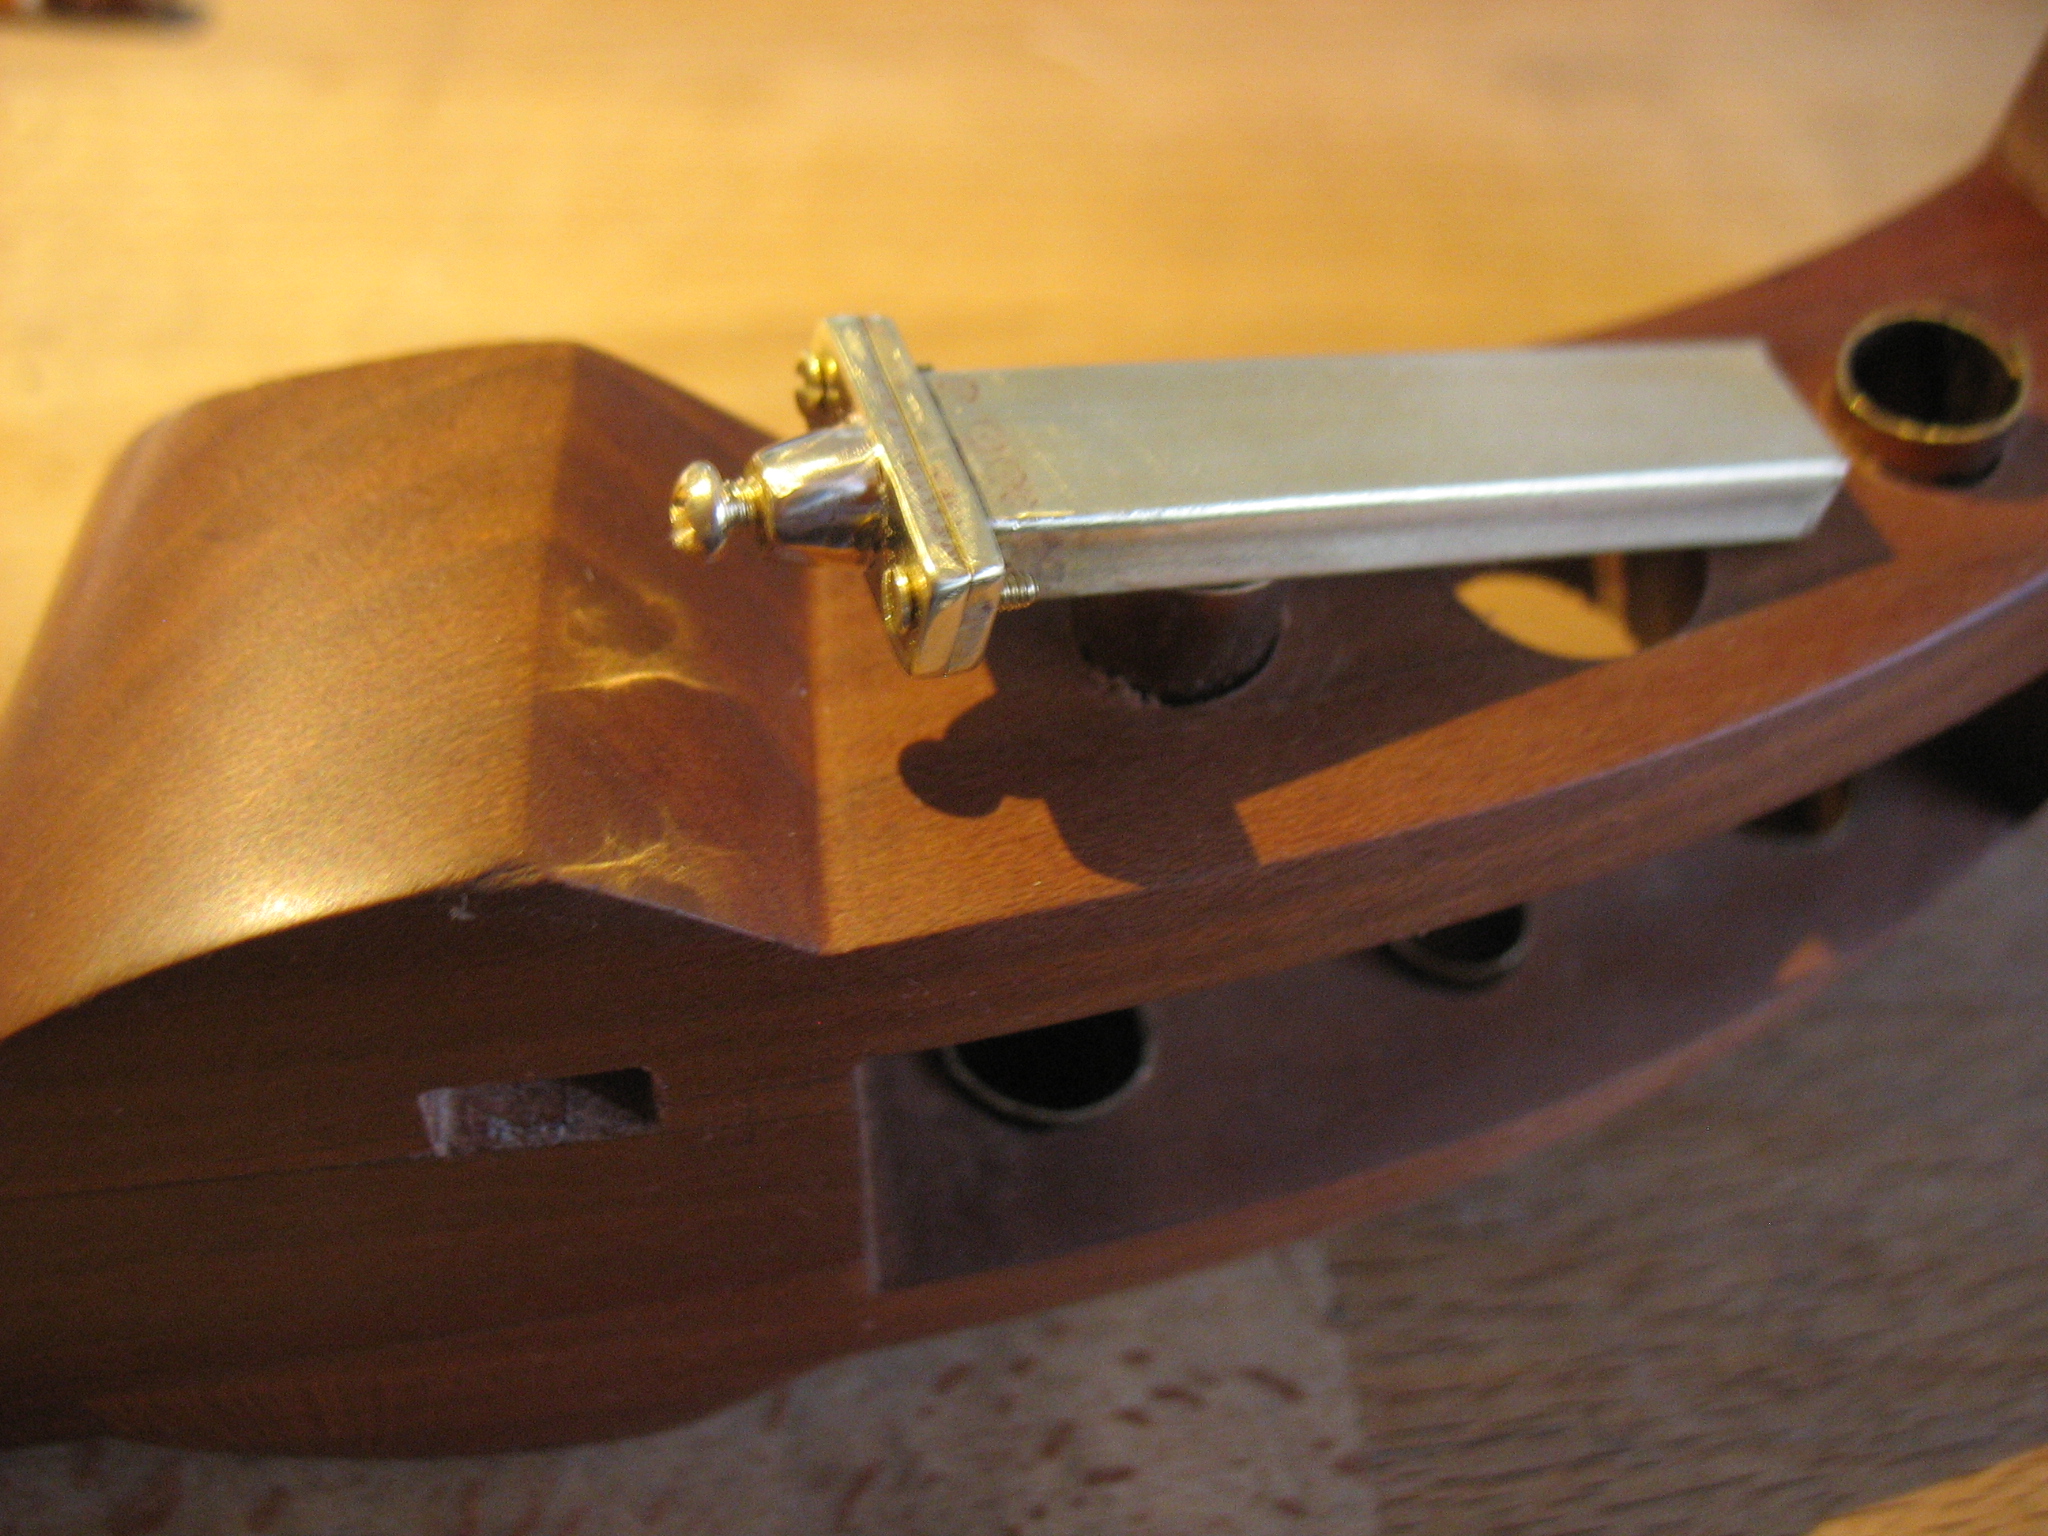
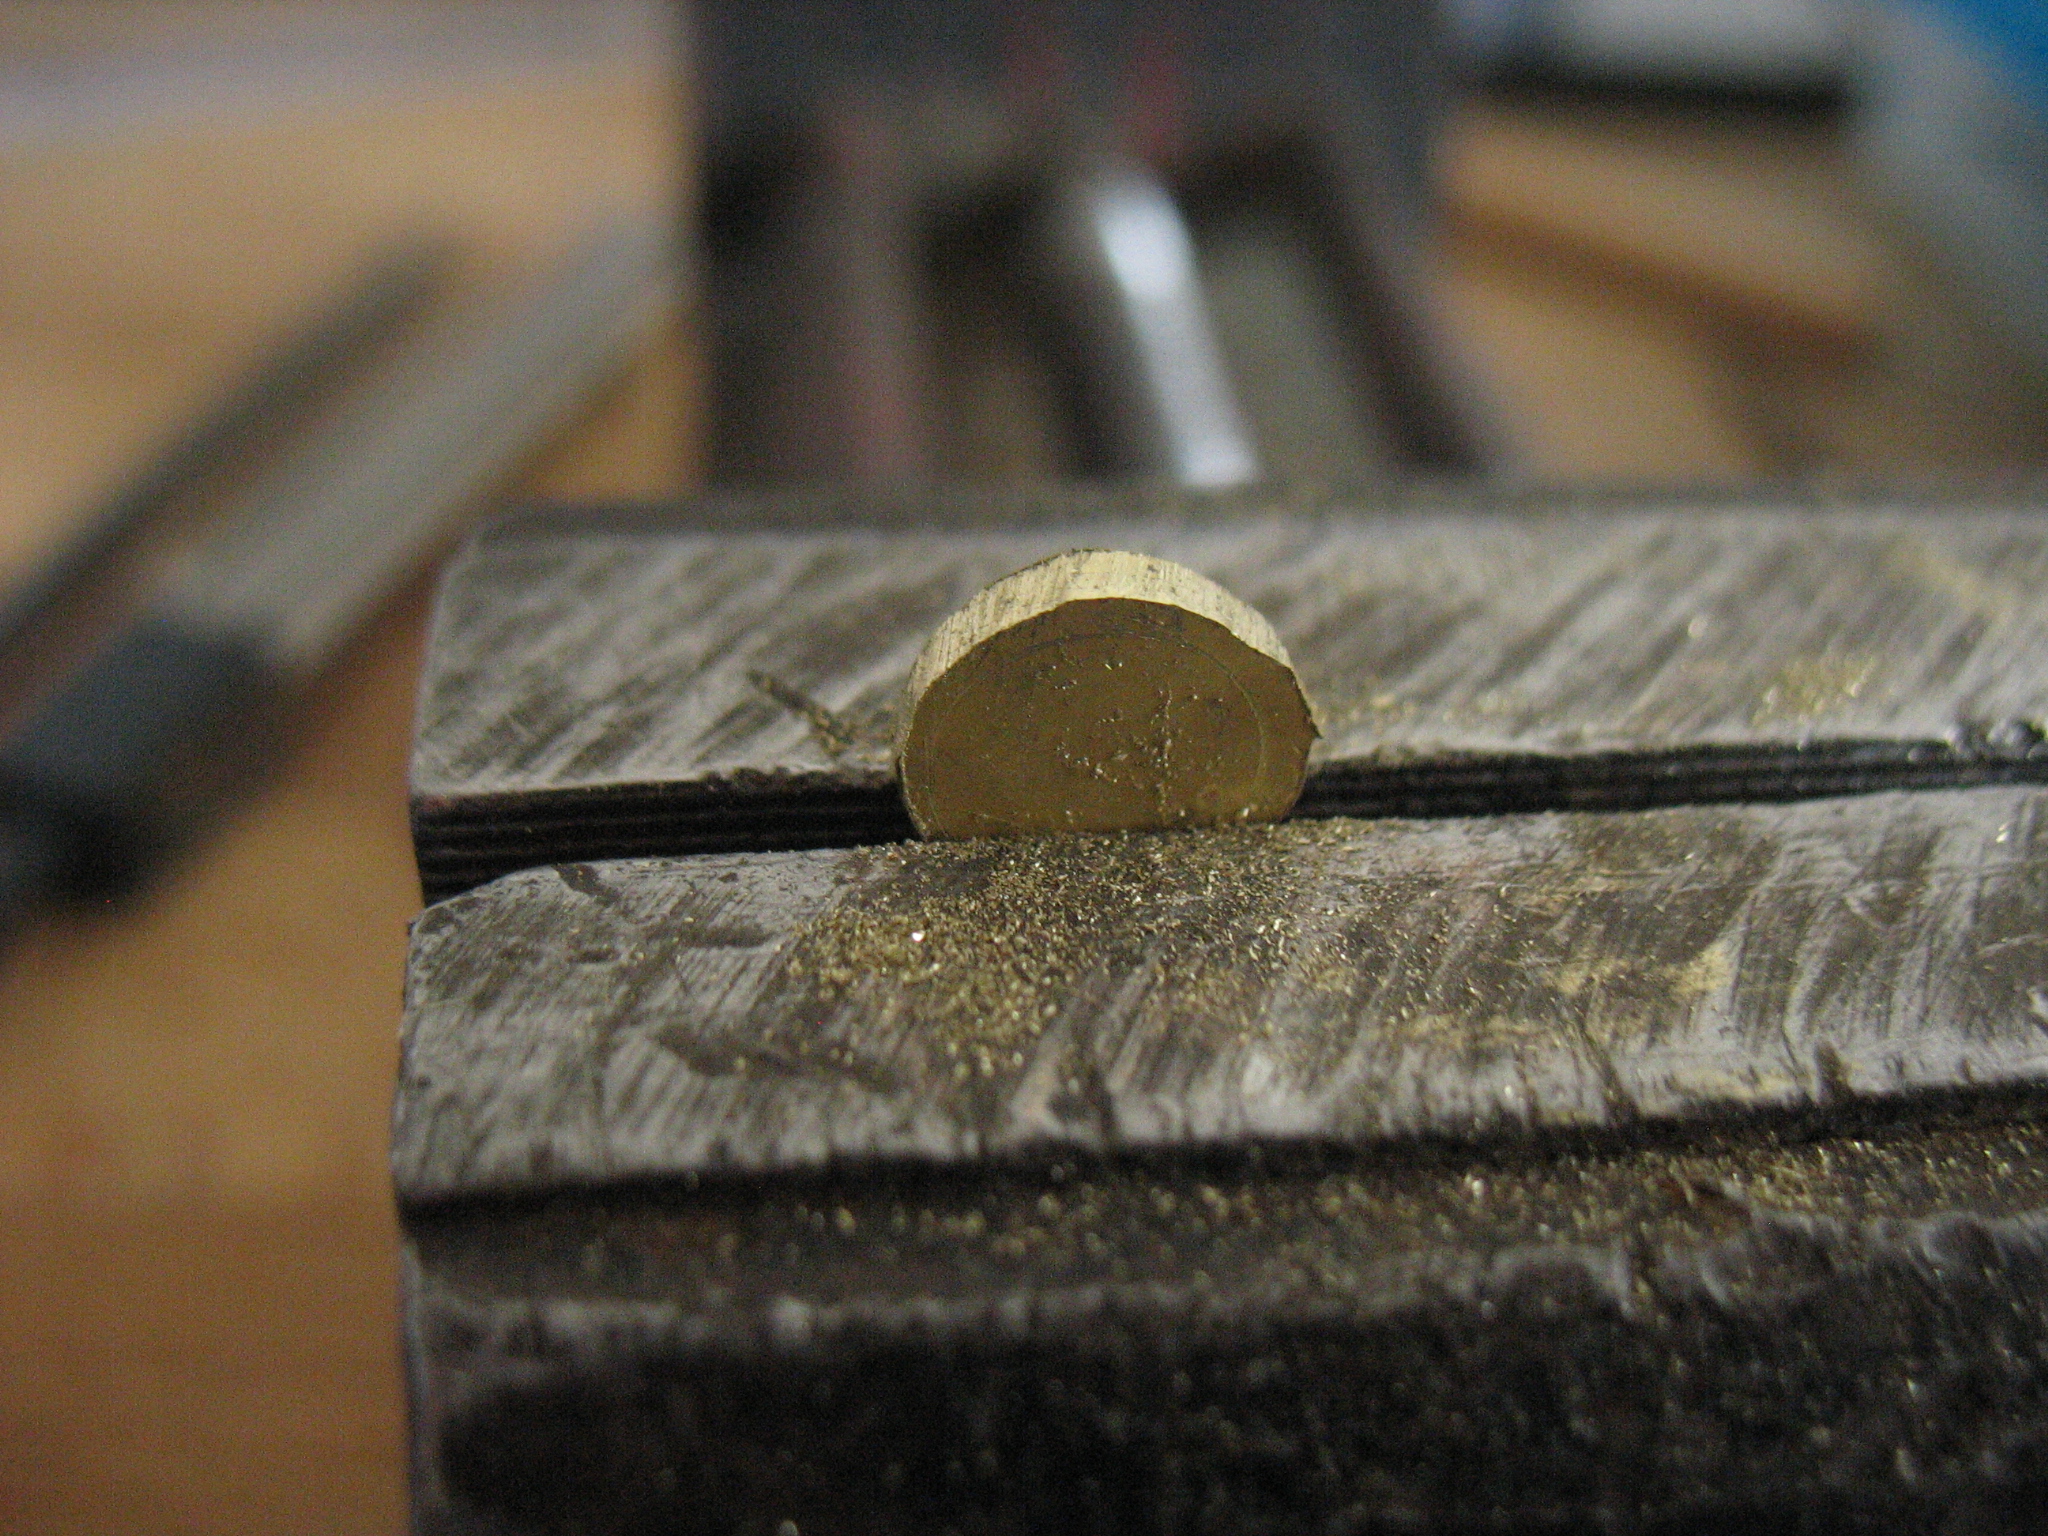
Of course, the hole in the wood could have been better… This is after cutting up the extra tubing and sanding down the “valley”.
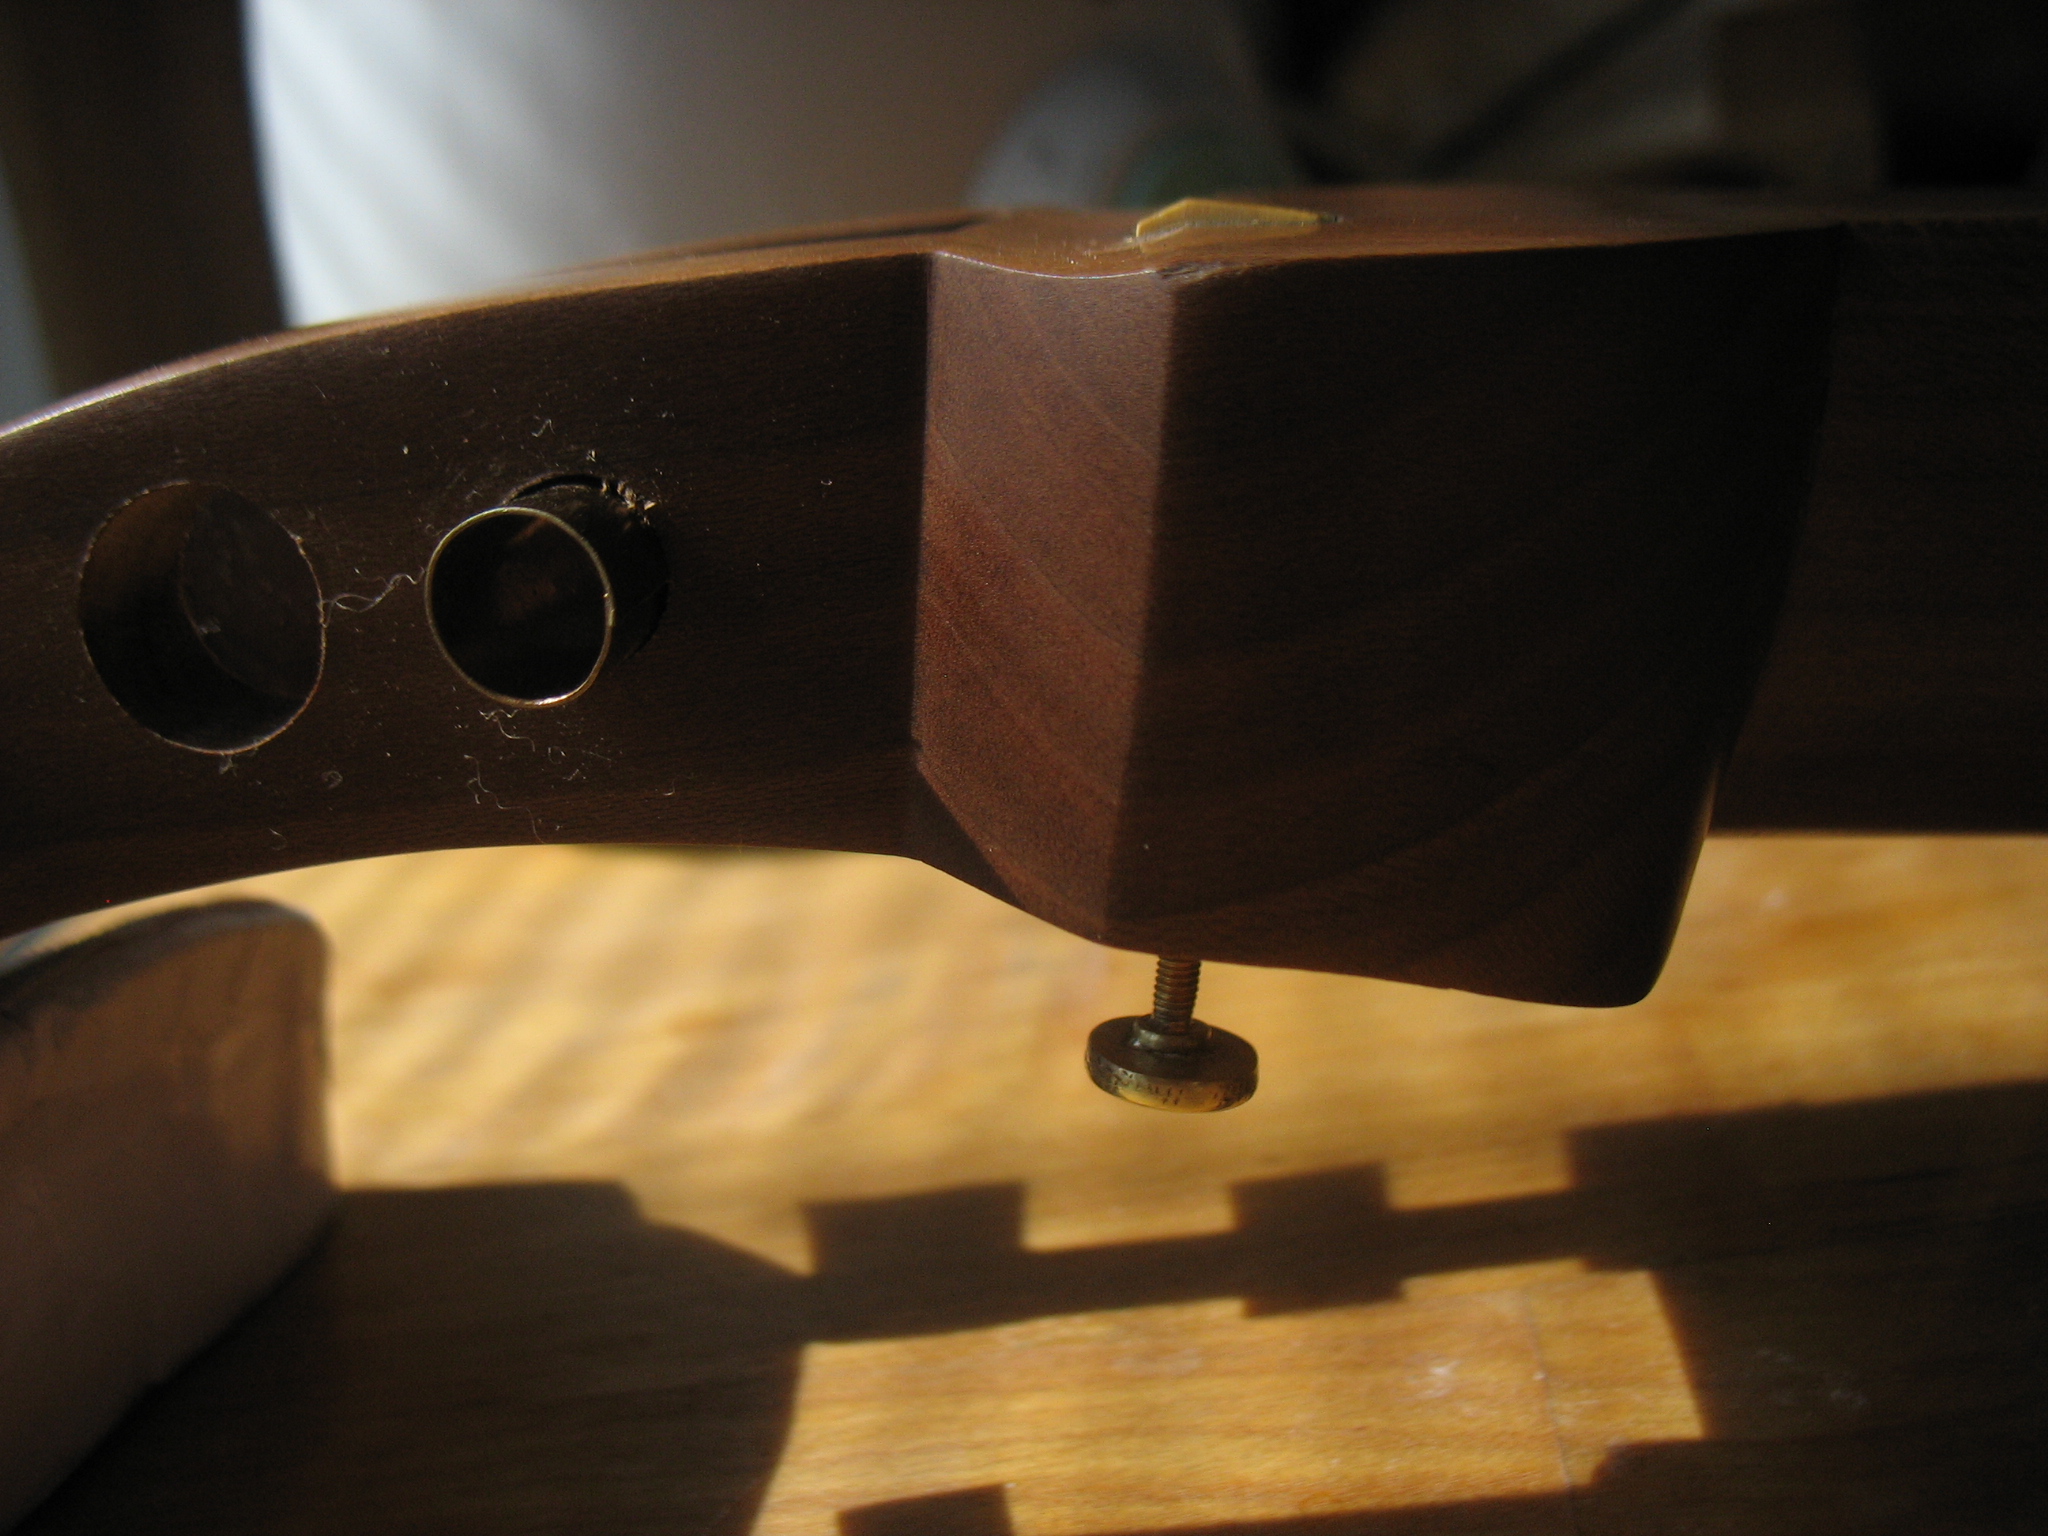
Last picture before it all goes inside!
Making a proper cap for the main screw.
Again some soldering…
and polishing…
and voila.
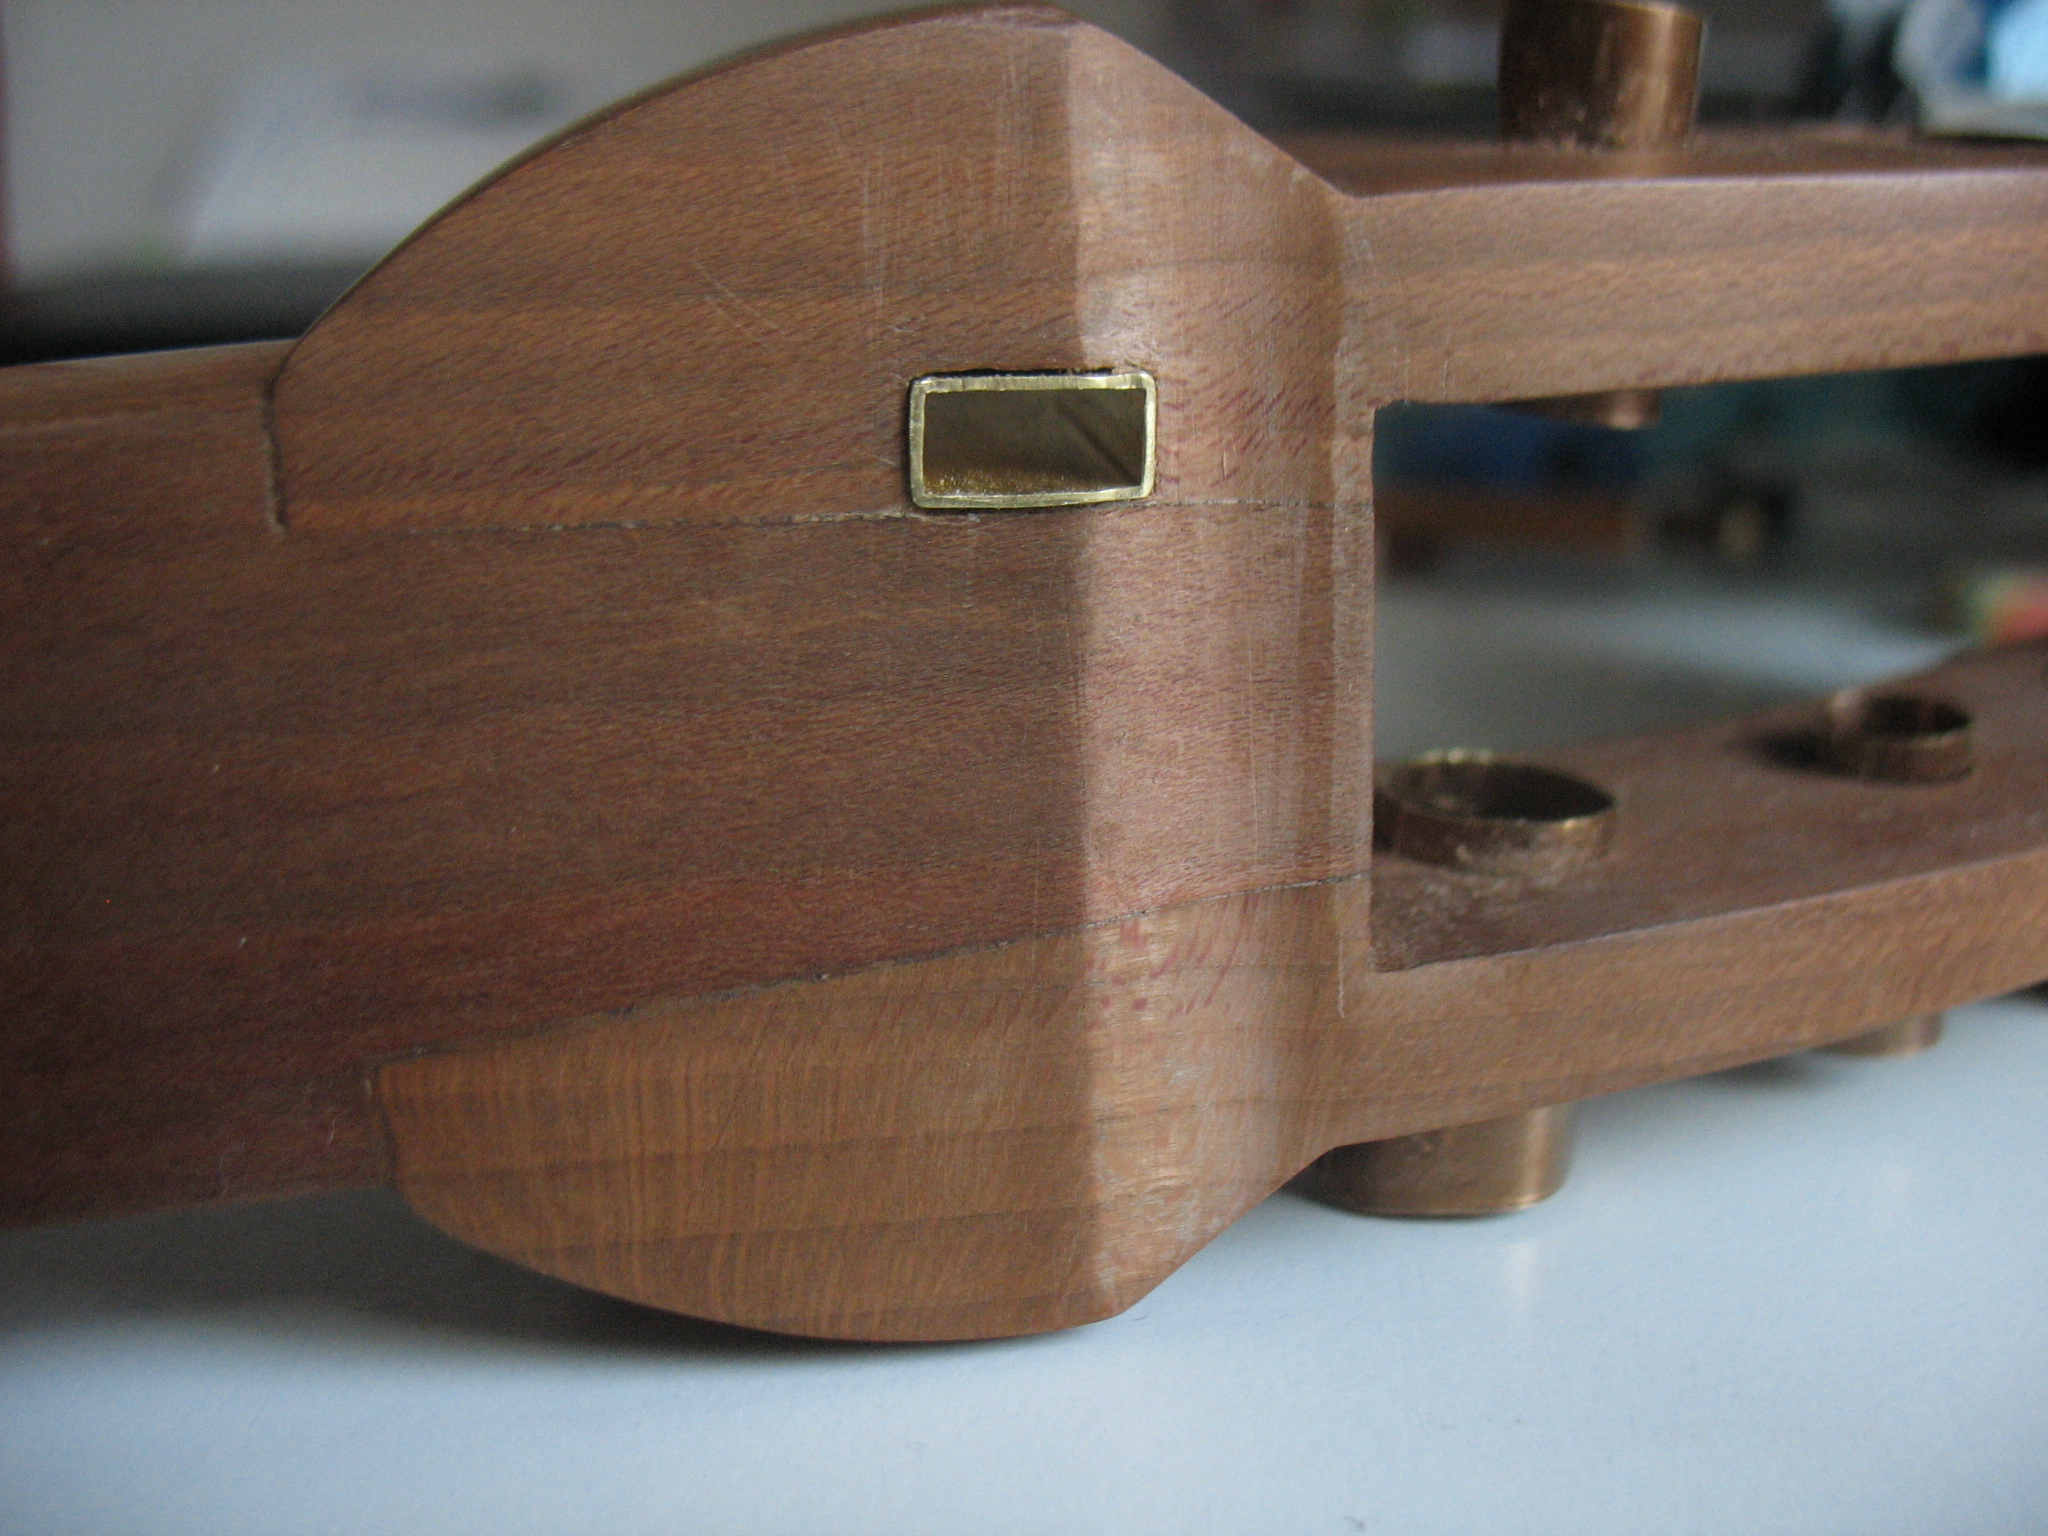
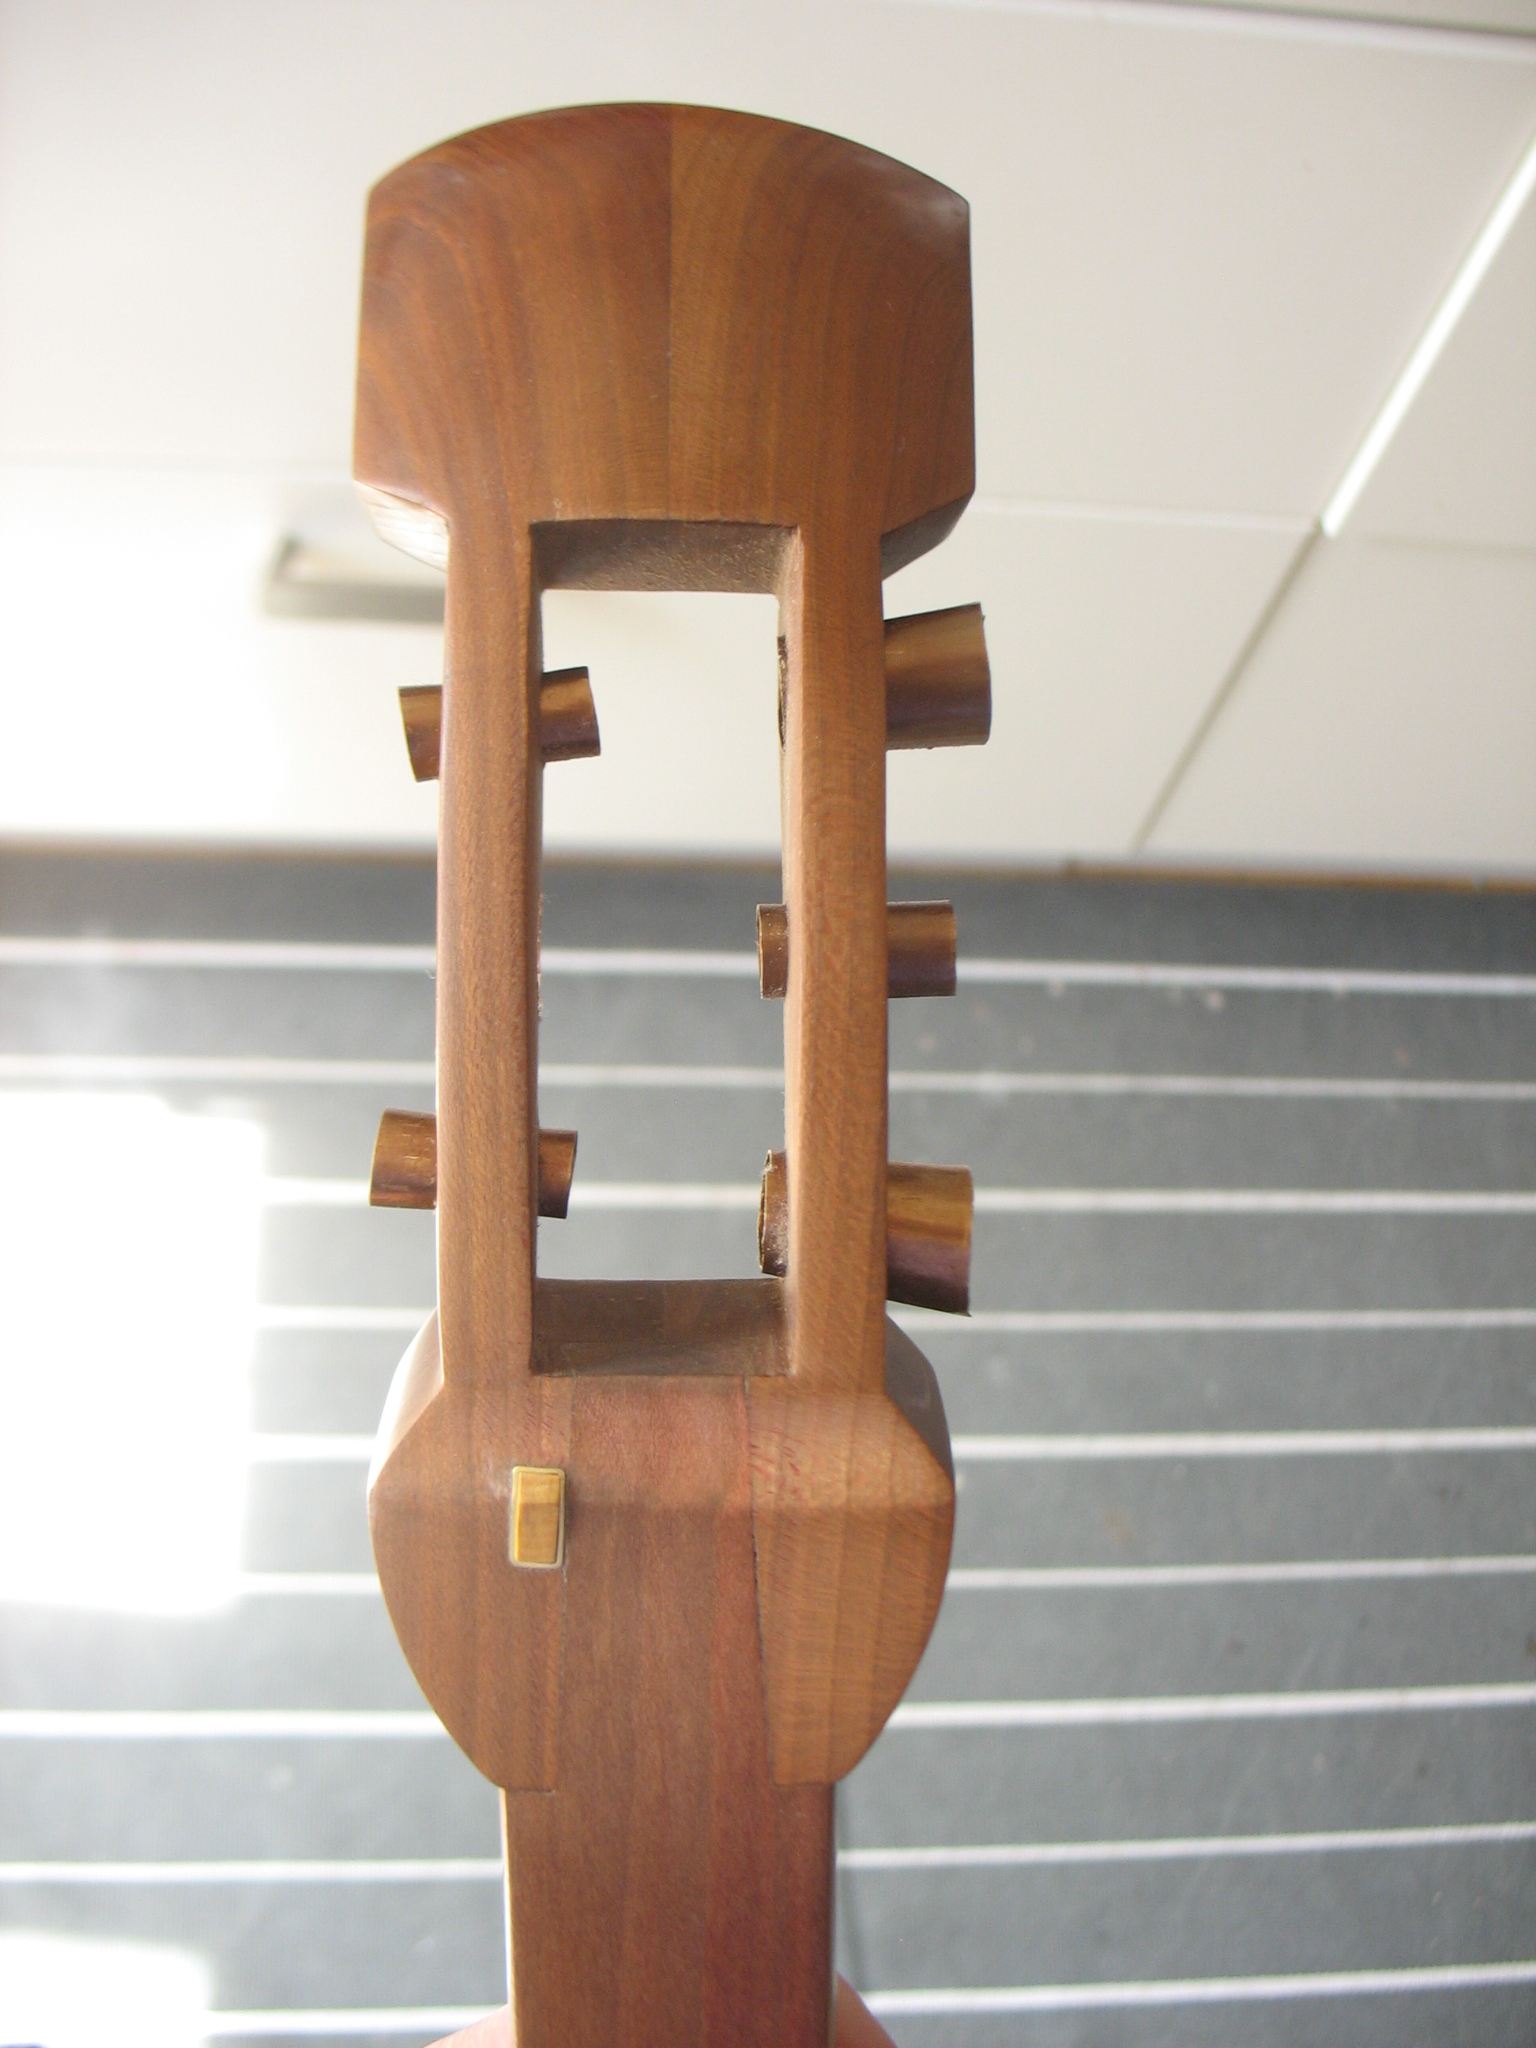
Front view. The tubes sticking out of the tenjin are a preparation for the making of zagane.
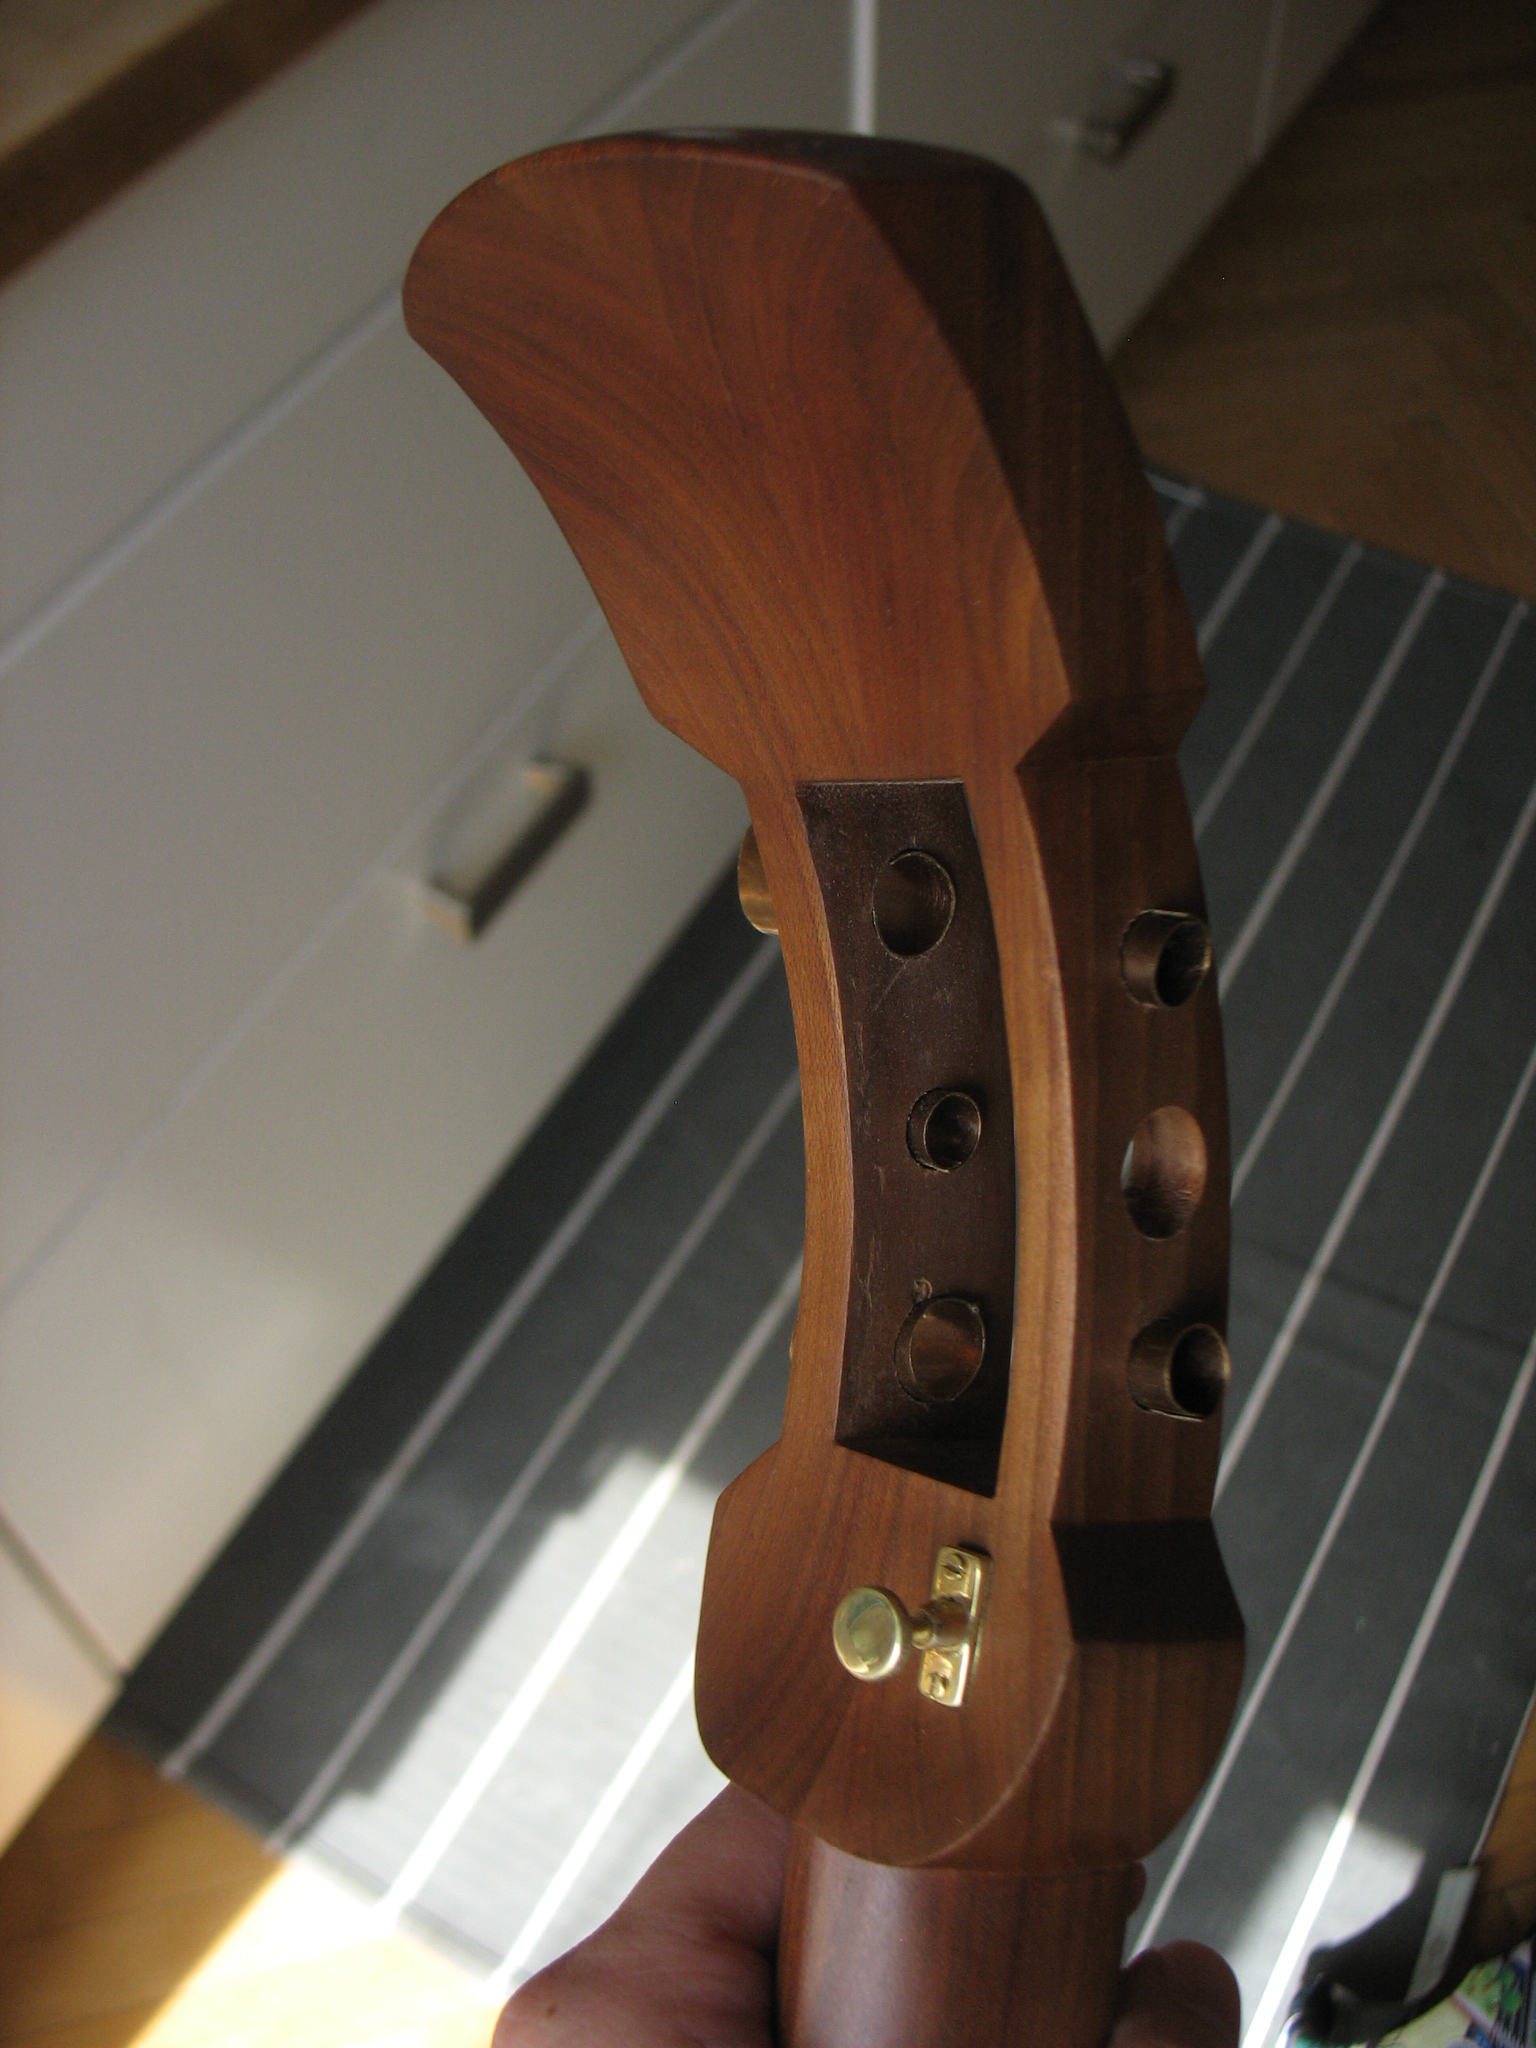
Back and side view.
Wood used in azuma sawari: boxwood
Hope you enjoyed it and as always, happy building! 

 (Although, if I could, I would post much more but that would surely cause a collapse of the site