Hello Enjin.
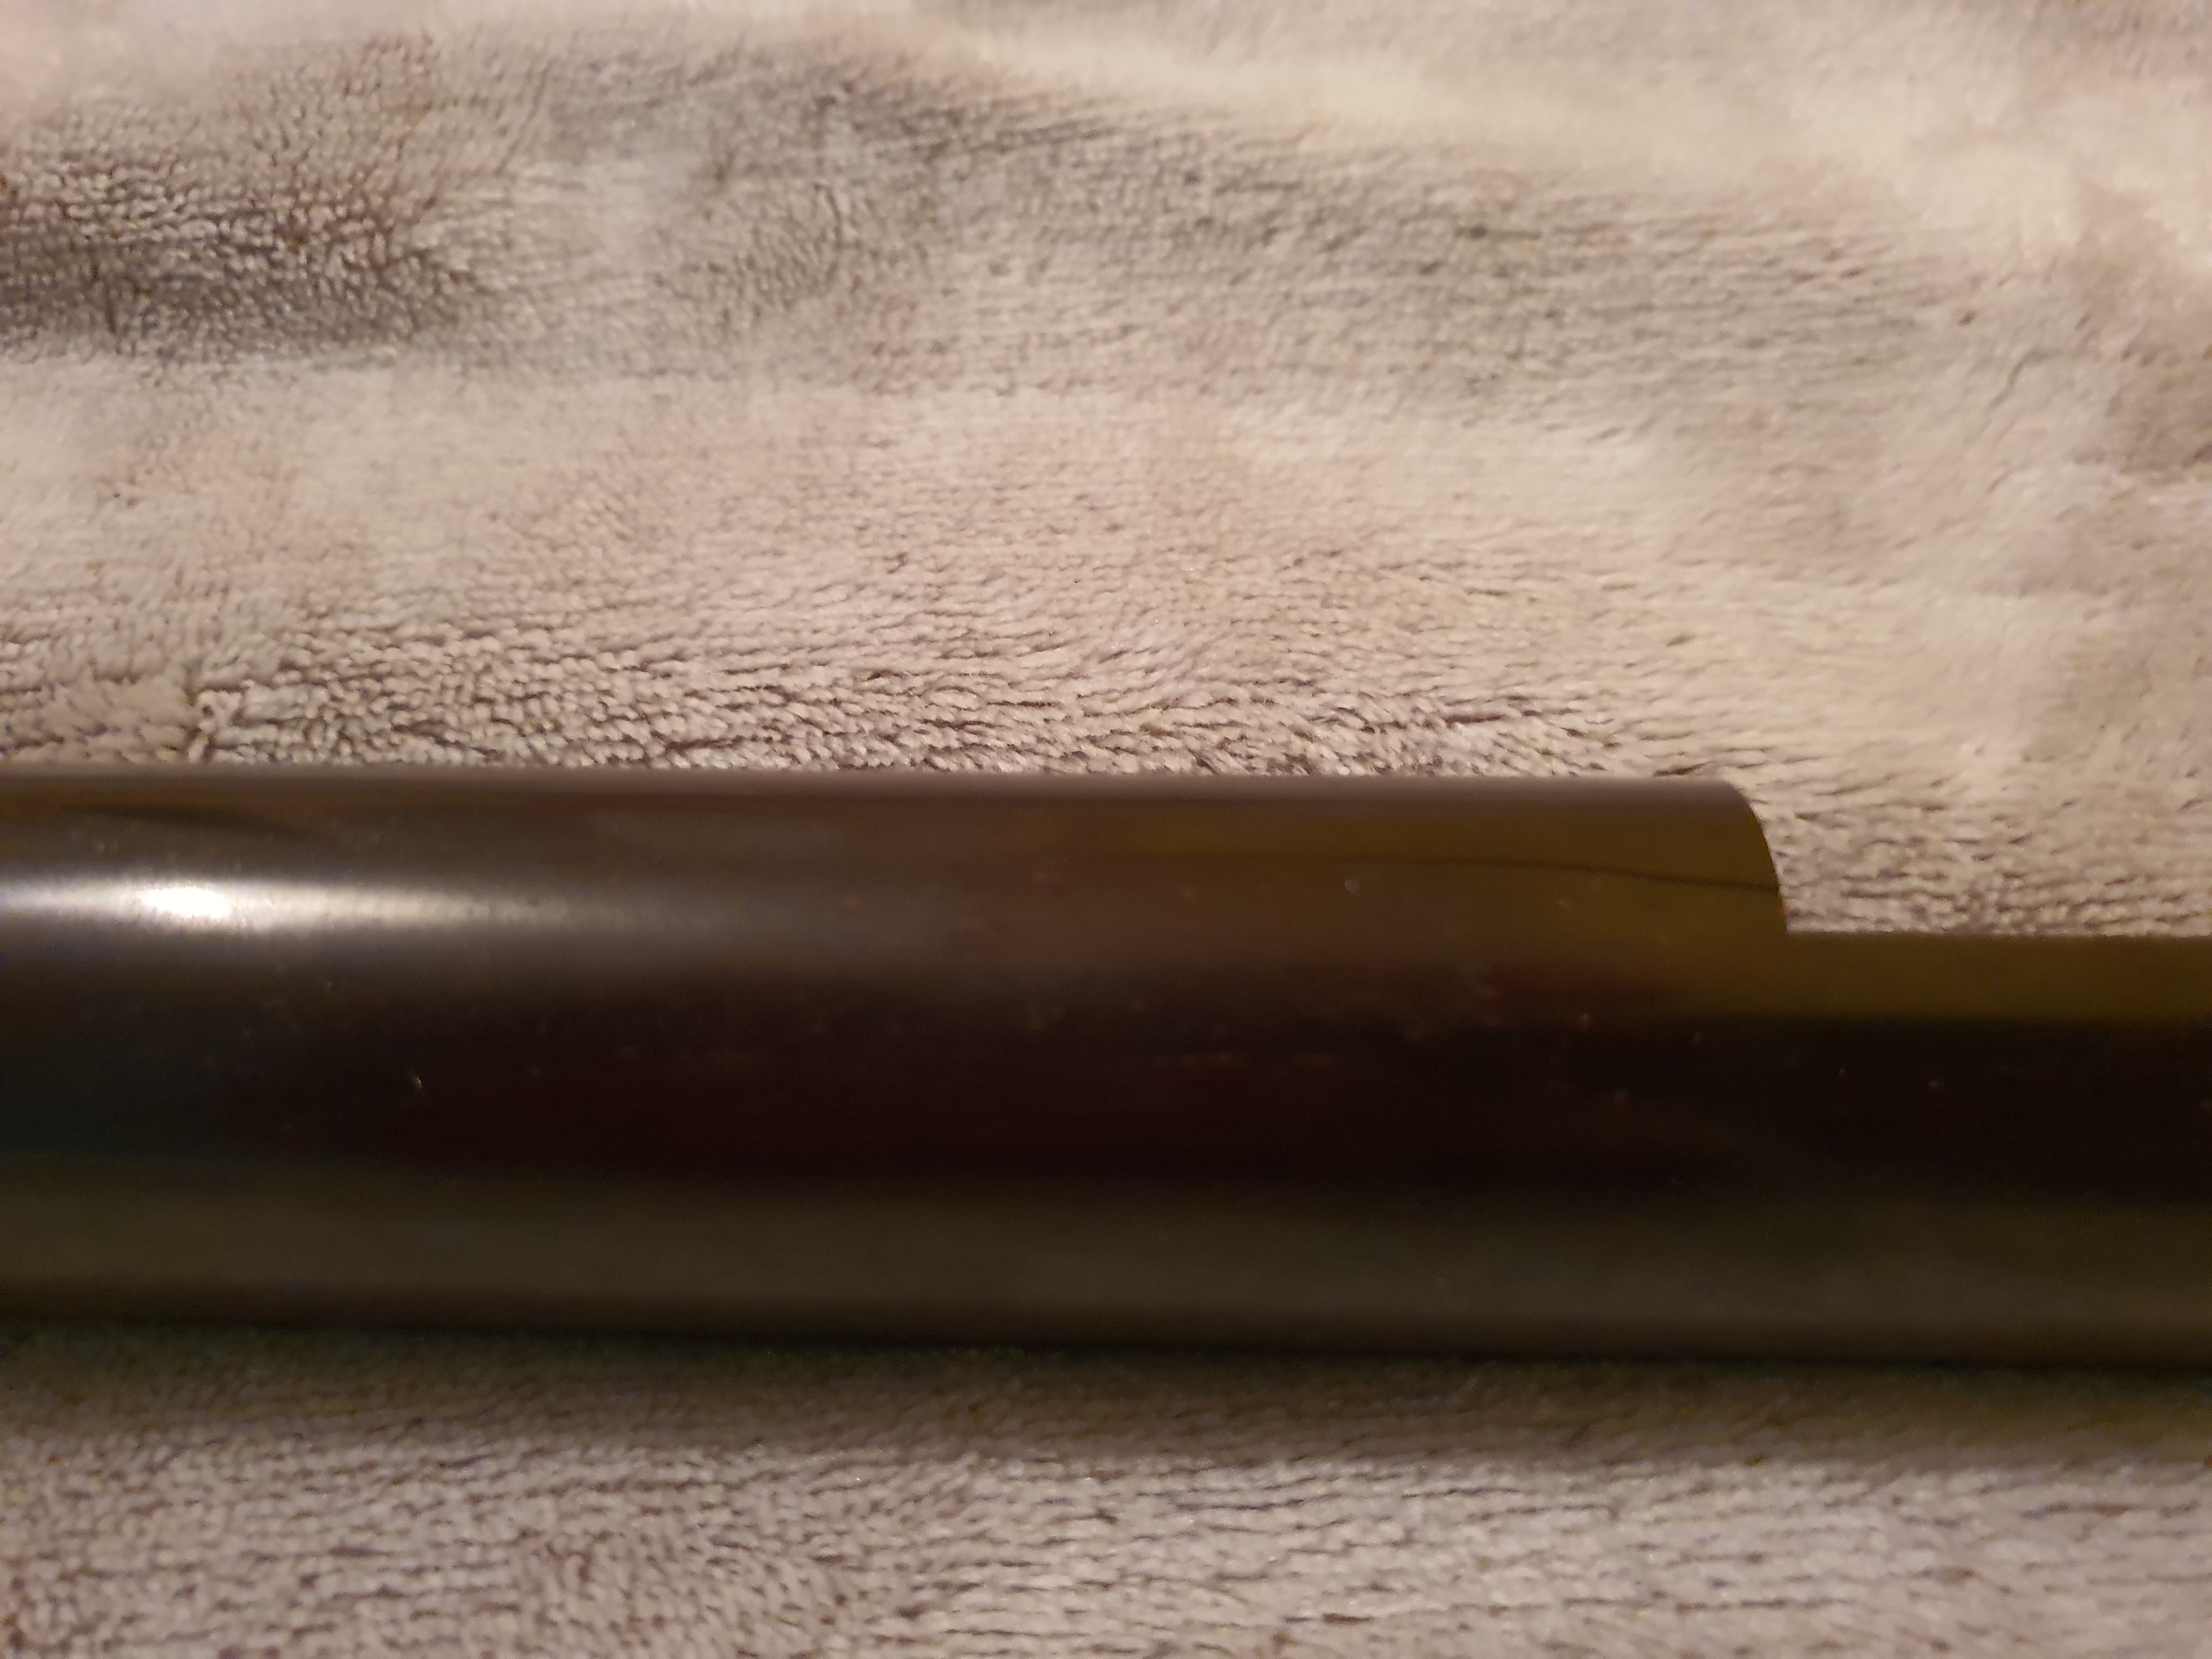
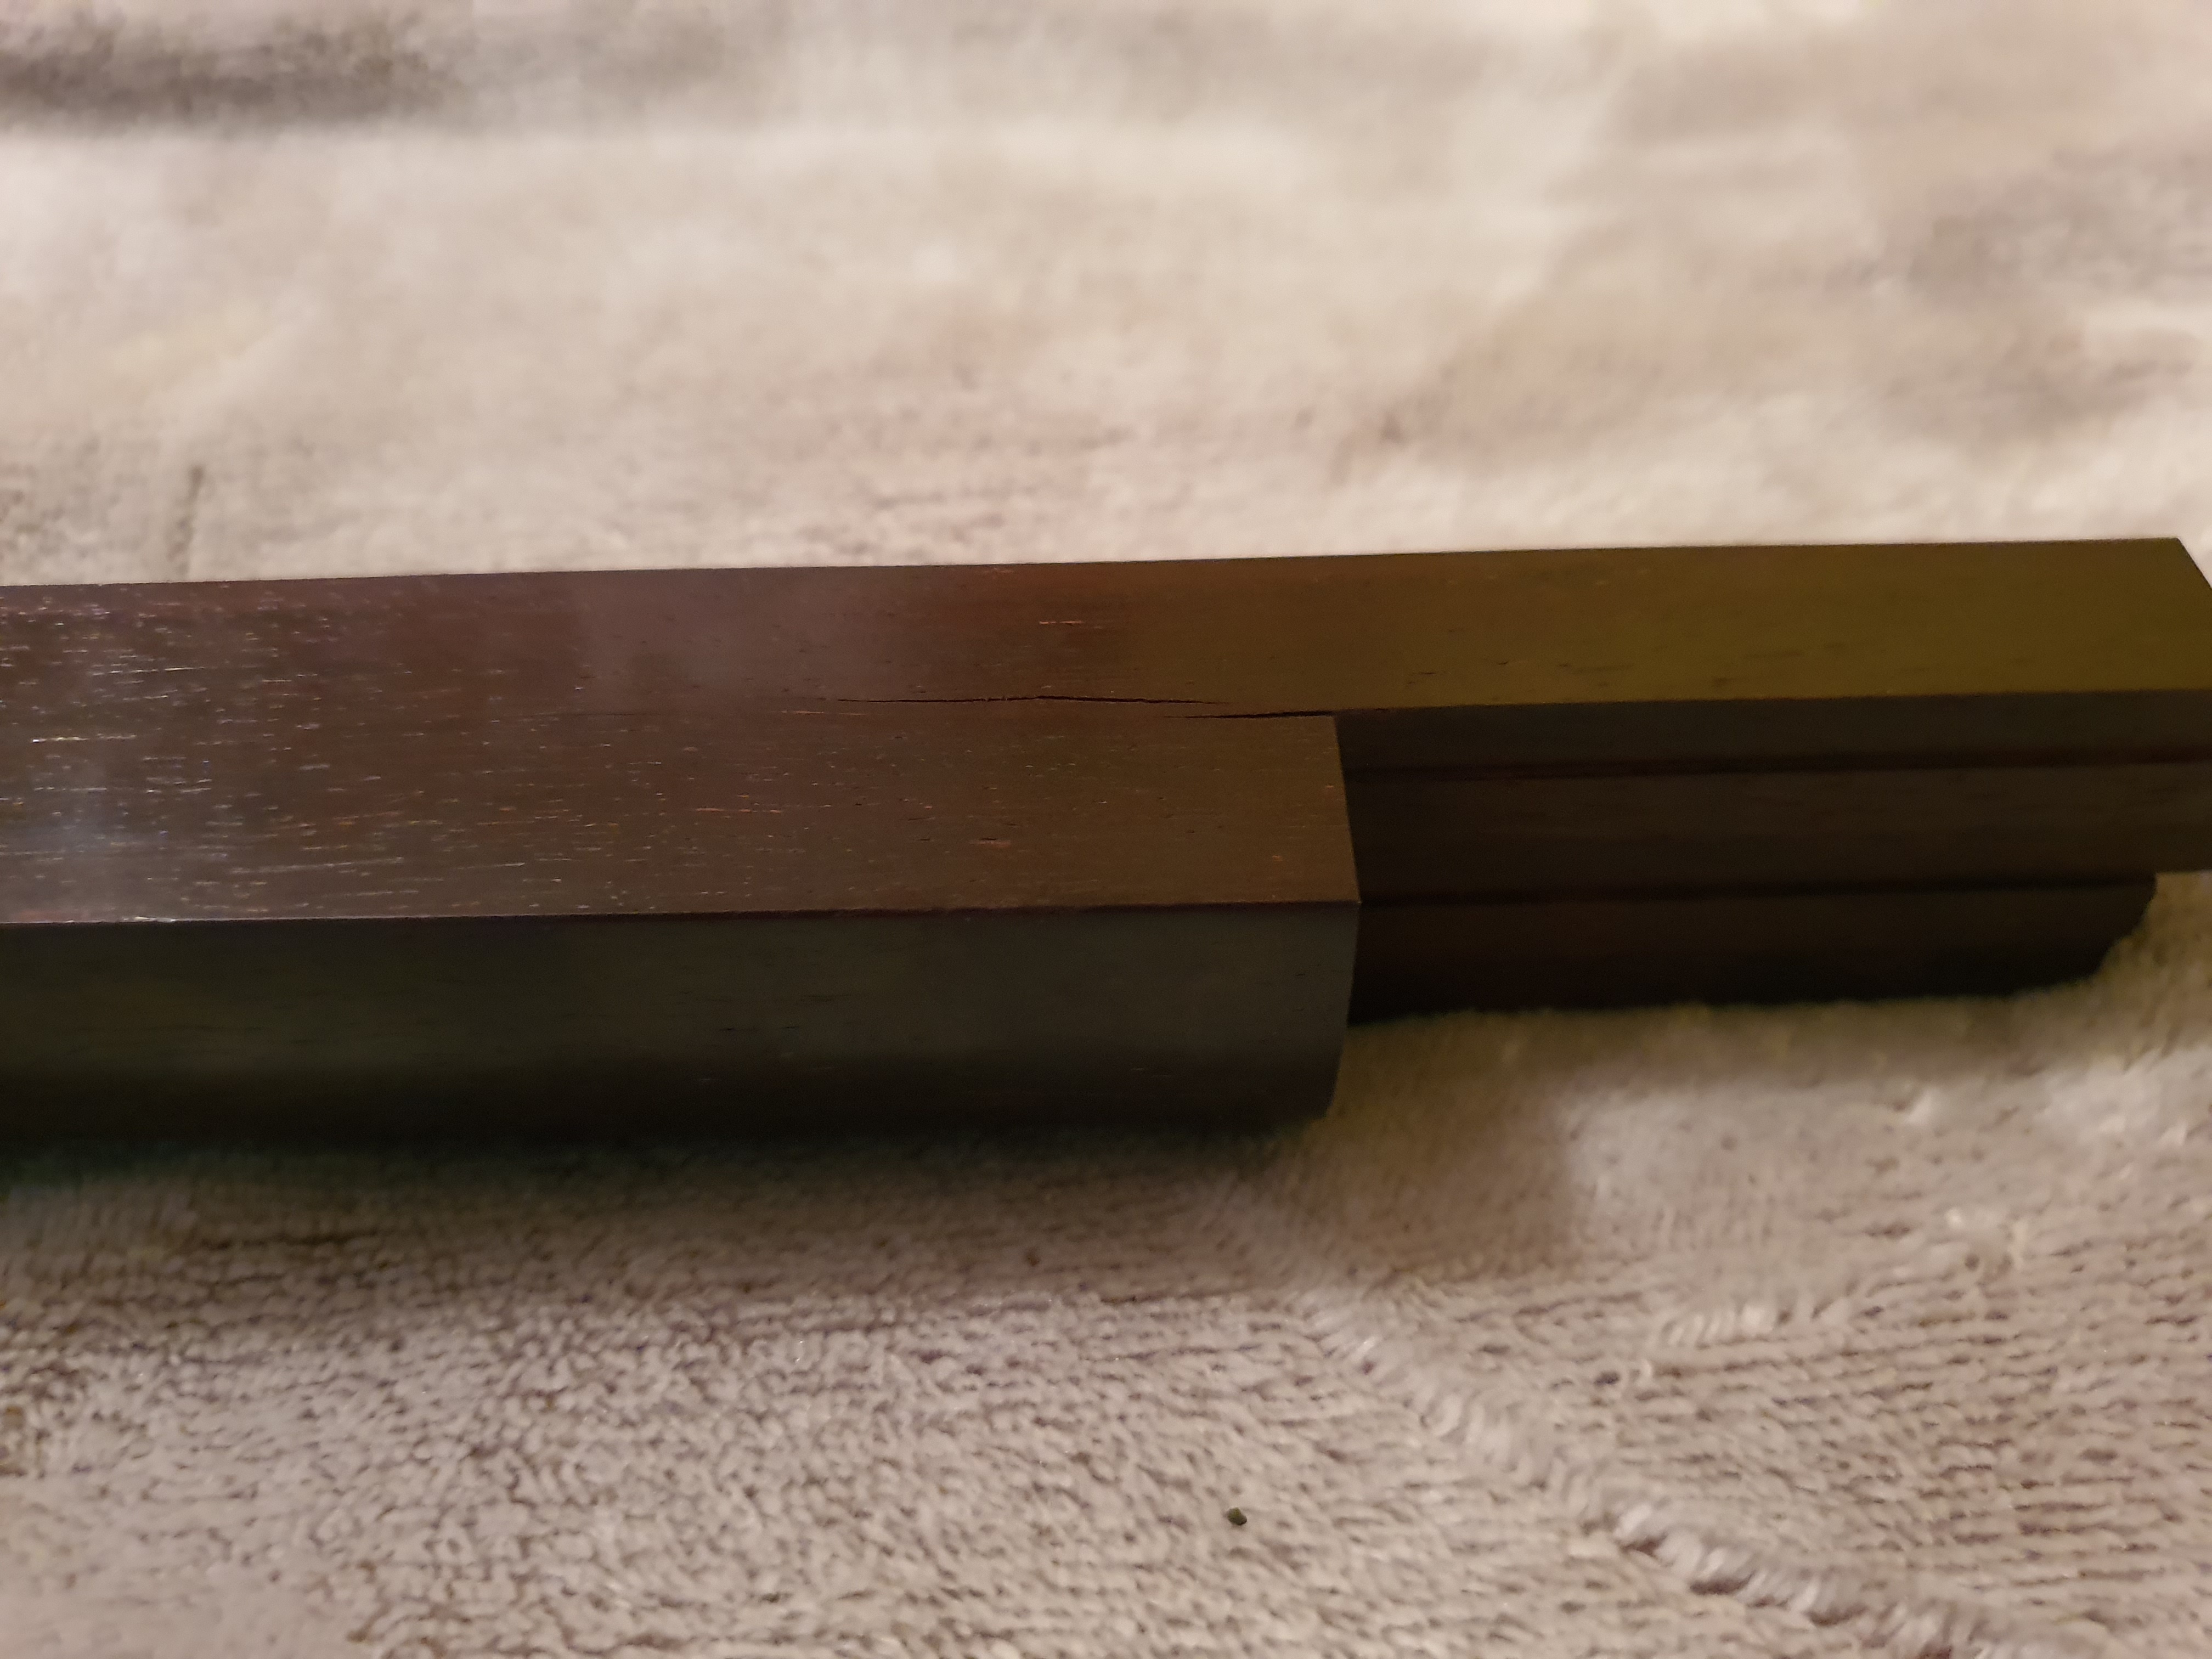
In case you still have this Shamisen after all this time, and has not repaired it yet, I would like to tell you that it is possible to repair it.
You will need a strong bar clamp, such as this one: https://www.amazon.com/WORKPRO-6-Inch-Quick-Release-Woodworking-Metalworking/dp/B08TBKKJBF
You will also need Titebond 3 glue, which is the strongest and most durable wood glue for thinner-than-hairline joints, and some padding, such as fabric tissue, or even an old t-shirt ripped in large squares.
And finally, you will need a strong hashi (chopstick), maybe made of plastic or bamboo, to act as a pry to widen the crack. Measure the thickness of the hashi against the sao hole, and cut the tip of the hashi off an eight of inch down from where the thickness of it matches the hole. Thin the hashi on one side, so it only exherts pressure in one direction.
Start by cutting a few strips of 1/2" by 2" inch thin but strong plastic. An acetate sheet will do, which you can take from plastic packaging shells (https://lh3.googleusercontent.com/proxy/tSZDUkF3FFWODjCH-LHUKmdJKcpdO95nVoRQ_EFQO_2dAmD5PGI-5Do2bYhAL4iZoOl_Koh9u7Y6L82HeG8K2V0BBXUT3v0479_-csn5ApBKnPg4XwqoHiXn-Iss_LcVS-nqQ02kGUE). You will use this to bring the glue down the crack without having to open it too wide.
Fold the tissue squares until you get a roughly 1" by 1" thick square. You will use this as padding between the clamp and the sao wood, to prevent damage.
Now get a small dish, pour a teaspoon of glue in it, and less than 1/8 of a teaspoon of water (or count about 10 drops), and mix it well. This diluted glue will reach deeper into the crack and better envelop the wood fibers.
Insert the hashi into the hole, until the crack has widened to about 1 to 2 millimiters, or about 1/16 of an inch.
Working quickly but confidently, take one plastick strip, wet it in the glue, and slide it into the crack on one side. Don’t down go until the plastic is stuck, otherwise you risk damaging the wood fibers. Repeat until you are sure there is enough glue in the crack to cover everything when pressure is applied. Two passes each side should do.
Now remove the hashi, place the padding on each side of the sao, and clamp onto the pads, applying quite a lot of pressure, enough to squeeze almost all of the glue out. The wood is hard, and can take a lot of pressure.
After you are satisfied with the pressure, take a slightly wet fabric tissue and clean off the glue squeeze on the outside. Don’t clean the inside of the hole, or you will create a layer of glue that will change the pressure of the pin against wood, and risk cracking it again when assembled.
Wait for 24 hours, unclamp, clean the remaining dry glue squeeze from around, then take a very narrow chisel and very carefully remove the dry glue squeeze from inside of the hole. Be extra careful to avoid removing ANY wood, as it will make the joint loose on this side.
Good luck, and enjoy.
Cheers.