
“FRANKEN-Shami” Shamisen Project.
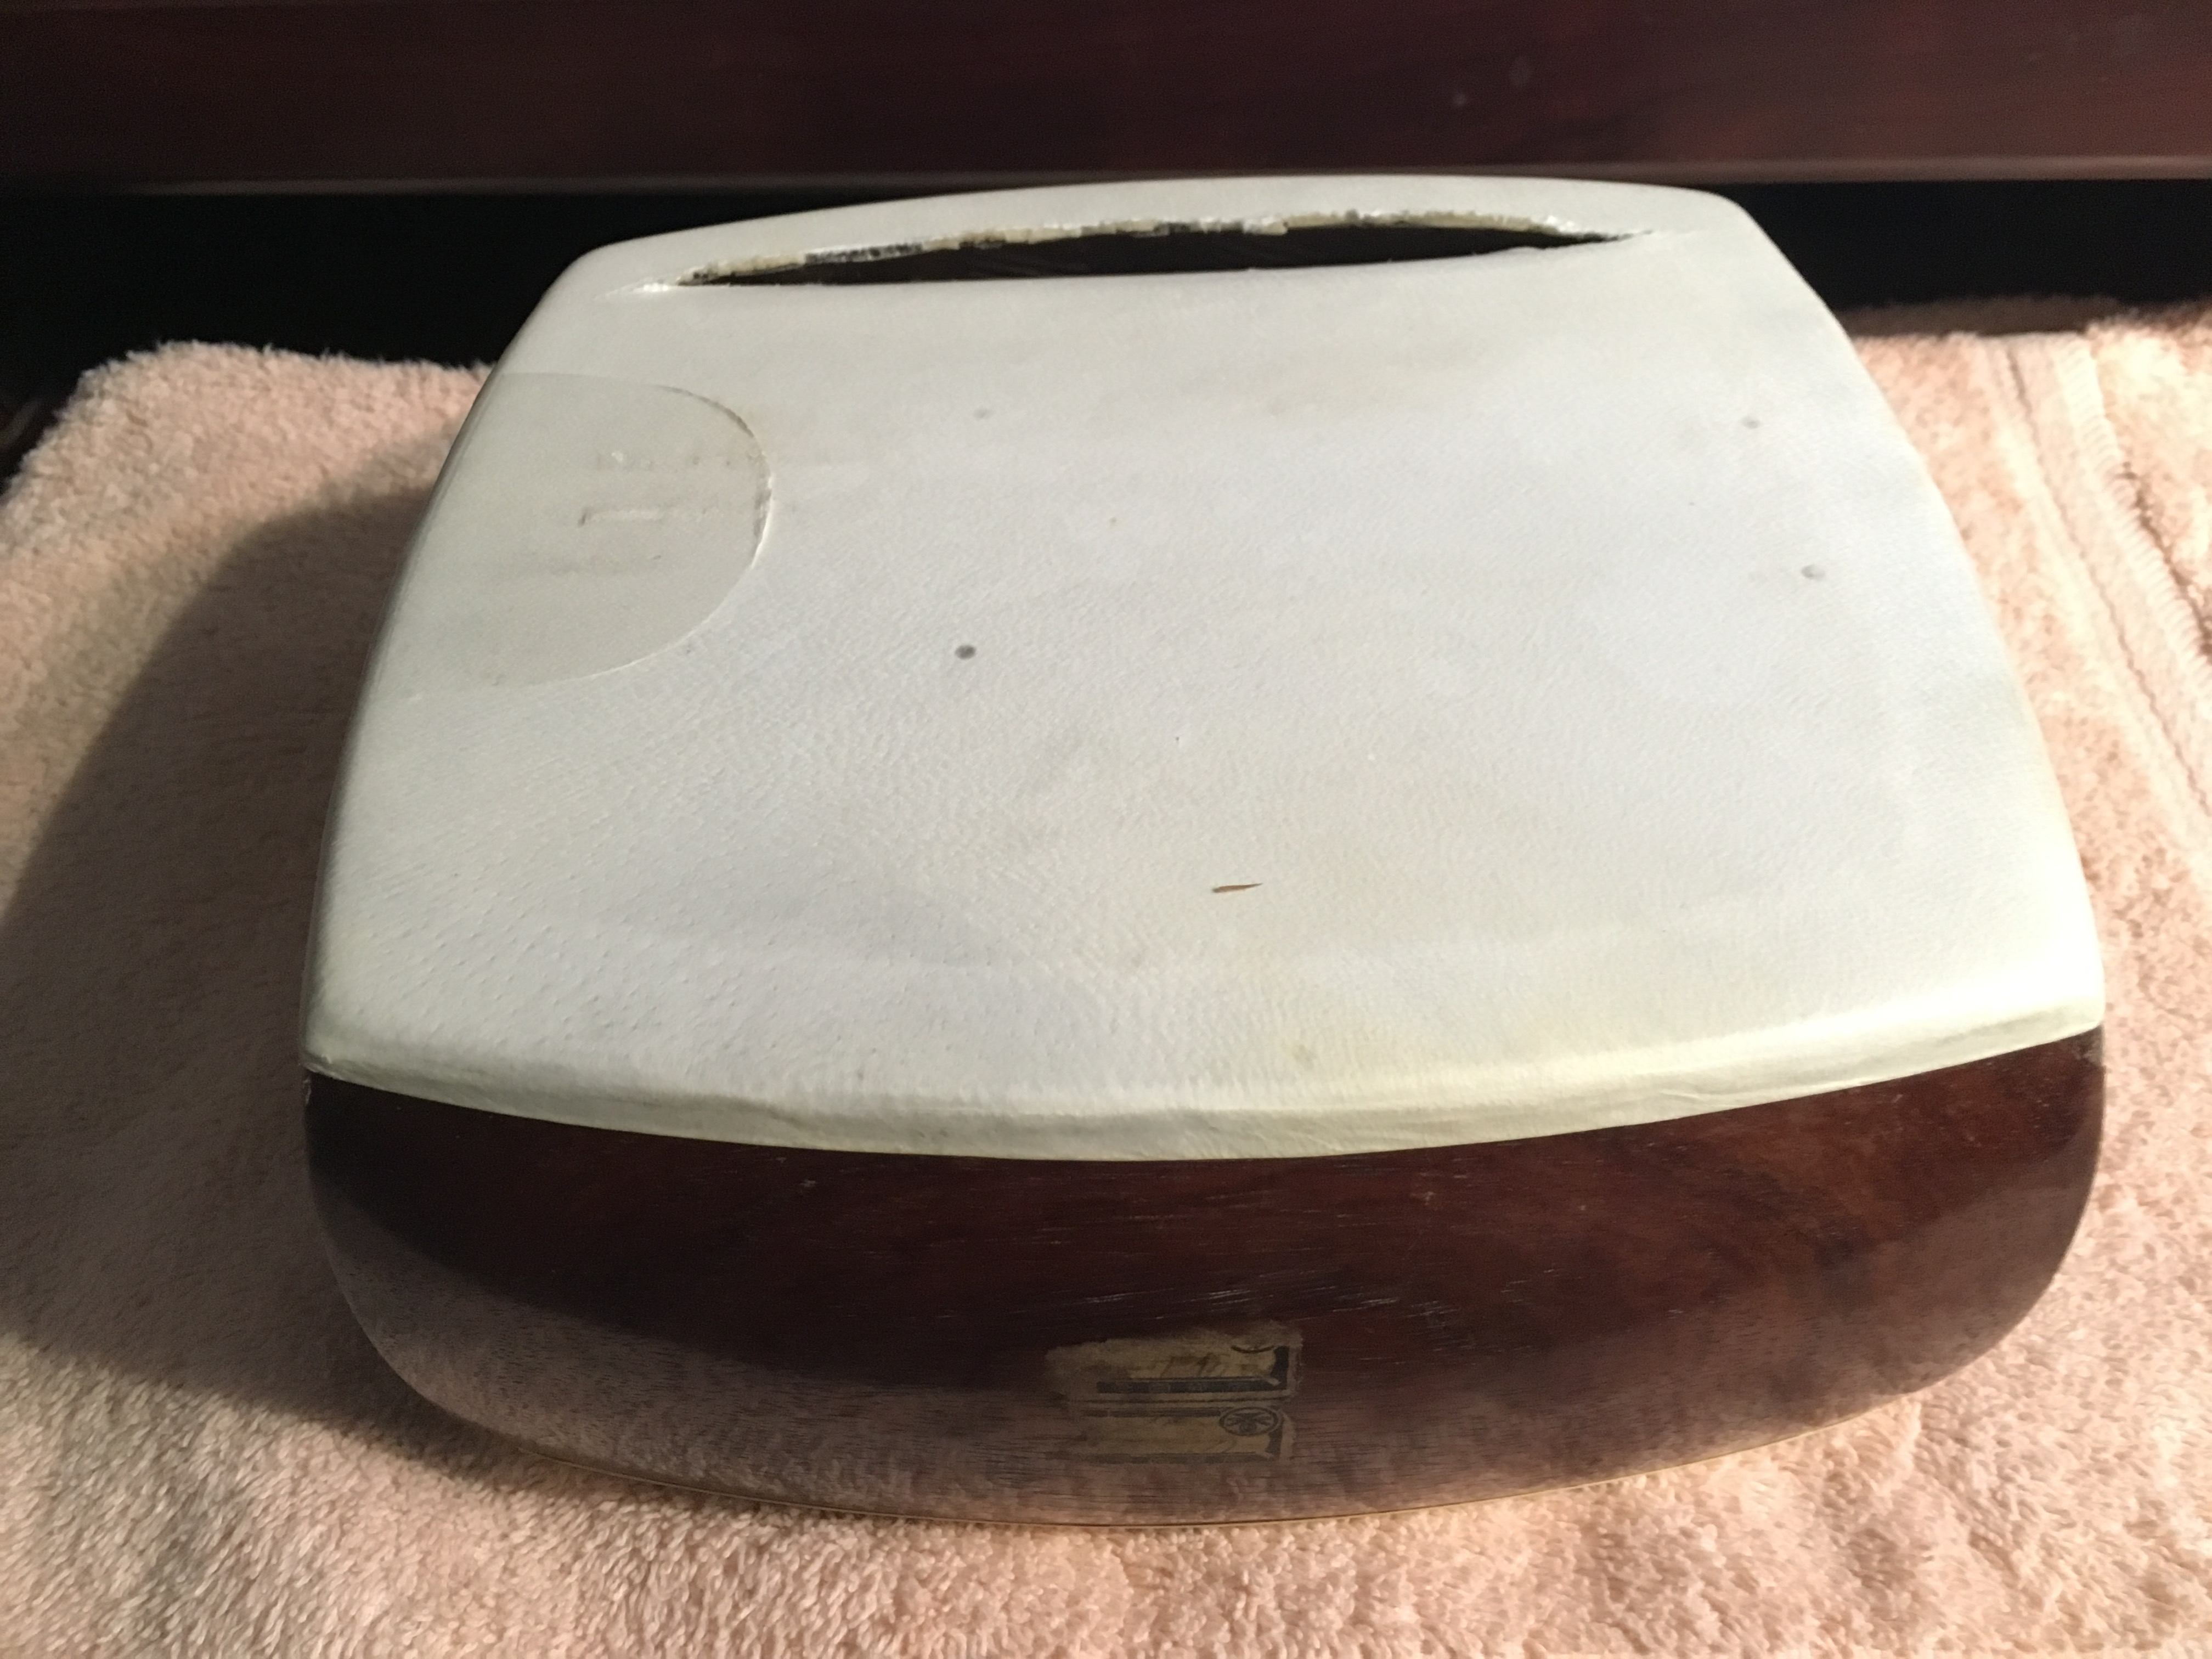
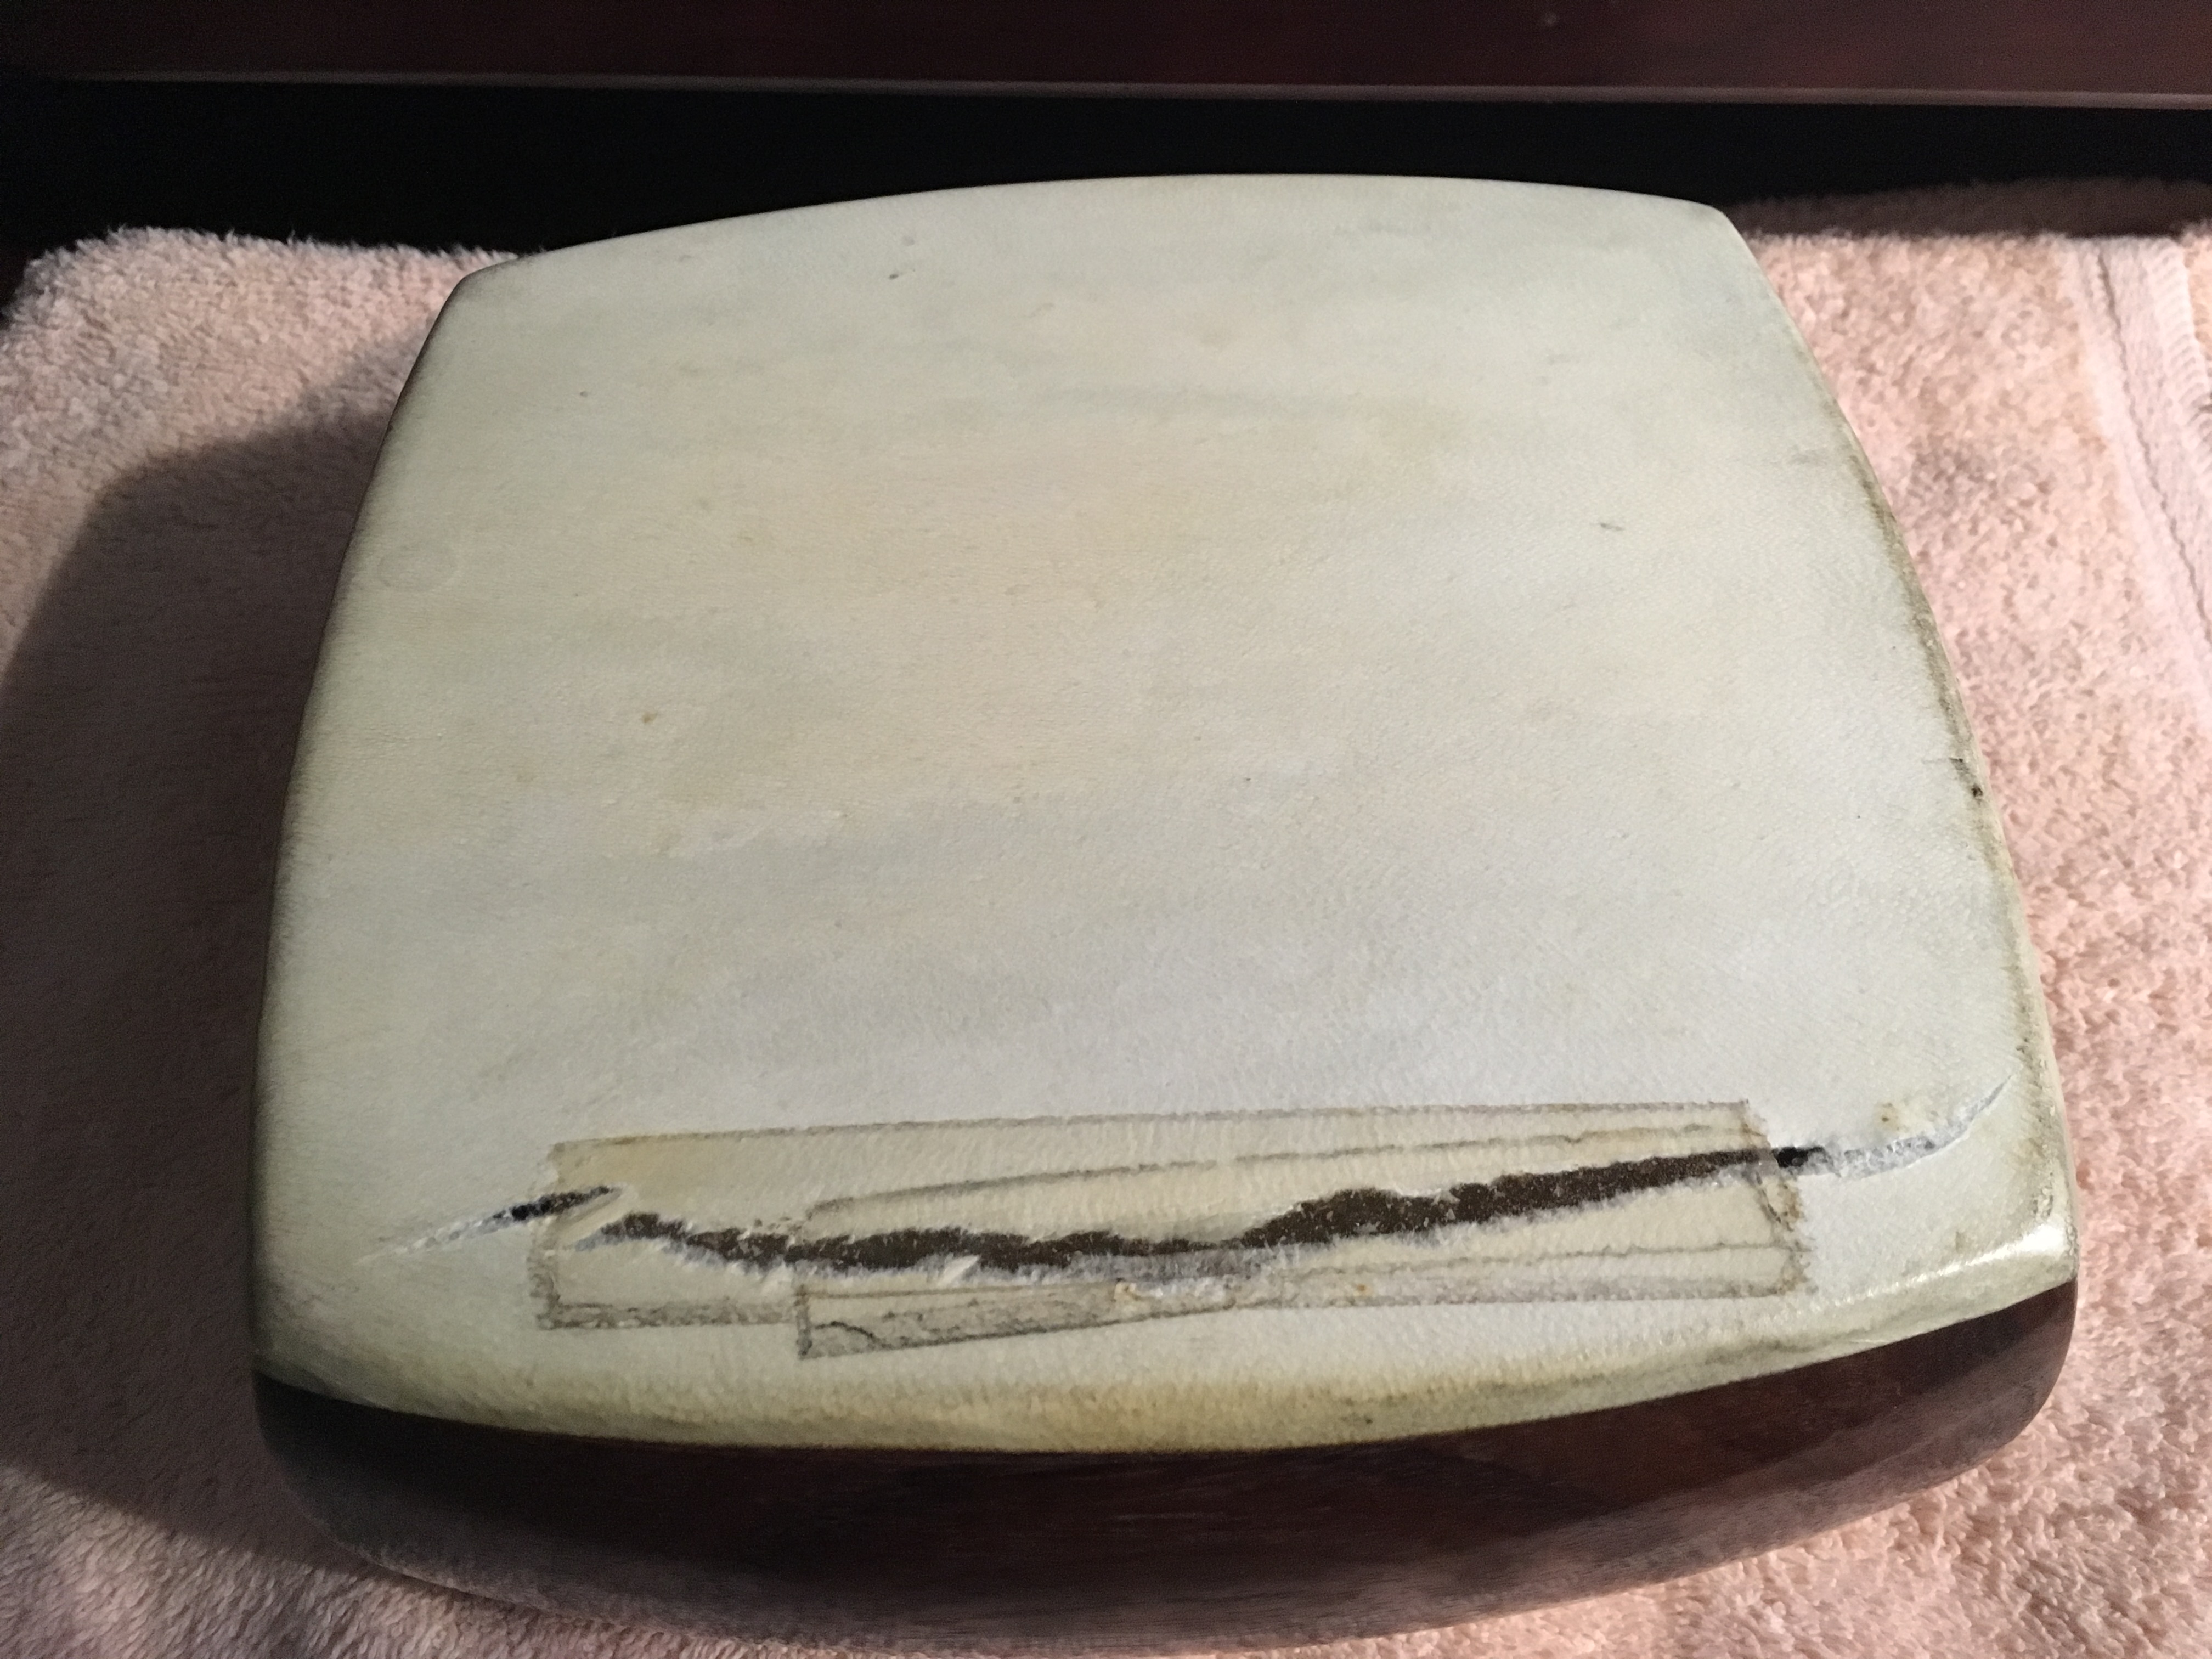
Just in time for Halloween ;). A beautiful shamisen with torn heads on both sides, front and back. Plus clear tape that discolored with time, left glue residue, and was an ugly band-aid.
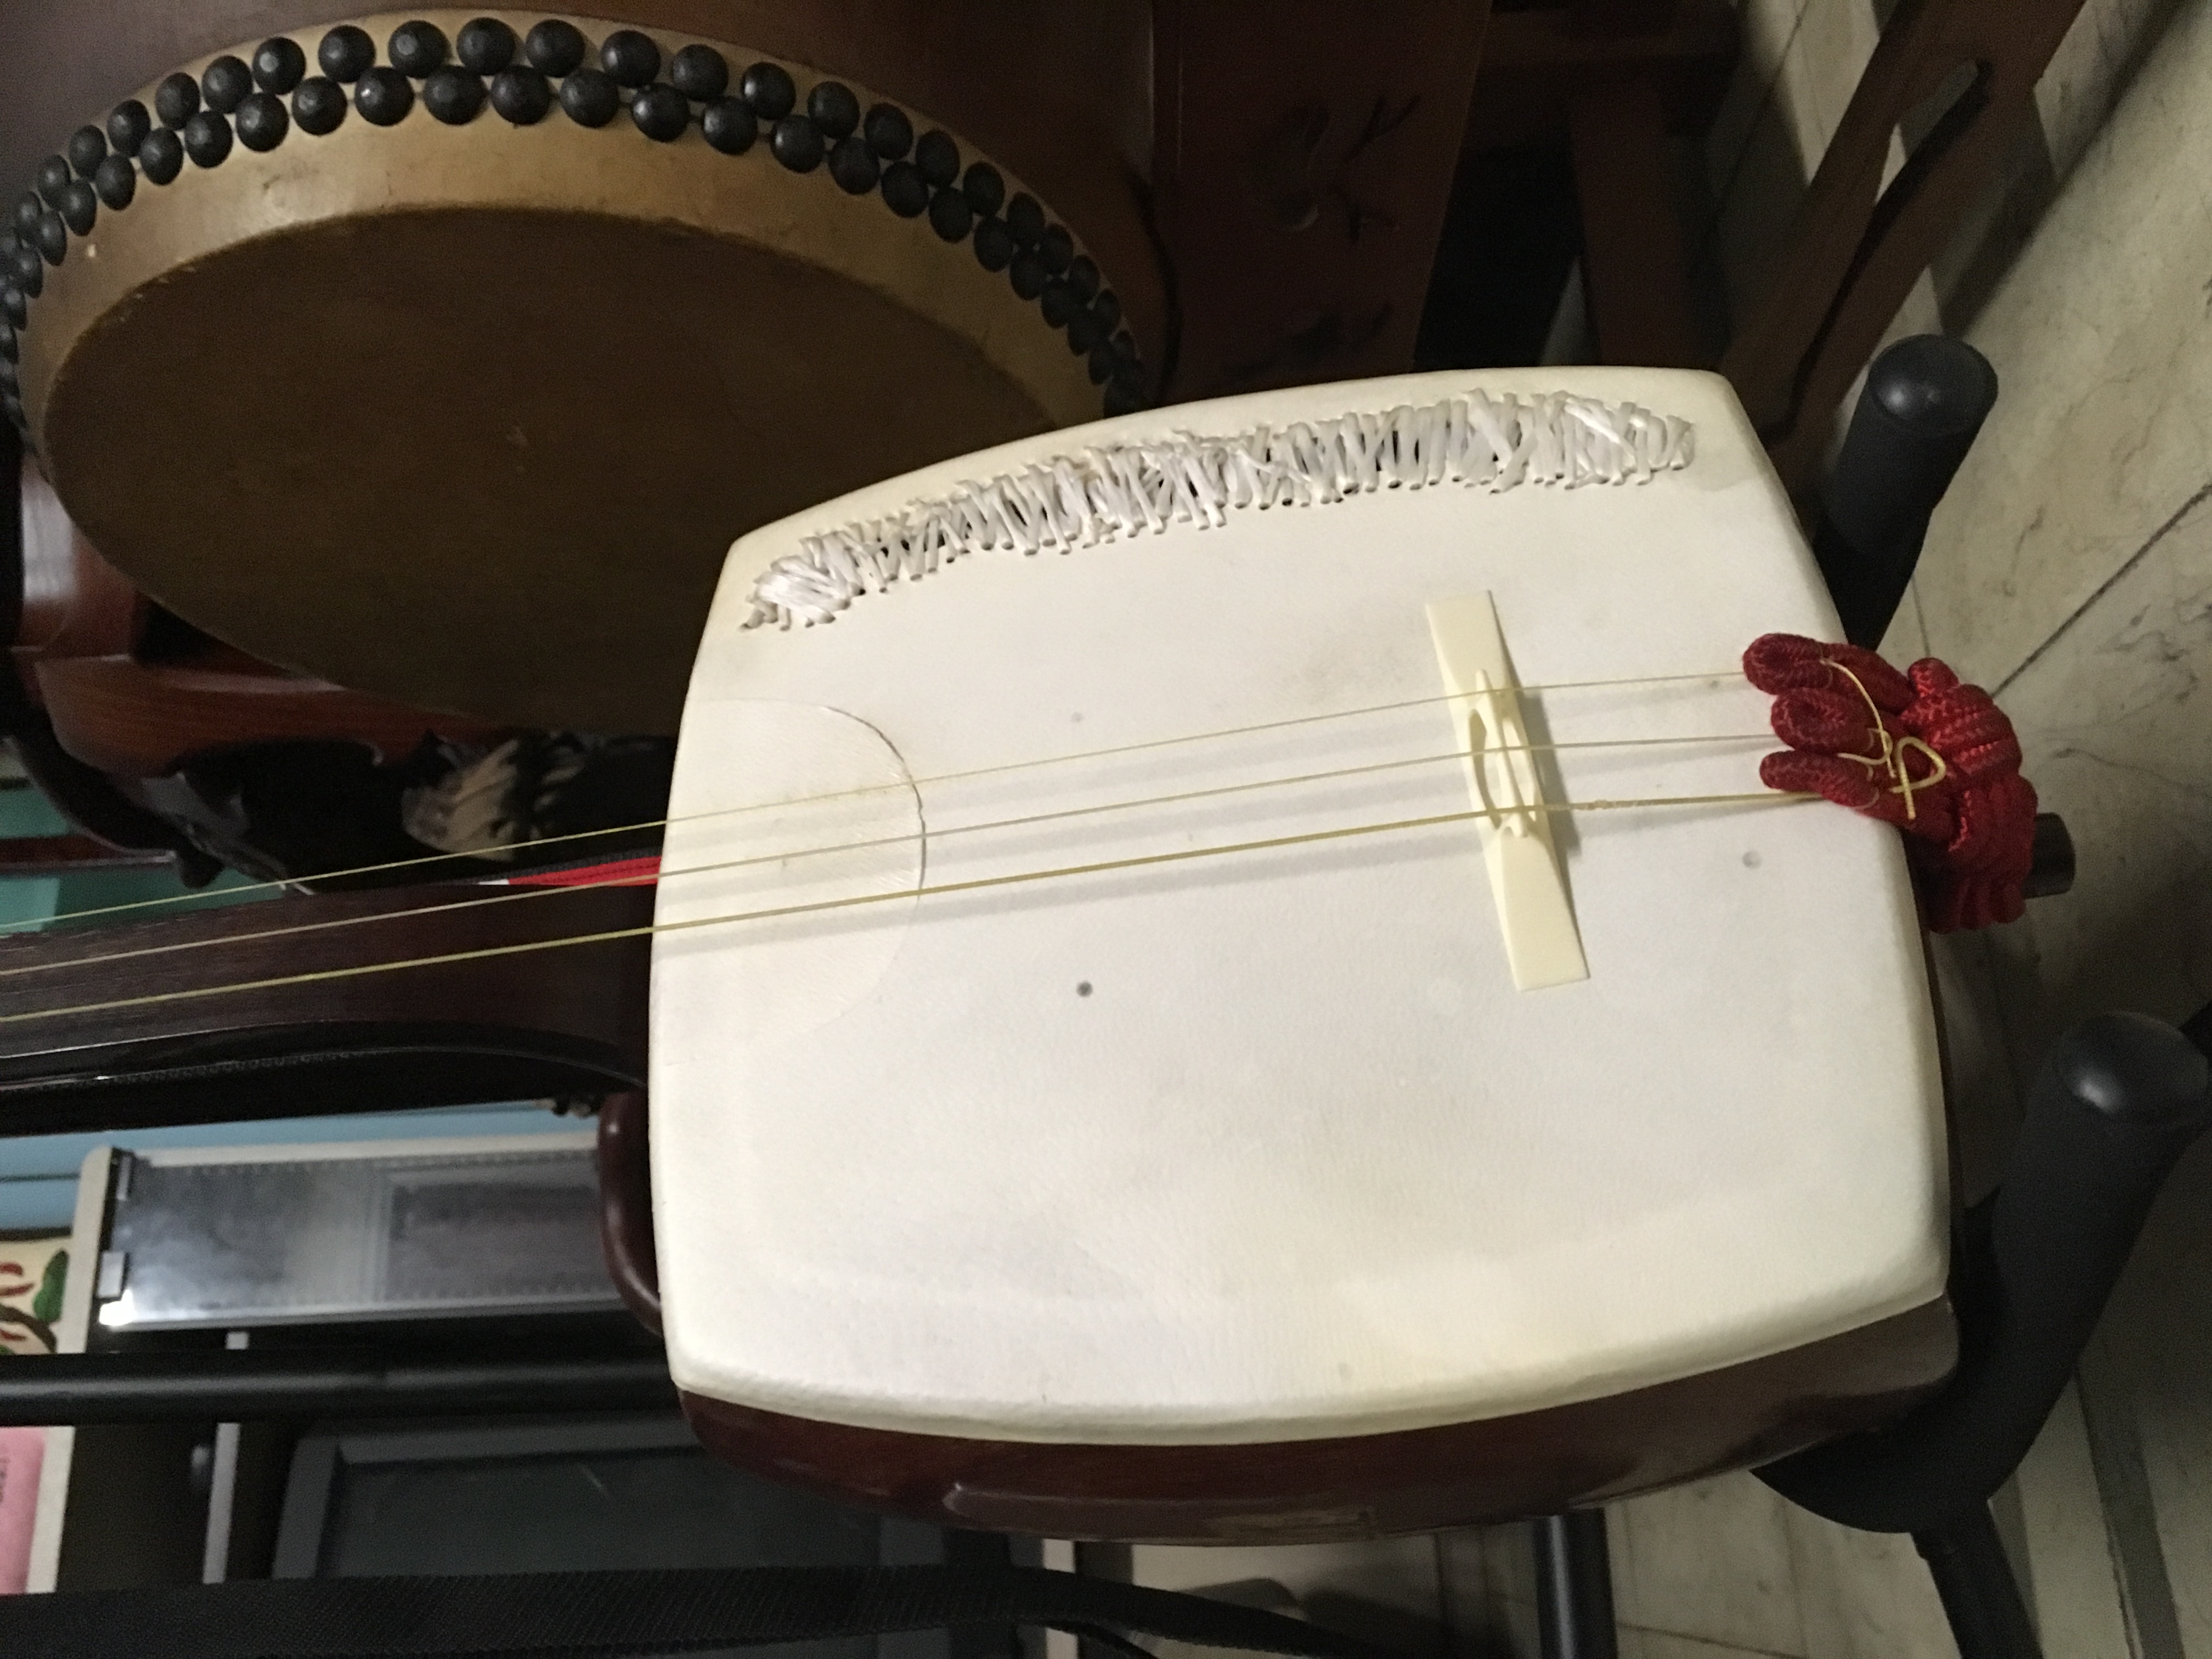
Stitching idea: If you can’t replace the skin yet (that’s in the future!), why not salvage if you can? I stitched up the tear with artificial sinew (waxed thread) and a circle needle for leather work. Sinew is usually yellow-brown color, but I used white-colored thread. You can find colored thread online or at Native American crafts shop. Btw, they come in different thickness for tensile breaking strength. I should have split the thread as this was thick (which I used for stitching okedo taiko drum head). Now, I am not a surgeon or in the medical field, so this isn’t pretty… but the stitching was to add some structural integrity and to go with the workability of the rawhide which I guess is dog.
Doghide and old rice paste experience: I learned it is easy to tear doggy. =( So I stitched and tightened carefully to prevent tearing at the needle holes. Also, I started with a small towel, that was wet but wrung out to just damp. As someone who eats glutinous rice very regularly, I was surprised that old, old rice paste would reconstitute so fast and get gummy soft. Very quickly I learned that the rawhide sides were shrinking and pulling up, so I tossed away the towel and tried to dry quickly. I then just used my fingertip to add a few drops of water to the torn rawhide to work on the stitch line. It sucks in water very fast. I tried to not make obvious the stitch knots and thread ends. Stitching is easy to do and it can be tedious, but still it is something that many people can do. It looks a little Frankenstein, but it is a shamisen playing war wound!
The front, before:
The front, after:
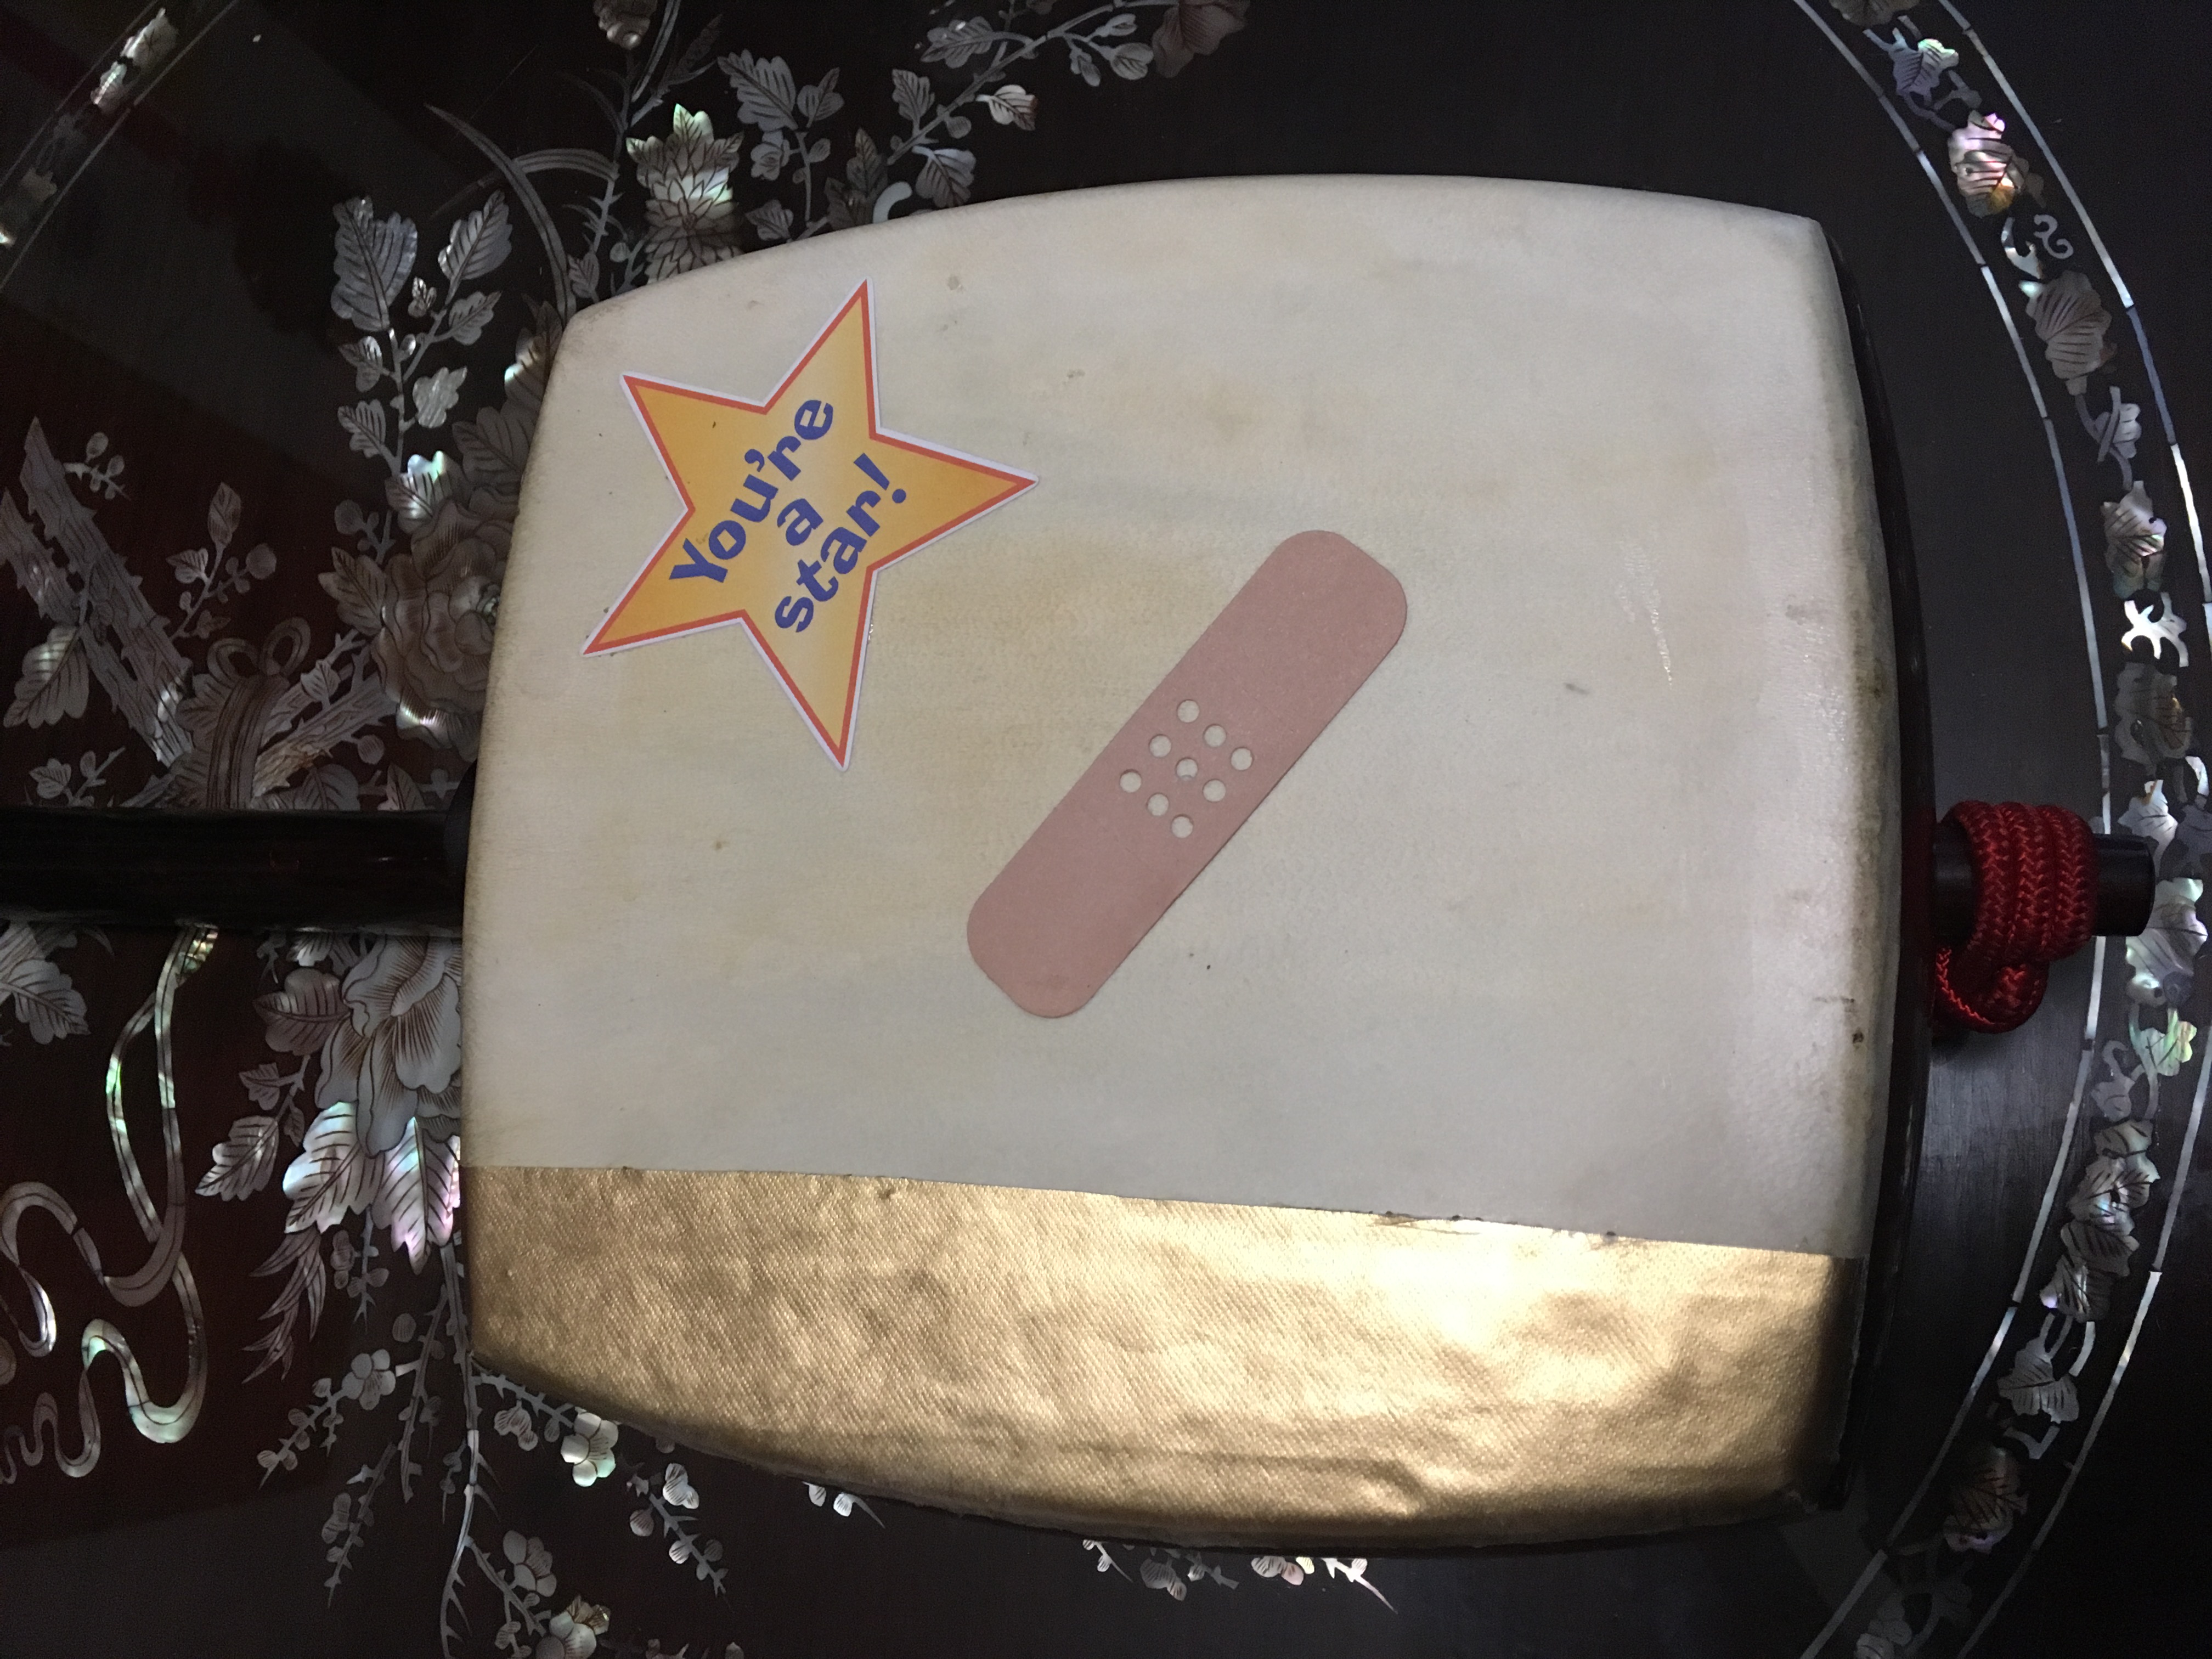
The back was uglier. Looking at the skin color, I would guess the front was reskinned (looks like two stickers inside the dou), but the back is the original skin as it has an off-white, linen coloring. I tried a piece of Tyvek mailer with adhesive backing, sticking to one side- then pull tight- then stick the second side of the tear. But Tyvek was too bright white. So I tried a new adhesive (for leather and fabric) called Tear Mender. It has latex ingredients, so if you are allergic to latex, do not use. It is interesting stuff, dries in 3 minutes (here in Miami, less than 3, very fast), turns into something like a rubber band, has a slightly yellow color, and rubs off your fingers-wood-skin so pretty easy cleanup and I didn’t wear protective gloves. The only problem- it is not thick, very runny; and when dry, if you pull at it, a good amount stretches and yanks out along with what you want to tear, so maybe a sharp Exacto knife to cut would be better than pulling & tearing. I tried glue-on calligraphy paper for cover-up decoration, but I don’t recommend it (hard to work with, very delicate, takes skill to lay flat and not ruin paper, basically you get one try to get it right). That’s how I found out that Tear Mender does not bond tightly to outer rawhide. Bad? Well, I didn’t try it on the back, flesh side (like when attaching the back skin to dou). But the good is that using Tear Mender glue, you can temporarily attach things to your outside skin and remove it, probably without harm. For fun, I attached some stickers then removed them. I finished the back with another piece of Tyvek, spray painted with metallic gold. I thought it looked fancier and the yellow-tone matched color to the older rawhide.
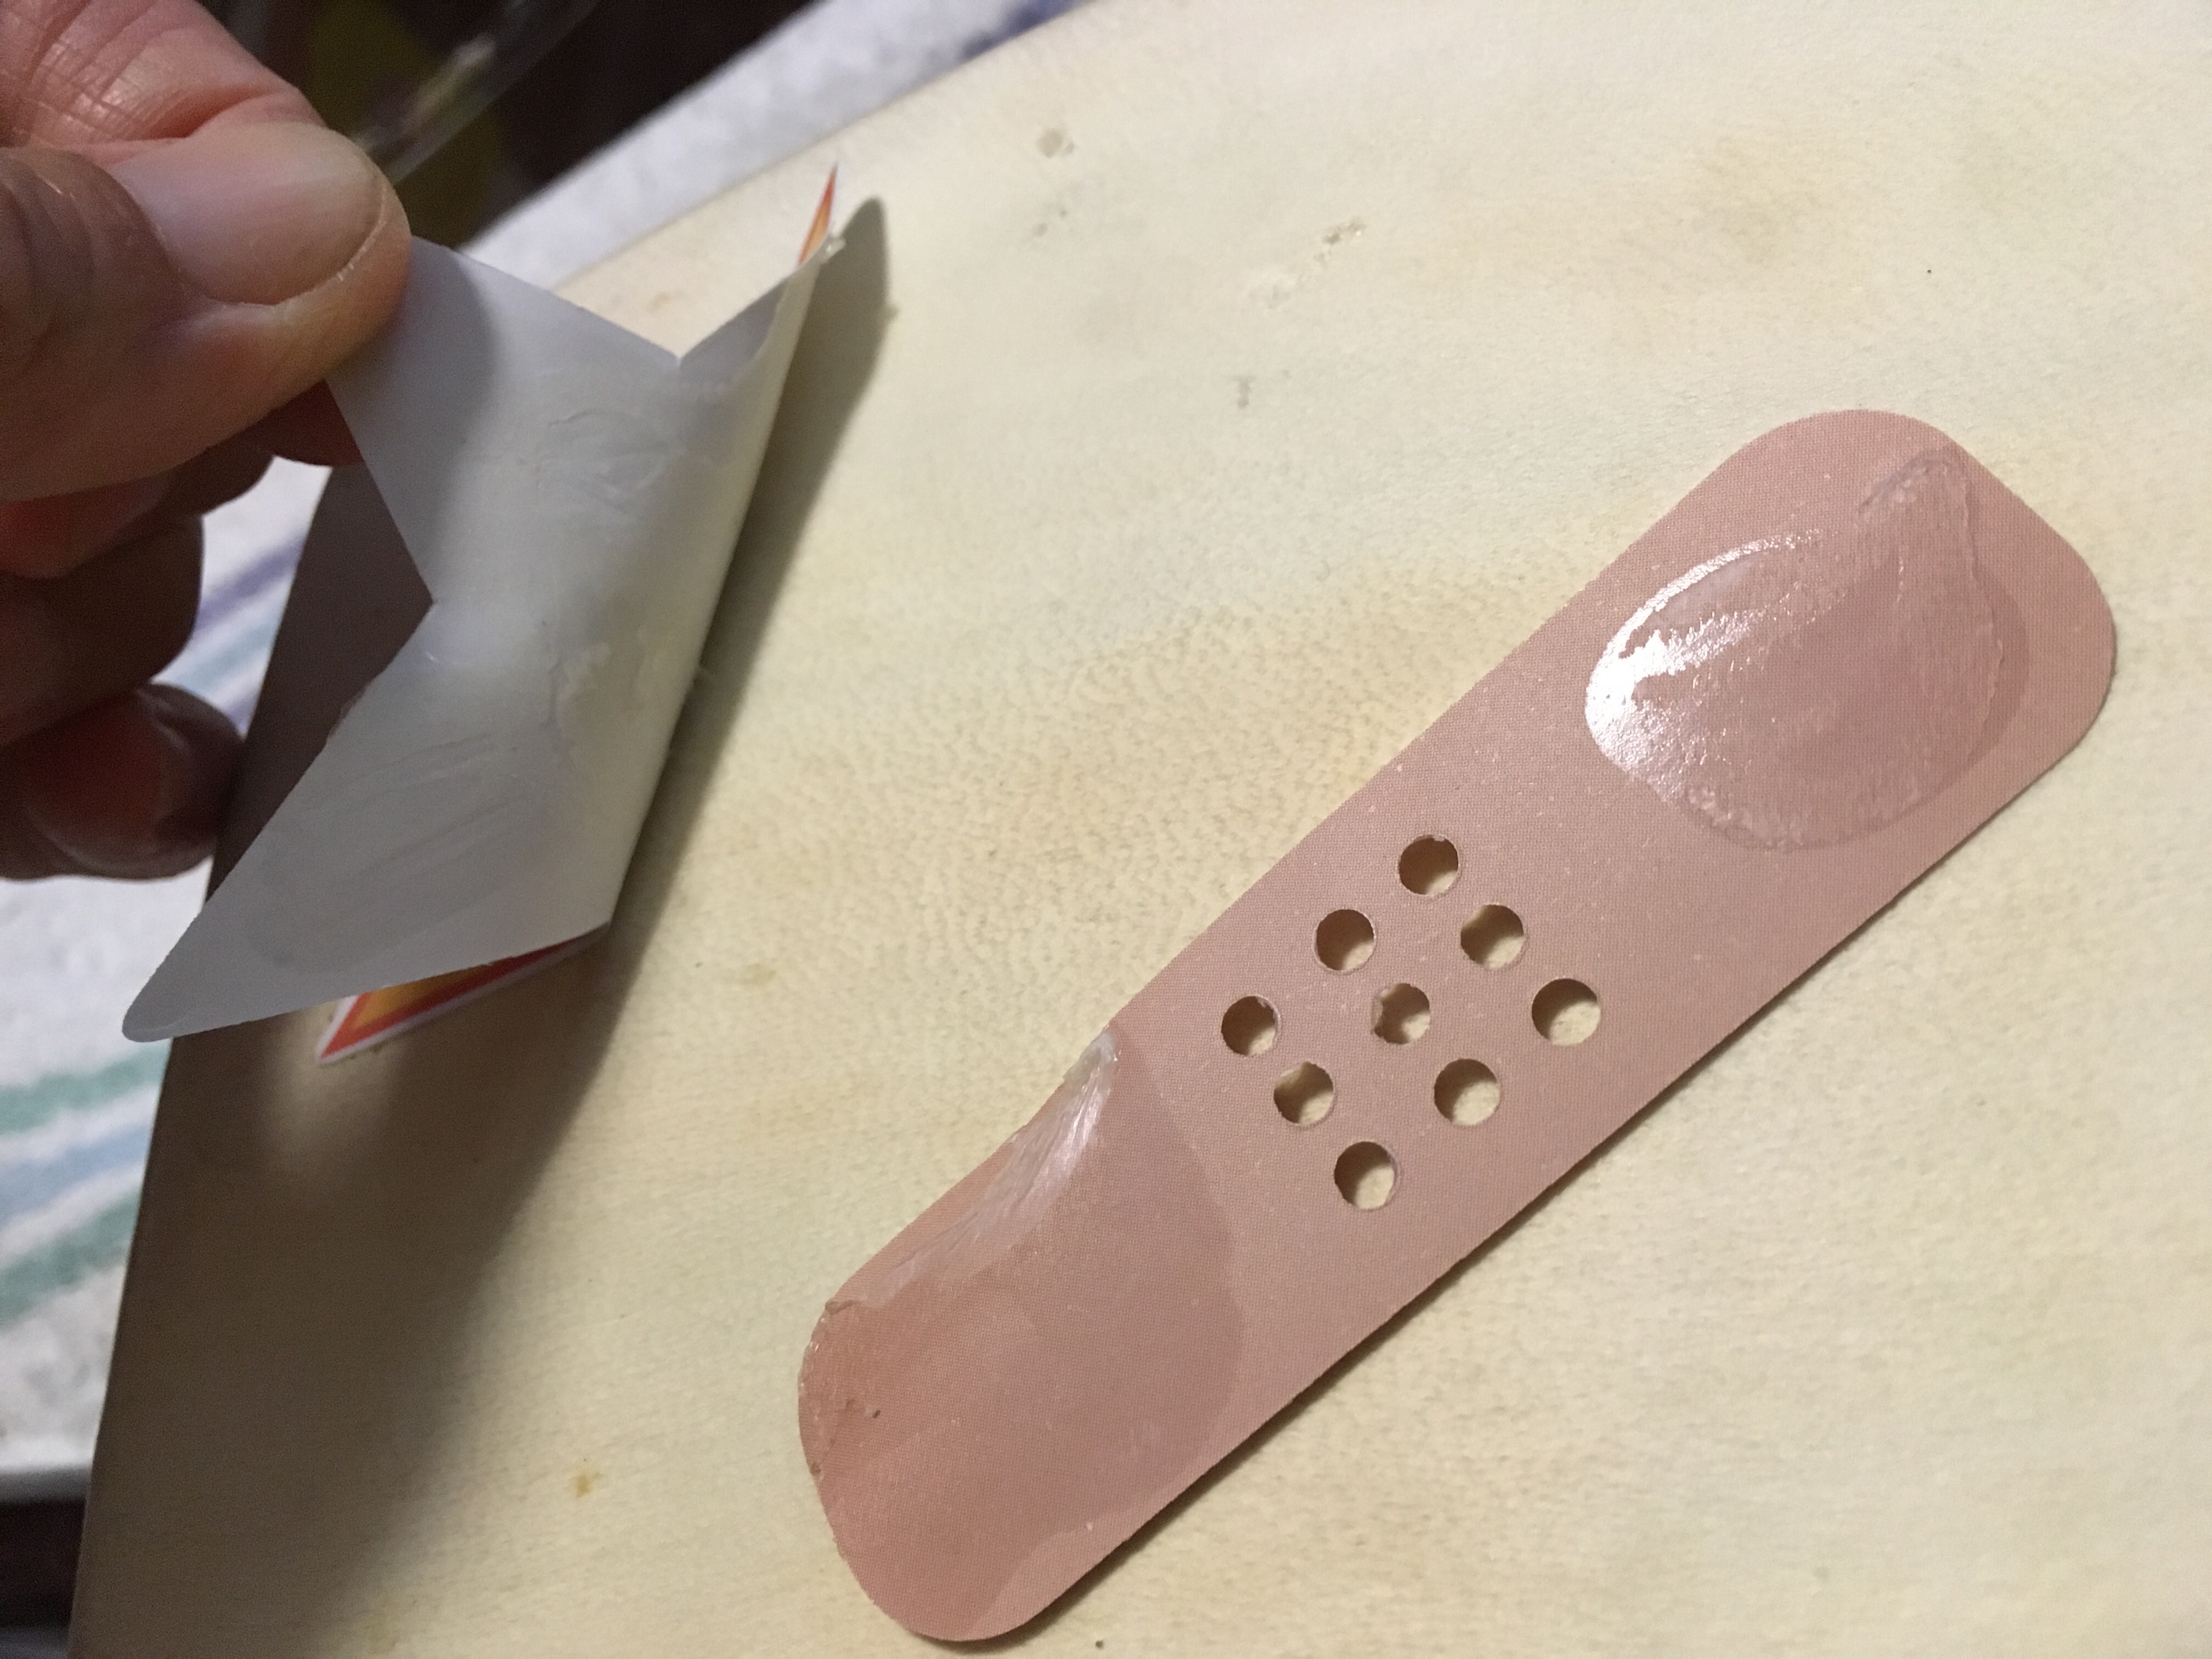
Sticker fun:
The back, before:
The back, after:
The sound output is actually pretty interesting. Since the stitching on the front still has gaps, sound travels around inside body… and forward, somewhat like acoustic soundholes? I think it adds a dancehall-like sound and is neat. Well anyways, from limited playability with a torn head, to temporarily patched up with stitching!
Two sound clips:
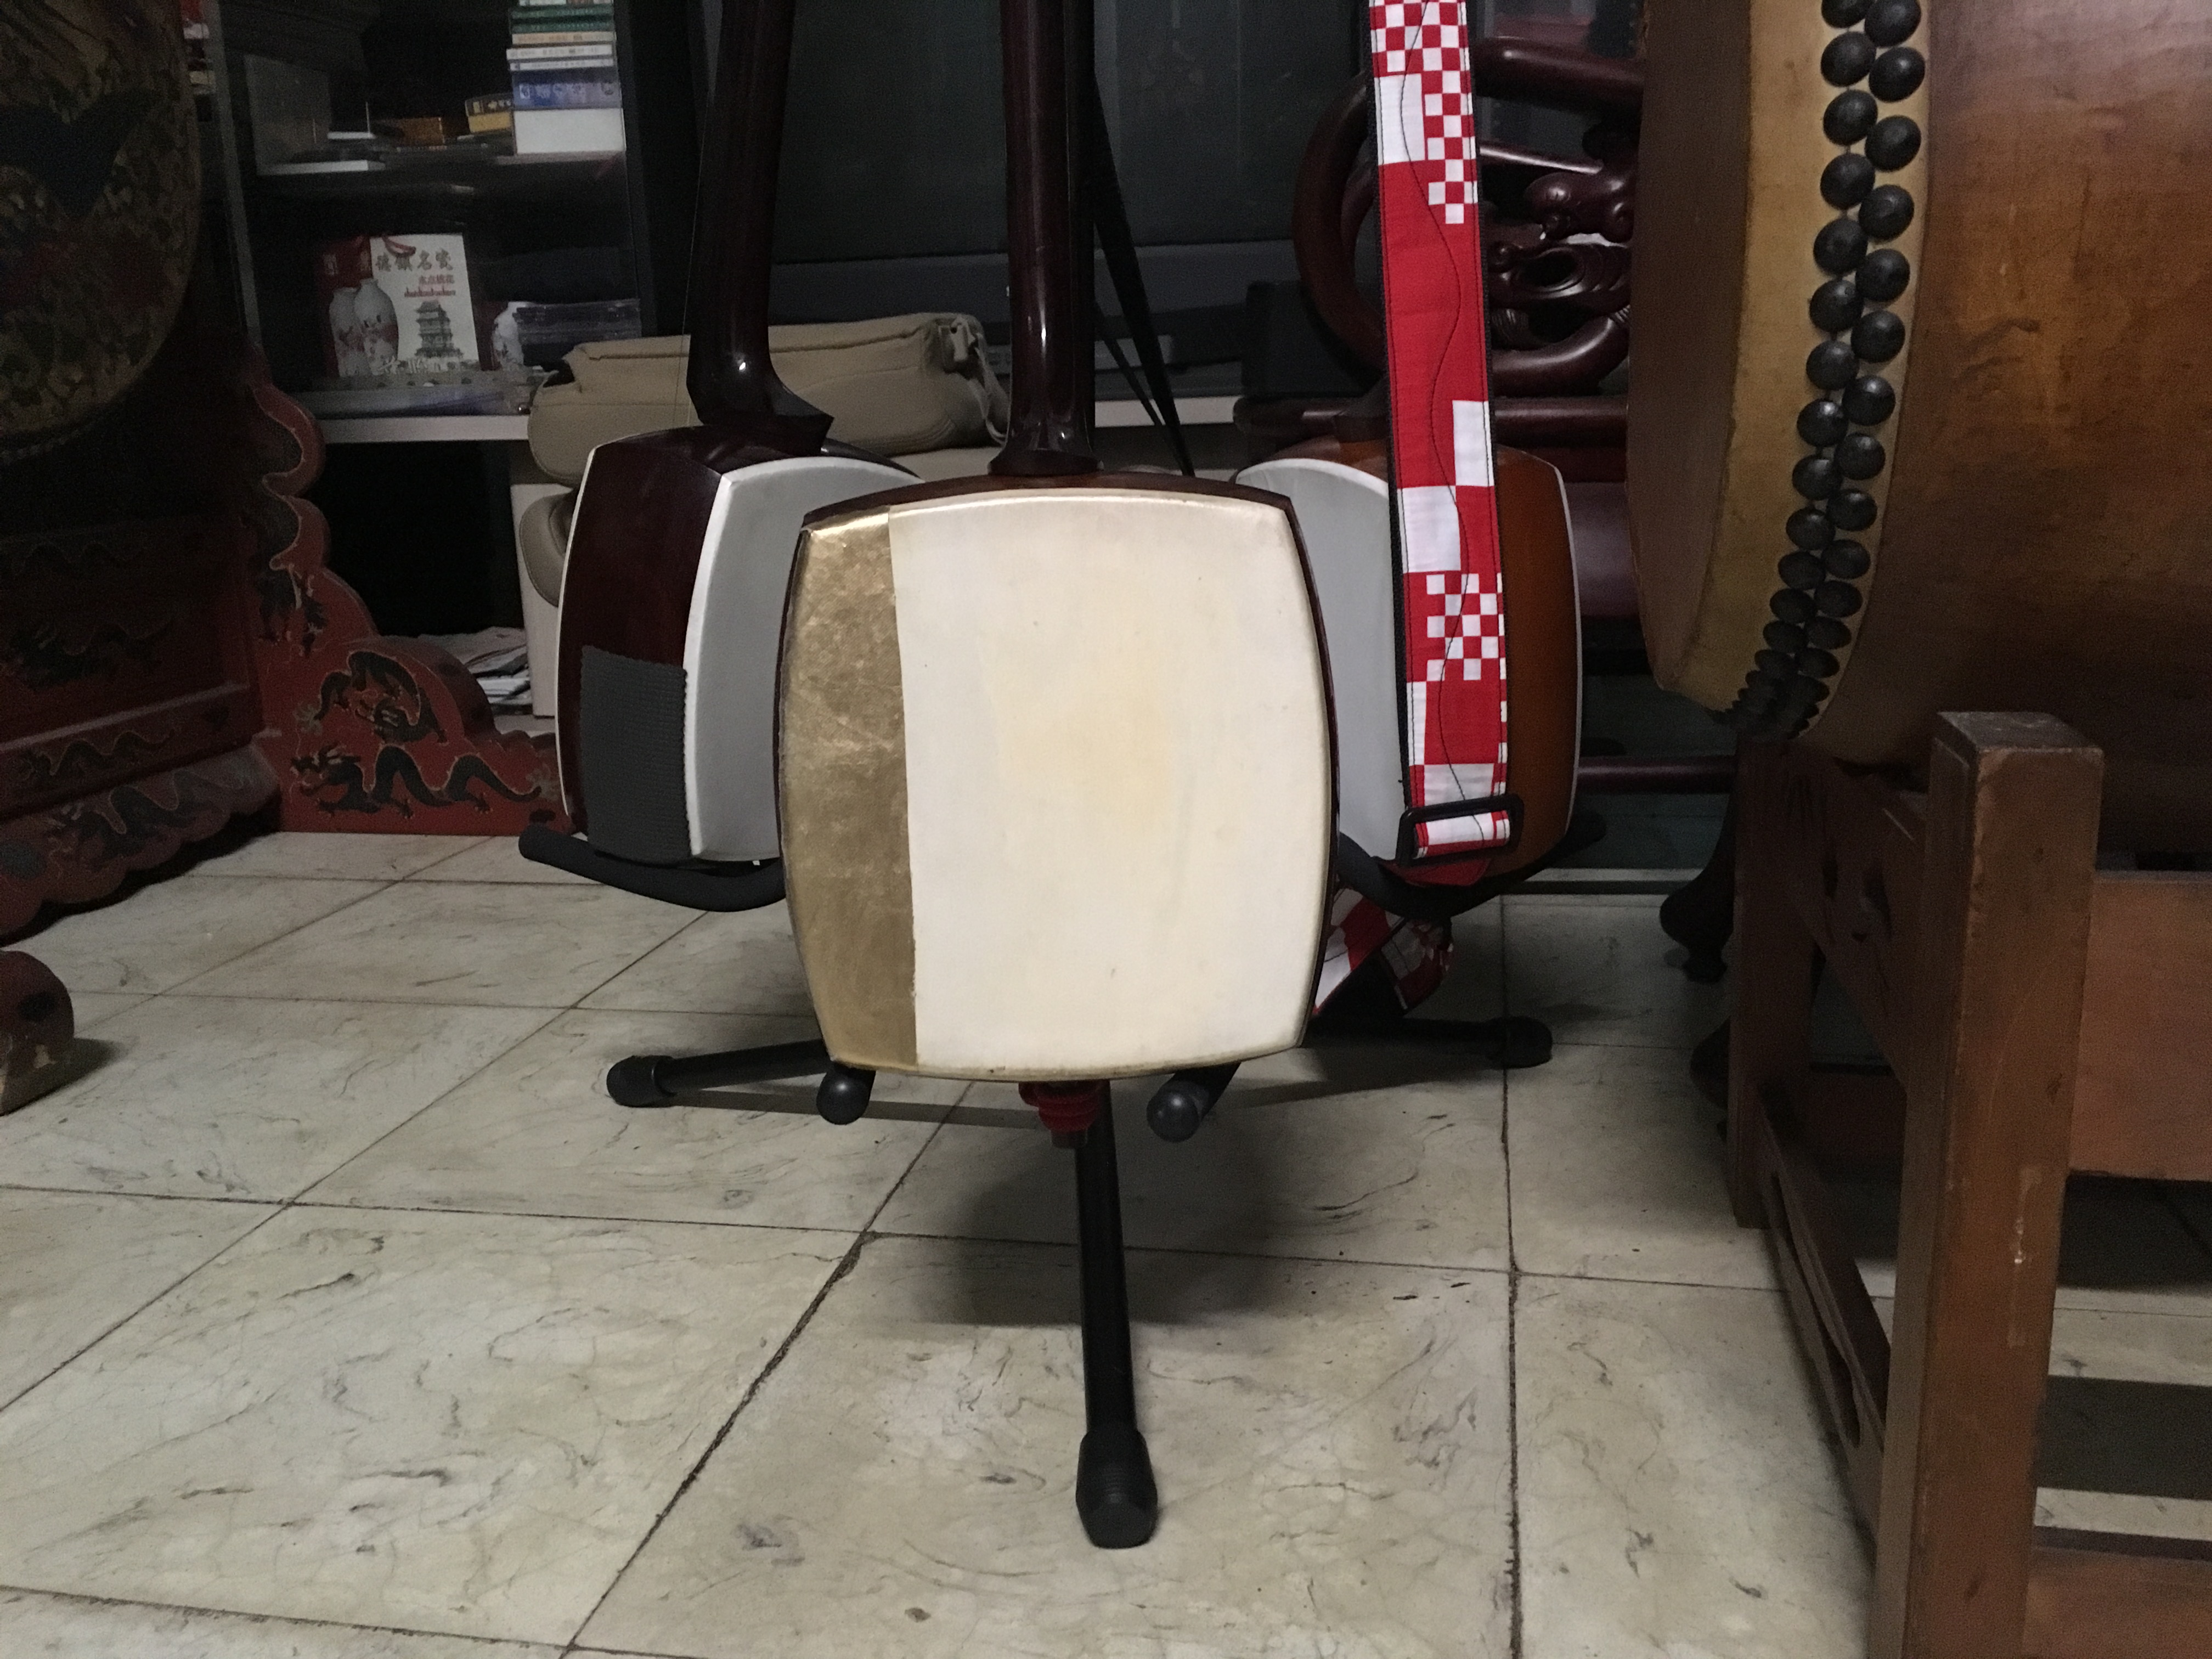
All pictures: