Hello everyone!
This will be a “short” post about how I made the zagane and a quick look at the journey of the itomaki.
Since in our country it is somewhat hard to get brass washers (unless you want to buy a ton of them), I decided for another method, although not as easy I thought it would be. The result was that I got into basic ring making, sawing brass sheets with a coping saw, and basic soldering. The only thing missing to have it all perfect was a ring mandrel. Oh well… 
Zagane
Soldering a ring. Exciting!
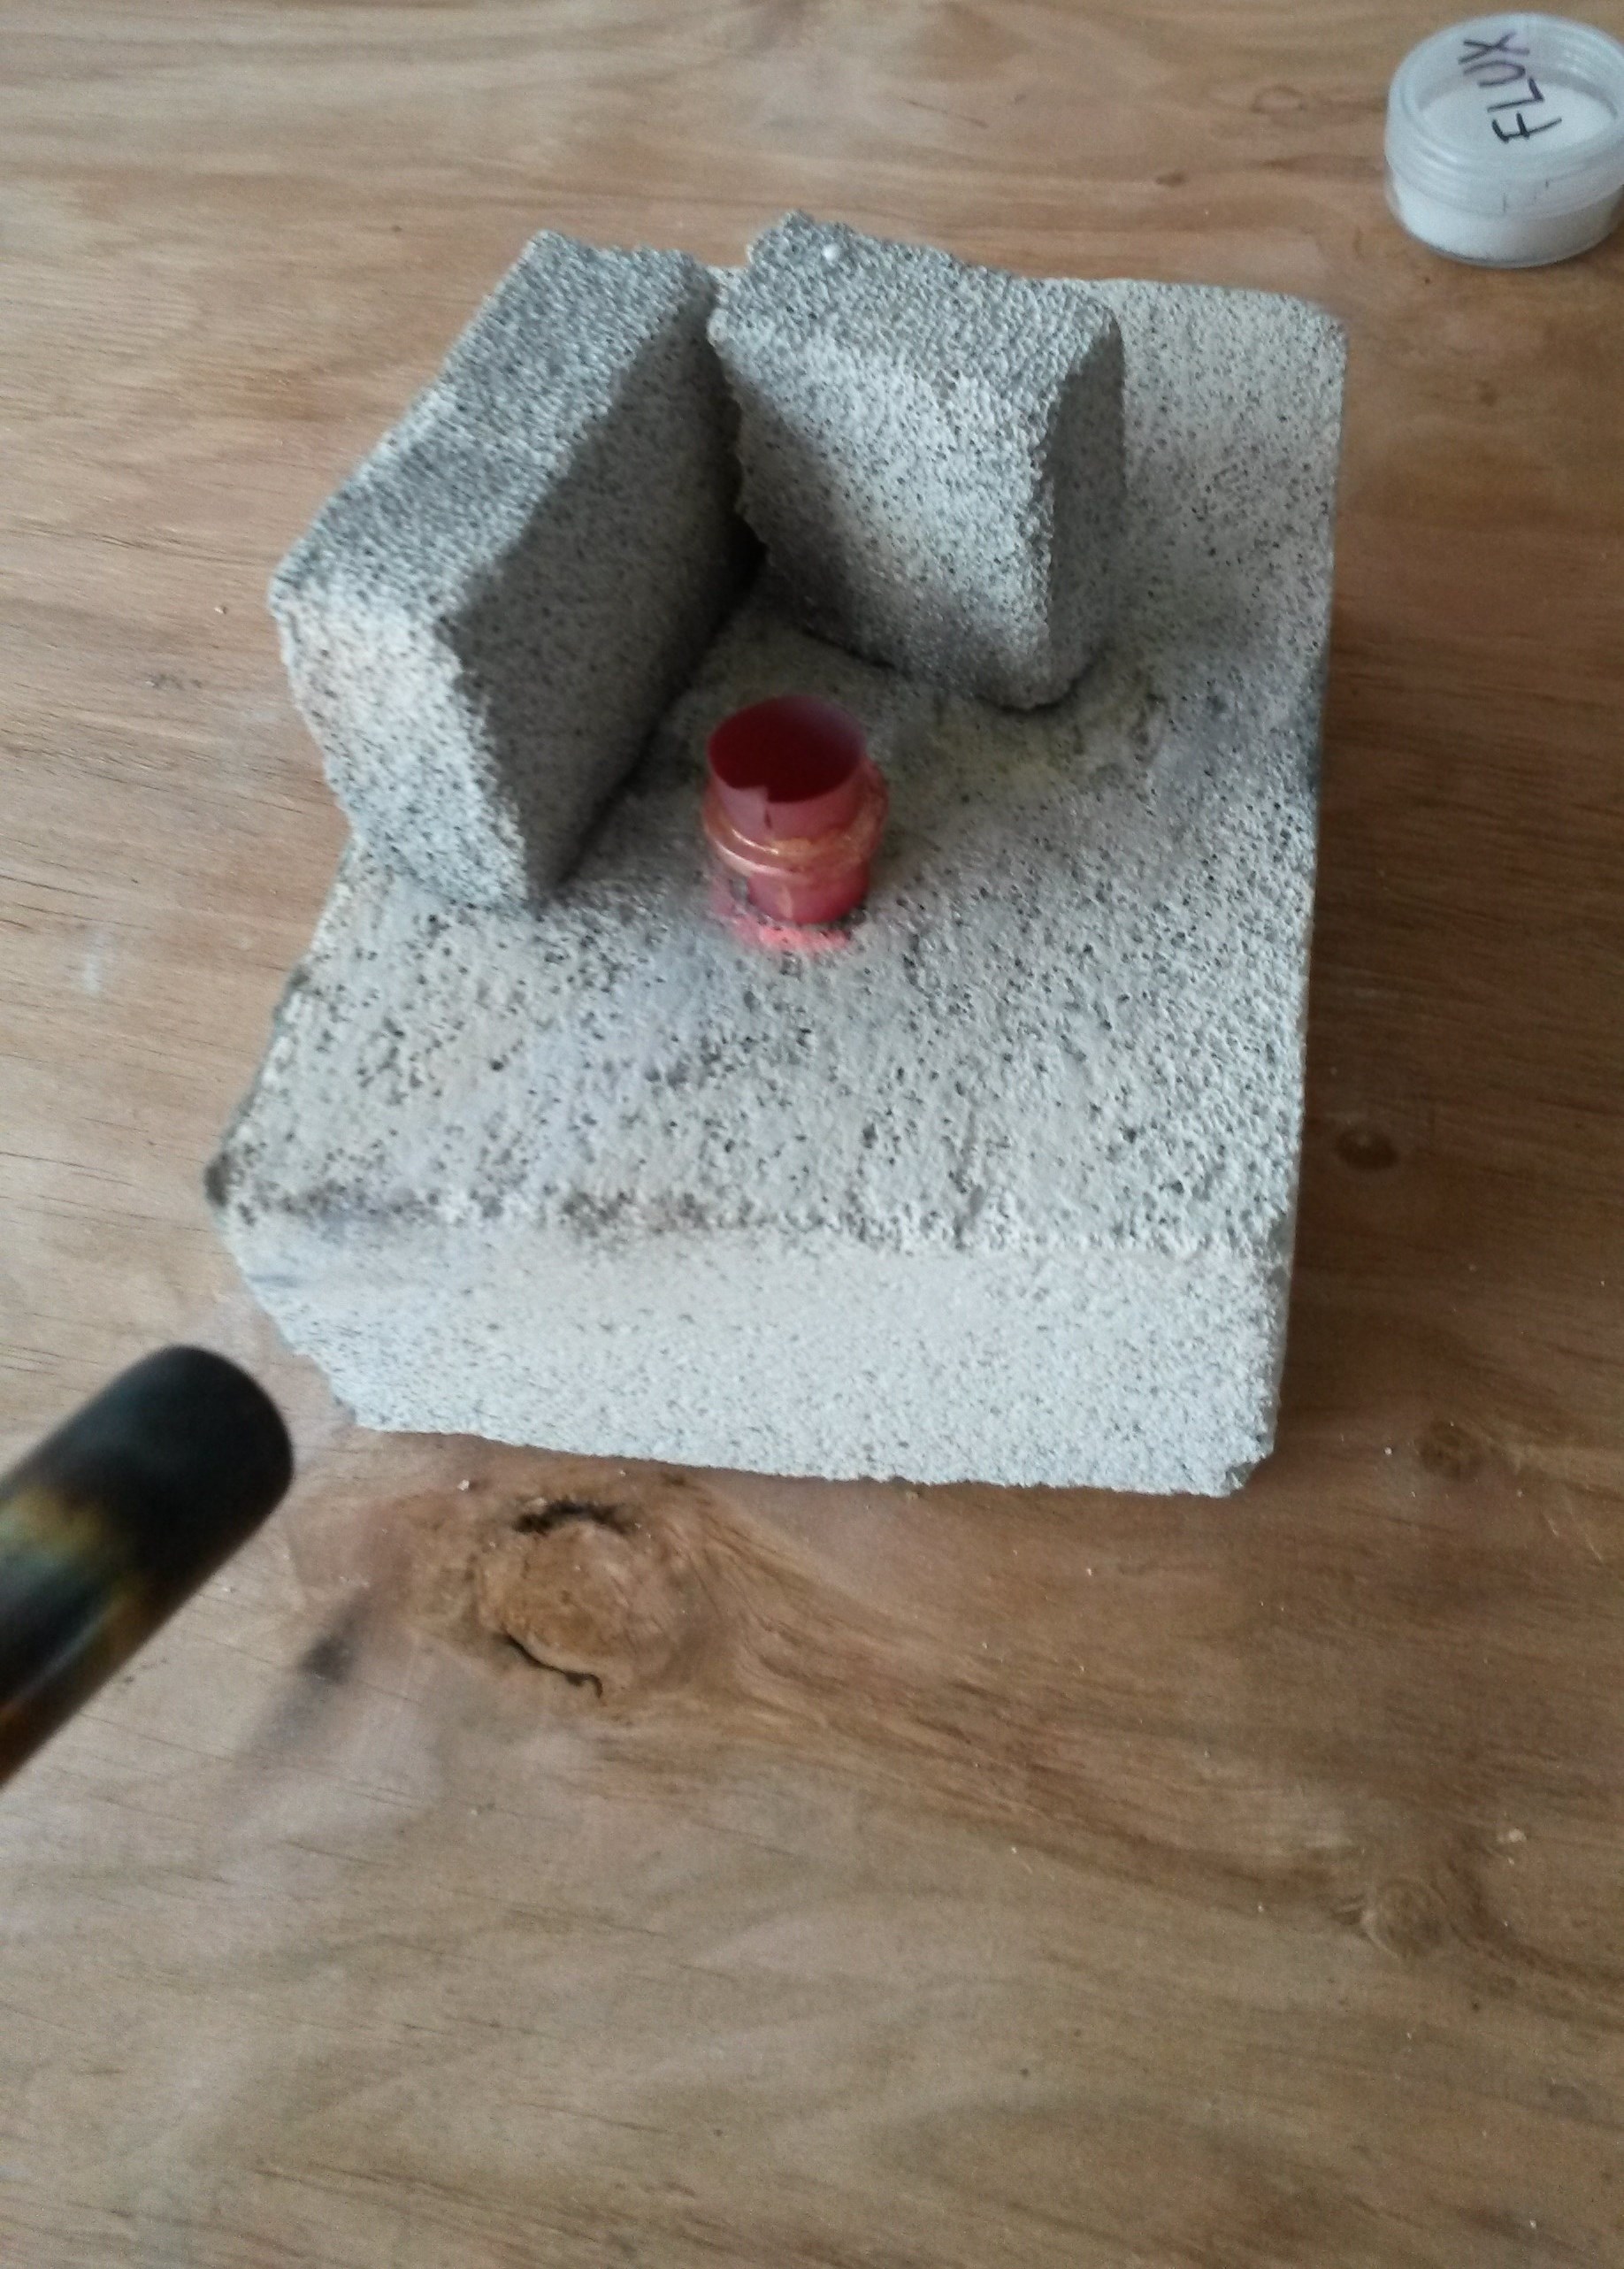
Preparing the tubing…

…marking…
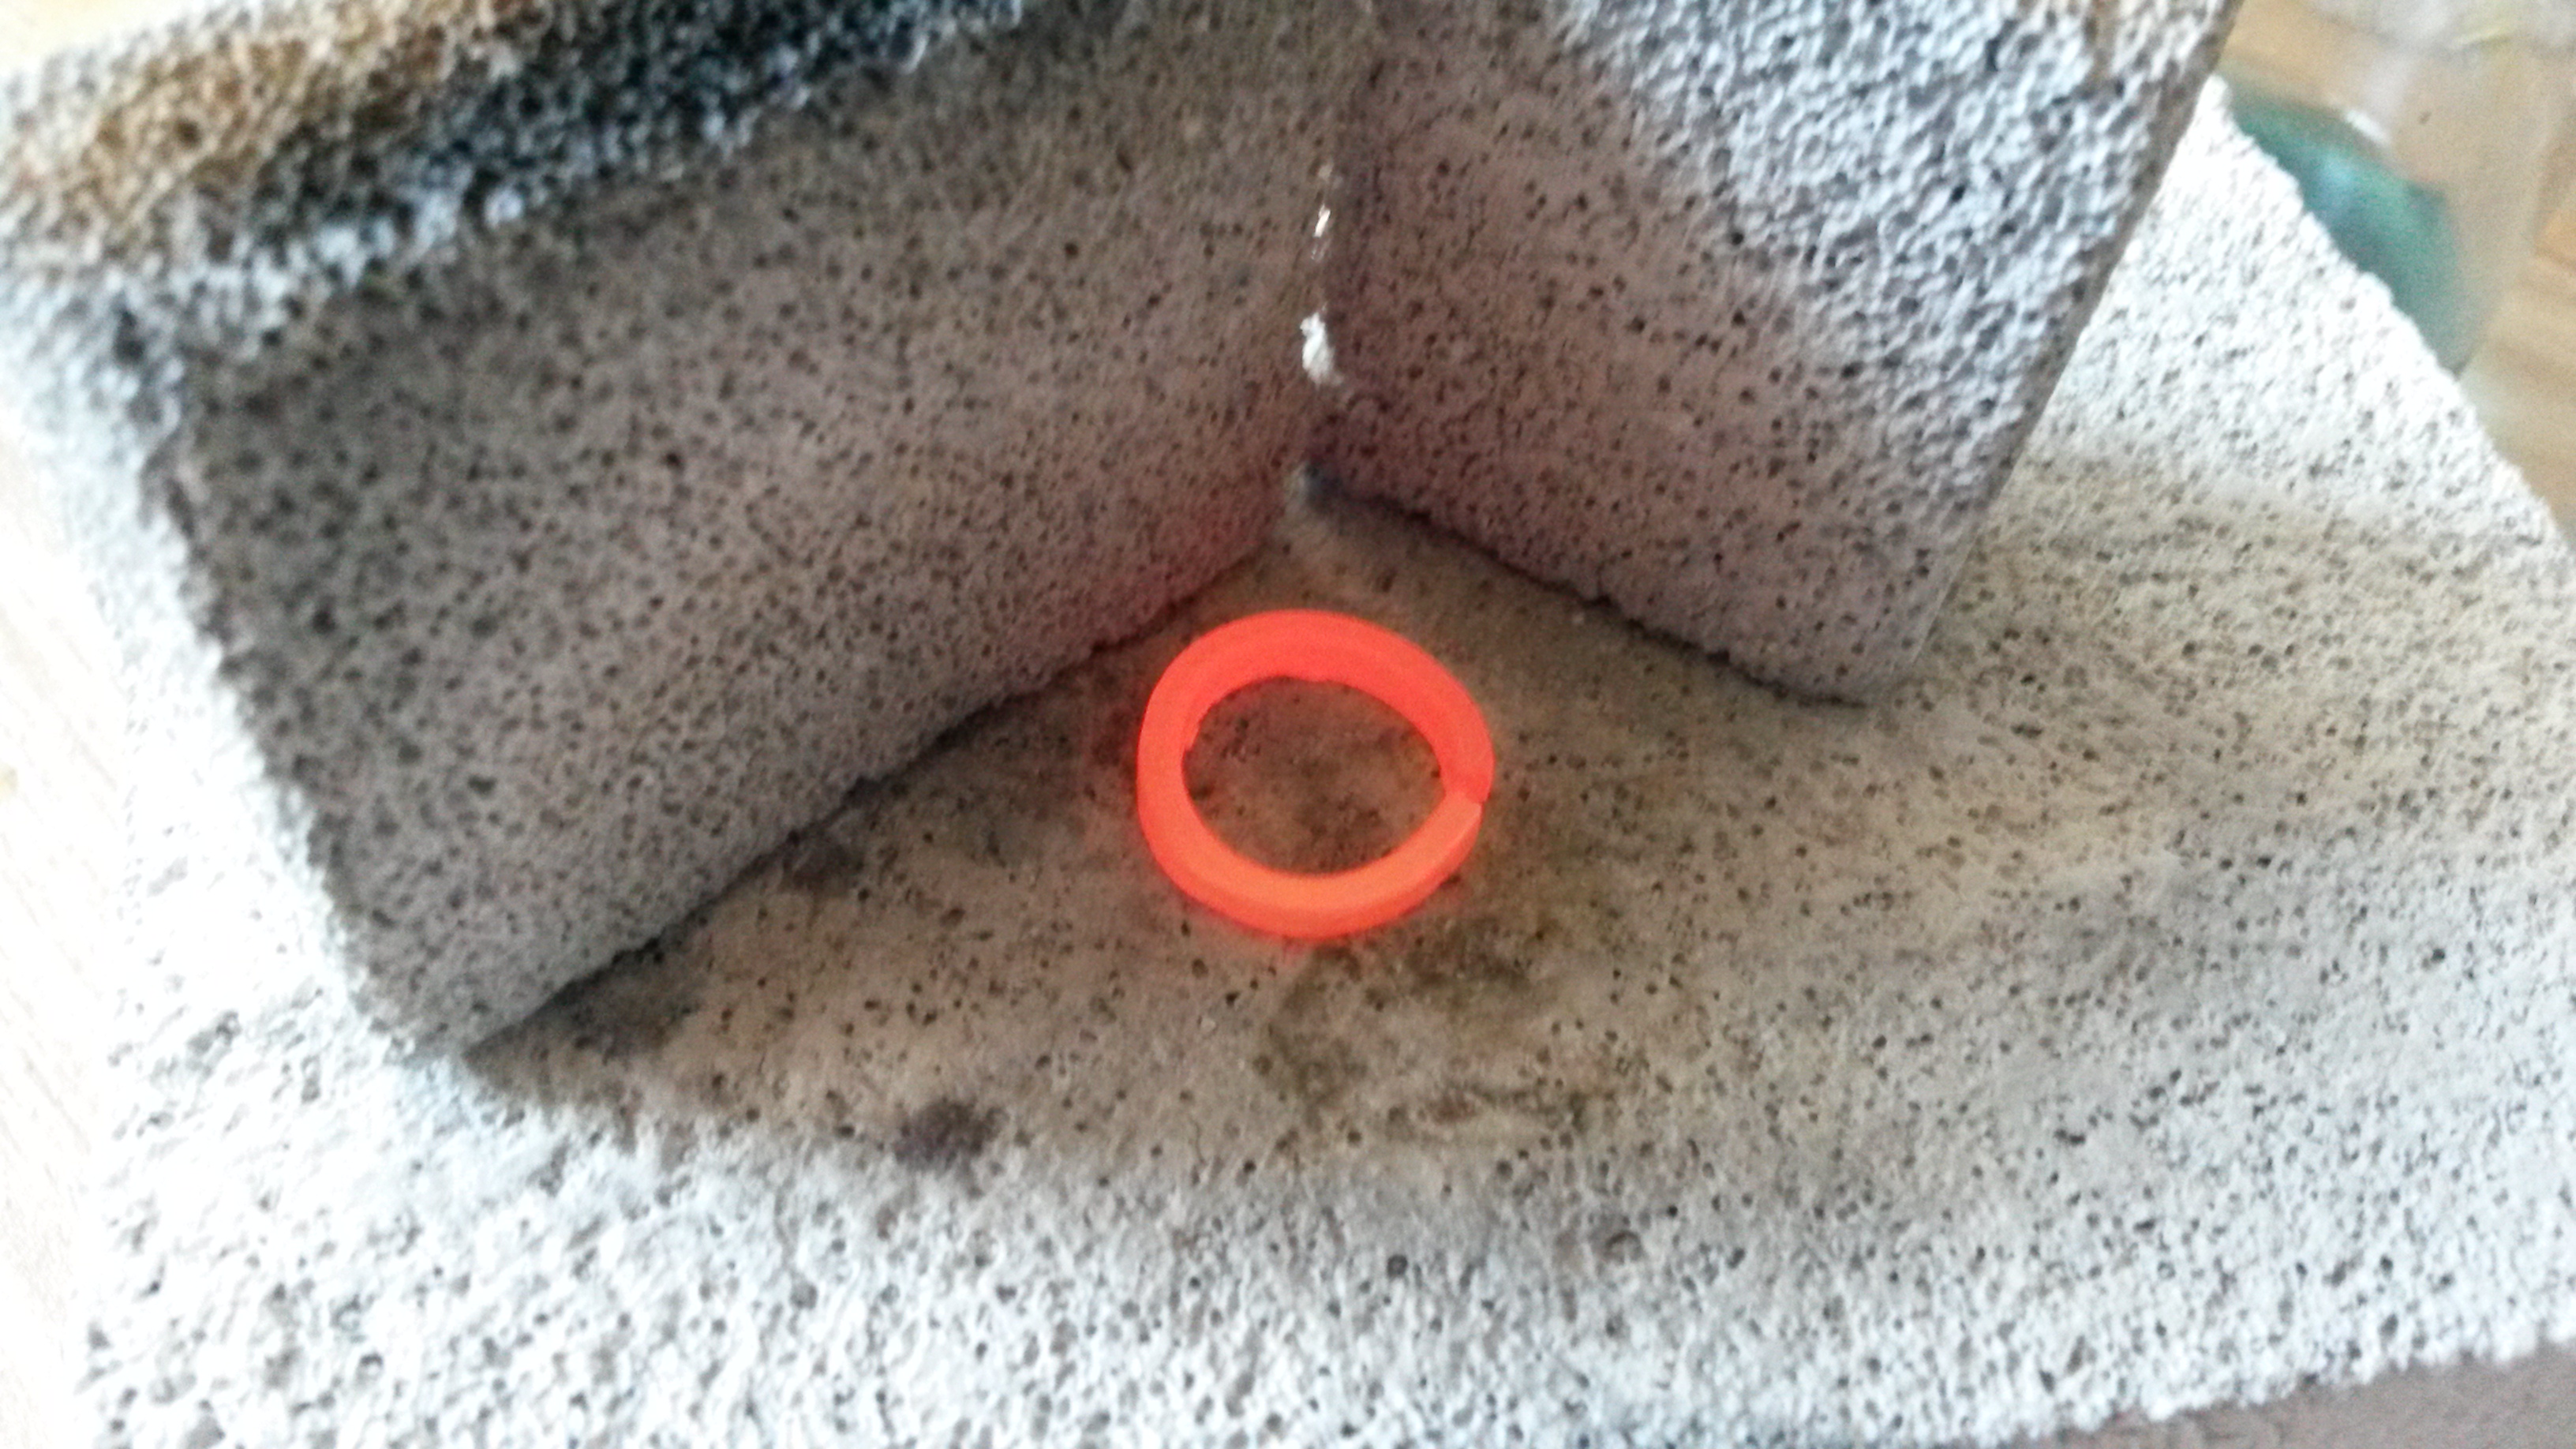
…and soldering.
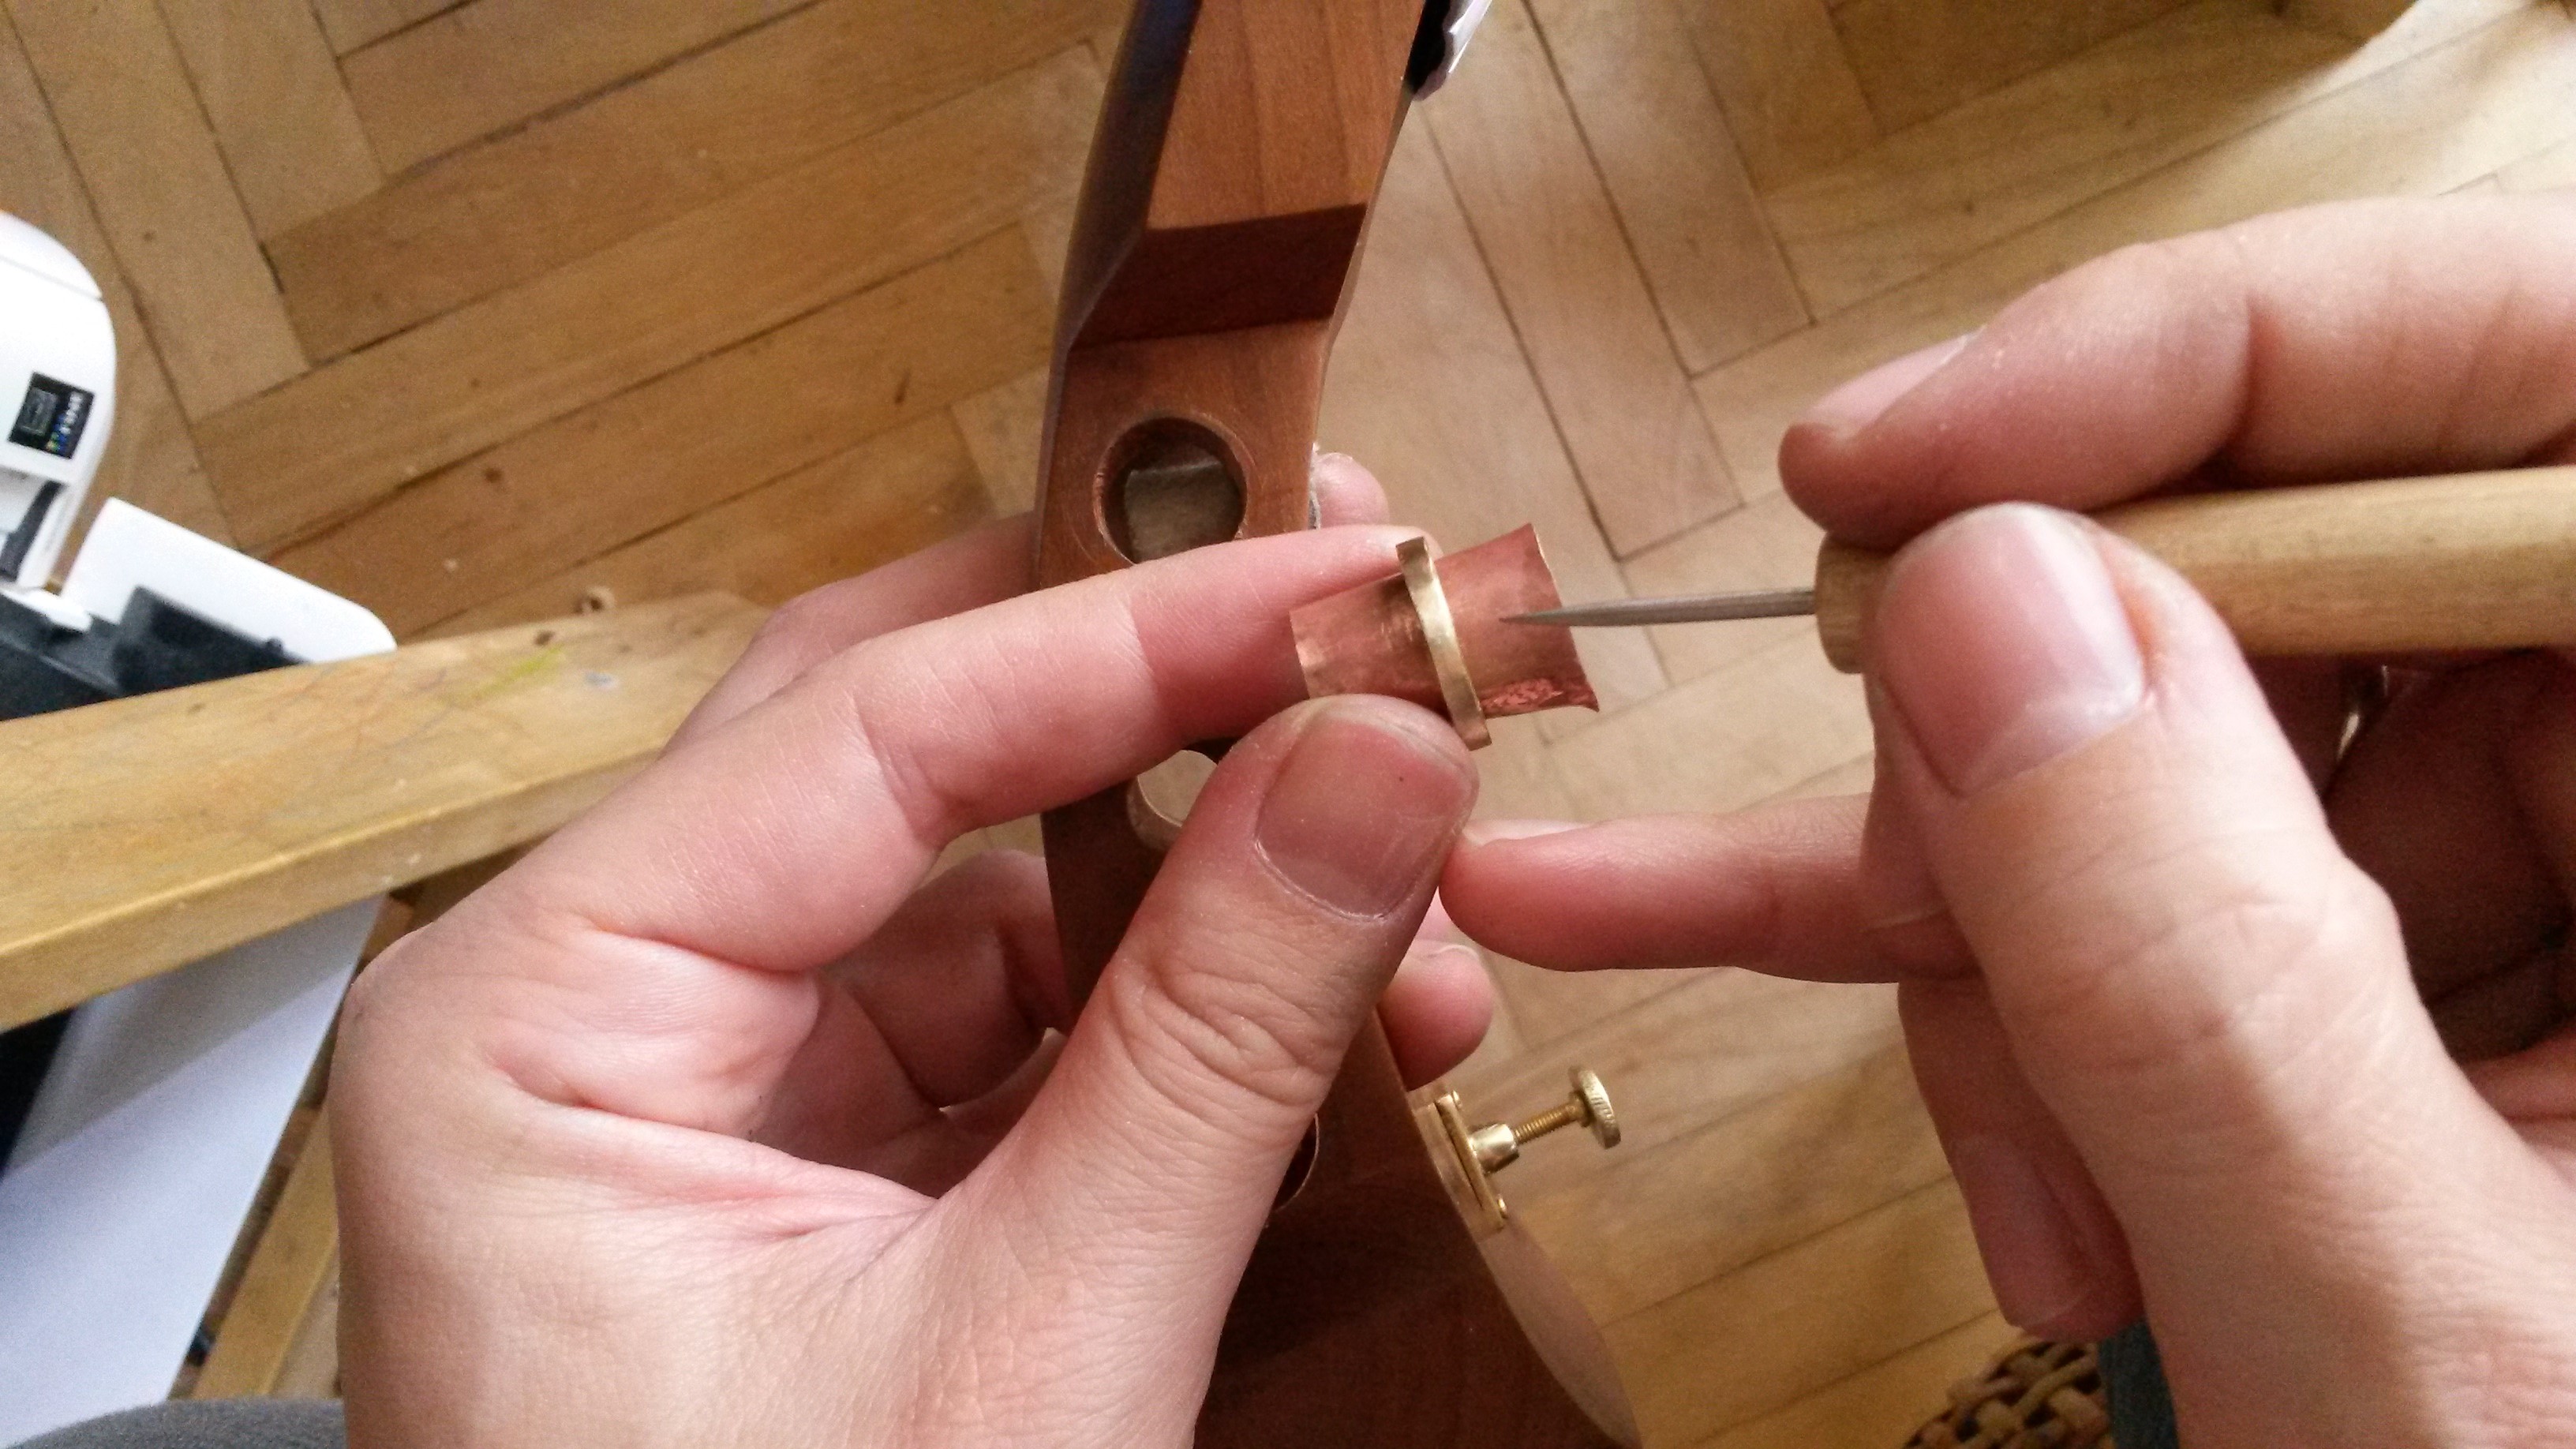
From top to bottom: cutting the excess part, filling, and polishing.
As I said, I don´t have a ring mandrel so the rings are a bit crooked and this was the end result:

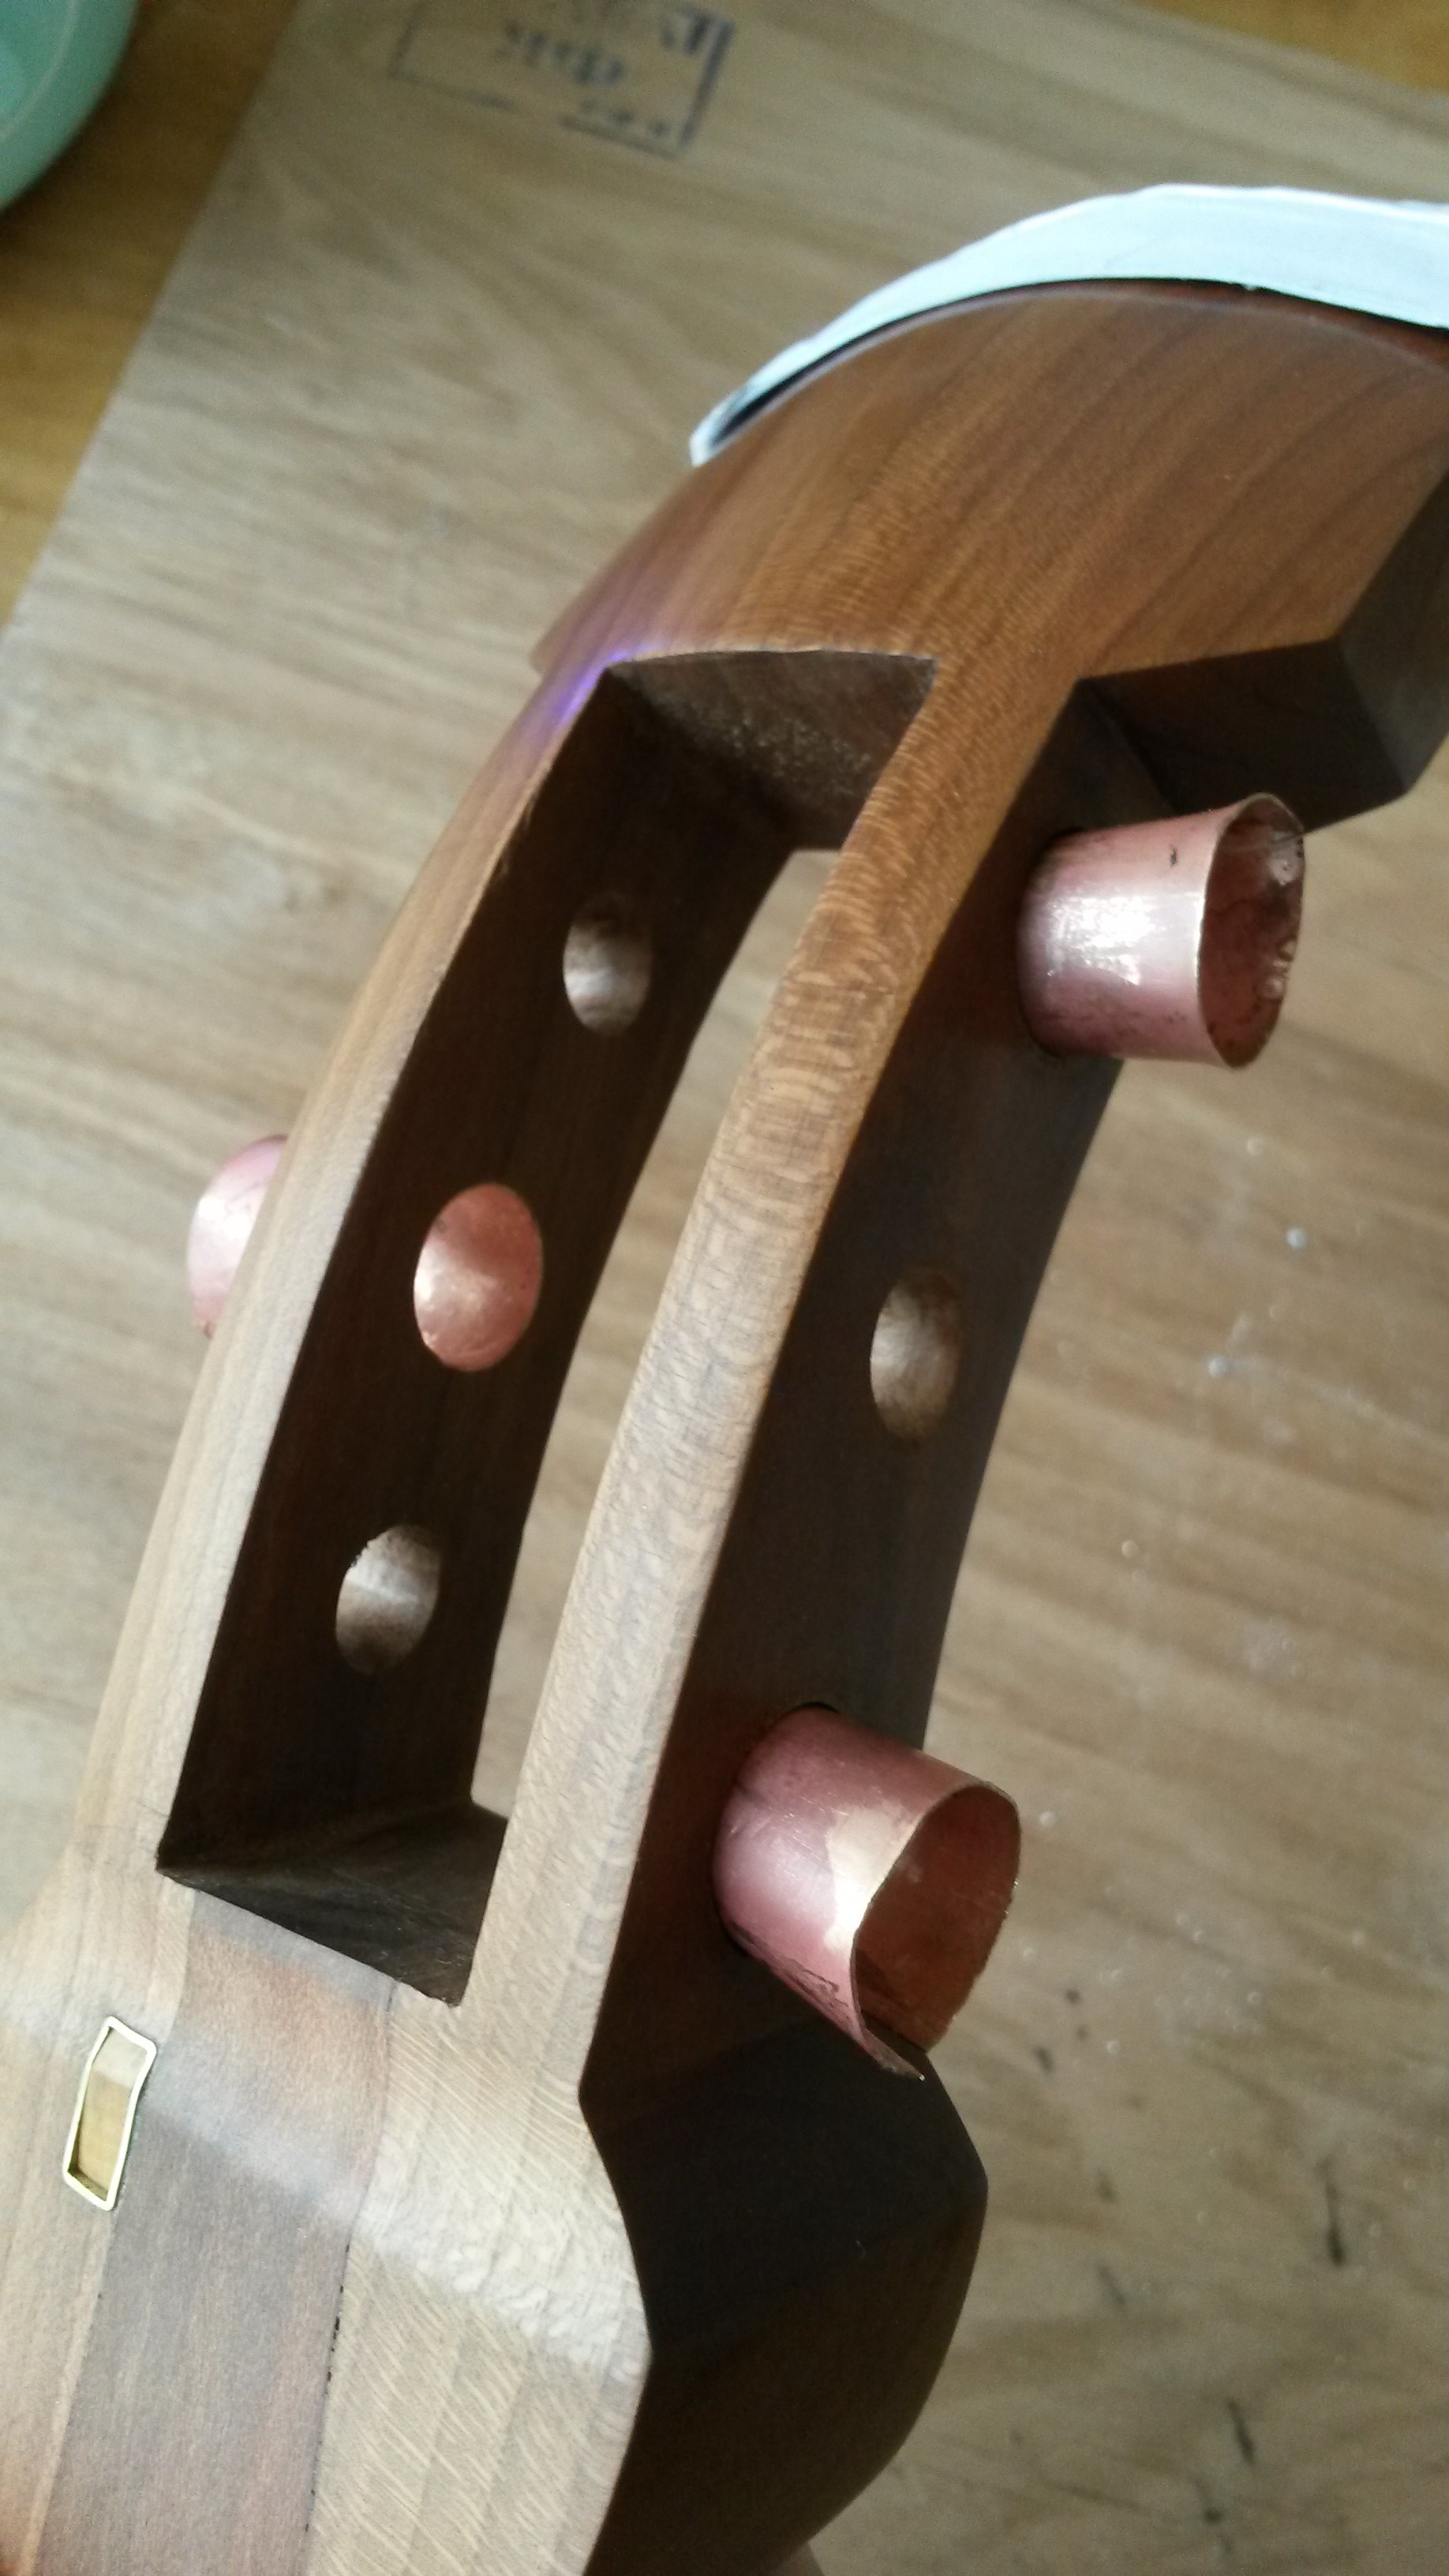
Itomaki
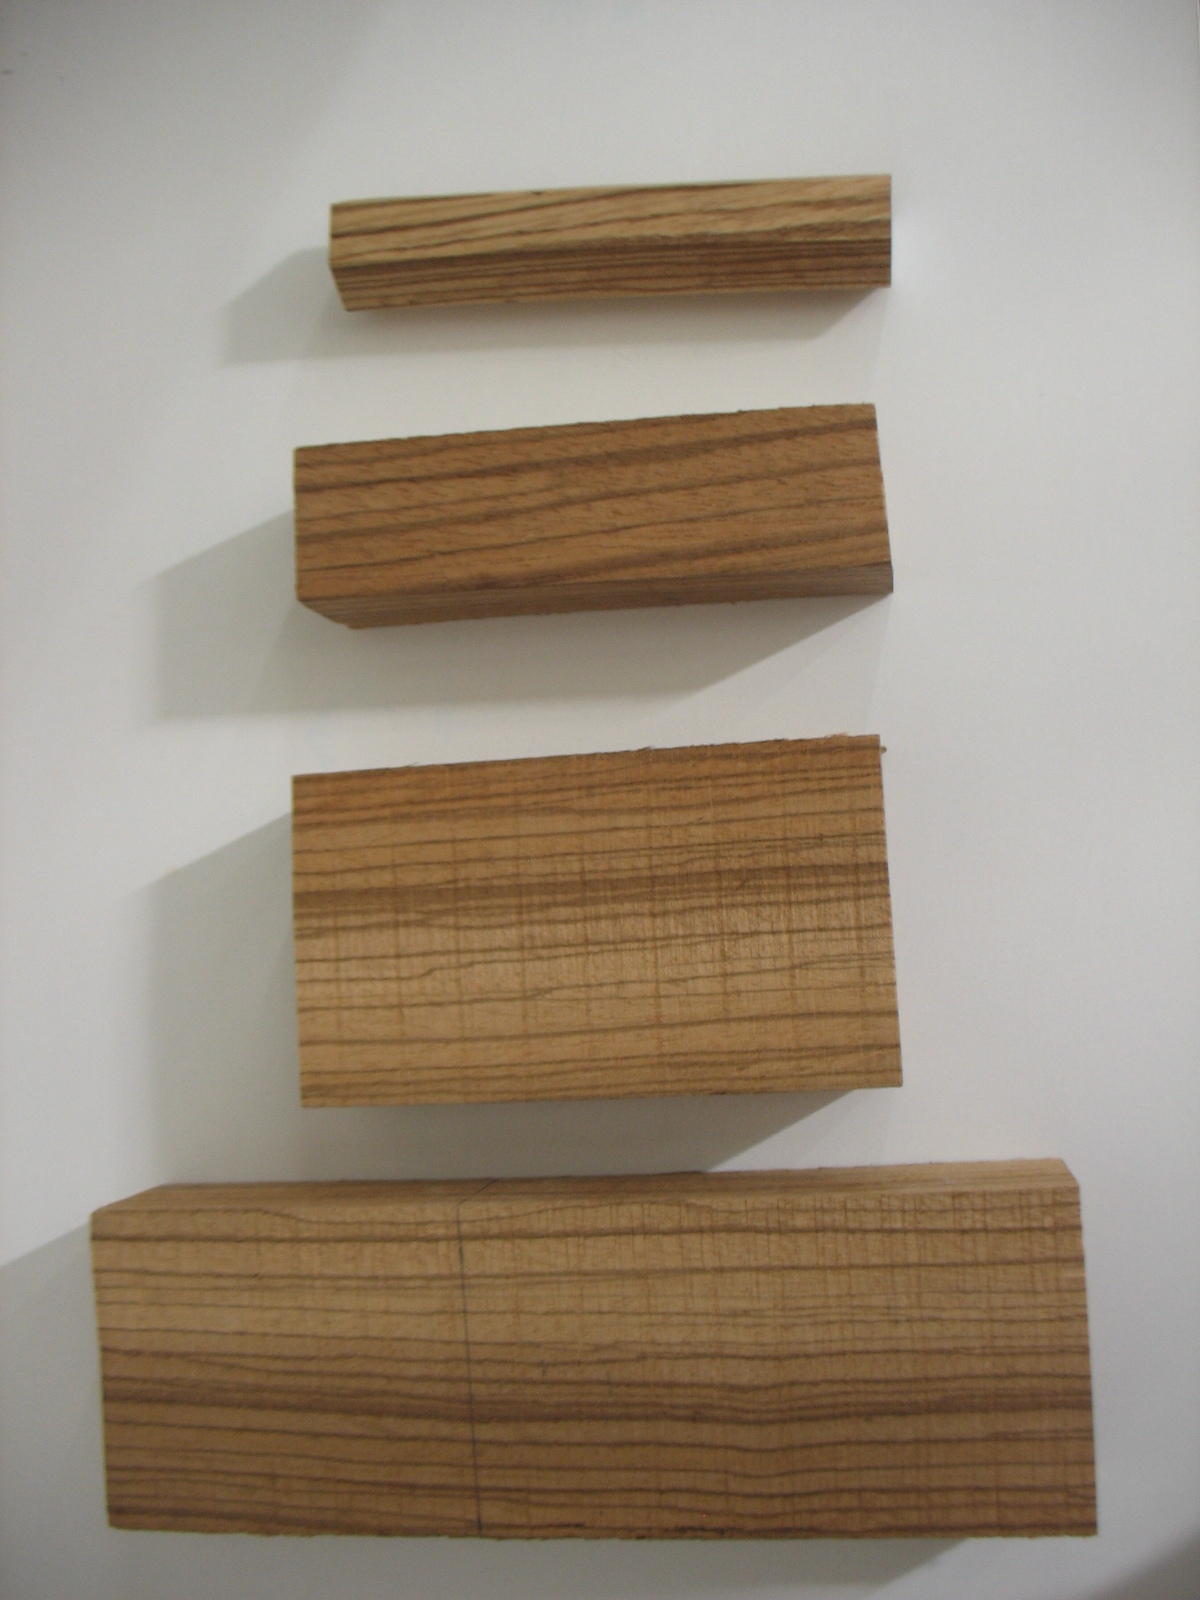
Now for the itomaki, I chose zebrano or zebra wood as it was harder than cherry and available to buy in small quantity. Personally, I would probably never choose this wood again for the entire itomaki, at least not for the part that is actually holding the string. Somehow, it does not feel sturdy but it might be only me or the piece of wood was too dry? I don´t know.
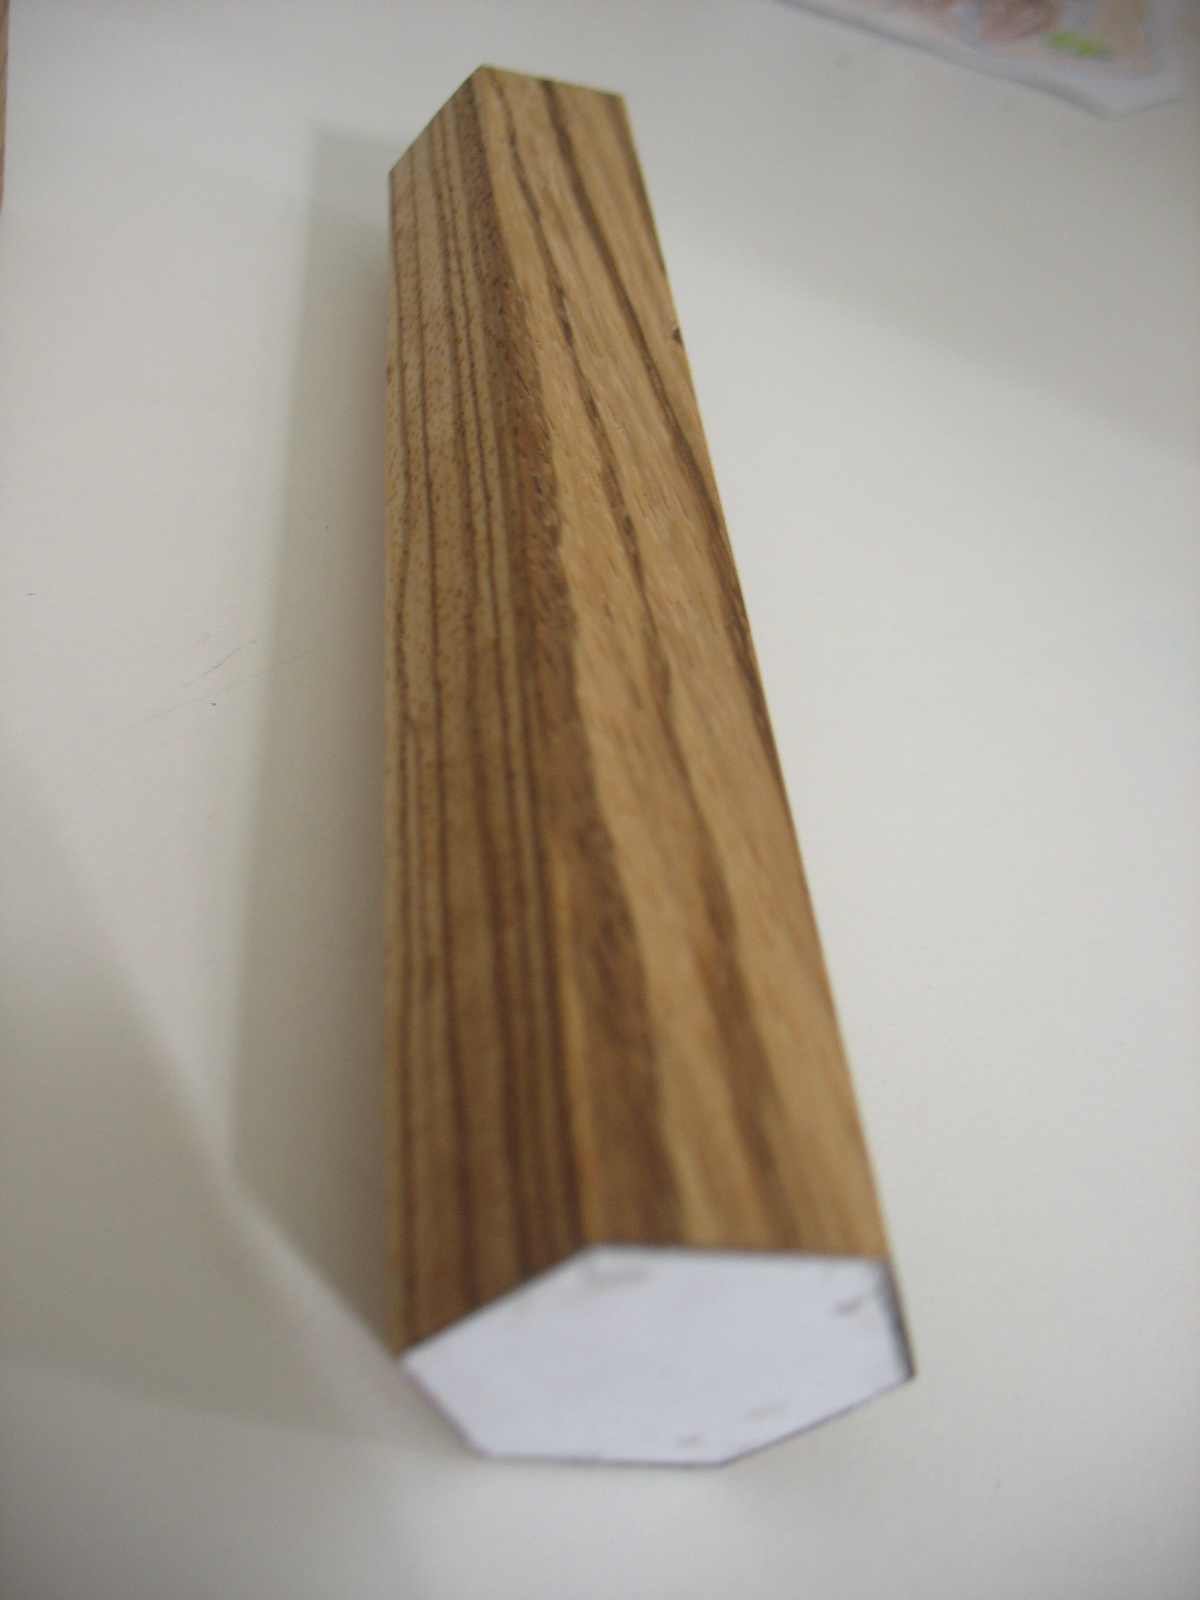
Tearout happens a lot with zebrano so shaping the itomaki with my plane was very tricky. I went from a block to a hexagonal piece. (For some reason, the first image did not turn around…)
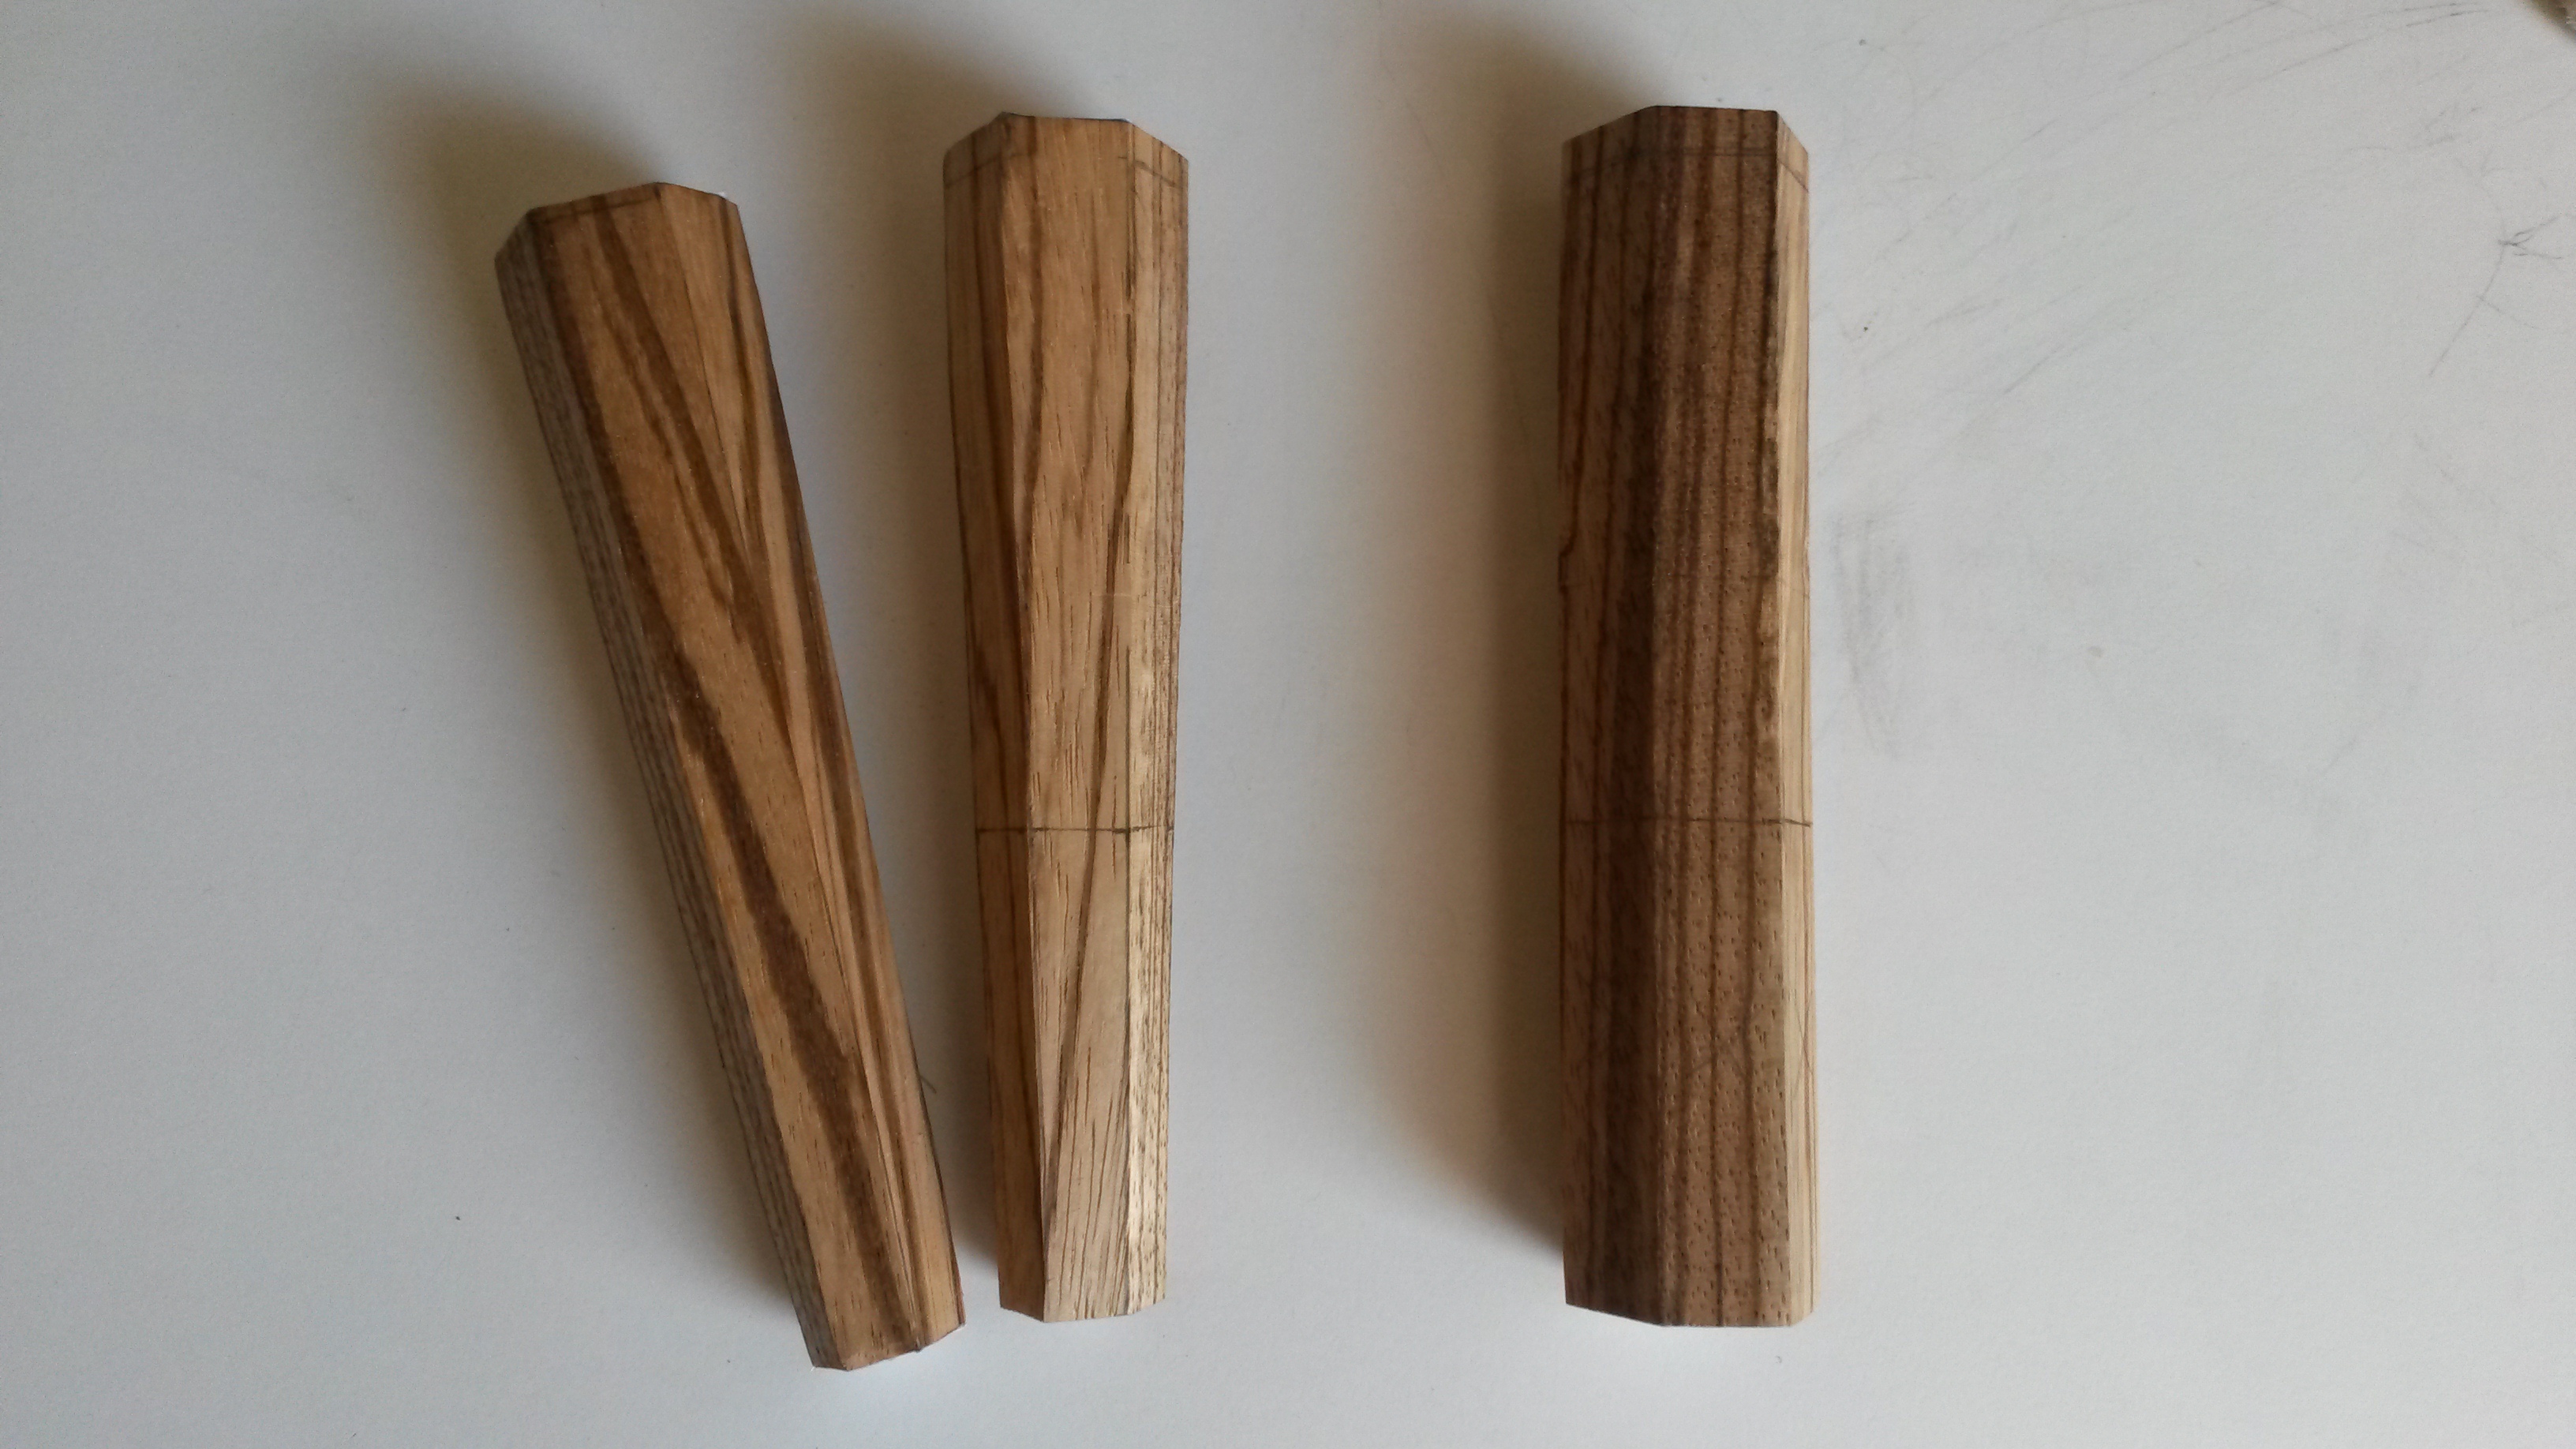
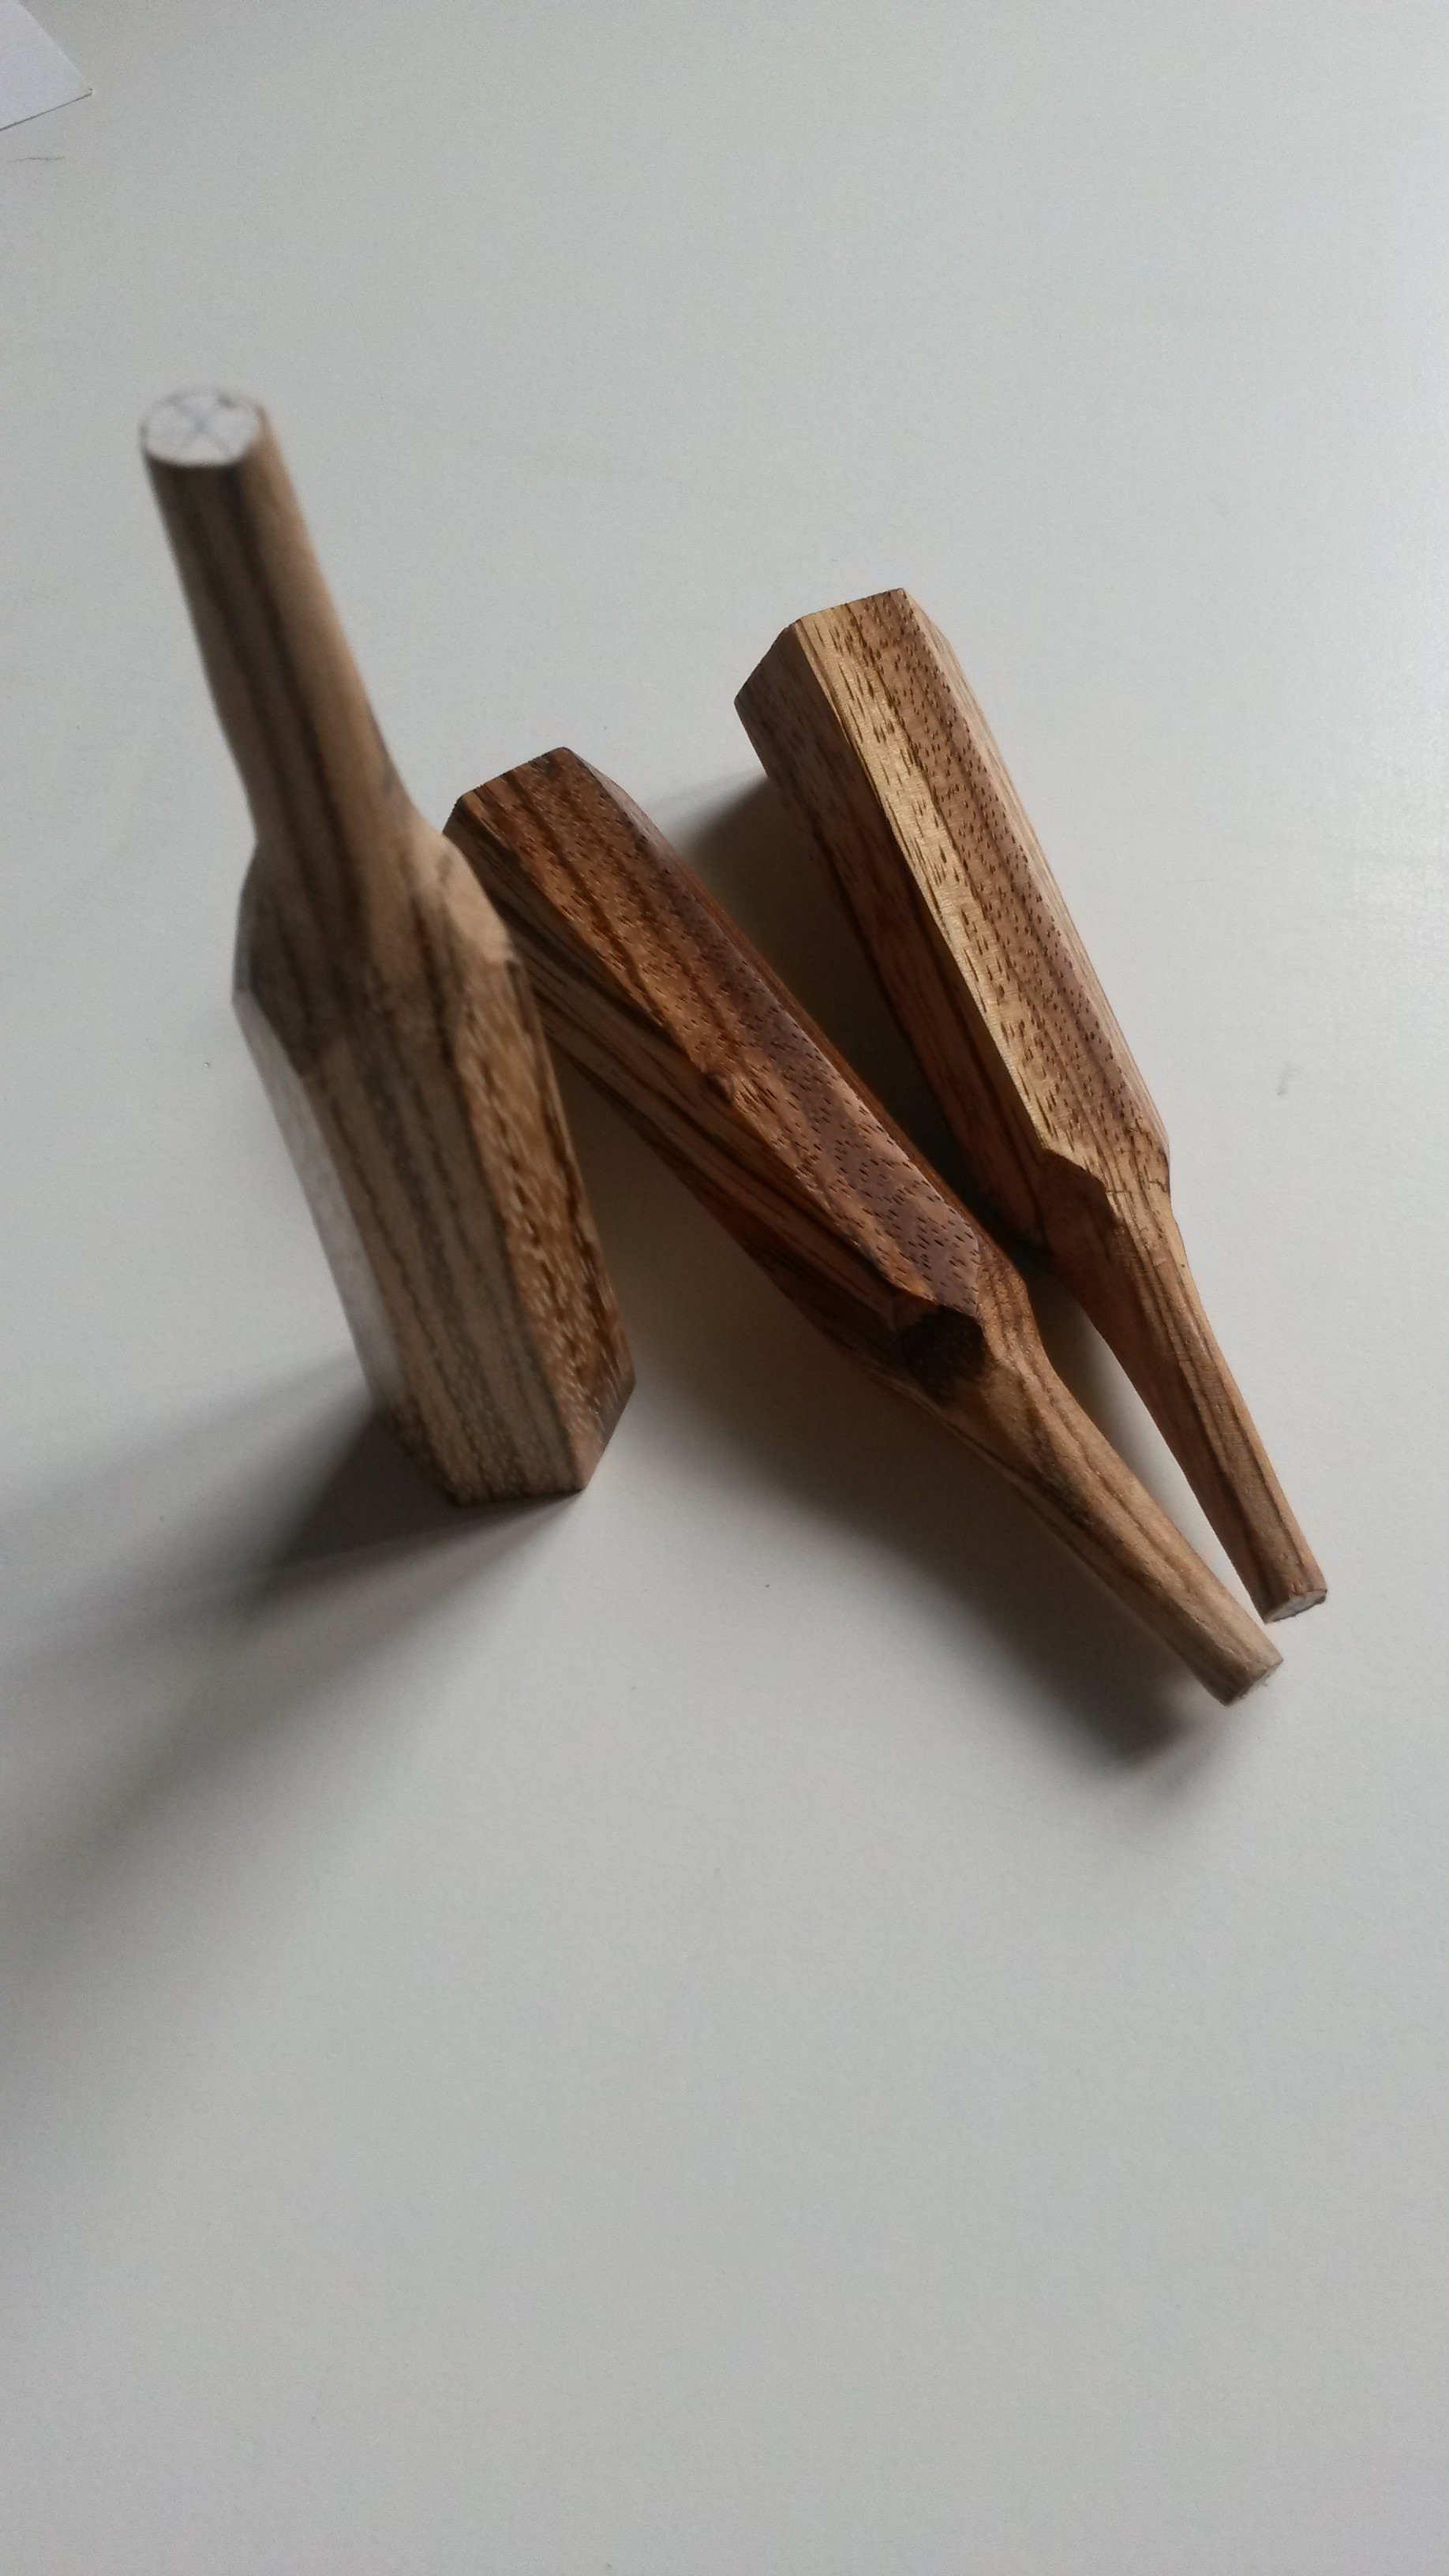
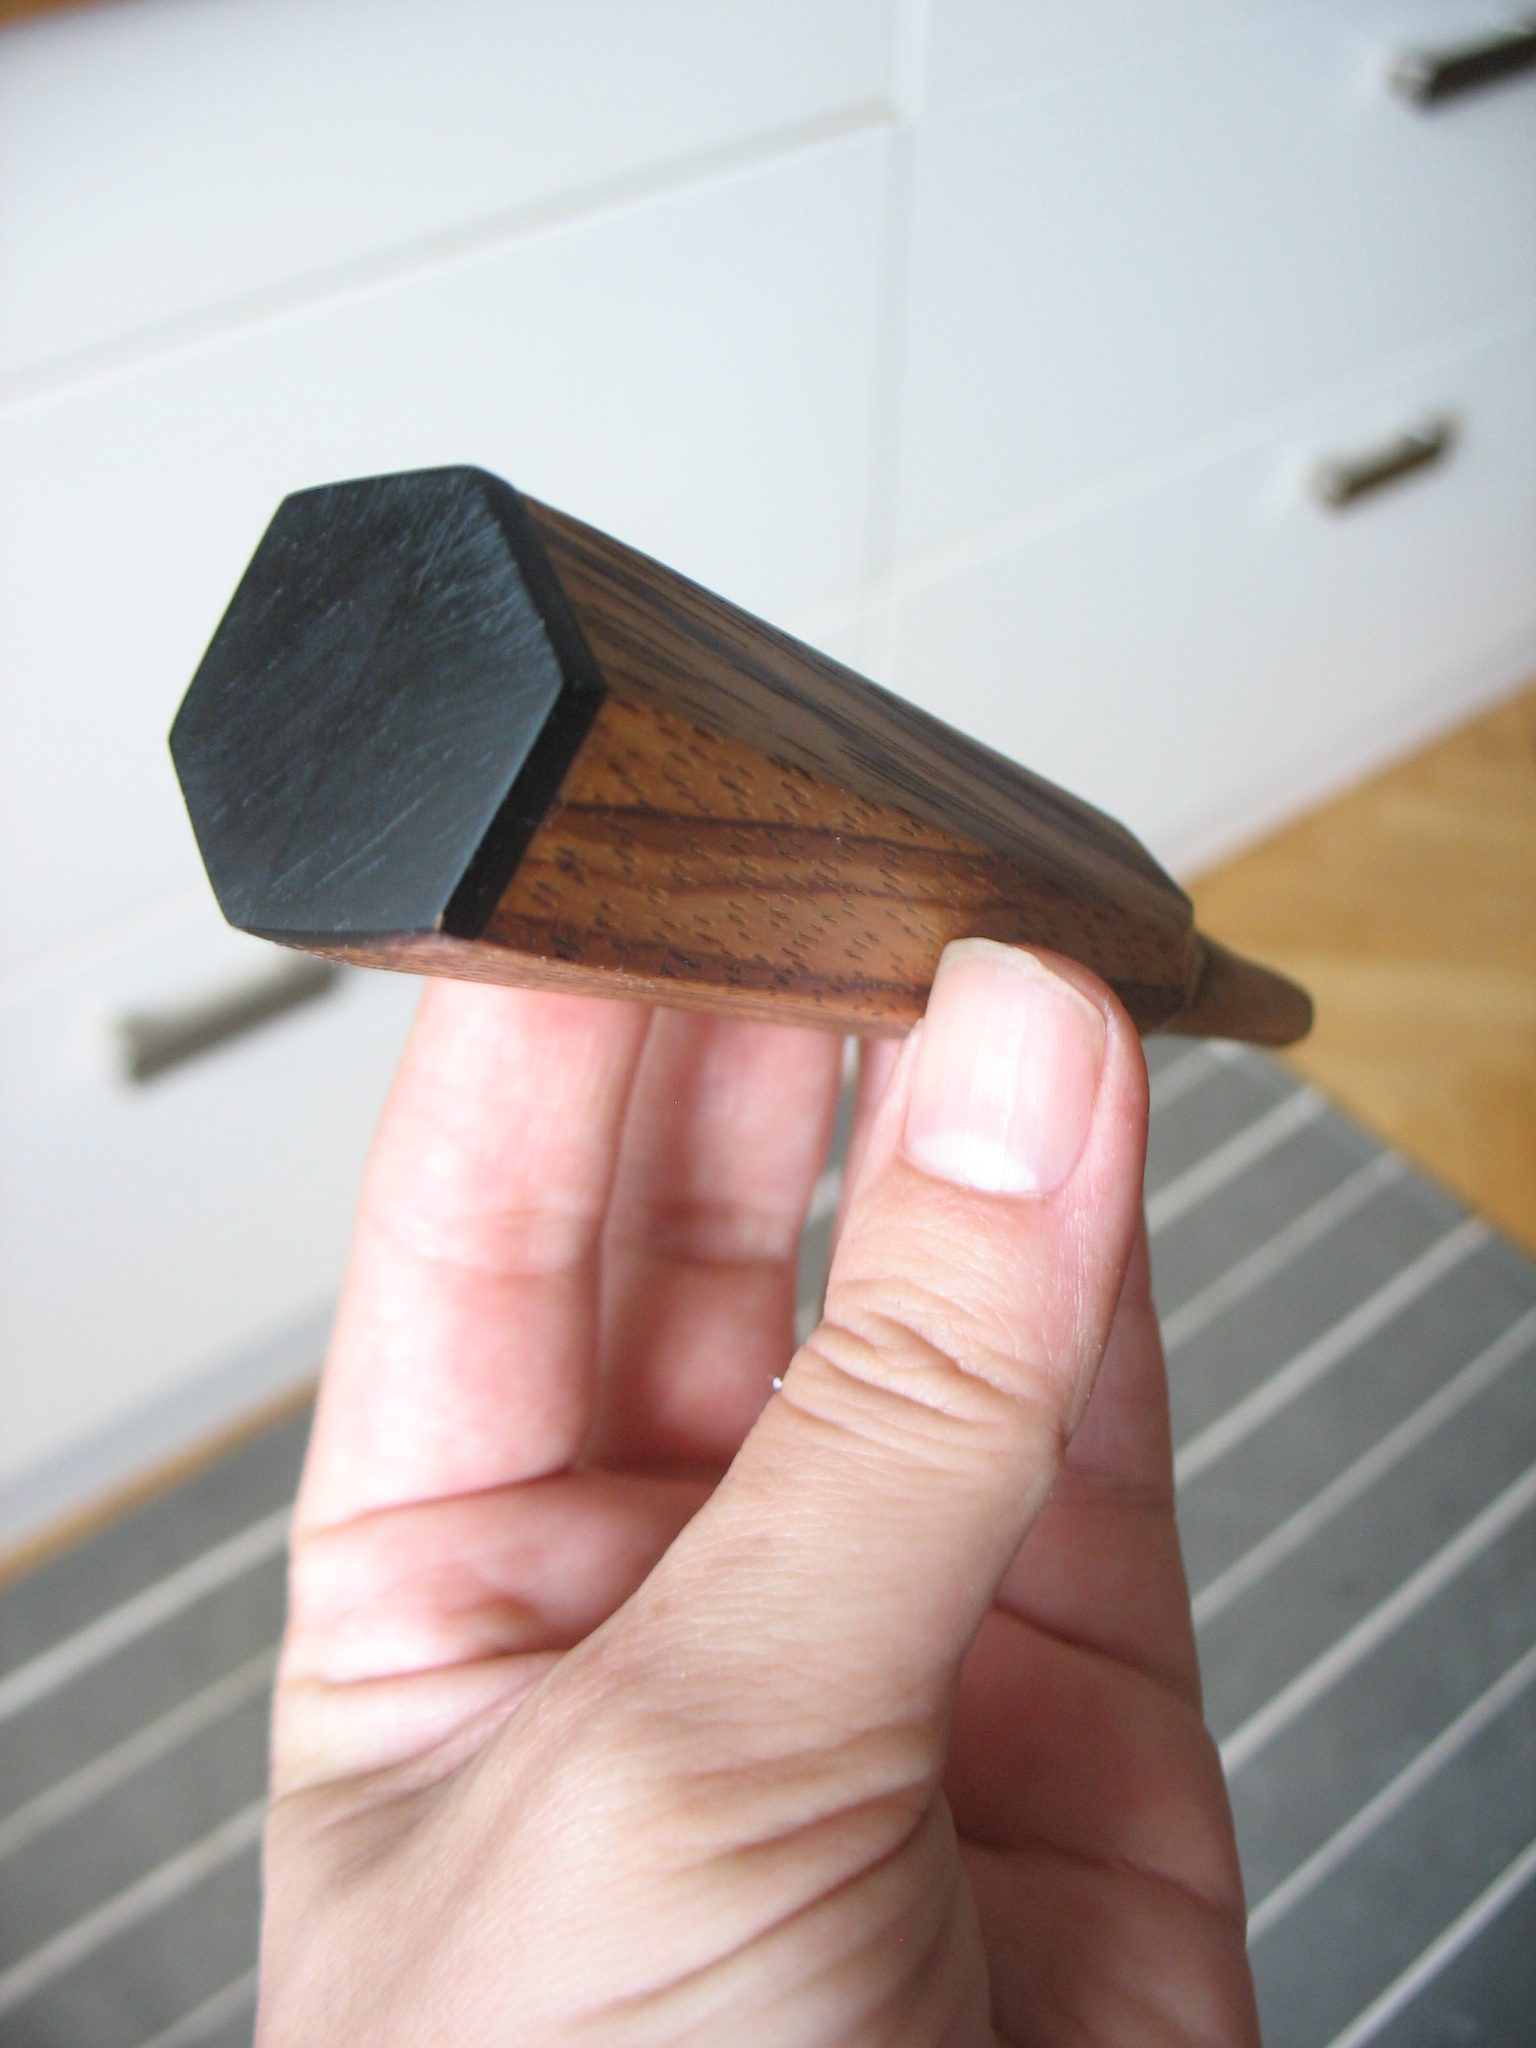
From here, I shaped the ends.
For a long time, I didn´t know if I should leave the itomaki as is or add something to them. In the end, I decided for some ebony. It just looks more finished now.


A small test:

and drilling holes for the strings!
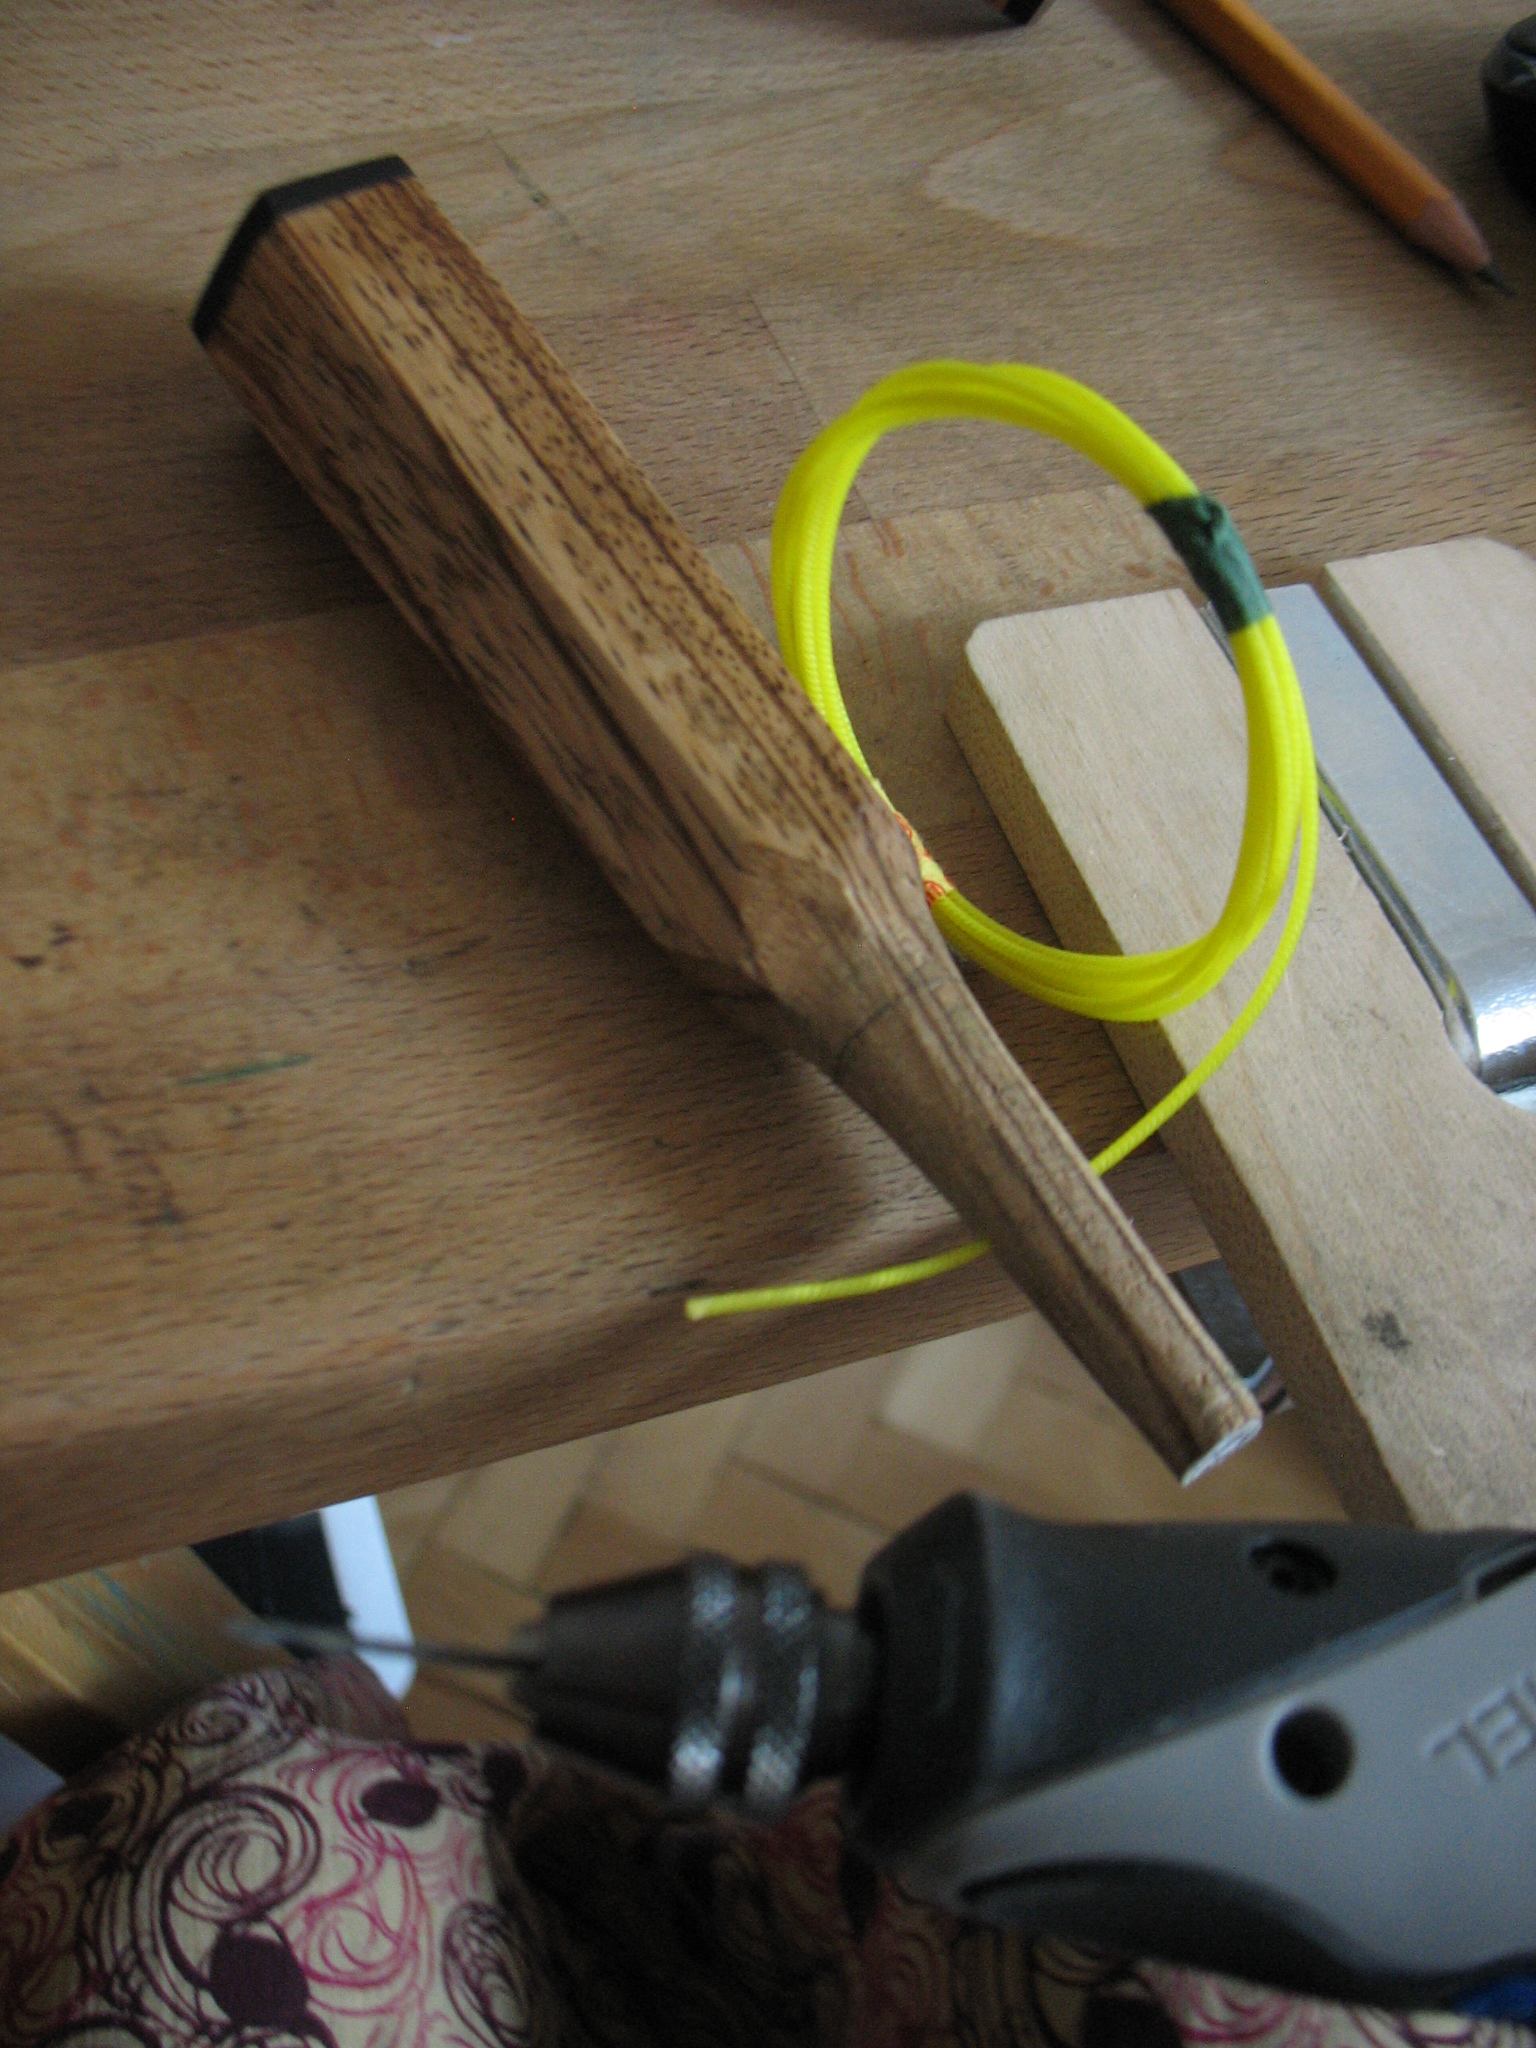
(yes, that is the tiny Stylo Dremel in the bottom of the picture. I got it recently and it is a very “cute” rotary tool but not necessary for the making of the shamisen. More on tools later
 )
)
I ended up drilling one of the itomaki in the wrong place but I guess it does not really matter and I was able to string the shamisen without any problems. So that´s that for today…
Itomaki materials:
Zebrano/zebra wood and ebony
Thank you for reading!