Hello shami buddies,
I’m looking for building my first itomakis and I veeeeeery like the twisted ones like one the eclipse shamisen
Does anyone ever try to build these ? Do you have any tips ?

Thanks,
Florian
Hello shami buddies,
I’m looking for building my first itomakis and I veeeeeery like the twisted ones like one the eclipse shamisen
Thanks,
Florian
I love the look of these too. I’ve zero experience carving but I found this video on how to make “barley twists” and I suspect the technique is the same or very similar.

Oh I like the idea for having a regular curve, exactly what I searched for ! Thanks !
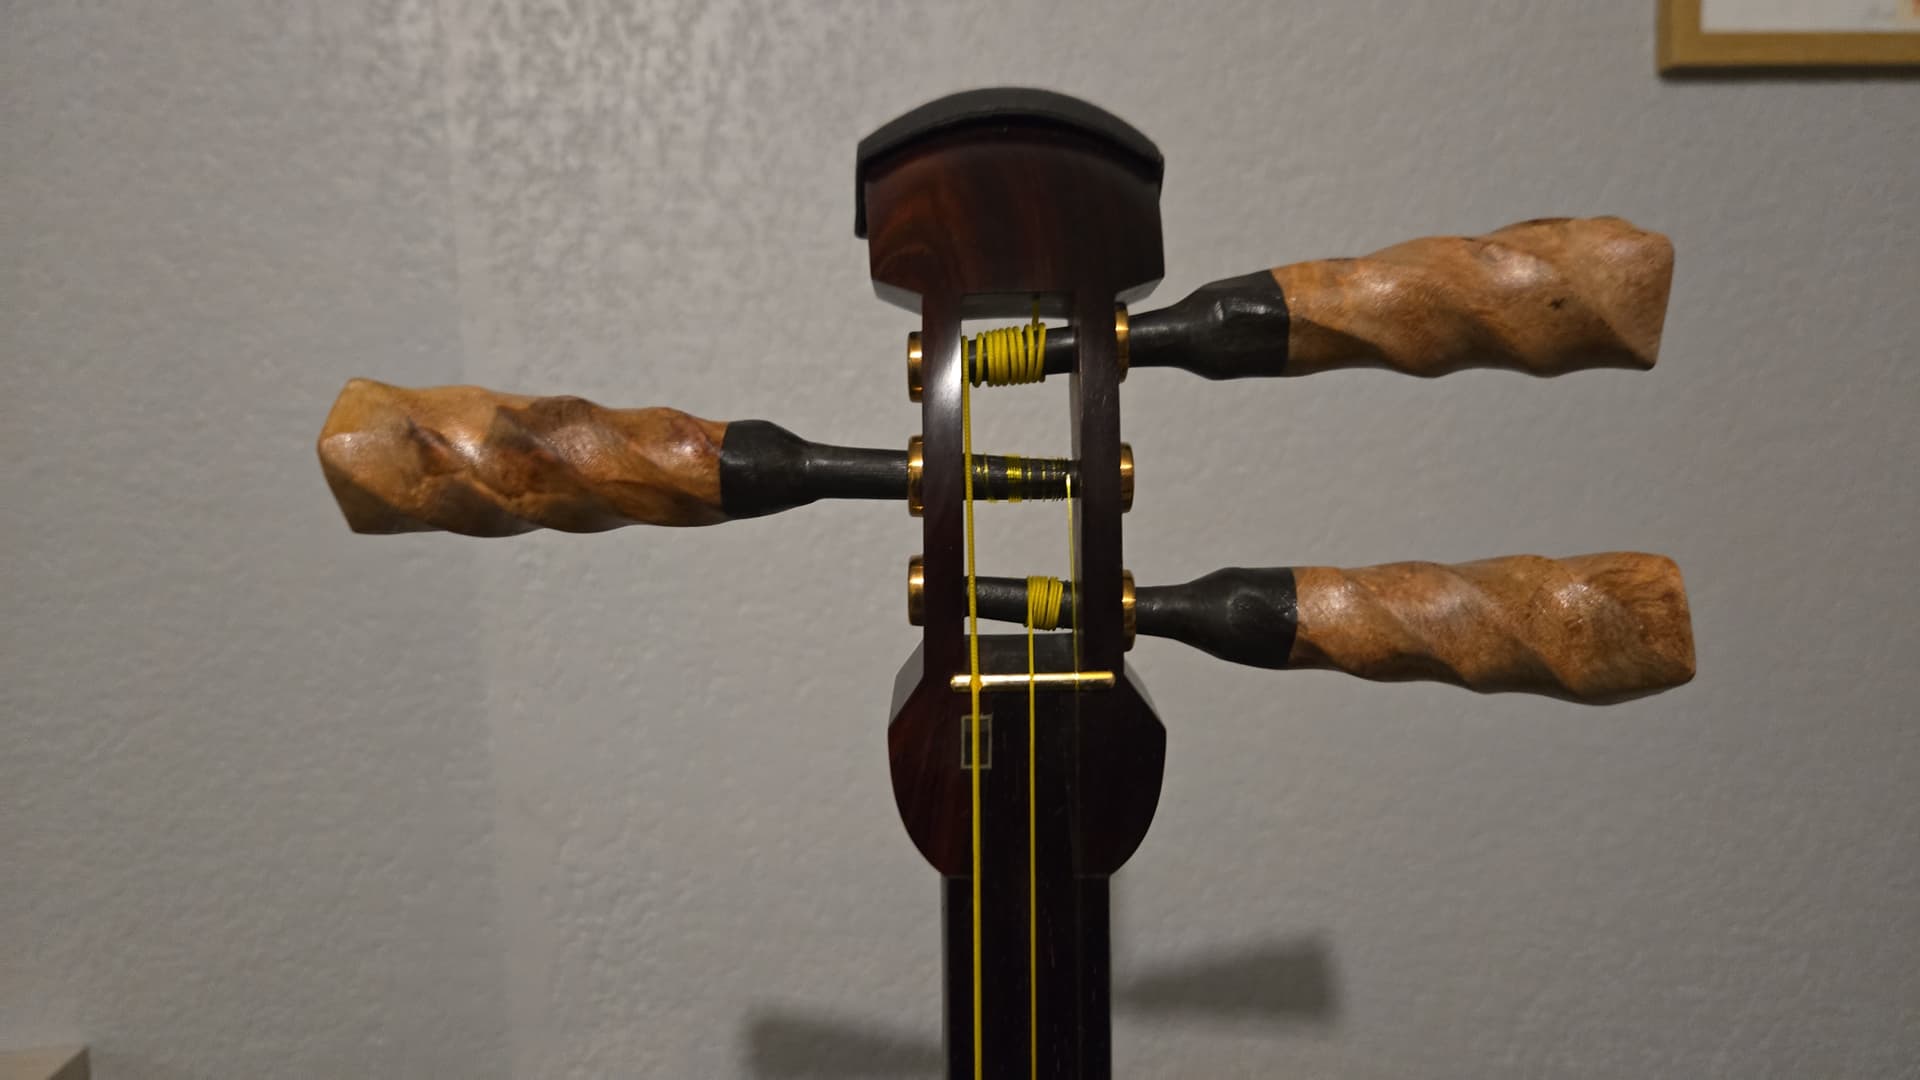
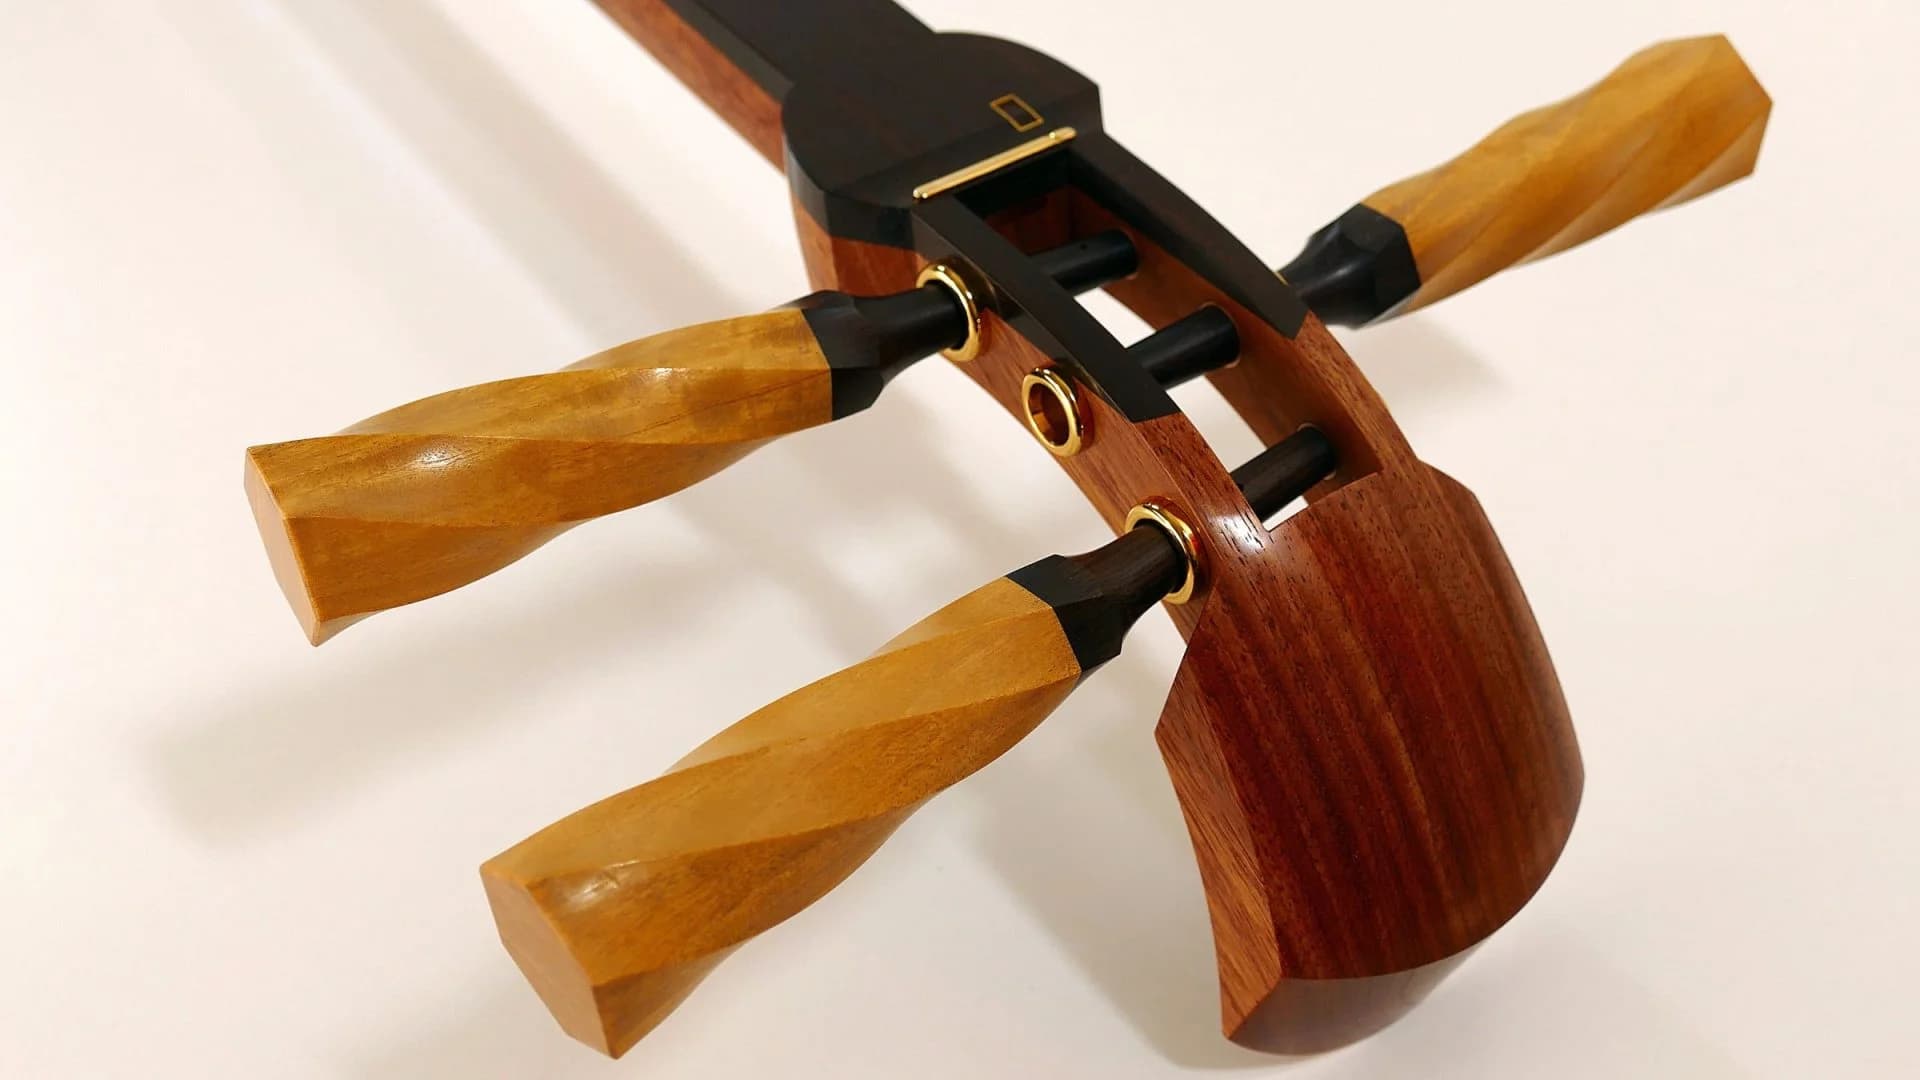
This is it, they are finally installed 
If someone is interrested, here’s my process :
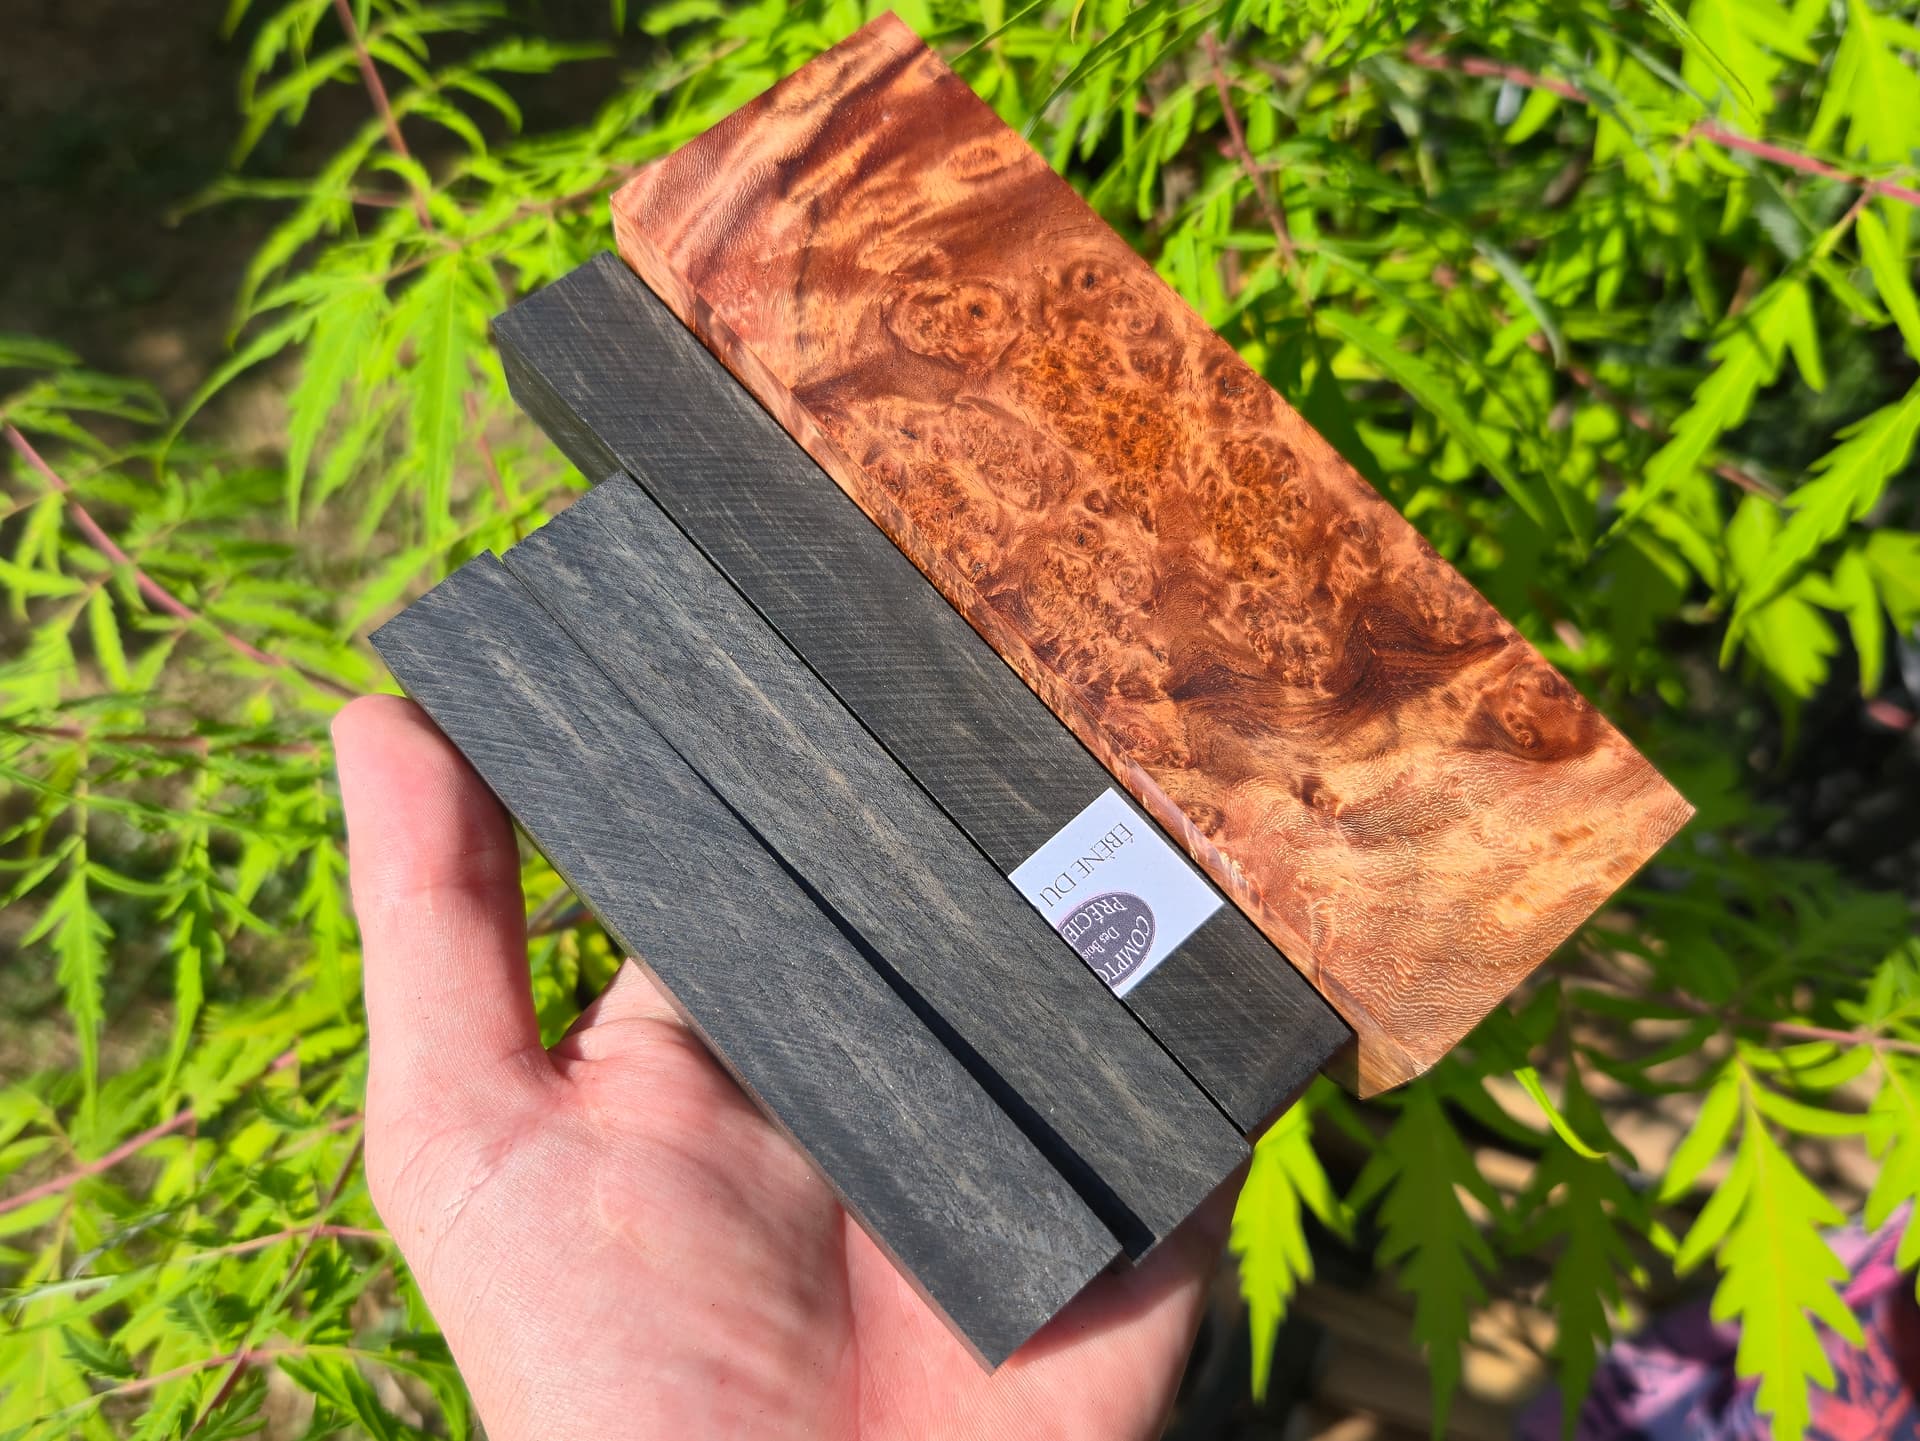
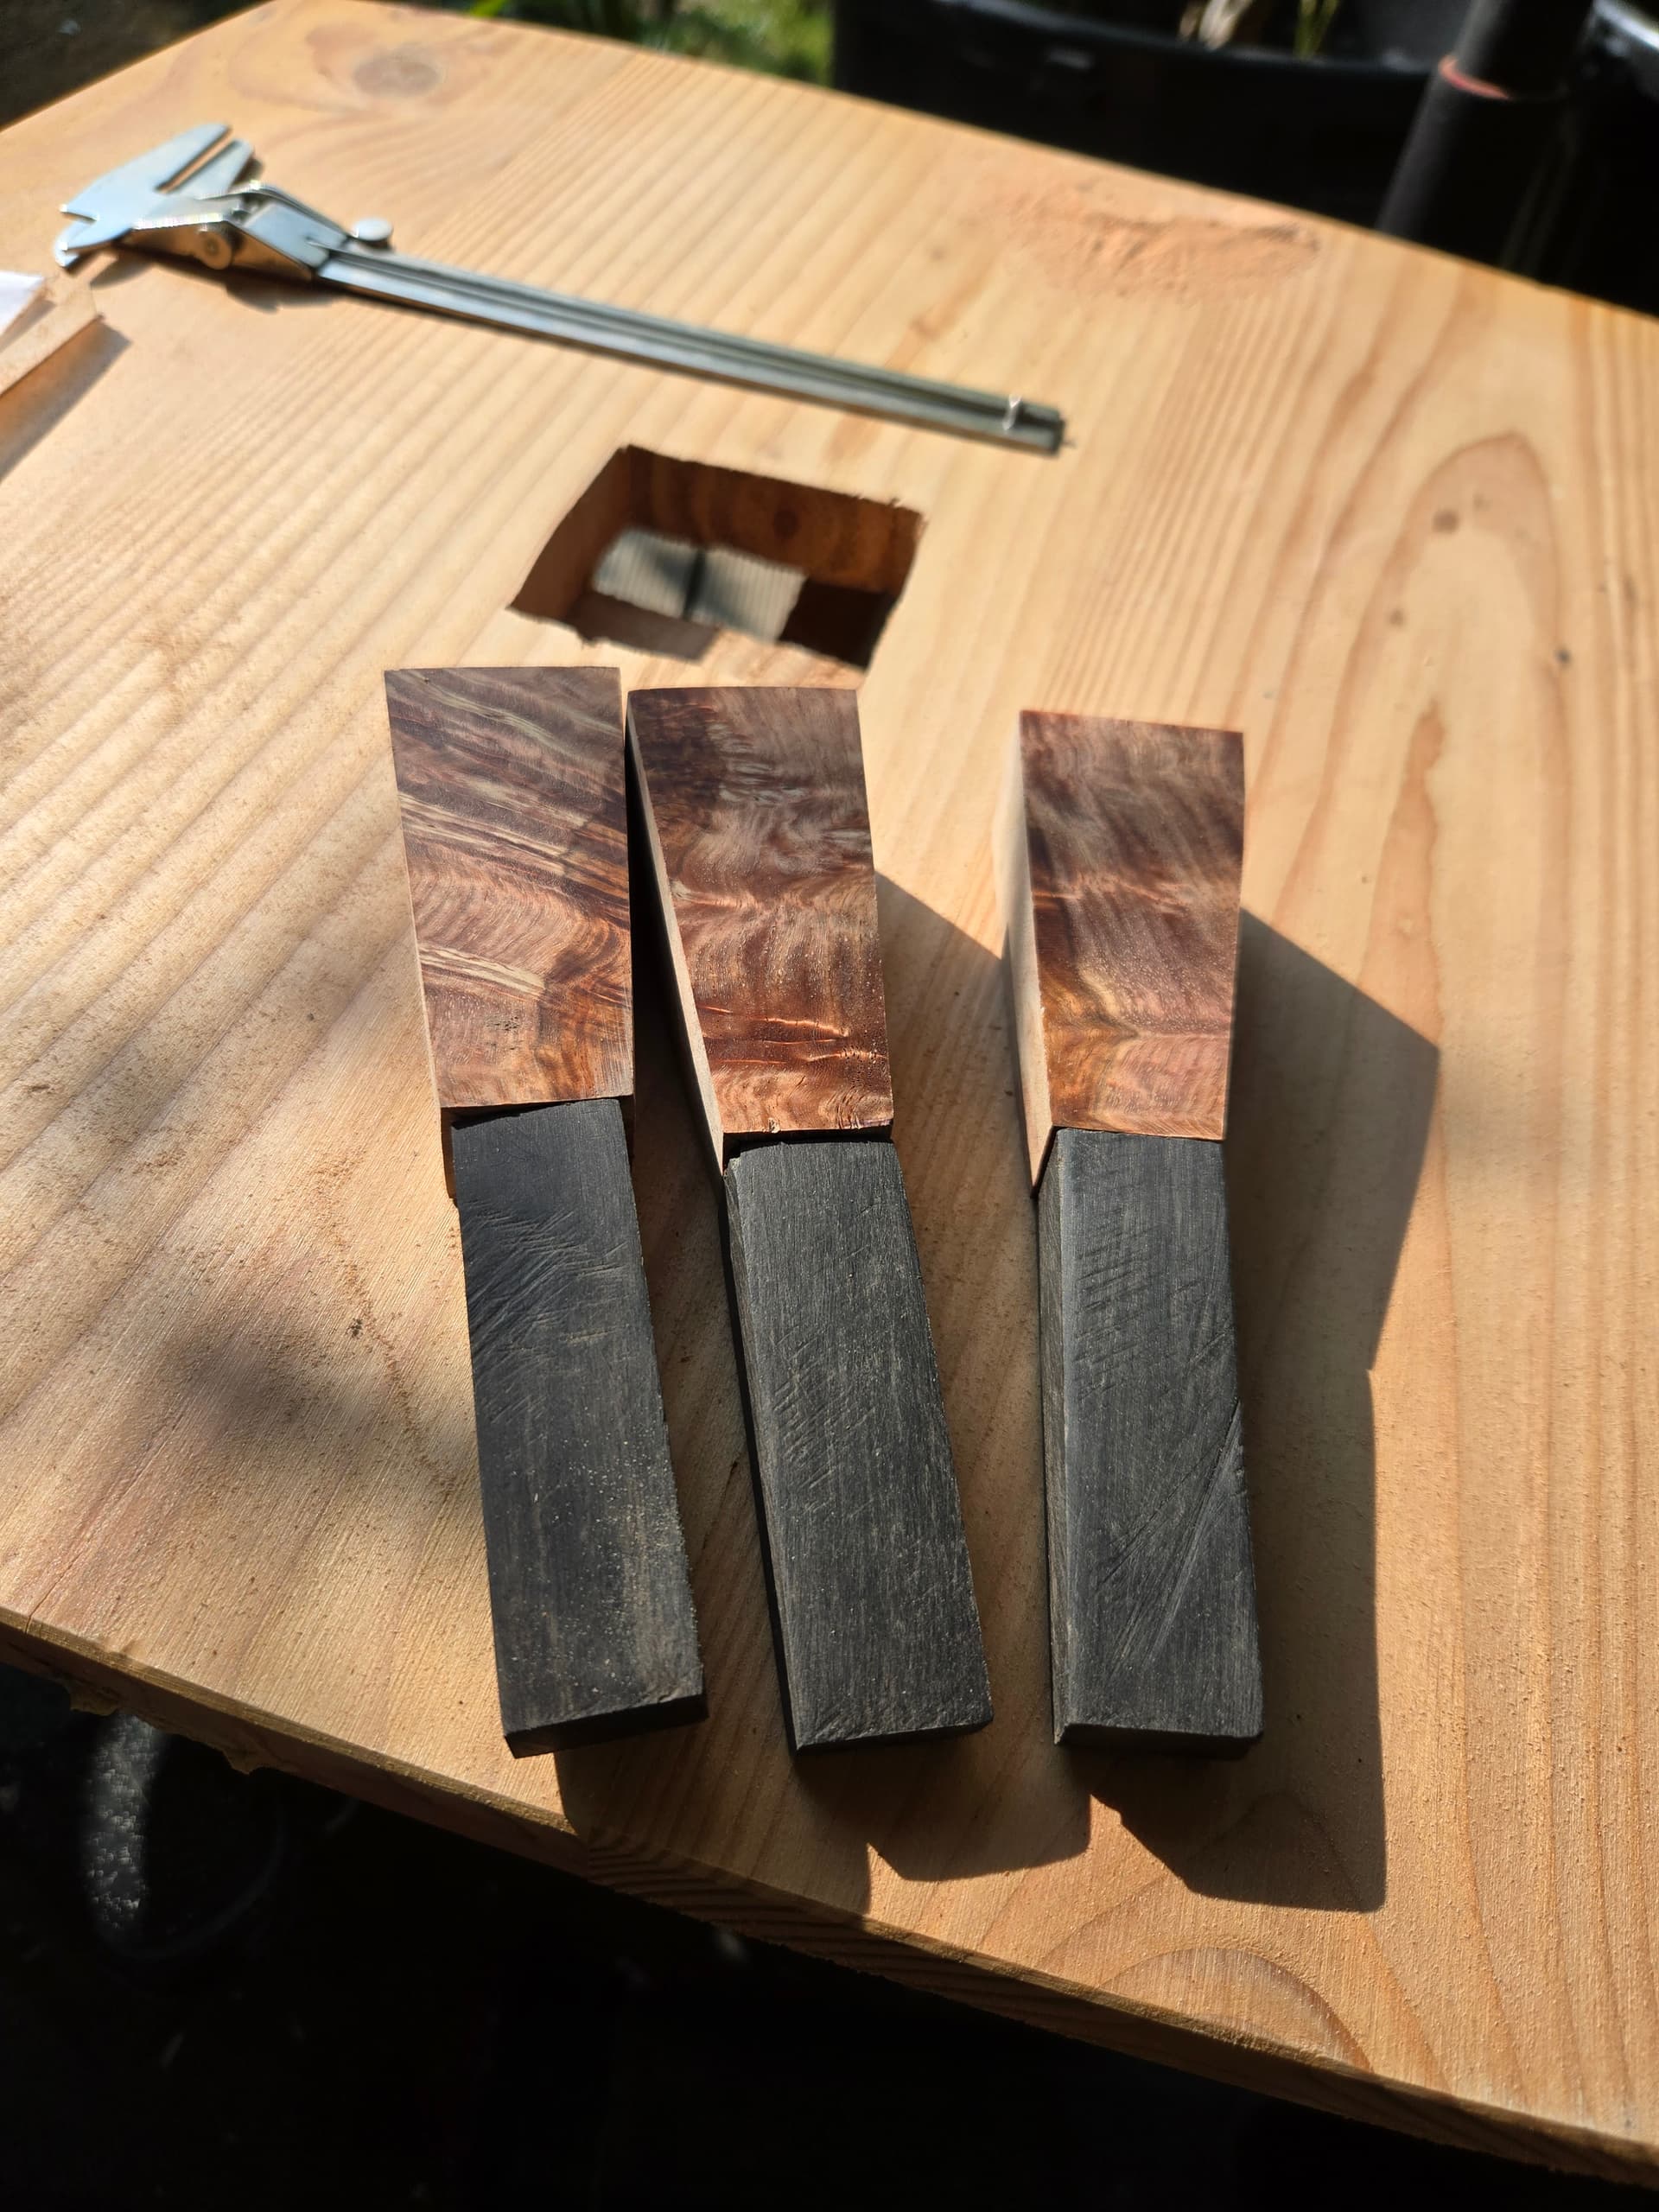
I ordered 1 bloc on amboyna and 3 blocs of ebony from https://www.comptoirdesboisprecieux.com/ :
Loupe d'Amboine (broussin) stabilisé en BLOC XXL
Ébène du Gabon en carrelet stylo
As I don’t have that much space for the amboyna, I need to use manual saw for cutting so I asked my father who is more able than me for cutting straight 
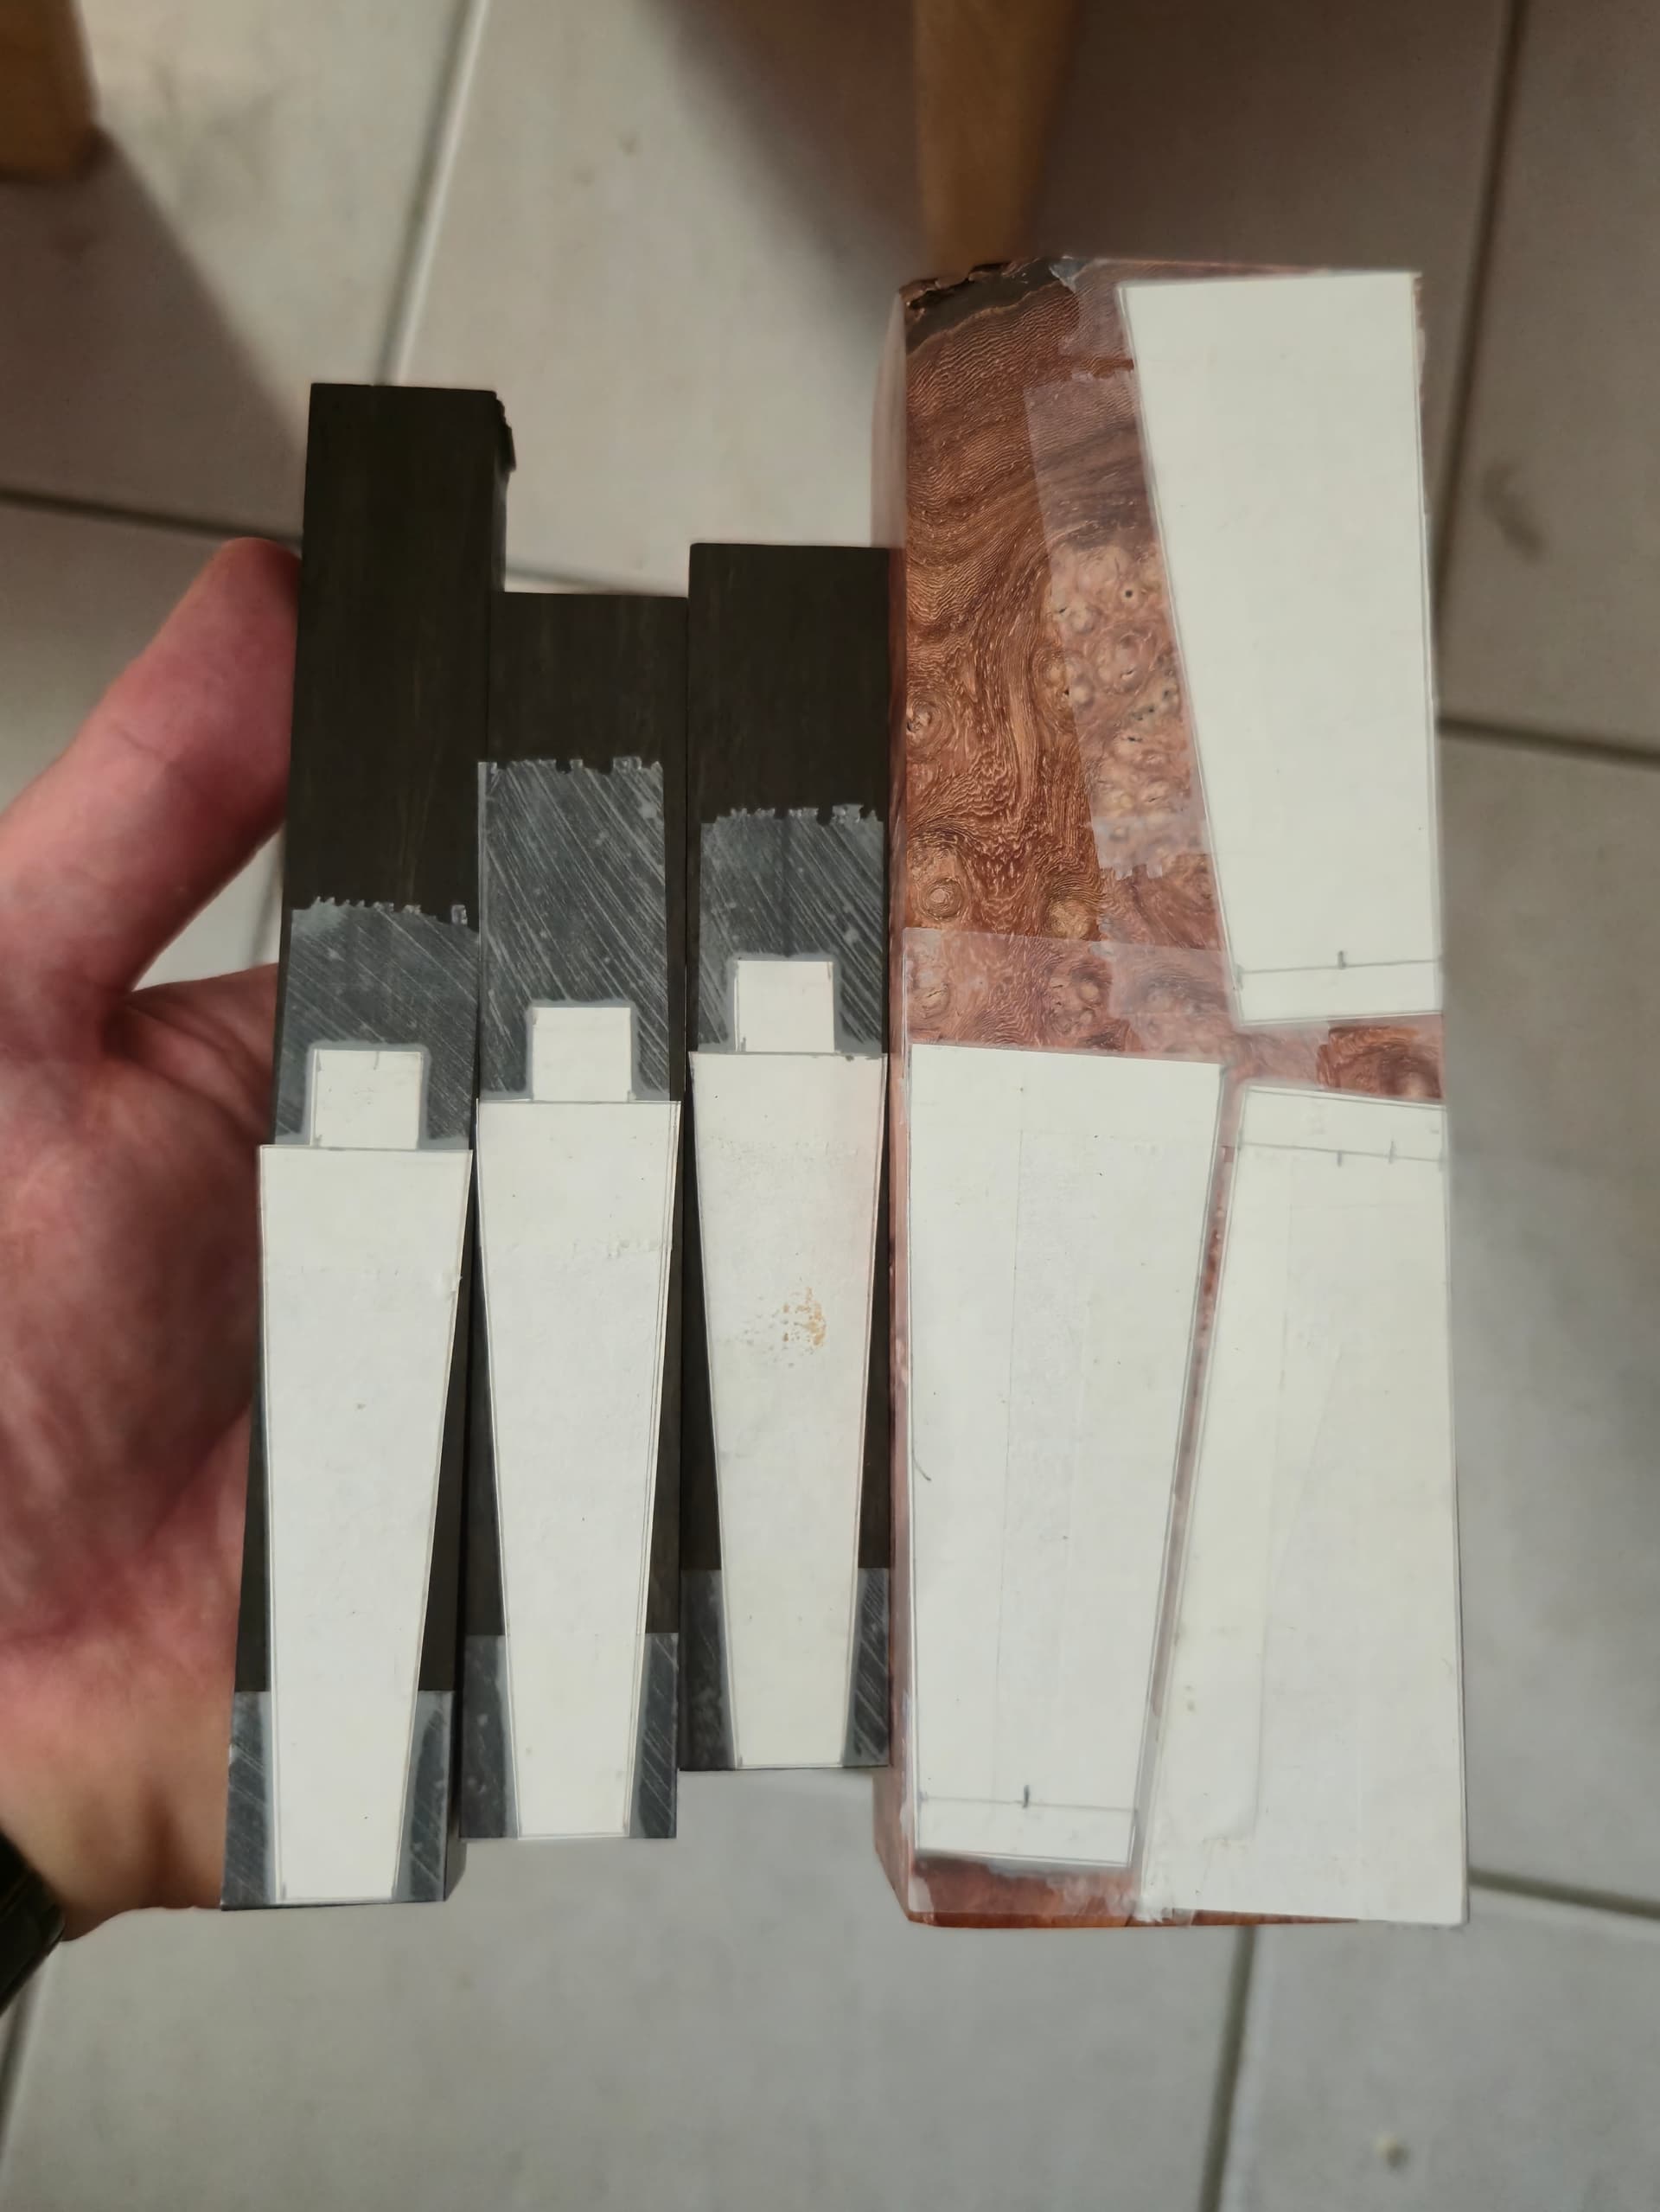
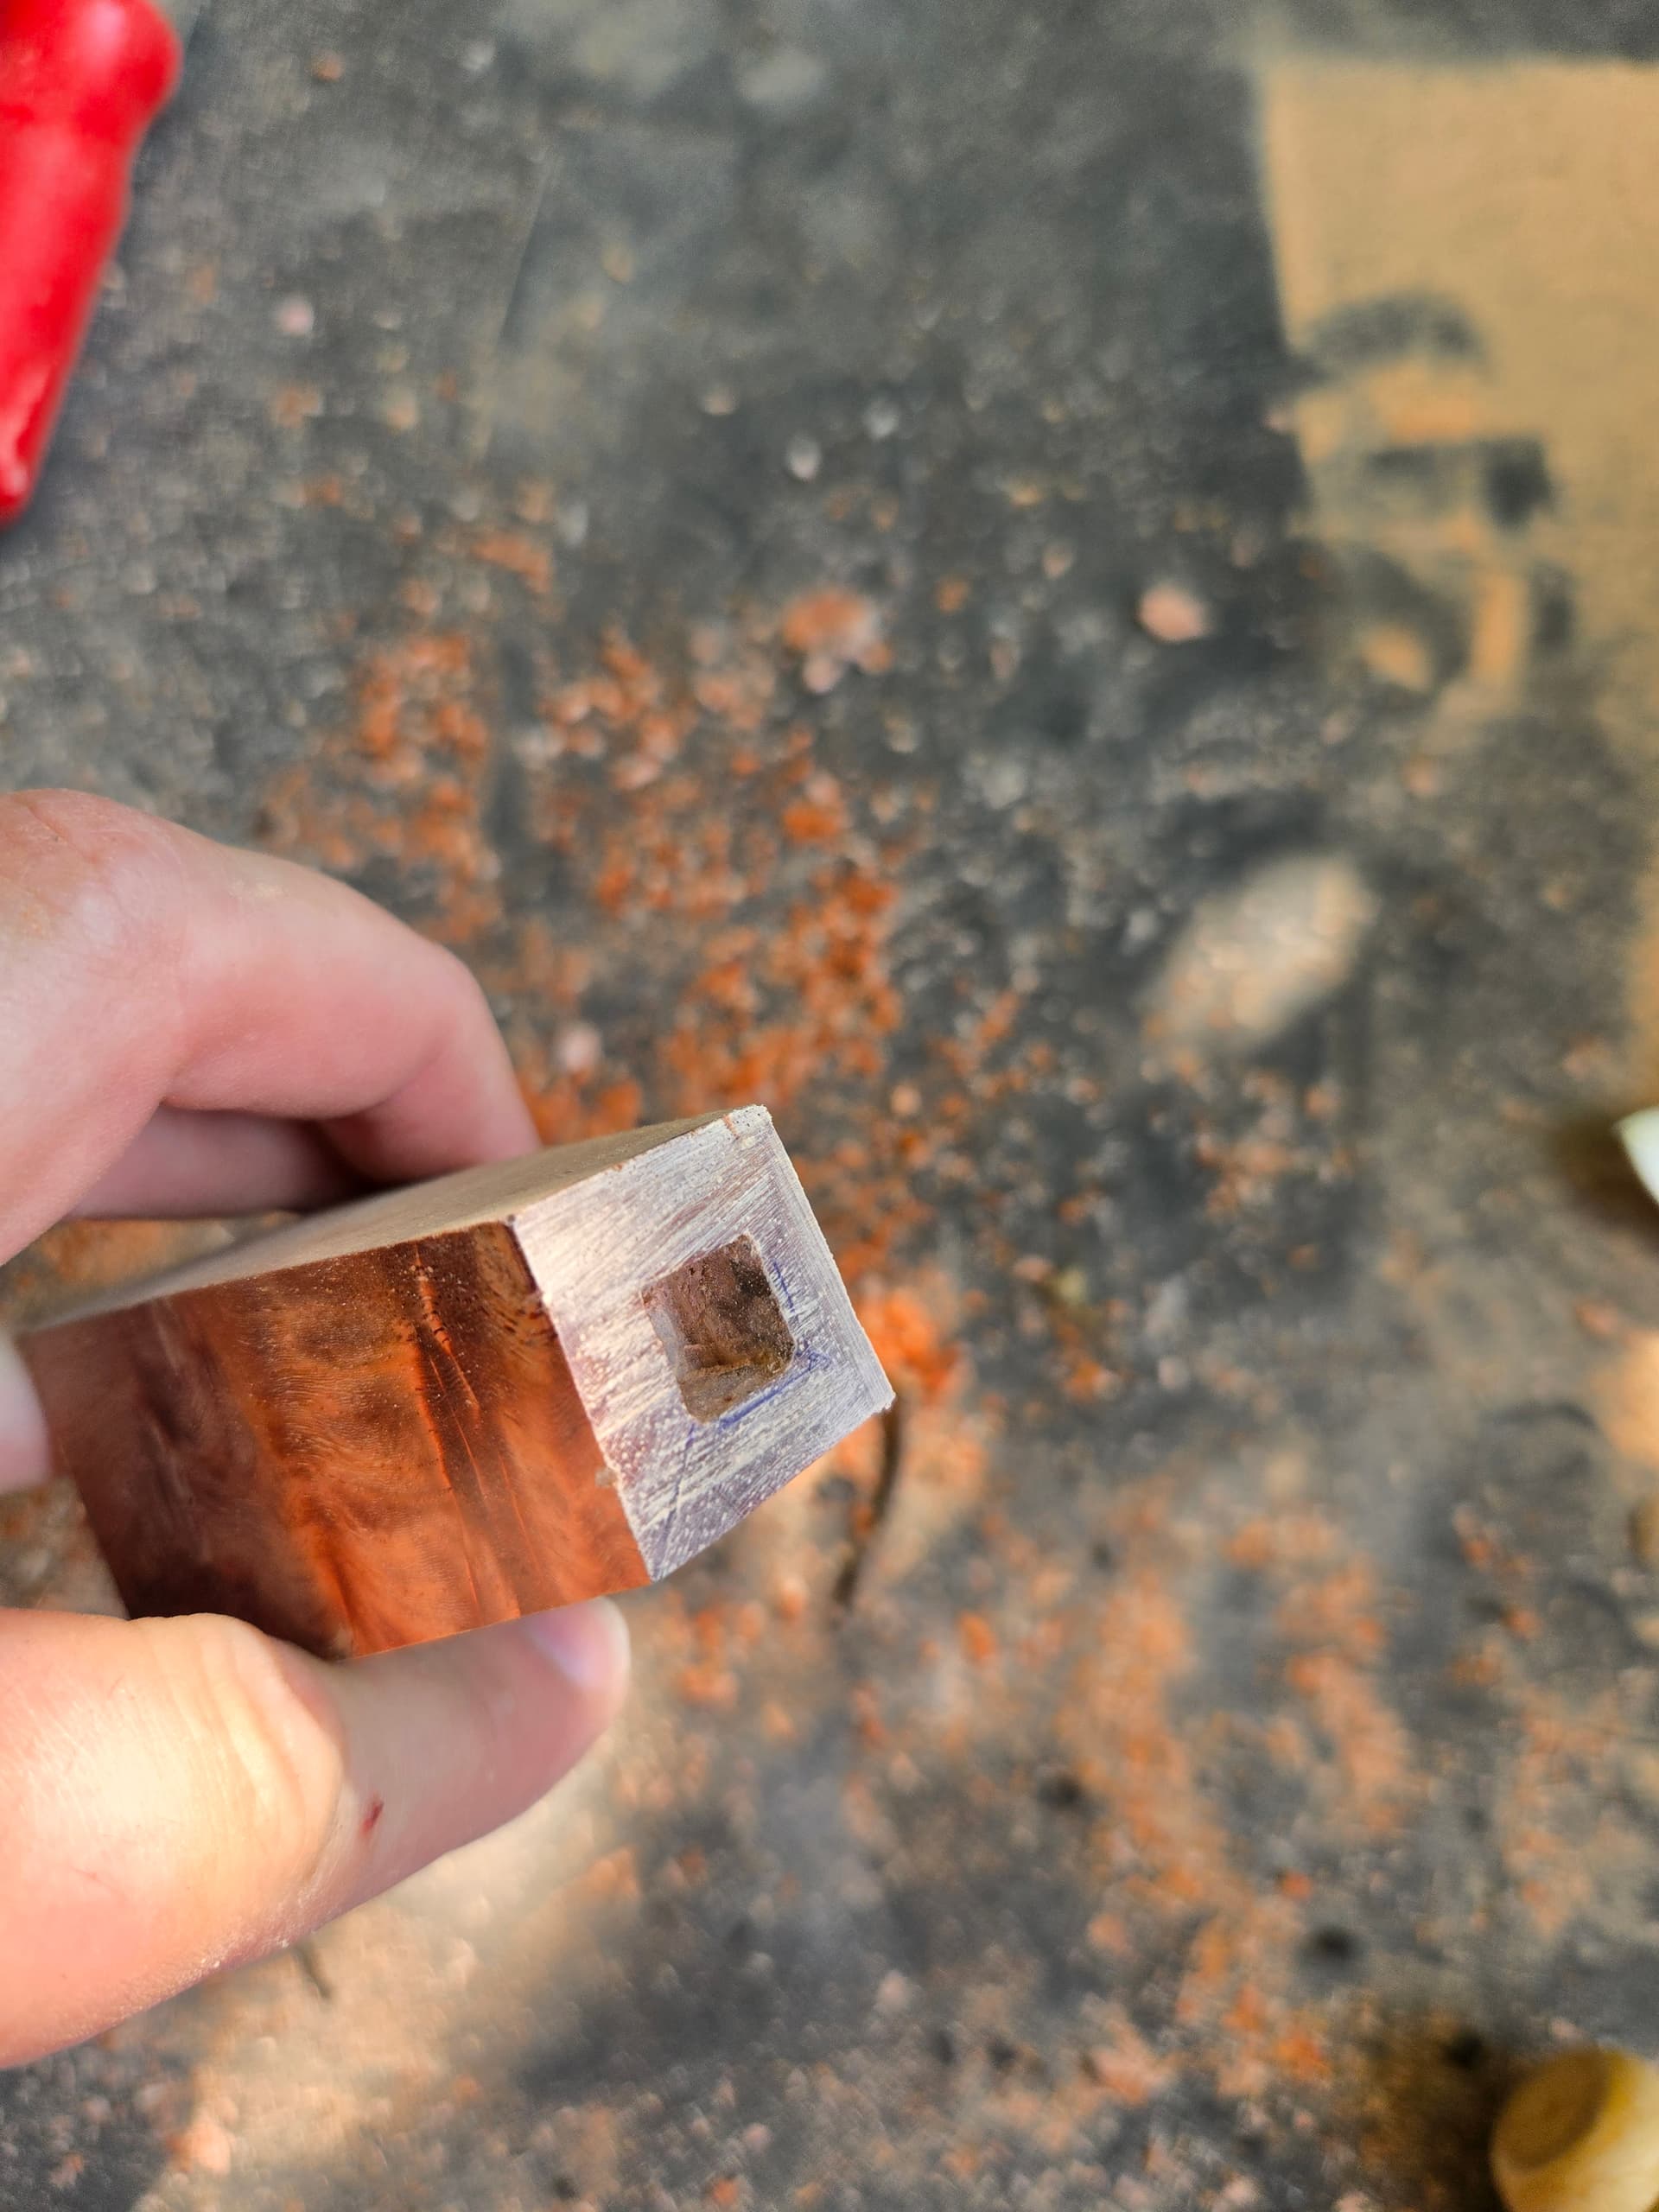
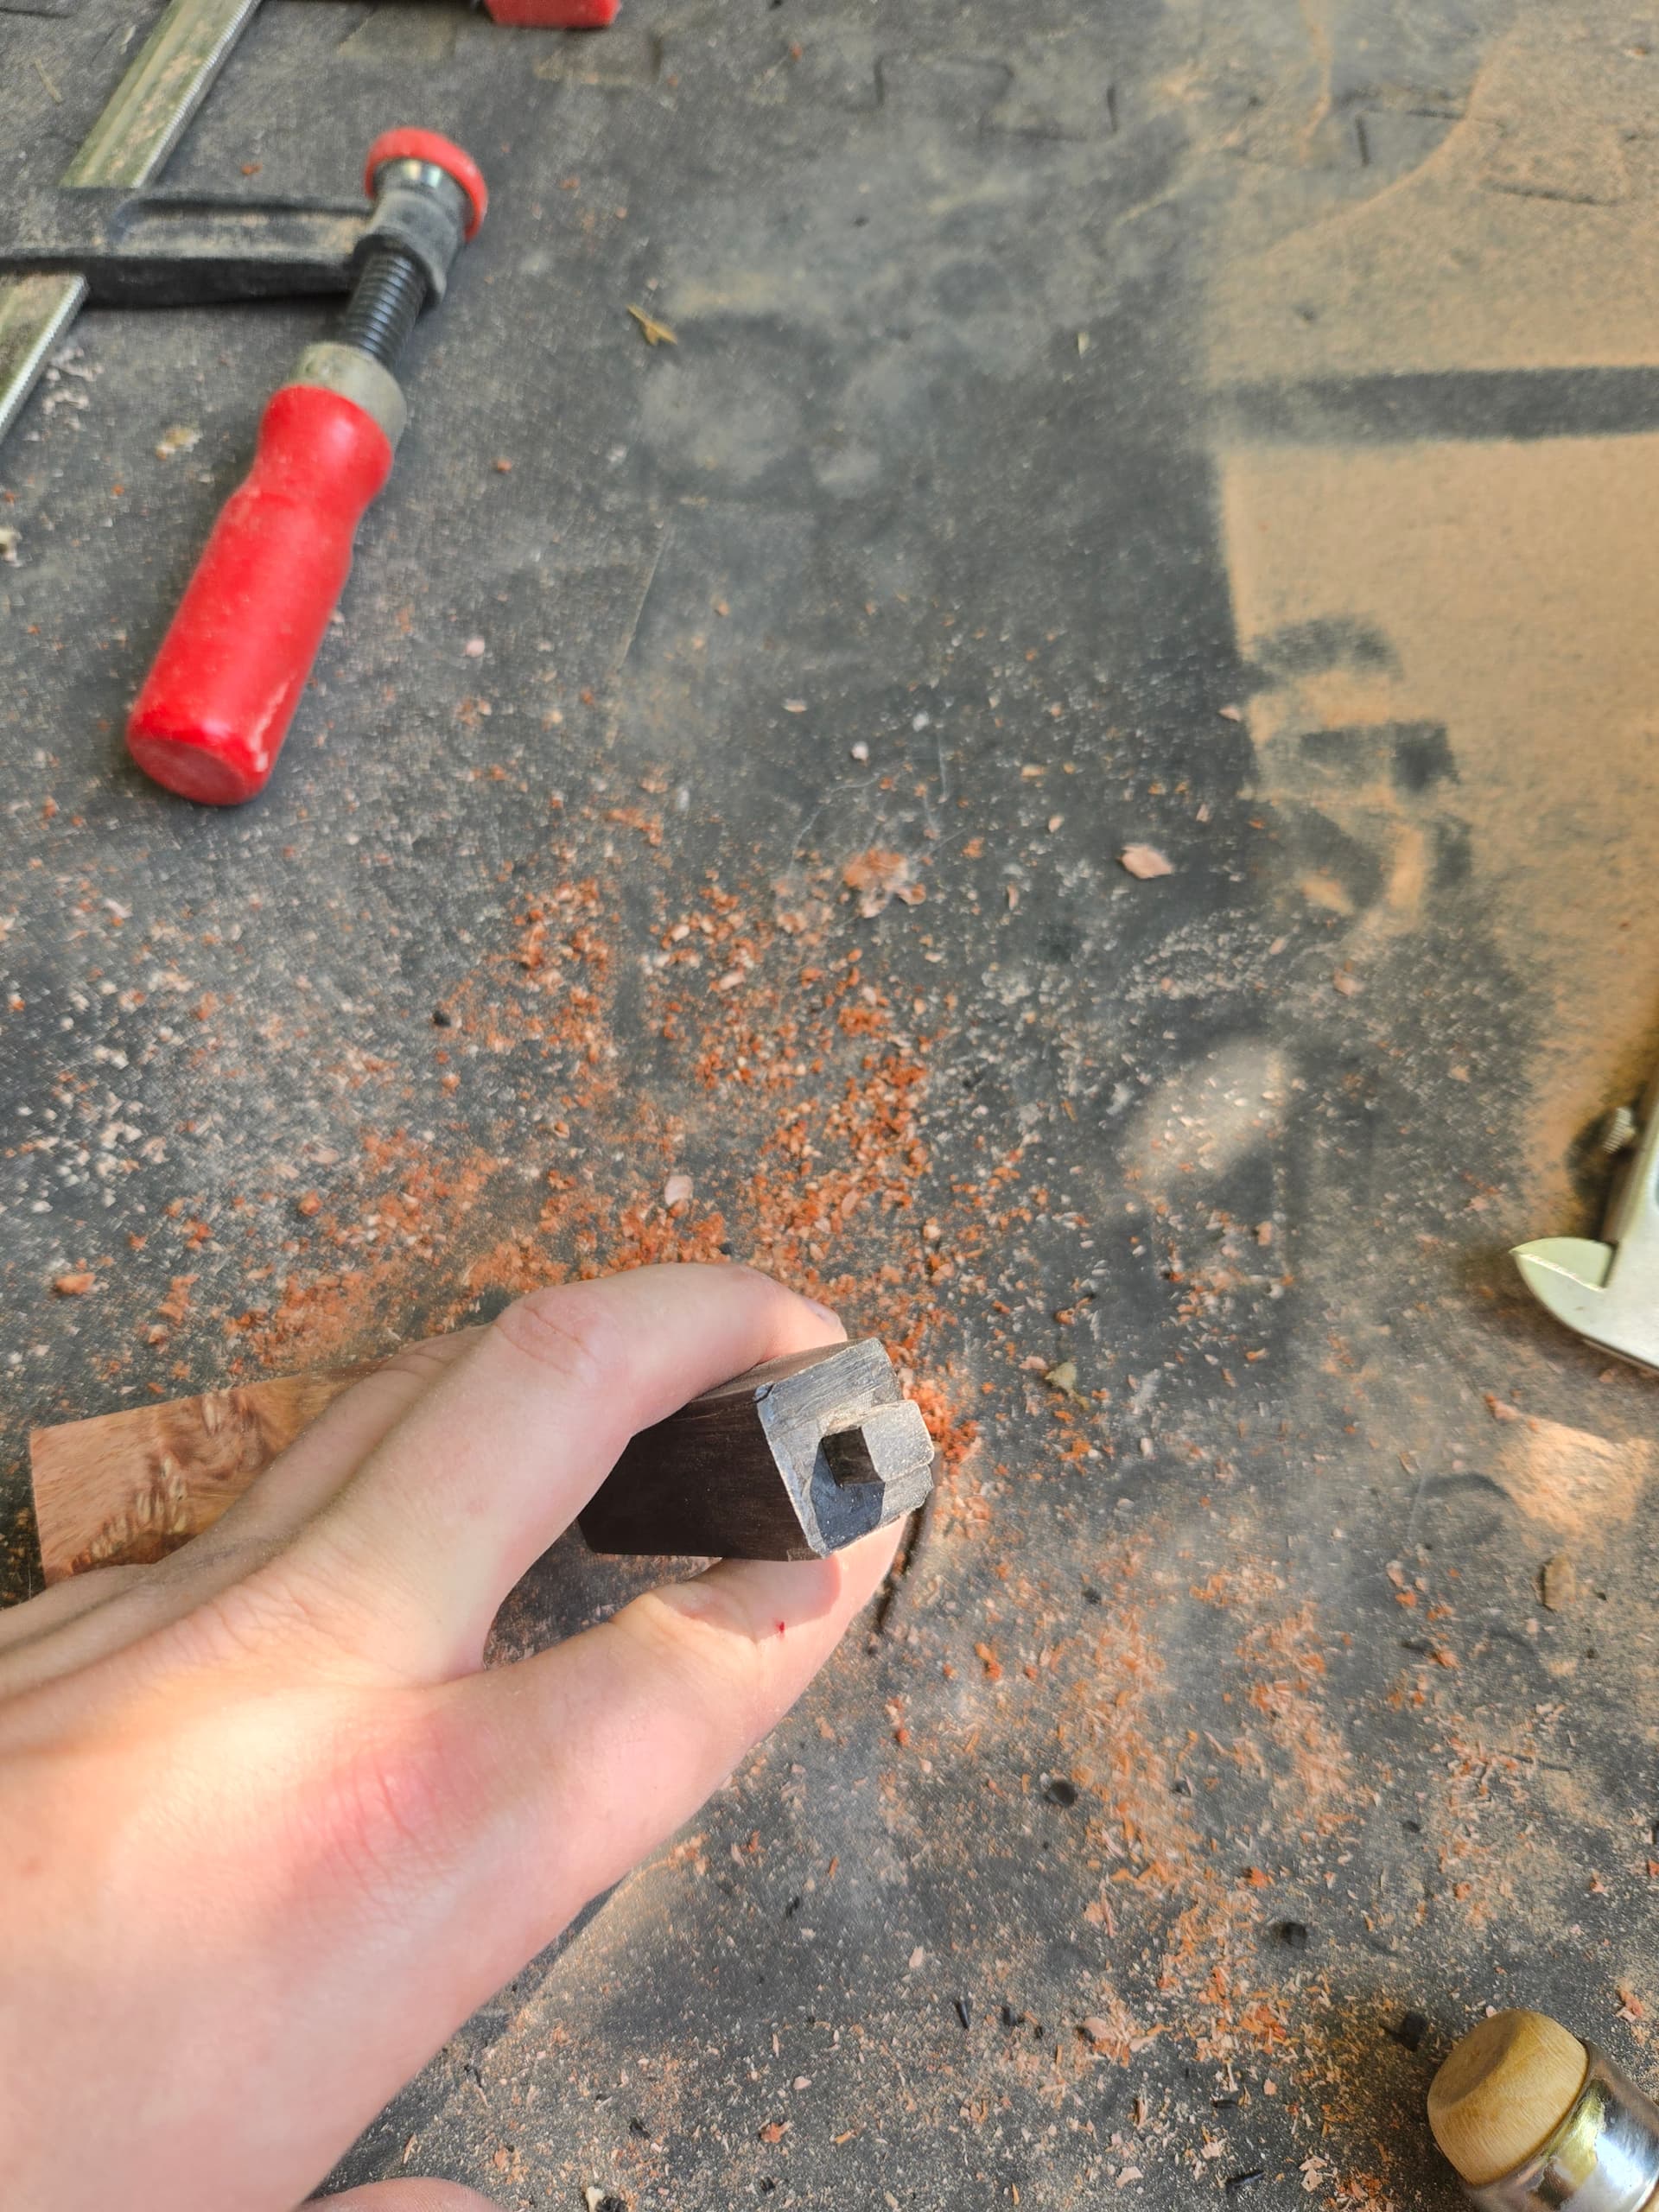
Thus, this is time for tenons and mortises. I aimed for 10mm long tenon with a width of 8mm as the join between amboyna and ebony will be 20mm width (more or less a third of it).
This is not the better joint of my carreer  so I used epoxy resin to glue pieces together, mixed with the ebony sawdust to have an “invisible” join and filling holes. I like epoxy because once it is dry, you can work it like wood (especially when you want to fill a resin knot on a conifer wood
  )
)
As this is very hard woods, I used my belt sander for the biggest part of the work. As my work isn’t straight, I didn’t want to use wood lathe because I feared to loose to much wood
)
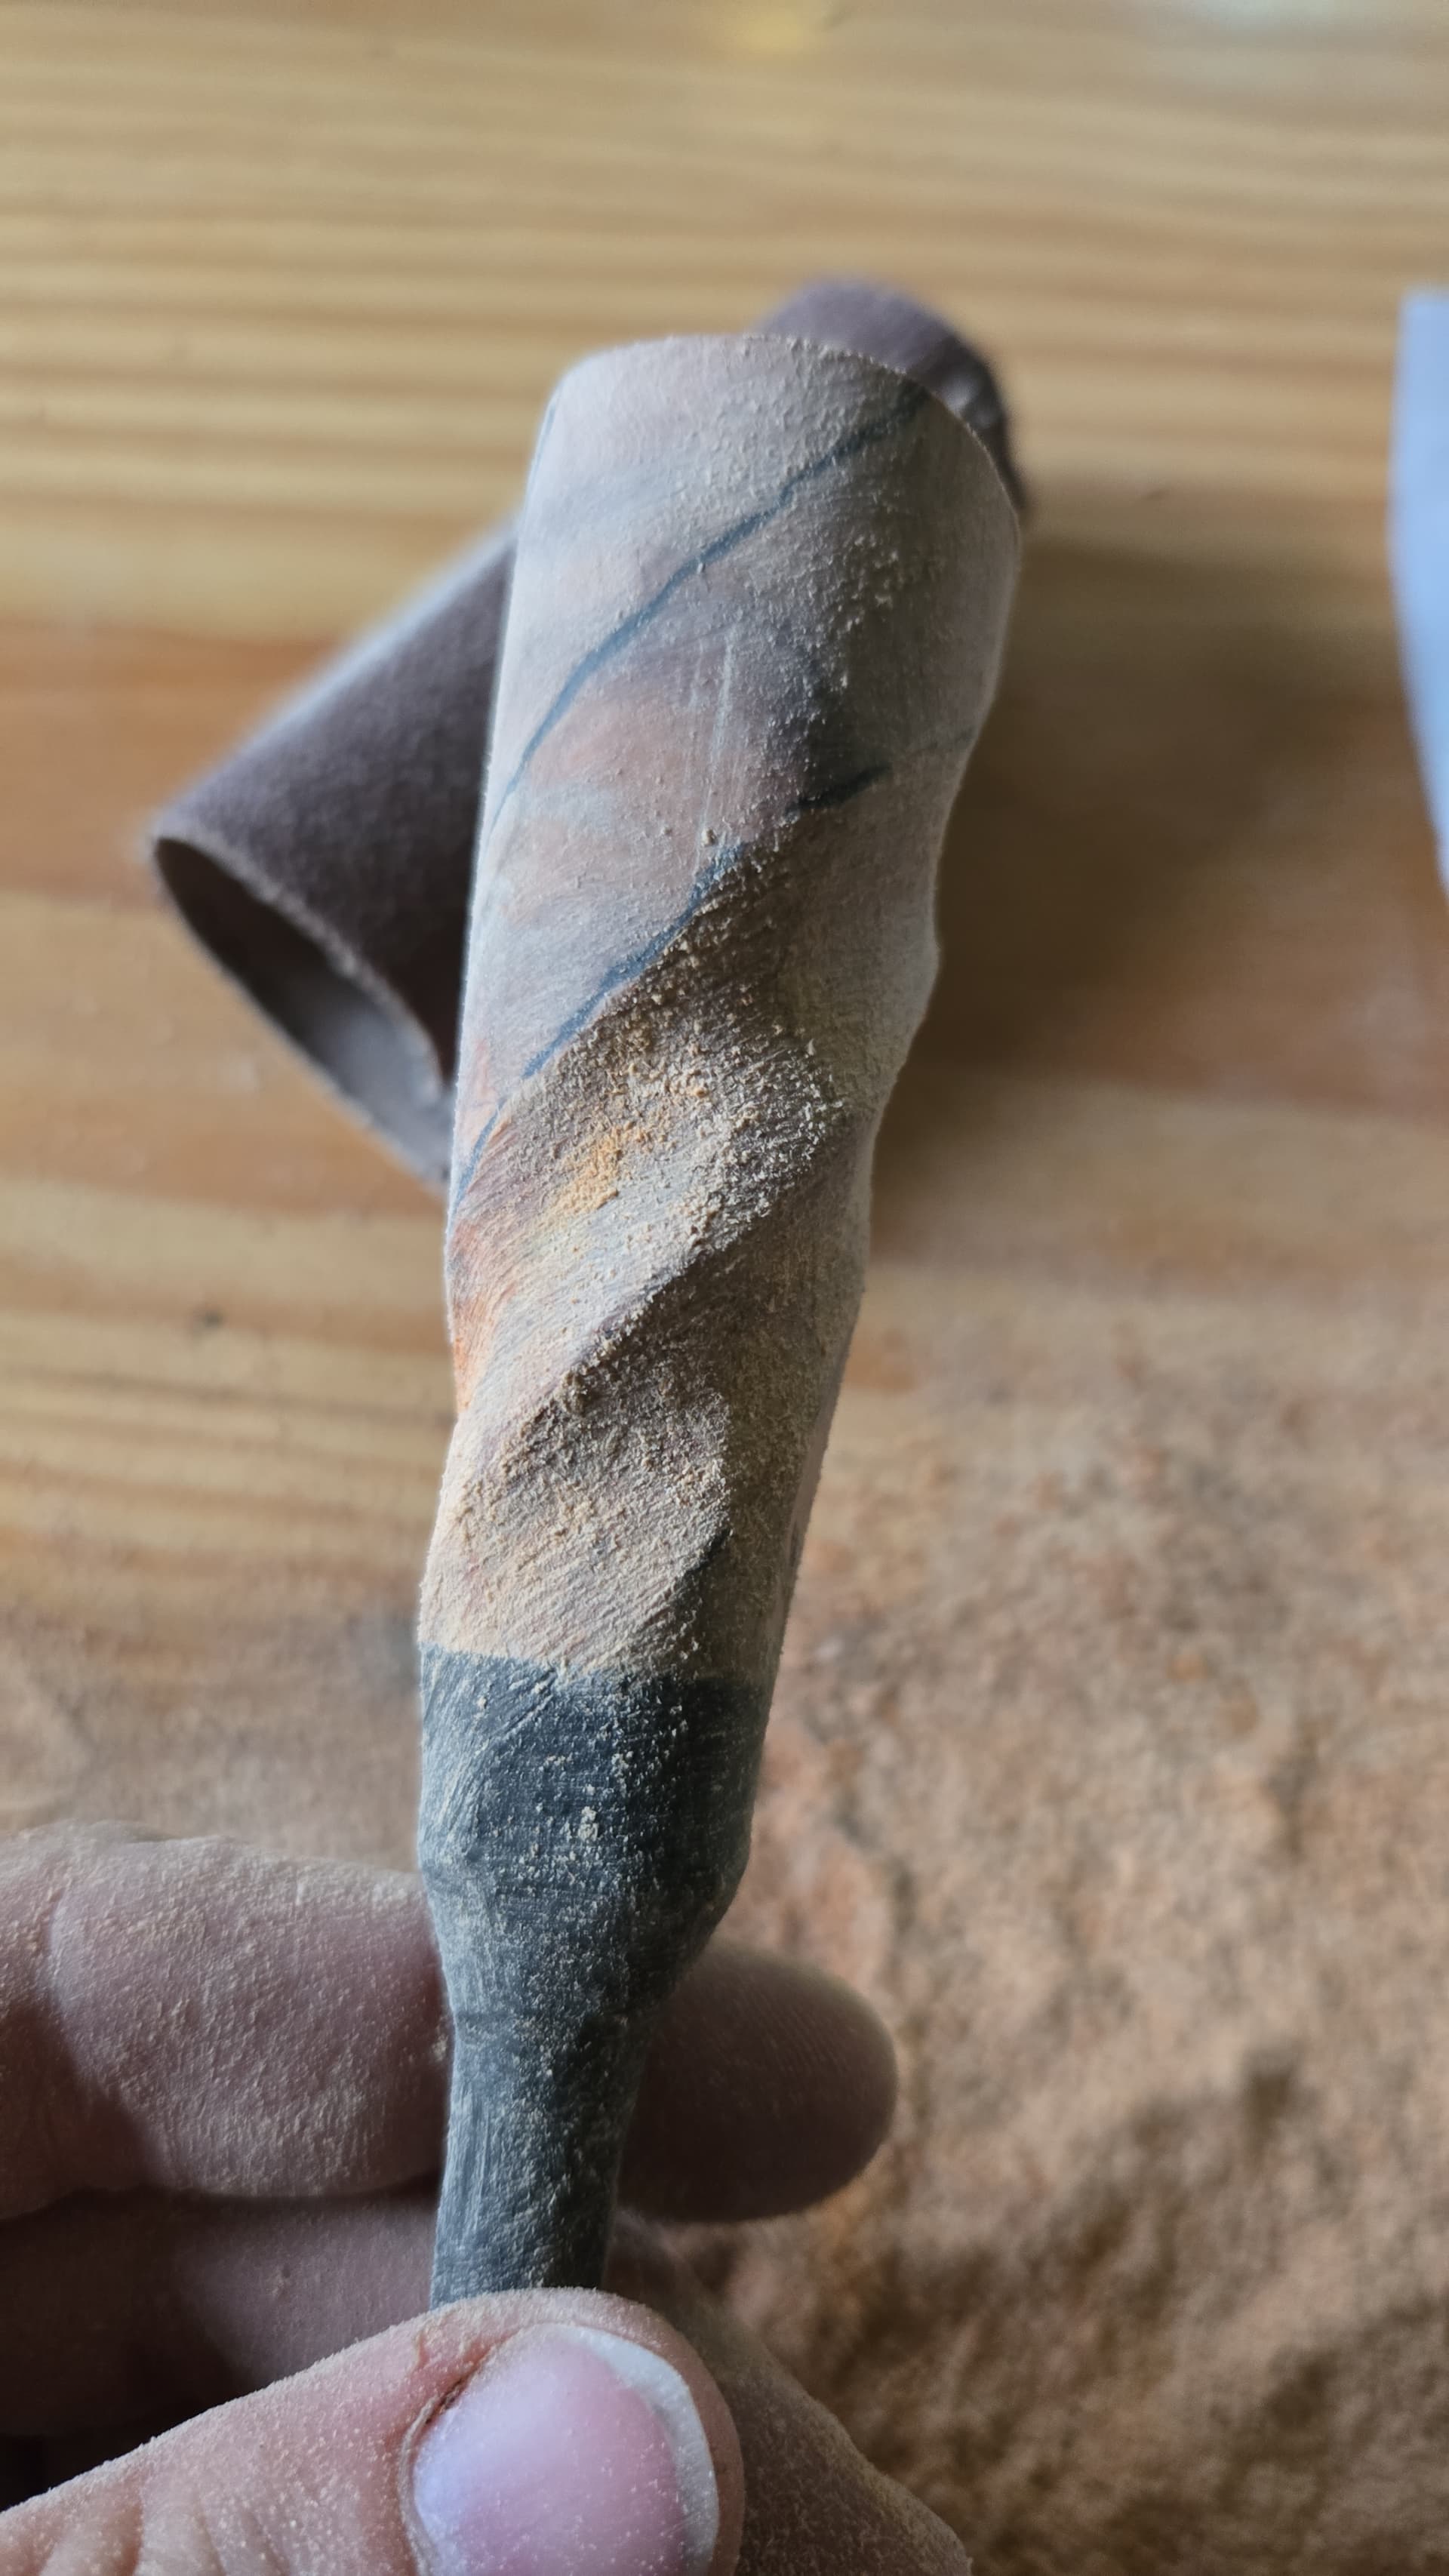
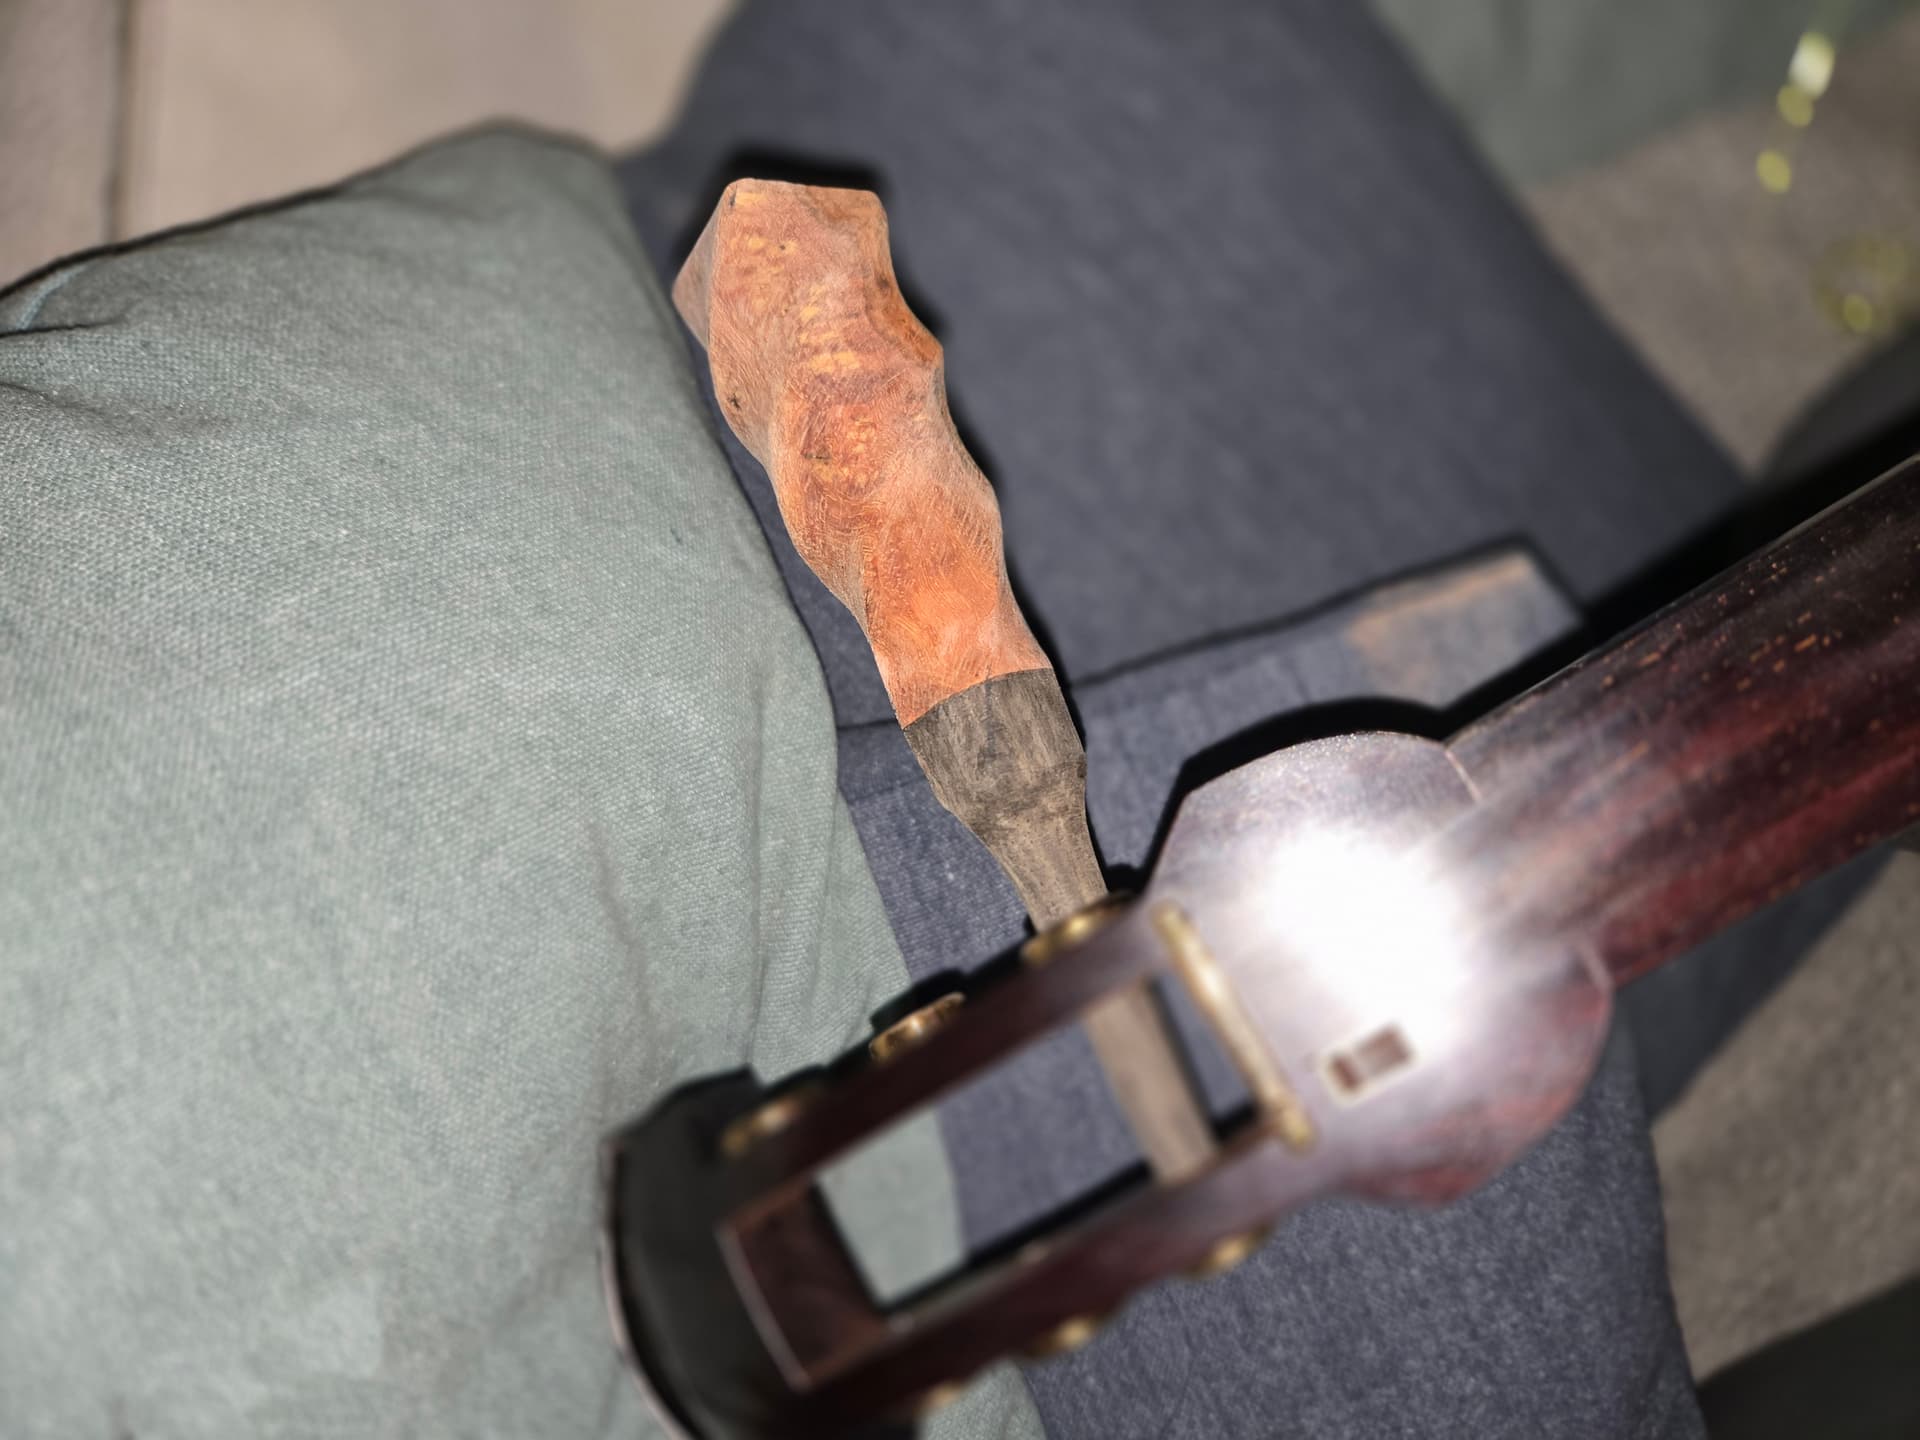
Then, applying the same method linked by @MMXIX, I draw my lines for carving. I tried to use a wood gouge but my first attempts scared me as the amboyna comes off in scales. So here we go with sand paper grain 40 :
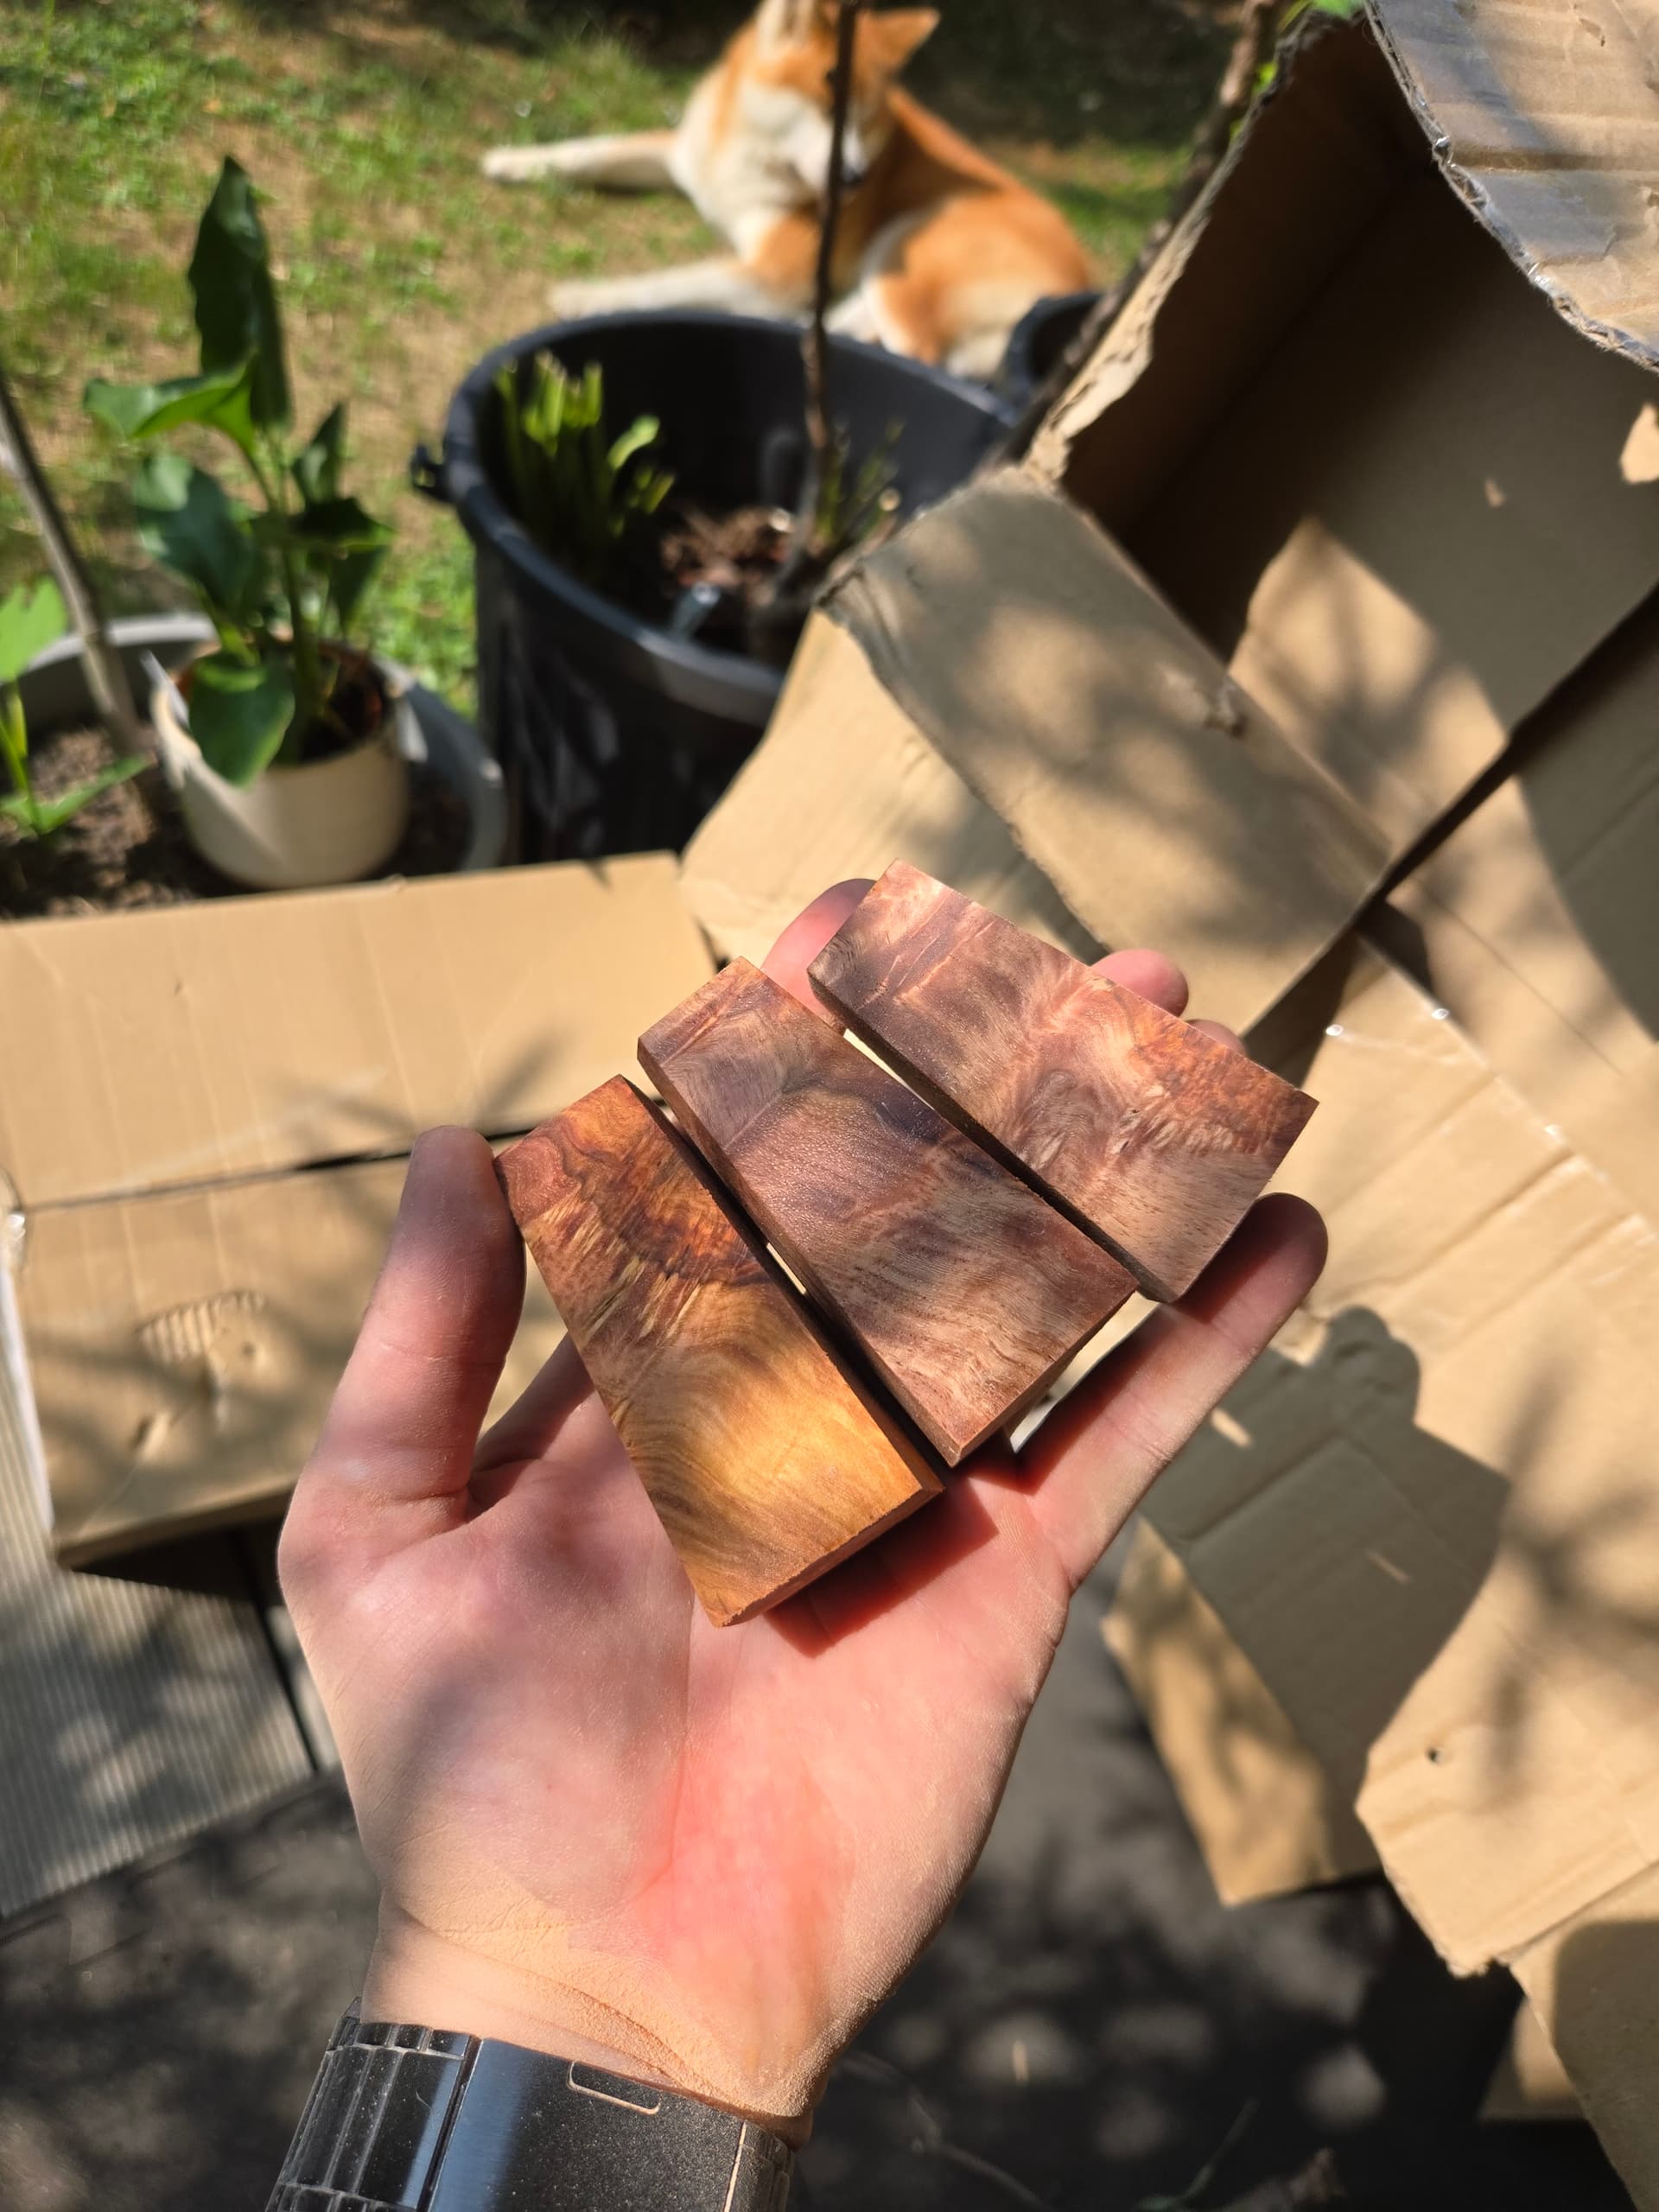
and same process for sanding the ebony part, until finally :
and again… and again… it took me two evenings for cutting/carving/sanding, so something like 10 hours.
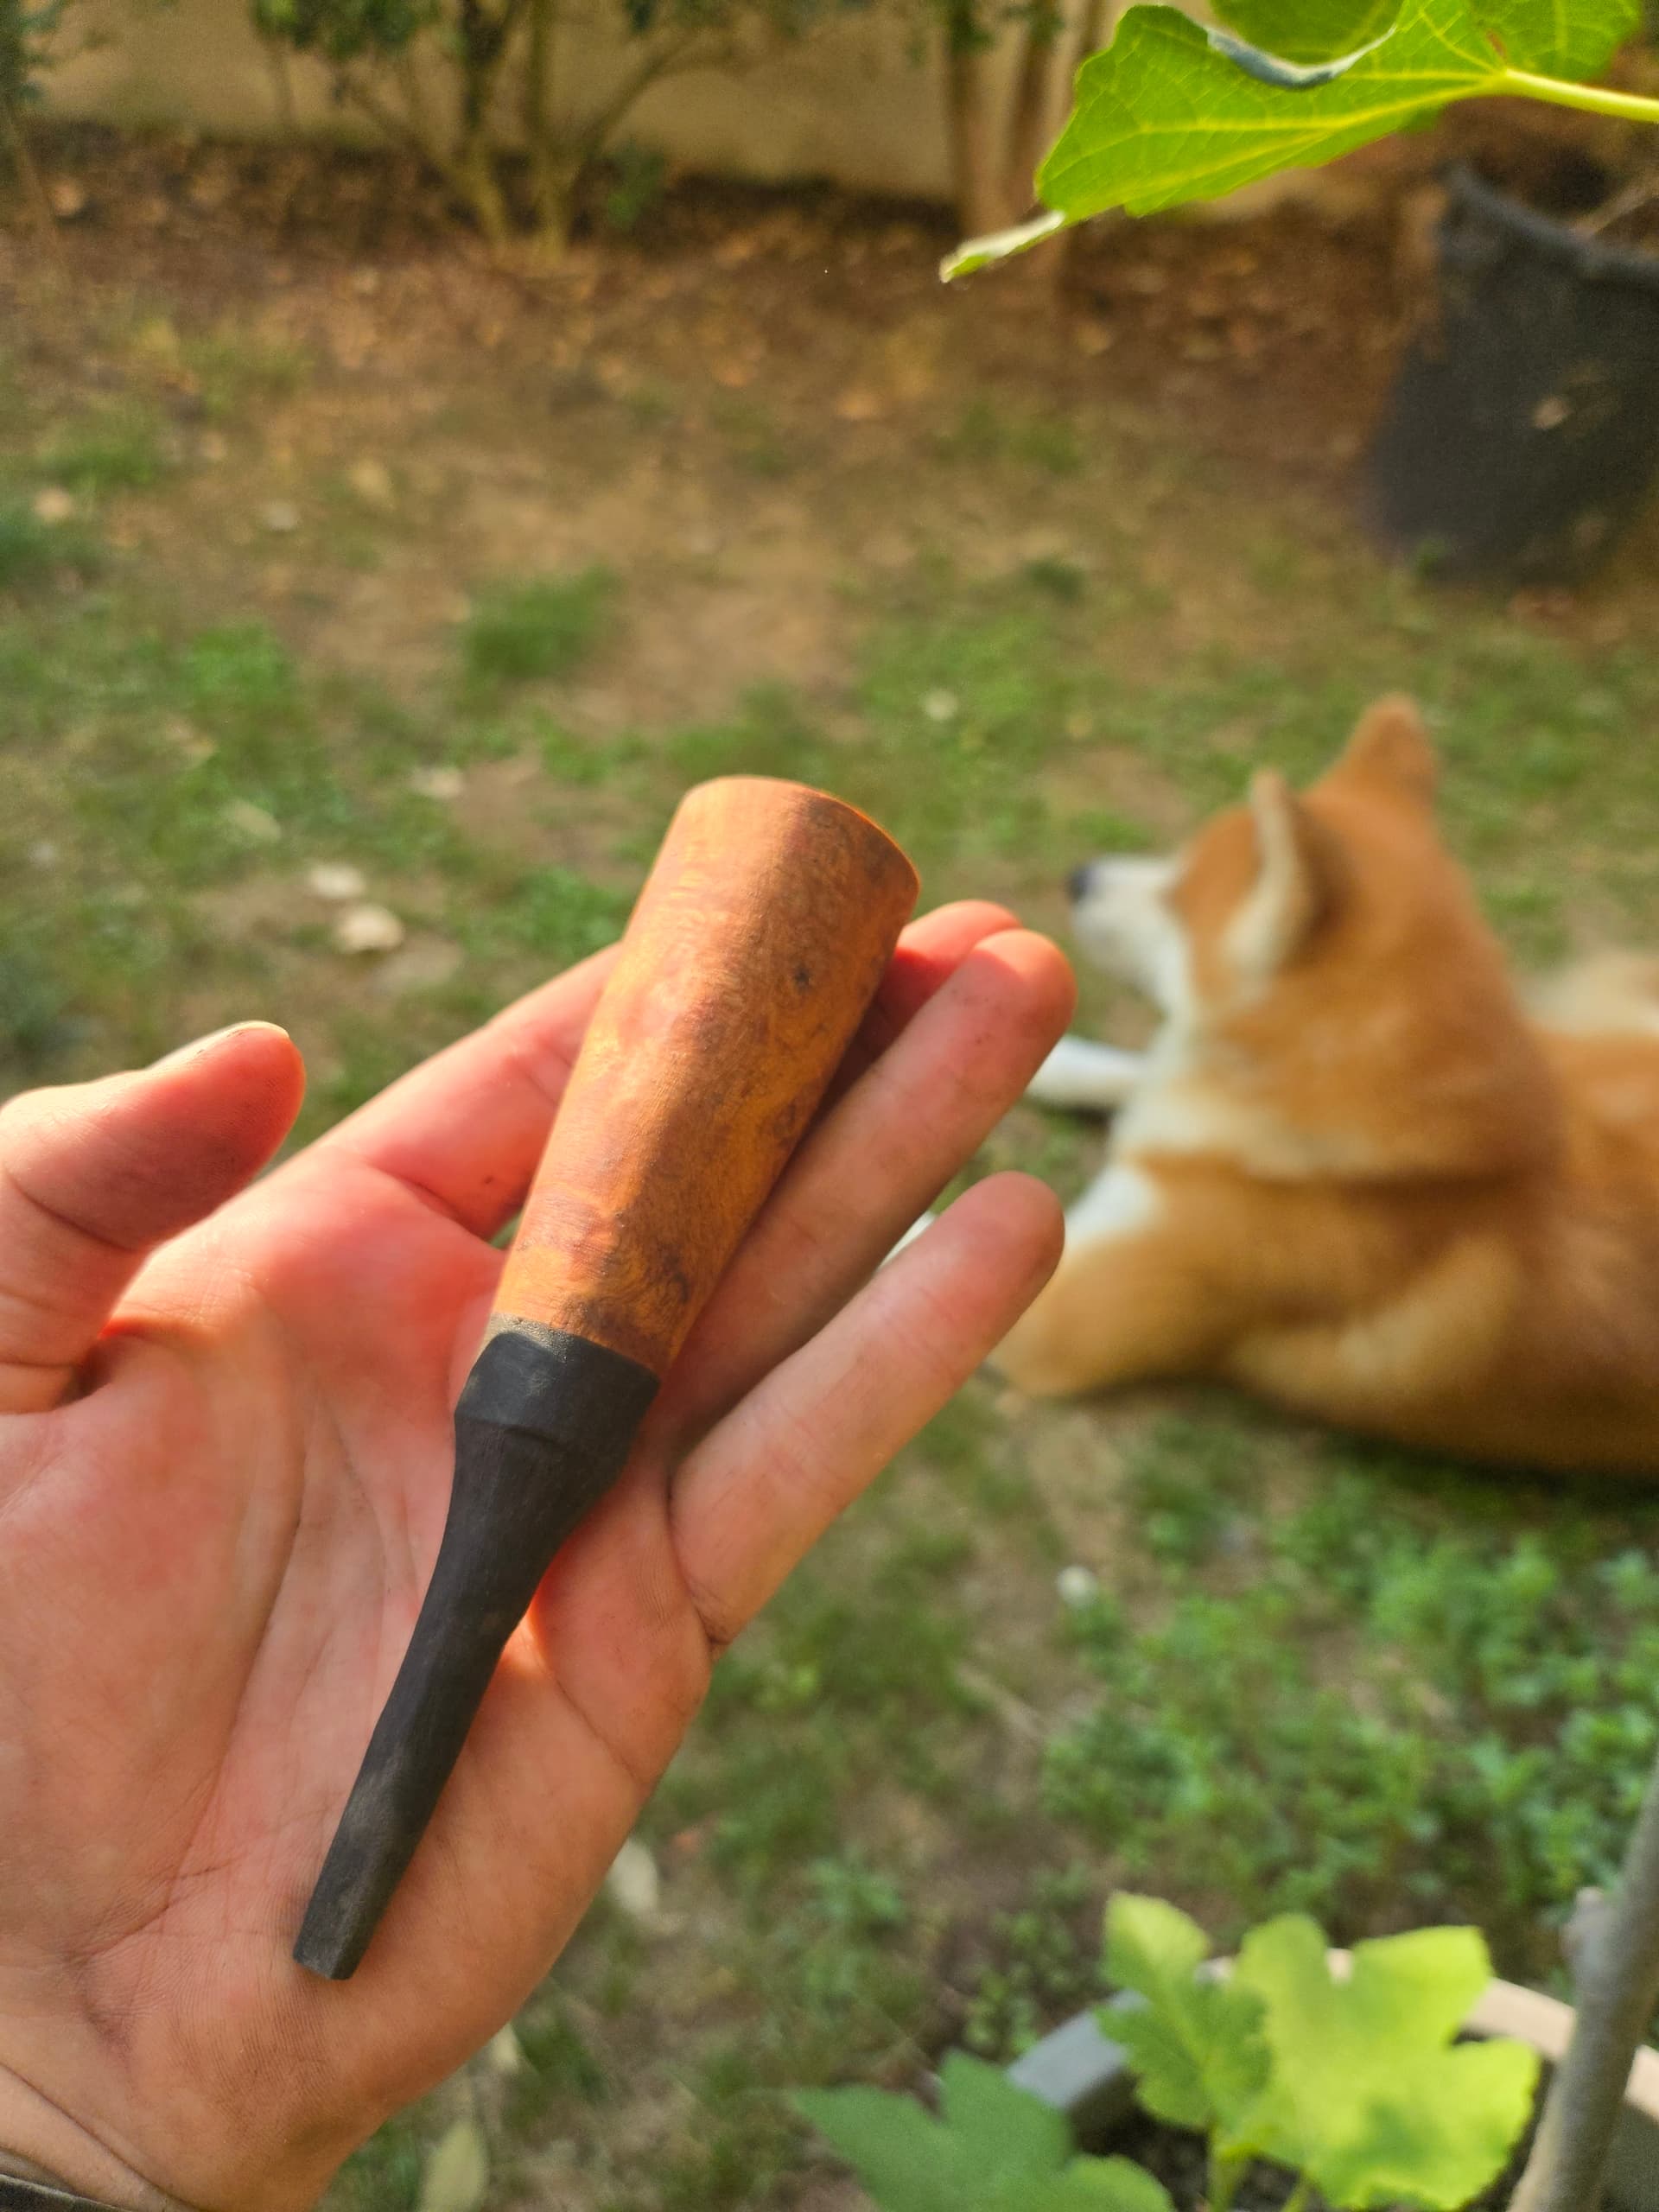
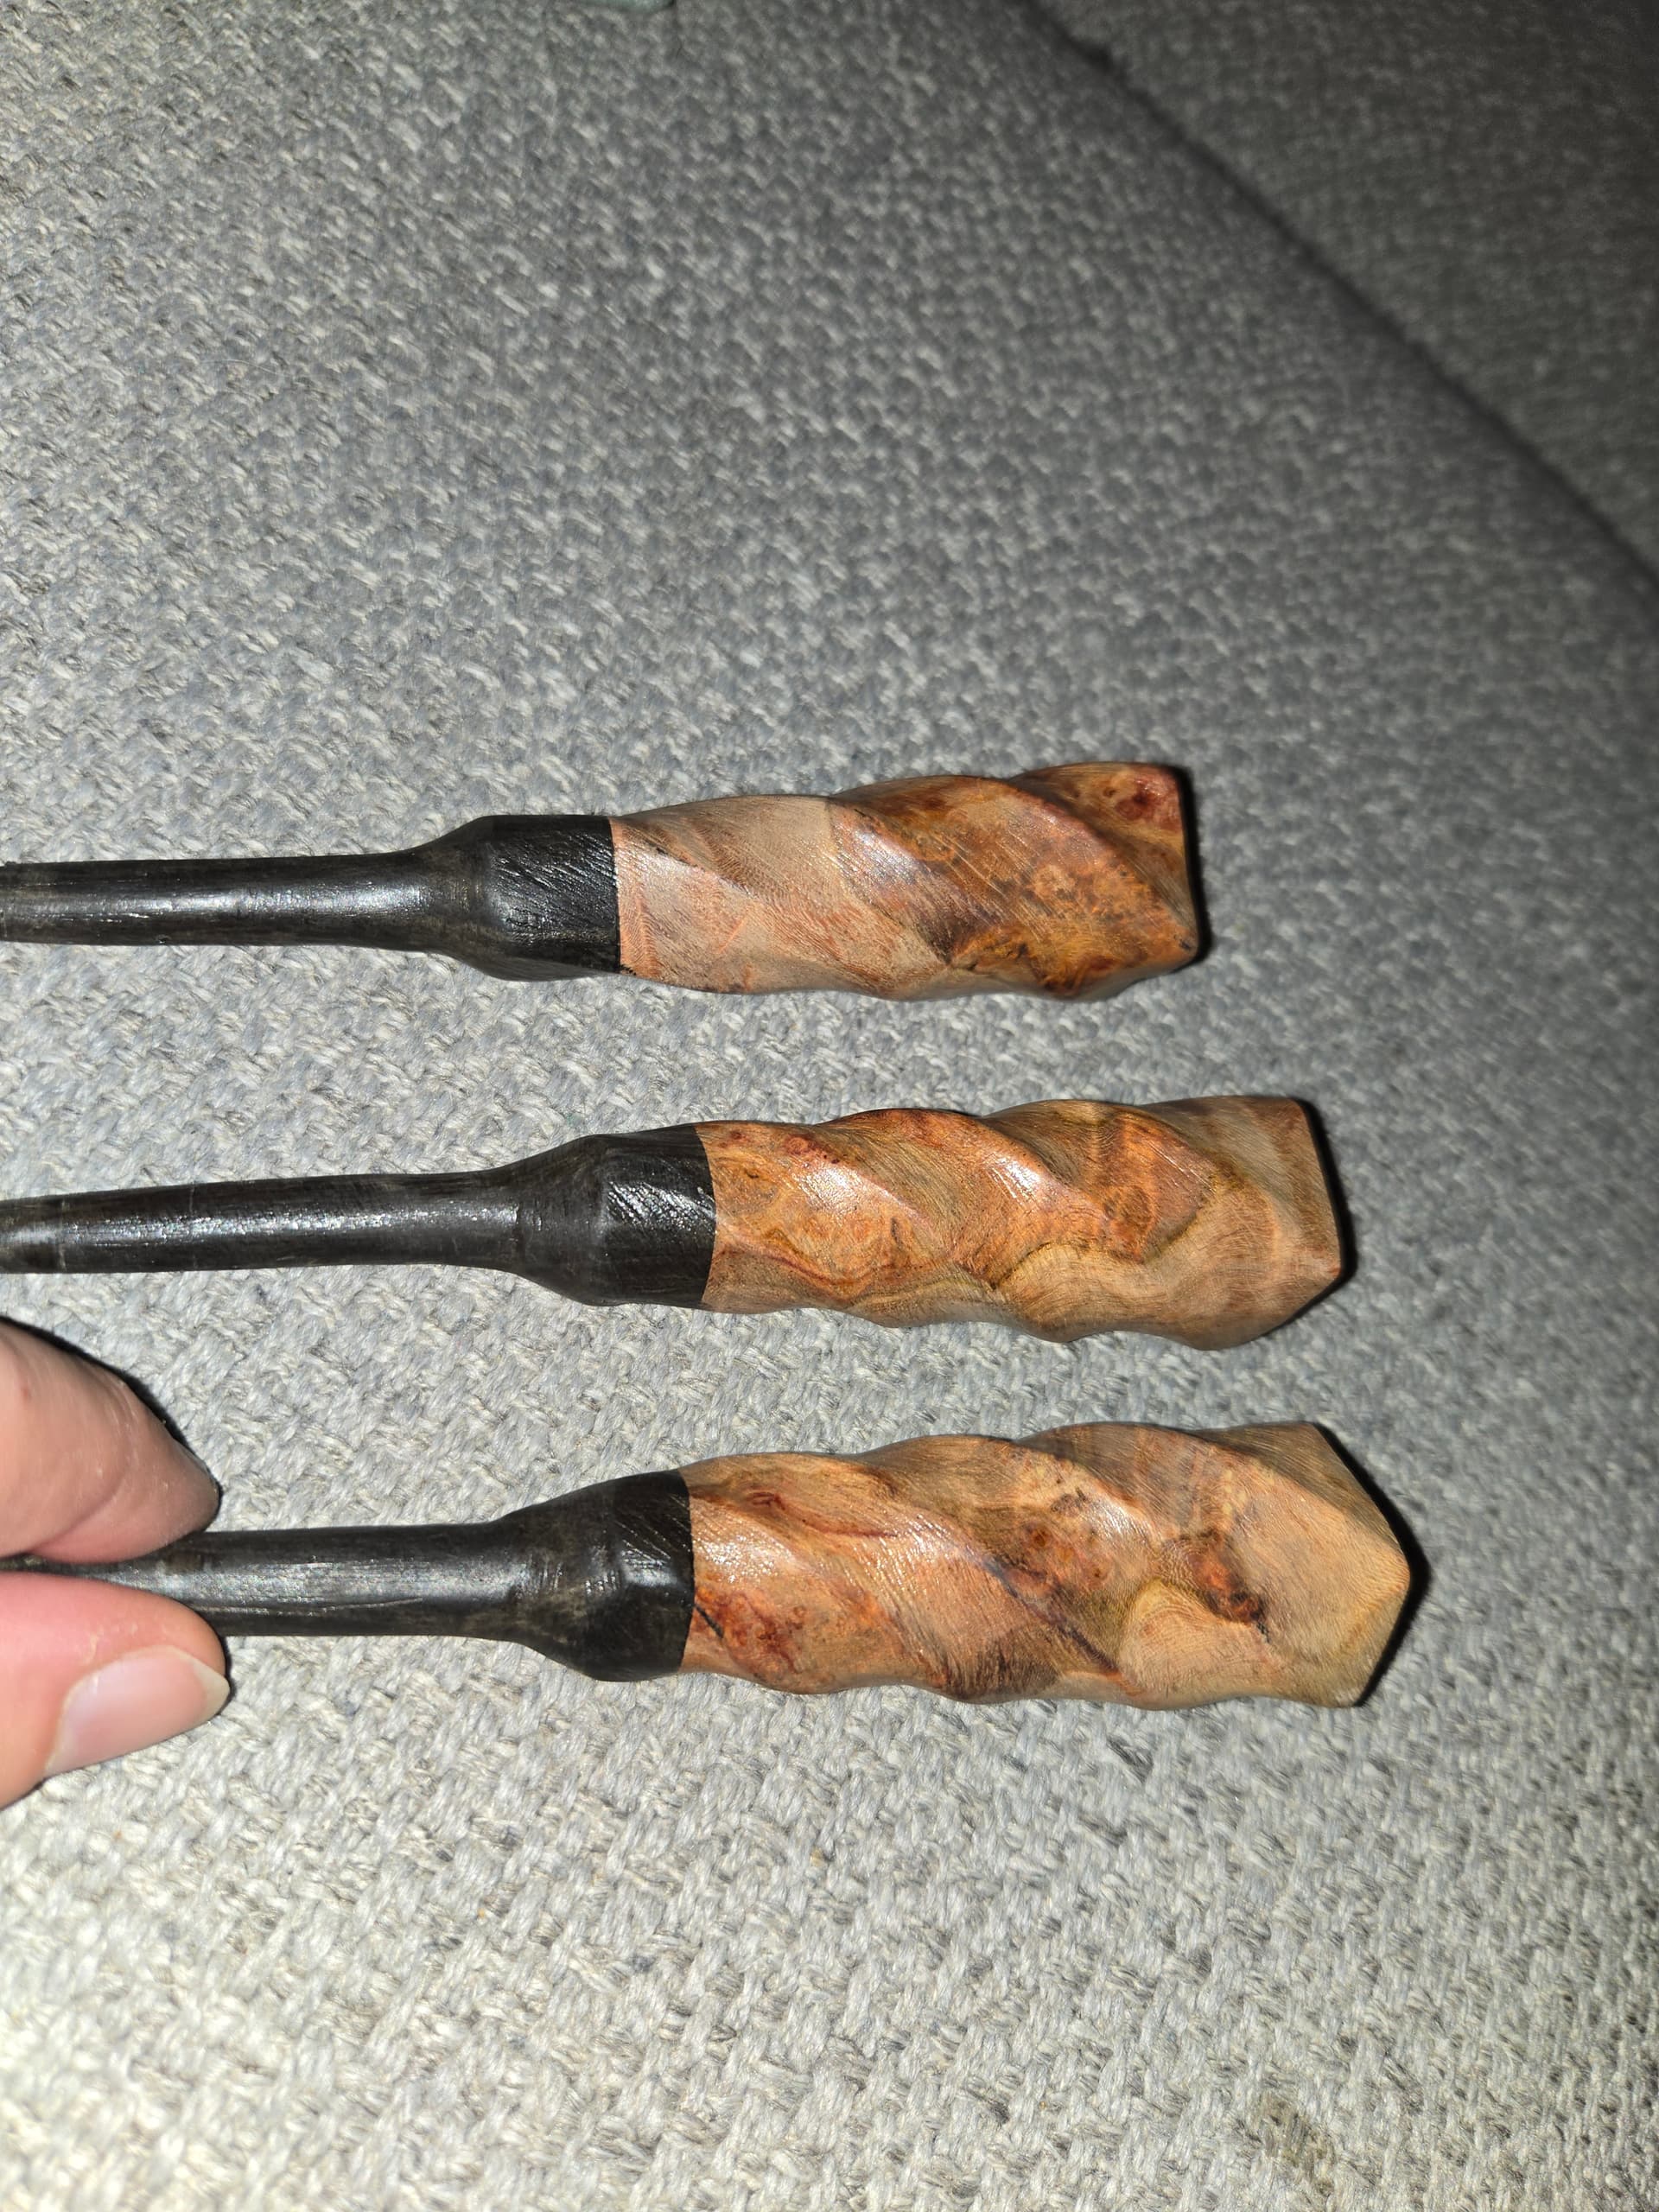
Last part ! I was questionning for protection as I usually use linen oil for my wooden weapons and wax for my furnitures but I feared for those materials to be too oily to maintain the itomaki into zaganes so I decided for colorless glossy varnish : 1 layer, 2 hours, sanding at 240 grain, 2 hours, sanding with steel wool. First, i was planning a third layer but I was satisfied with the color and the texture of the itomakis after steel wool :
I tried to install them to check if they can maintain the pressure with strings (which I reallly hope ) and play for 20 minutes before uninstall them. The process of the varnish asked for 24 hours of drying after the last layer and I don’t wan’t varnish to dry into my zagane 
And we are finally here :
I really like them, they look great, the feeling in the hand is really good, the maintain is here
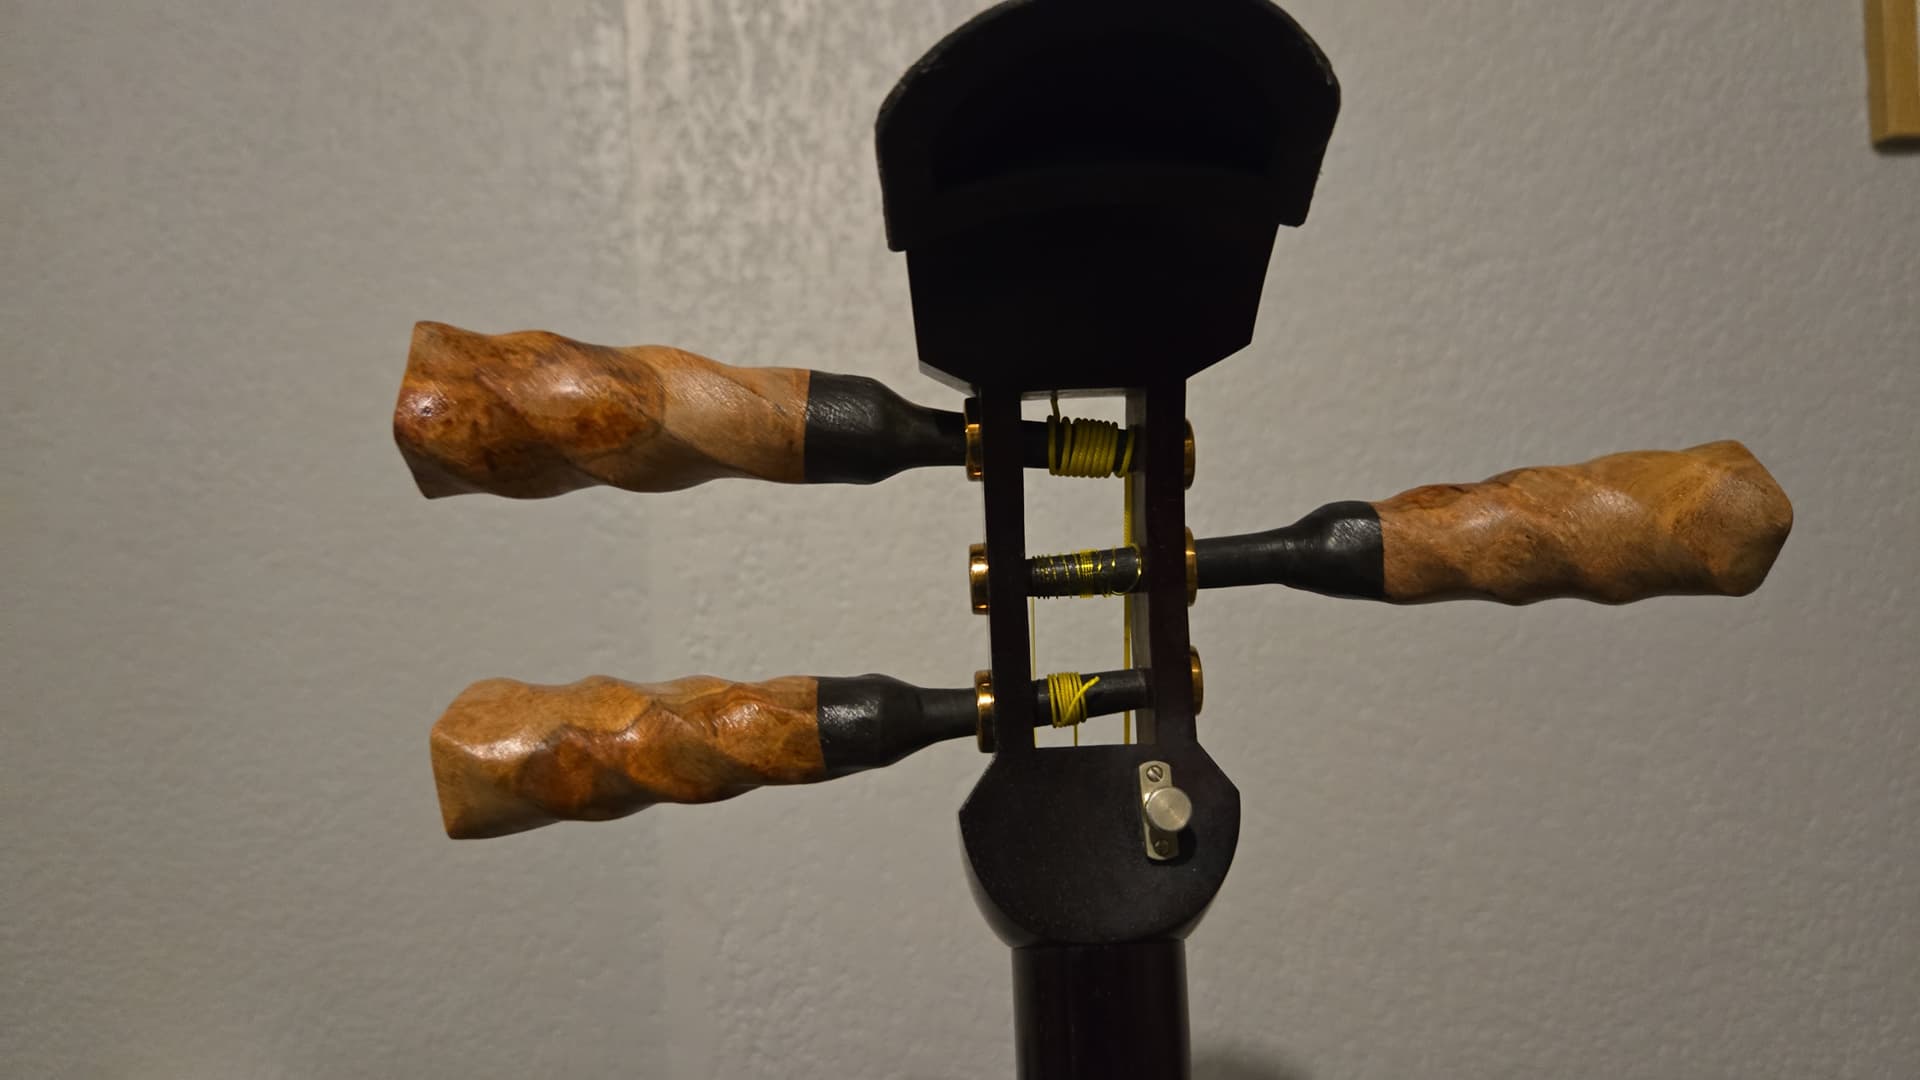
If I have to do it again, first, I would modify the number of hollow section : they are 6 of it on the initial picture and I only made 4 on mines (which I didn’t notice before I finish the first itomaki ), it still looks great but on the top of the itomaki the section is square rather than hexagonal, which might seems a bit weird on the general design ; secondly, I would buy bigger section of wood , for allowing a biggest margin of error and then, allow straight work for using mortiser and wood lathe. And of course, i would use another wood because I want to try other colors  (I aimed initially for acacia or satinwood but didn’t managed to find it, I did thought about ash tree but I didn’t know if it was hard enough, maybe next time ).
I hope it will help/inspire some of you