Which type of fabric should i use for doukake?

I just the other day got a copy of Kyles book. and i noticed it just refers to it as “Fabric” in the doukake section. Should i be going for a specific type of fabric or would something as simple as cotton suffice?

First time posting on the forum. So thank you in advance for the replies - Pippy

1 Like

Fine and/or thin Upholstery fabric, or thicker yet flexible (and hopefully somewhat elastic) fabric would be the best options. You want the fabric to not allow the glue to go through, yet you don’t want it thick enough that the Doukake will become bulky. Some flexible/stretchy kinds of thin synthetic leather are also good for Tsugaru doukake.

I have re-upholstered (if that’s the proper term, I don’t know) several Doukake, and upon removing the old fabric and analyzing it, I found that the fabric is very similar to the ones used to make Obi, so you may get an old obi (not the super stiff type) and use it to renew several Doukake.

Doukake can range from an utilitarian piece of protection for the Dou, to a true piece of artwork. After you finish, if you would be willing to share some photos, I would love to see your results.

1 Like

Yeah i was going to post some pictures once it’s done. i did ask around a few other places as well and got told stuff like kimono fabric would be fine. which i got some of a nice design i found coming within the next couple of days. hopefully some time next week if everything comes i can post what hopefully will be a nice doukake. i’m also thinking of pairing it with a tenjin cover since the one that came with mine was old and scuffed. but im also thinking i could just take some off cuts of fabric and restore this one

little update from my previous post. the kimono fabric i bought arrived today. i cut a small tiny little section off and using my wood glue finely spread with a chopstick, on this section of plywood that came covering the skin of my dou in shipping. no glue leaks through, no weird patches or nothing as far as i can tell
also uploaded is a pic of the fabric i am going to be using. after that glue test i feel more confident i might restore the worn out, plain black tenjin cover i have too


Note: if anyone with admin powers can, could they please edit the title of the thread for me to something like “first time customising my shamisen. (new doukake/neo)” ?

Another update. got everything more or less here and ready.
As i couldnt find any kind of plastic tray to make the paste in, i just bought a cheap disposable oven tray. Improvise. Adapt. Overcome.

Wrapped the dou in plastic wrap i got from my local grocery store, i don’t know if its any thinner or thicker than commercial ones so i double-layered it to be safe.


And following kyles instructions in his book. made the shell. now whilst it dries i got this blue cord to make a matching neo.

I’m also going to be using black leather cord for the doukake straps. as well as some 4mm silver grommets. waiting on the hole punch before i can finalise it. which should arrive monday/tuesday.
Also for anyone following along this little adventure. Don’t mind the fact i’m doing this in my kitchen. i live in a pretty old house (130-140 years old) and the only large enough flat surface in my house is rather my coffee table or my kitchen counter. i picked the kitchen counter :slight_smile:

1 Like

Final update of the day for me. took the old scuffed tenjin cover and made a quick throw-together renovation for it. before and after pic below. still gotta trim off some edges but i think it came out pretty nice so far. especially compared to how it used to be

i will make a better one when i have more time and resources but for now it’s a quick throw-together just to look nice.

The tenjin cover looks quite nice. Congrats!

As for the Doukake itself, if you have not yet glued it, I would like to recommend against wood glue, as it has a tendency to seep through the fabric. I have had great results with 3M Super 77 spray glue, but I recommend you spend several sprays on another surface, just to get the hang of it, as the spray pattern is a vertical strip, longer than you would expect. So you need to practice both speed and distance from the surface to get the best coverage without either thin spots or wet patches.

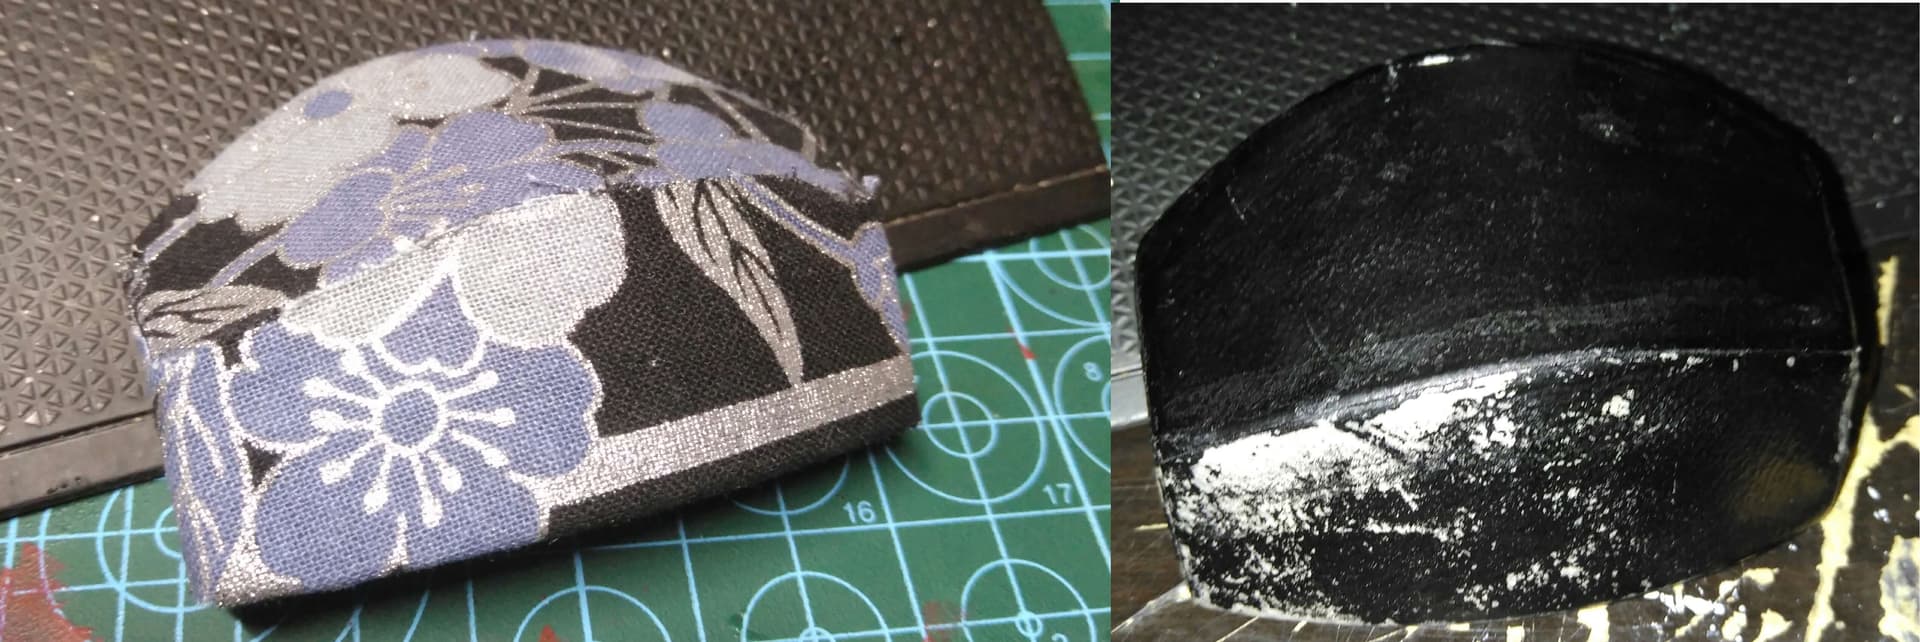
For applying the fabric, you need to apply it stretching (not just placing), first towards the tips (short side), then towards the long sides. Do the top surface first, then the edges at the short sides, then the edges at the long side (one by one), and then the inside edges. Pay attention to the glue drying time, and also be aware that the glue has a short repositioning time, just in case it didn’t land exactly on the spot you want.

One final tip is, when cutting the fabric, to leave enough fabric beyond the Doukake size, so you have something to grab on to pull. Unfortunately that’s wasted fabric, but unless you have a pair of canvas stretcher pliers hanging around, you need extra fabric to grab on to. I have the canvas stretchers, but I still prefer to stretch with my hands, as that offers more precision and flexibility.

For preservation of color, and protection against dirt/etc, you may want to apply a coating of any protective spray, either a clear matte acrylic varnish (such as those for protecting canvas painting), or the well known scotchgard (but this one needs reapplying every year or so, if you use your Shamisen a lot).

Cheers,

2 Likes

Oh, and be careful with the grommets. Even Kyle himself had issues with the inside part of the grommet scratching the Dou on one batch of Tsugaru Doukake (all fixed now). When you apply/press the grommet, you will see the inside part will curl up in many tiny sharp metal strips. That is almost sure to scratch the Dou. To prevent that, you need to cover the metal part (shards?) of the grommet. I recommend using superglue, in several layers.

You first add a small coating of superglue to the gromett on the inner side of the Doukake, then spray some accelerant (or wait at least 10 minutes, as open air superglue takes much longer to dry). Keep applying coats until you are satisfied you have exceeded the height of the grommet metal tips. Then file the excess glue down using either a sandpaper of a nail file until you nearly reach the metal. And if you have covered the hole by mistake, just take a drill bit of the size of the hole, and using your hand (not a drill), twist the drill bit to slowly remove the glue in the hole without cracking the rest of the glue.

By the way, nice Japanese whisky on the background. Cheers!

1 Like

for the wood glue with the tenjin cover, i spread it very very fine with a popcicle stick. practically until there was no “white” and the glue was semi-translucent. so basically spread incredibly thin. none came through. sunday here most of the DIY shops are closed so i’ll just be extra careful with the glue on the doukake

i did leave a bunch of extra fabric for that exact reason, even bought a fresh pack of wooden clothes pegs like in kyles book. i assume when the book says to glue the top and not the sides it means the whole top of the doukake shell?

for preservation i was going to use a topcoat already. just waiting on that to arrive since i don’t think my tamiya topcoat for model kits will be the right choice.

that thing about the grommets is a huge help. thank you for warning me on that. i’ll be sure to do that once it’s all done (still in the shell drying stage right now. should be done in a couple of hours by the feel of it)

and thanks on the whiskey comment :stuck_out_tongue: i find toki to be the best tasting whiskey in my price range so it’s my go-to

New update! mostly finished now.

Here’s both the “finished” tenjin cover and doukake. my 4mm hole puncher is still in transit until tuesday so i can’t continue. tomorrow my acrylic spray arrives to coat these 3 things to preserve them nicely.

Fits perfectly.

Tied an acceptable neo after many frustrating attempts. side by side with the one that came free.
following kyles instructions both on youtube and the book produced a neo too big for my nagauta. so i had to keep repeating it with smaller and smaller lengths until it came out acceptable enough for my own standards

all in all for my first attempt at doing this I’m pretty proud of how it’s turned out. with my new bachi and koma on the way to replace the broken ones that came with my shamisen. hopefully i can start actually learning to play sometime next week. I’ll post a final update when the rest is done

Final update. it’s all nice and finished.
The tails of the neo feel a little long but don’t effect anything aside from looks as far as i can tell.
I used 4mm grommets which seem to have been perfect size choice. sprayed both the tenjin cover and the doukake with an acrylic clear matte spray (2 coats each seems to have done the job)
i used 2mm black leather cord for the straps. i think i need to trim it down a bit, but aside from that it looks nice and holds securely. kind of hard to tie a bowtie with, so if anyone has a better simple knot recommendation to hold it on i’d love to hear it so i can reduce the mess of cord :slight_smile:


huge thanks to kyle and nitta for the very nice koma and bachi that arrived today. and i’m also grateful for the lovely CD i also got as a little gift in the box. It was a lovely surprise.
The bachi is perfect size for my tiny baby hands. and the koma sounds obviously much better than the plastic one even to my ear. it completes this shamisen alongside my doukake and makeshift tenjin cover. Time for me to officially start learning the shamisen!

1 Like

That is really really nice! Congratulations!
Now… Beware of “doukake fever”! :rofl:
You will want to create new designs every month.

1 Like