It took me some time to wrap up this chapter of my first shamisen build. I will split the post into parts. So here goes Part 1 in form of a Q&A.
Where did I first heard about the shamisen?
Honestly, I don´t know. I might have heard it in a music clip and because of its very distinctive sound, I probably started to search some info about it. Yes, the idea of actually getting a shamisen from Japan did cross my mind but it was a very distant wish at that time. Then I stumbled across videos with Kyle Abbott and learned that he even published a book on how to build a shamisen yourself. Great humour and no secrets. I was sold.
How did I begin?
Besides having instructions, I took it as a challenge to make something from scratch. I was also going through a difficult time and this build helped me to gather myself together. I know, it sounds cheesy but as woodworking cannot be rushed and by staying focused on the work, you realise, you have to stay organized and keep up otherwise, you´ll never achieve your goal. Step by step, as my husband says.
How did people around me react to my idea building a shamisen?
People in general: „A what?“
My family´s first reaction: „You´re crazy!“
But they were very supportive from the start. If I had to name this shamisen, it would most likely be „kazoku“ , in honour of all family members who at some point or other searched for wood or had to listen to my endless enthusiastic description of how the build is progressing. Also after I finished the build, I had many positive reactions from people that I haven´t even spoken to about the project. That was both surprising and nice.
What wood did I pick for my shamisen and why?
I ended up with european cherry (sweet cherry, wild cherry, prunus avium).Exotic woods are on the more expensive side here and getting wood in small quantities is quite a quest by itself. This cherry wood happened to be close to where I live, the woodworker was getting rid of it for a small price, and one could choose how much (or little) one wished. And then, putting aside the not-so-perfect janka hardness, cherry trees make you think of Japan…. 
What experience do I have with woodworking?
Besides remembering my grandfather´s advise what to look for when planing wood when I was 9years old, none. I began the build by watching a lot of videos on how to use and take care of different tools. I researched what tools are an absolute necessity and what I could do without. For example, there is no need to buy a whole set of chisels when you will end up using just a few. This leads to the question:
What tools did I use?
I decided to make the shamisen with handtools only because, why make things easy when there is a hard way! . Jokes aside, this decision was made based on the space we live in – a small appartment with no extra room for a small workshop table or anything of the sort. So my only option was to use our main table (a working table anyway) in the kitchen/living room and a small vice, inherited from my grandfather.
Speaking of tools, I collected them over the time of the whole build. The following is a list of tools used mainly in the „wooden“ part of the shamisen.
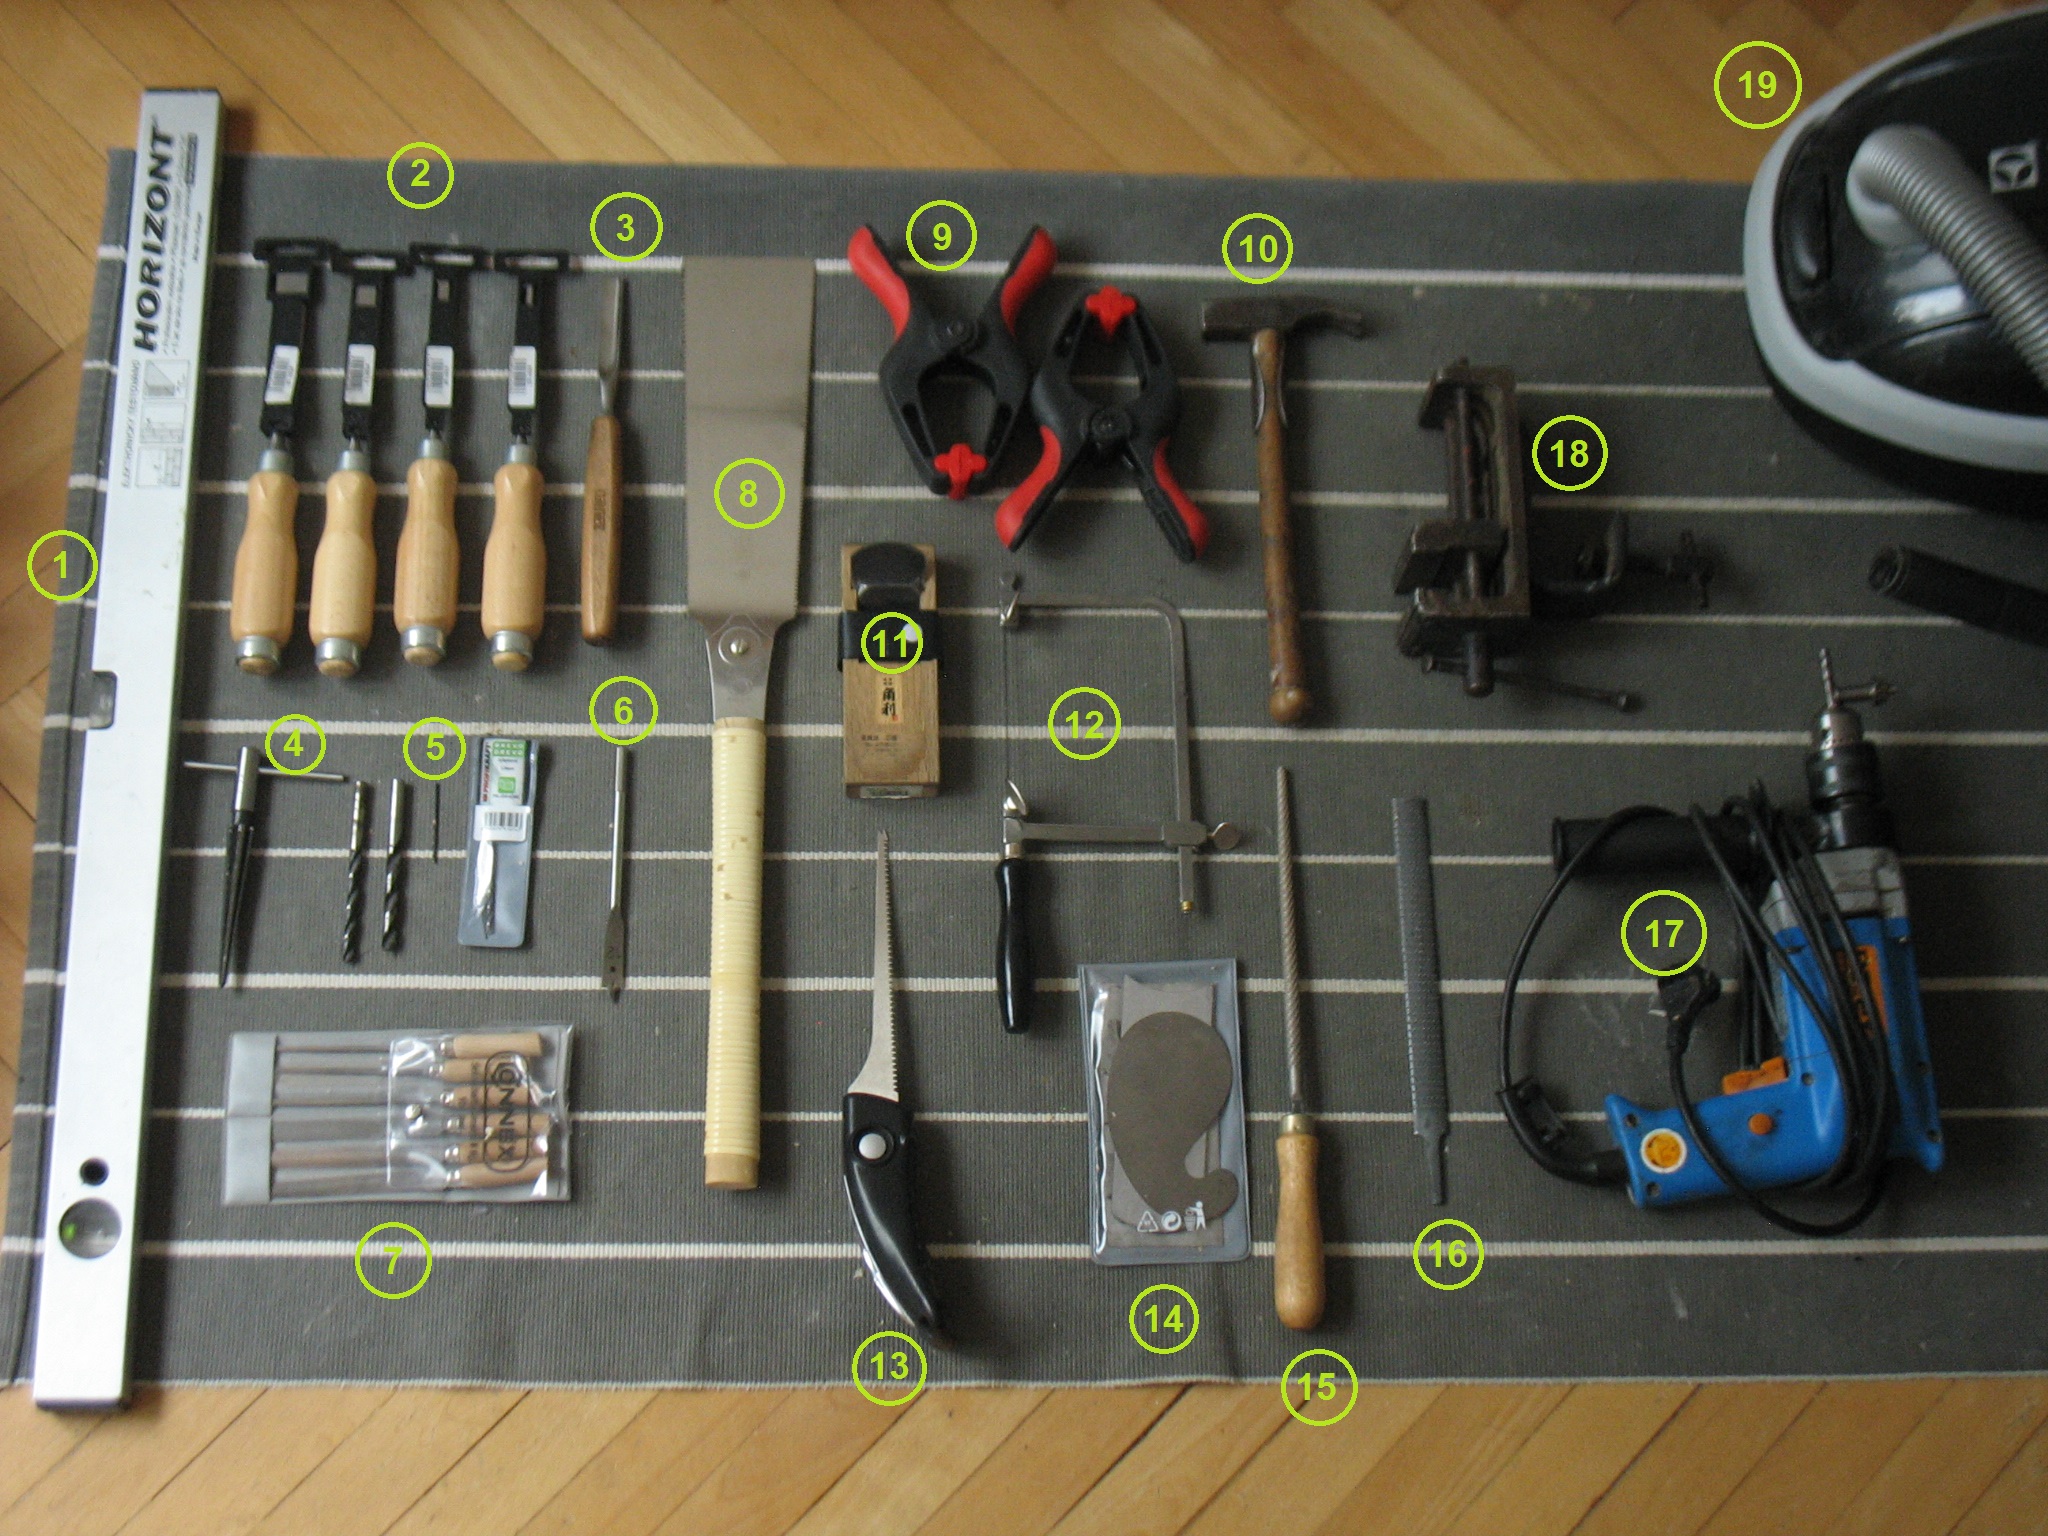
1 – a level. I don´t believe it is completely needed but it was the longest and straightest thing to be found around the house. I used it for marking the sao and then for the adjusting of the completed sao and marking the hole for the nakago.
2 – chisels – 3mm, 6mm, 12mm, 18mm – these weren´t bought in a set and I did use all four of them.
3- rounded chisel – perfect for carving out the dou. Maybe a larger one would work better but this worked perfectly fine.
4- tapered reamer – it is marked as a 5-16mm size but I don´t know anything about the angle. It was fine for the itomaki holes but useless for tapering the nakago hole, it just flew right through it…
5- different size drills – I actually lerned how to recognize a drill specifically used for wood :)))
6- spade drill bit – used for the nakago hole. I thought it was the scariest tool I ever used.
7- small wood files – good for squaring small spaces and filing sao joints. These were very fine (meaning not the coarse type) but did the job.
8- japanese saw , ryoba, Gyokucho „Blue Hard“ komame - the particular saw I chose is a ryoba, a two sided saw for rip-cut and cross-cut. The cut is super thin, the blade of the saw is only 0,45mm and it quickly became one of my favorite tools. Ok, and it´s not only because it comes from Japan. I tried a japanese style saw made in Germany and the performance was not even close to the real japanese saw. There are different styles and sizes of japanese saws depending on their job, so I had to research a bit to pick the right one. Also, there is a particular way how to use them when sawing. This saw was able to cut up a 5cm thick board without any problems. Easy-peasy.

9 - clamps – these are some cheap plastic ones. I used them mostly when glueing.
10 - hammer – come to think of it… I don´t know if I really used it. Oh, I did. In the skinning process! That´s right, that´s the time I annoyed my good neighbors till 2 am…
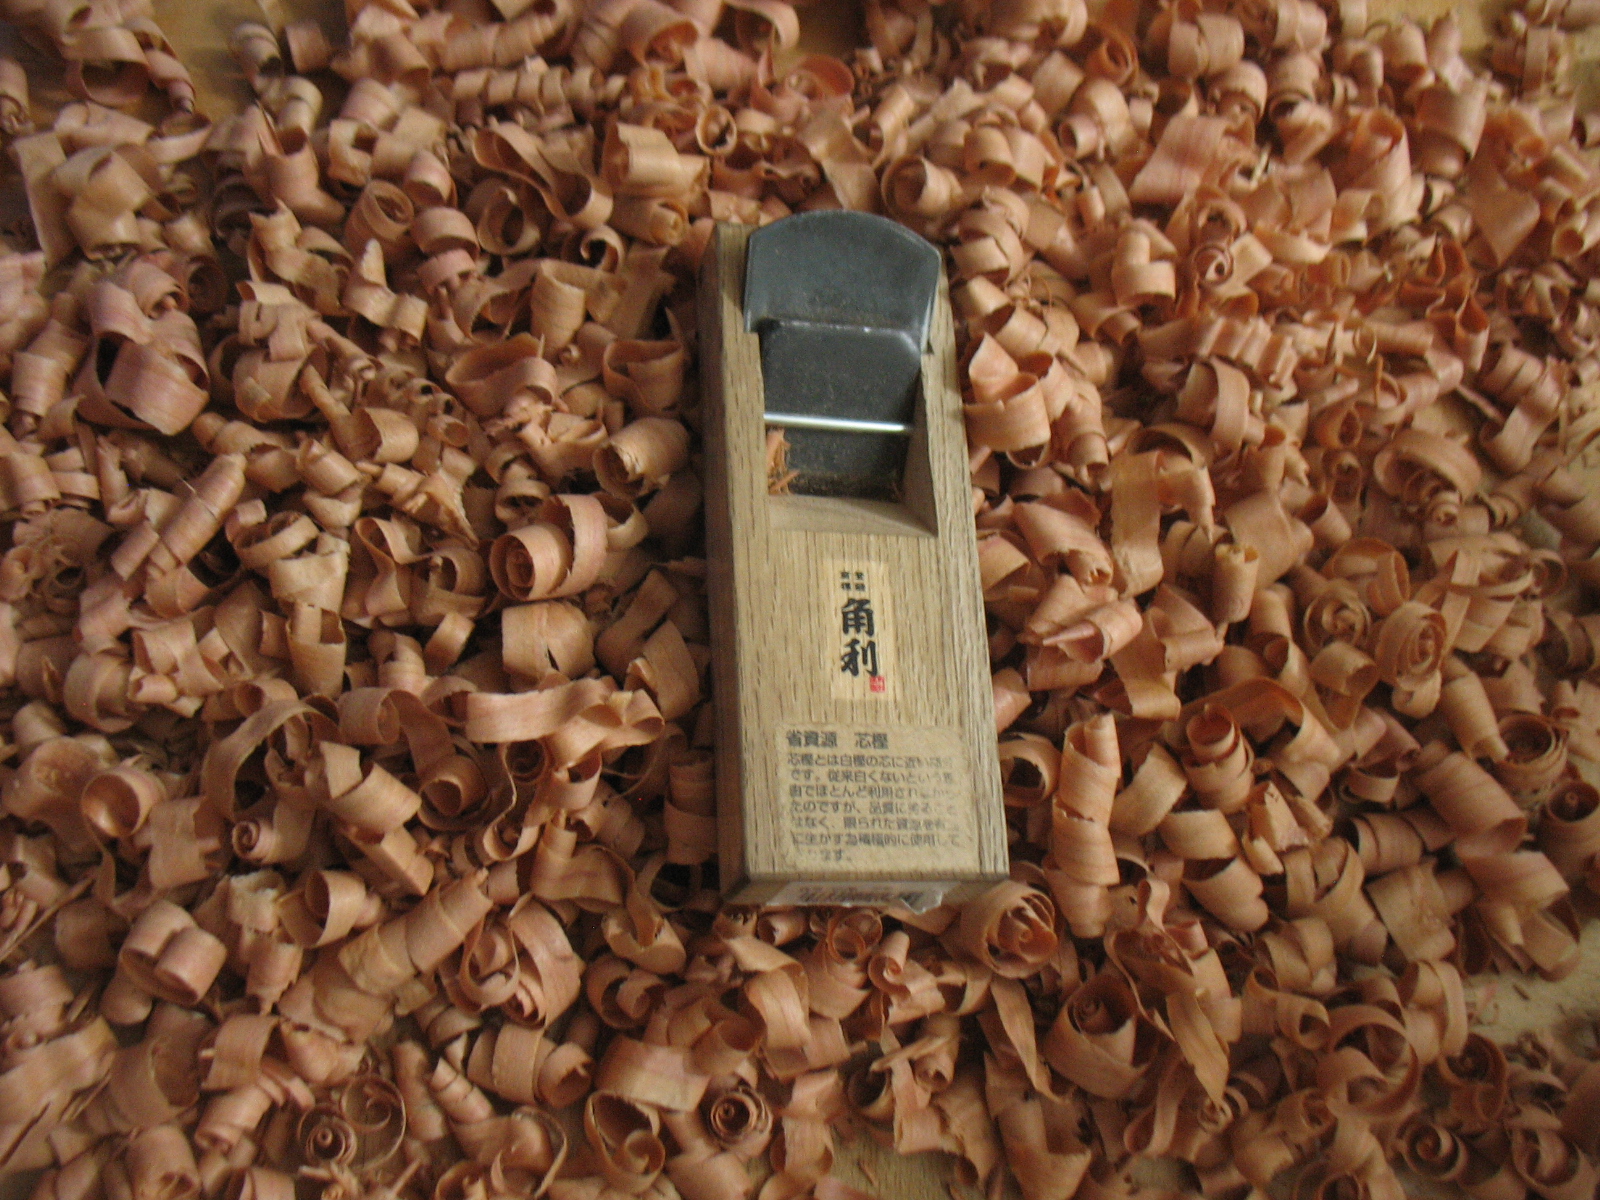
11- japanese plane – kakuri kanna – I picked up this little guy on ebay, as a new tool. It was around 15usd. I was super happy because just the concept on how it is used vs. western planes was something that agreed with me. Don´t get me wrong, I am not diminishing western planes! When it finally arrived, it was extremely sharp. Little did I know at that moment, that there was a lot of prepartions, settings, and tweakings to be done before it could be used properly (thank you to all those who made videos about the topic on youtube!). After that, it has become my biggest helper in the whole build and a favorite tool. Although, I still do believe that I am super abusing it…
12 - jeweller´s saw – although not a necessary tool for the wooden build of the shamisen itself, it was very handy in the making of the koma. Indispensable for me in the making of metal parts.
13- japanese keyhole saw – this was for the cutting of the joints in the sao. Comparing it the the performace of the ryoba, I was very surprised and disappointed on how this saw „munched“ through the wood (mind, it was also from Japan! Double disappointing!). I really do want to believe that the store made a mistake and put in a prunning saw into the woodworking assortment. But maybe not and I was overexpecting things.
14- cabinet scrapers – still a mystery to me on how to maintain these guys but I do recommend them. These scrapers are a big help when shaping the sao. Only, one has to be careful not to overuse them as it can result in overscraped areas (=irreversible damage).
15- round rasp – since the reamer I had was not large enough, the round rasp was used for the shaping of the nakago hole.
16 - half-round rasp – mostly used in the shaping of the saruo.
17- drill – power tool! It was already in the house and seriously, I was not going to drill those holes by hand
18- vice – this little one was used to hold all my wood, from sawing, to planing, to drilling, and glueing over mistakes.
19- vacuum cleaner – a huuuge helper. Not only did it clean all the mess but I also used it to minimize breathing in wood dust.
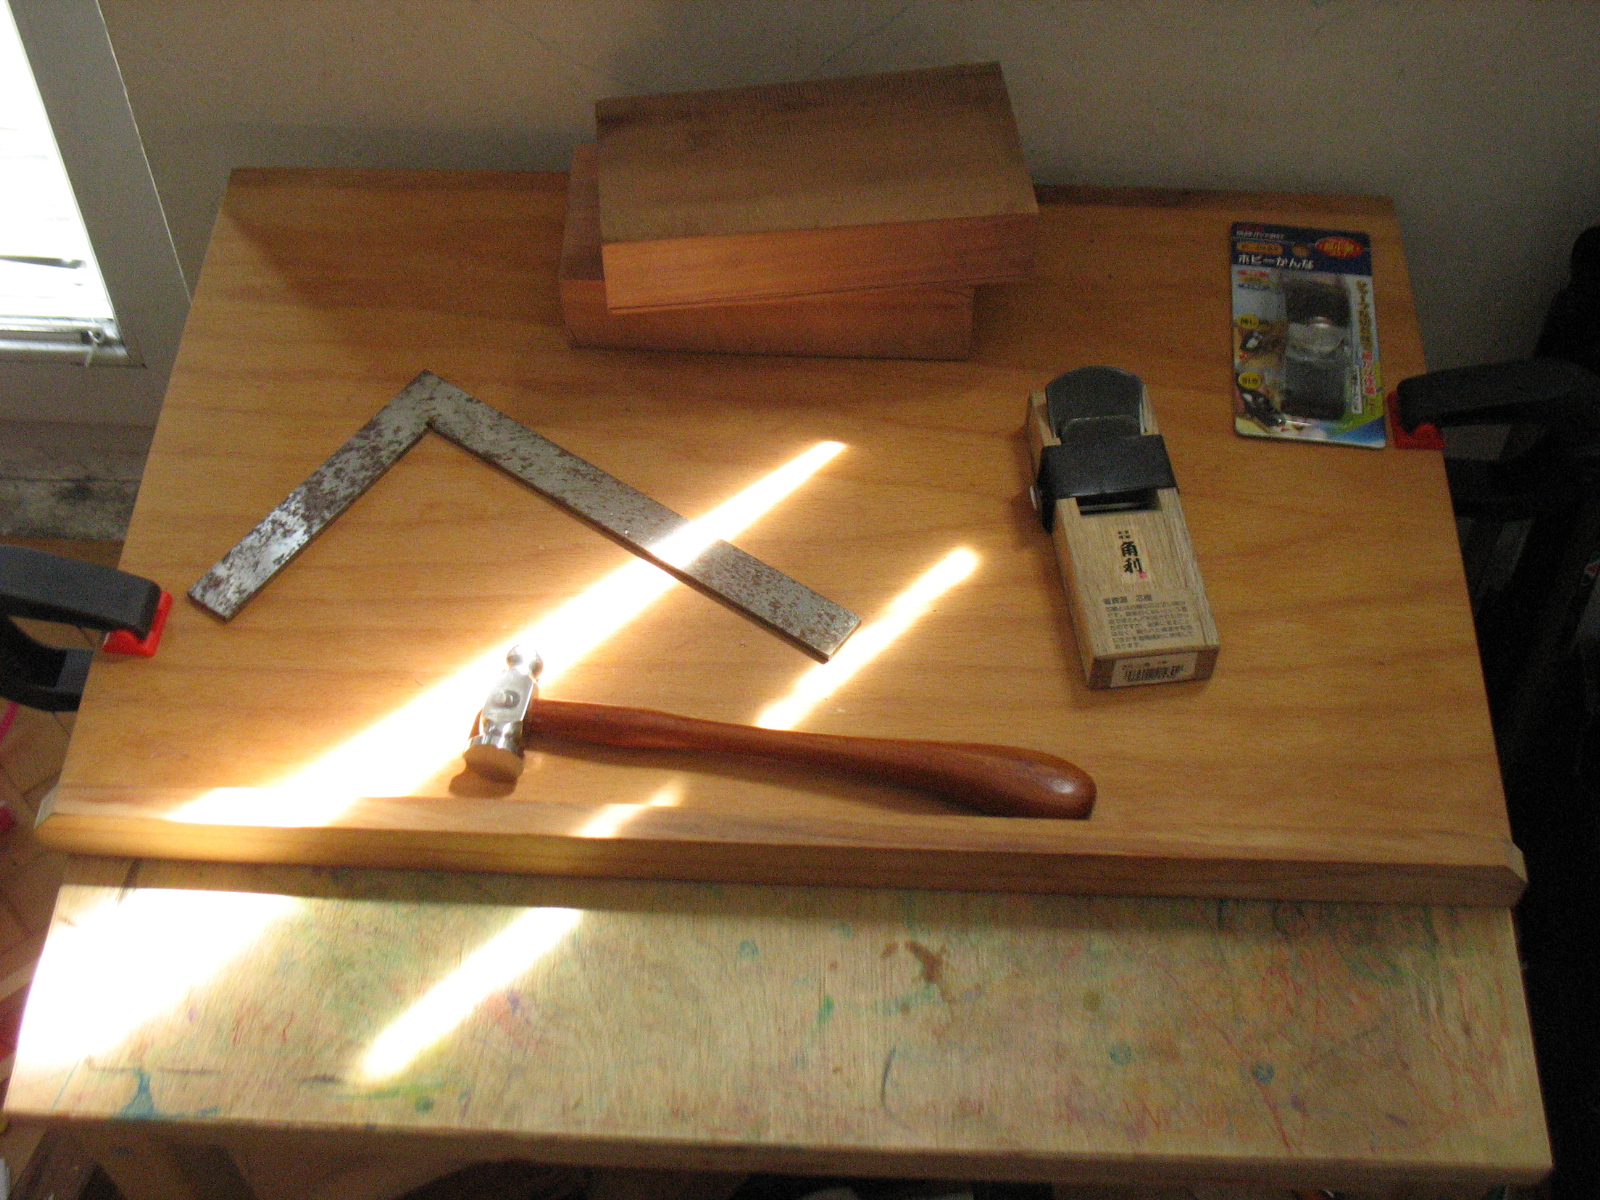
20 – a square - a medium size, plain old metal L-shaped tool. Got to keep an eye on your angles! (The chasing hammer was used only for the setting of the japanese plane).
21 – sharpening water stones – I used both a coarse stone and a fine one with 1000 and 3000. Cannot work without them!! It´ s a must!

22 – calipers – extra useful in measuring the thickness of the sao, everything around sao joints, depth of holes, and such. Having it around made my life easier.
23 – plain plastic rulers and a plastic angle ruler
And loads of sanding paper with grits of all kind! From 150 to 3000.
So that´s it for now! Part 2 will follow.
Sorry, if I named anything wrong. If you have any questions regarding the build, please let me know!
Happy building! 
