Part Three
(if you happened to read this first, here is part one and here part two )
Part three is more about helping anyone decide (if you are not sure enough) whether to get Kyle´s book or not. I´d say, buy it, you won´t regret it. Even if you don´t end up building your own instrument, it´s fun to read and it will give you more understanding about different parts of the shamisen and their japanese names. Not to mention the picture crash course and songs at the end of the book.
So, what do you end up with when you follow Kyle´s book?
In short – a lot of stuff!  That is, if you pay attention to the instructions (and I had plenty of times, when I made mistakes because I haven´t read carefully), are patient and mad enough to go through the whole project. This is what I ended up with:
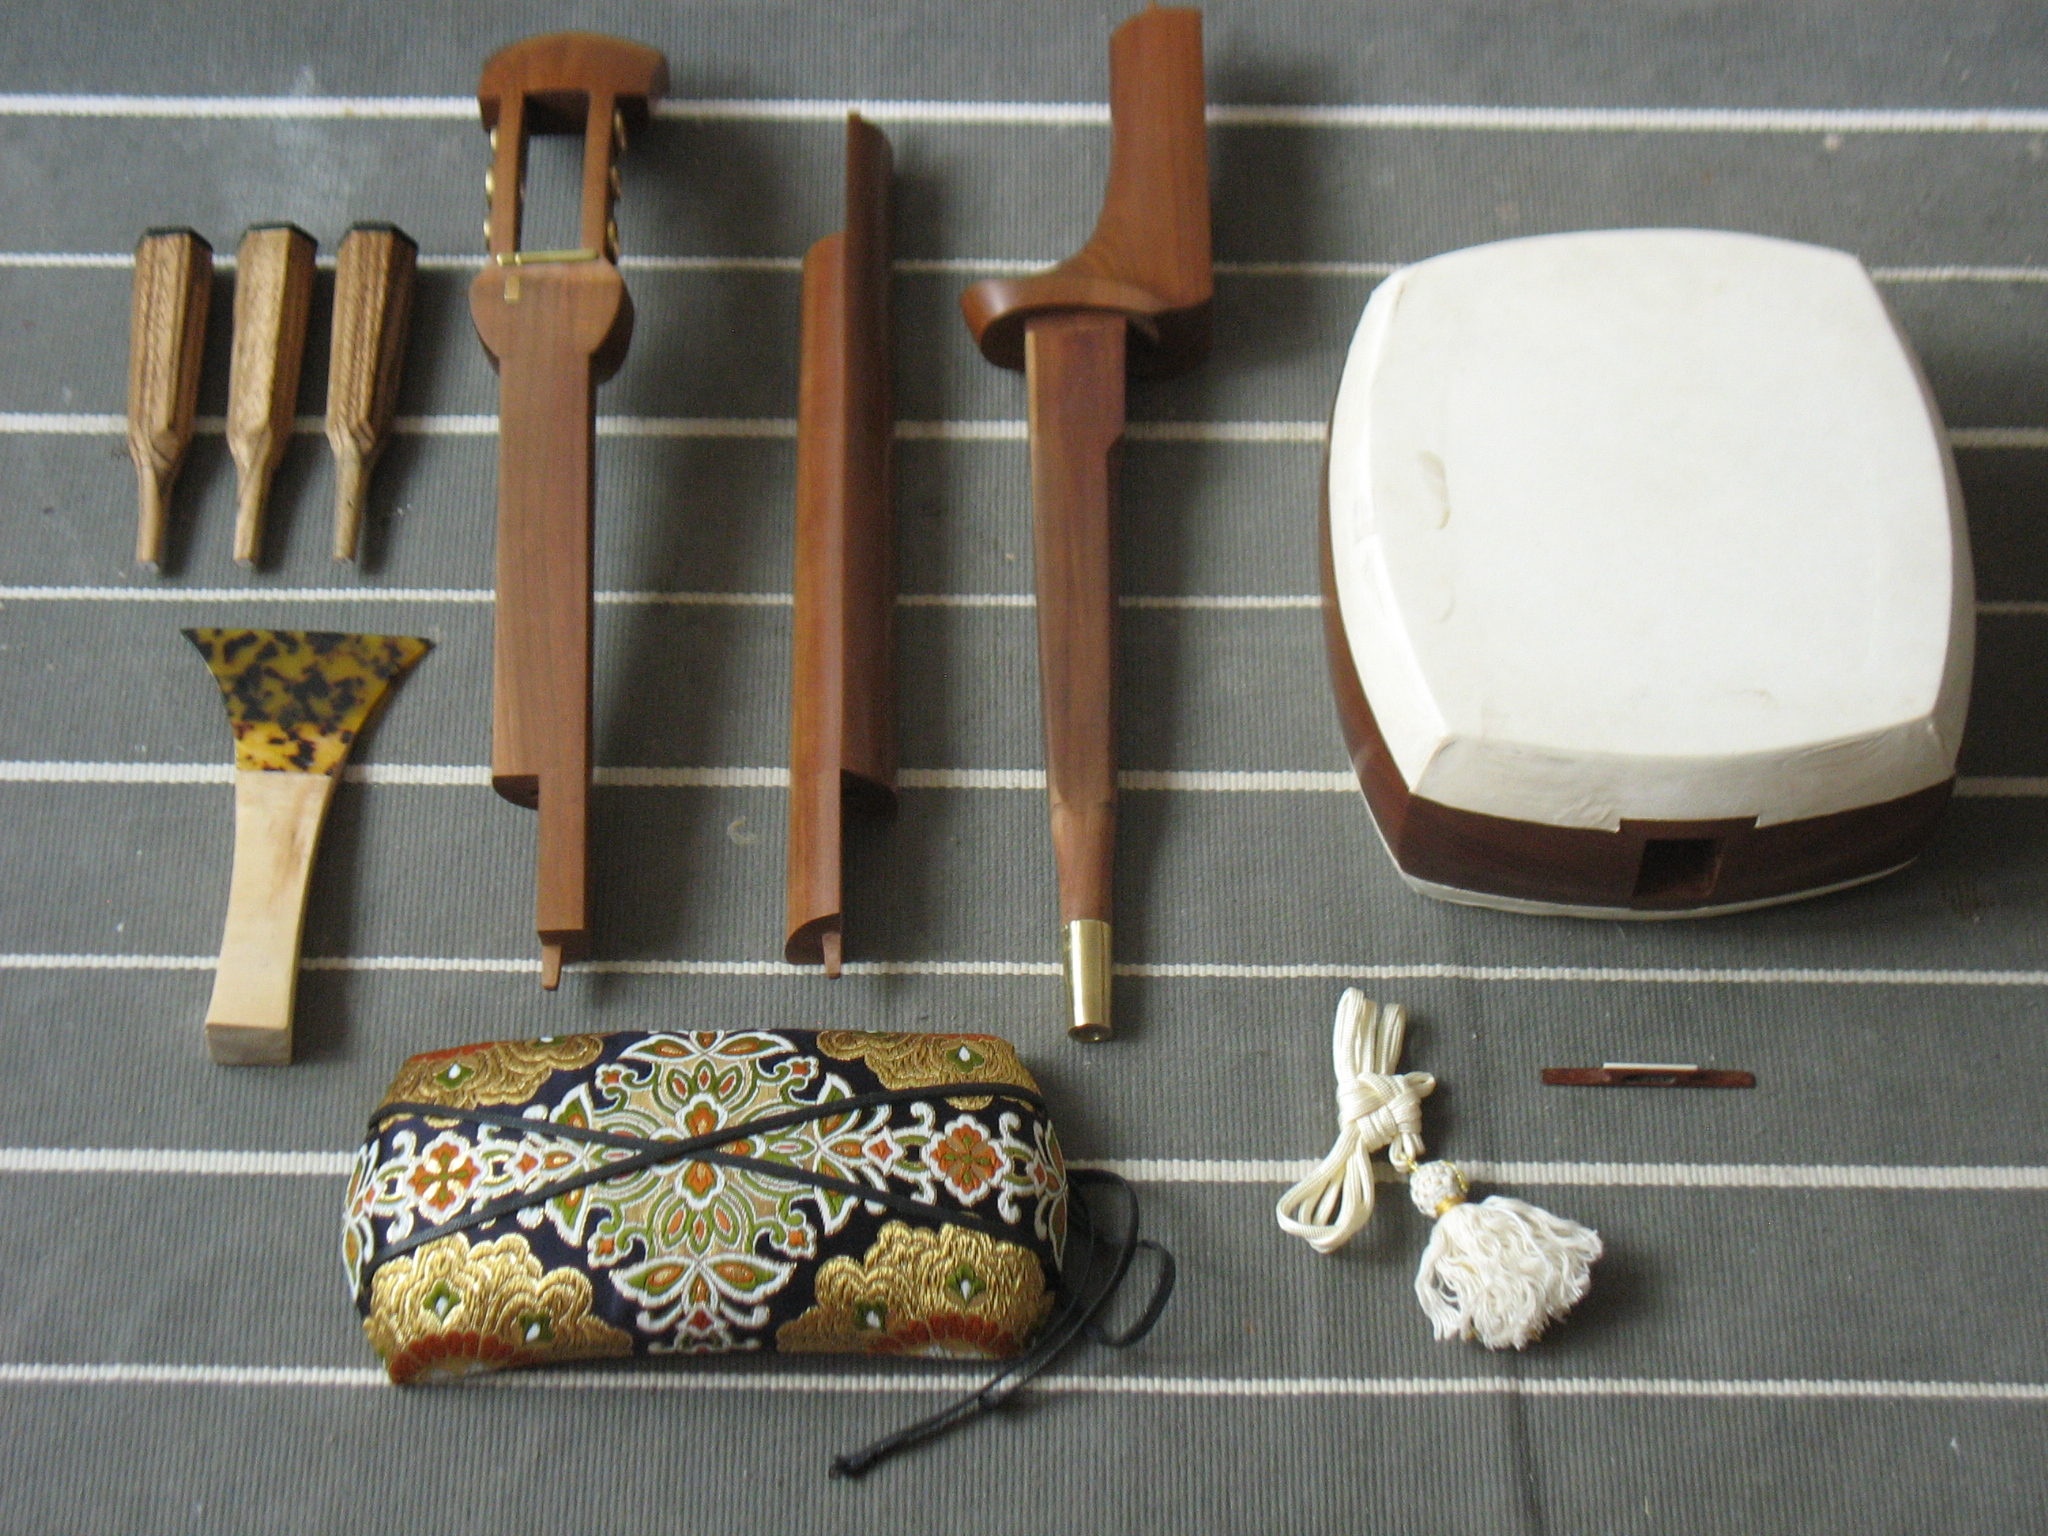
Shamisen and accessories
Skinning tools

For the making of the skinning tools I used a leftover chunk of our birch kitchen top (so glad I kept it!). The clamps are made from beech blocks used for parquet floors. (And yes, I bought those, I didn´t rip it from our floors
 )
)
Beside having the book, I watched Kyle´s videos of his building different instruments. I also researched and downloaded a lot of referrence photos of different shamisens. I found that a good source of pictures was Yahoo!Auctions (sometimes tempting me to stop building and maybe start saving up for a shamisen from Japan… )
I was also lucky to win for very little a broken shamisen on ebay, which served me greatly as physical referrence and as a way to practise skinning. It´s probably only me, but I had a problem in tackling the making of the nakago and having that physical shamisen was a huge help.
By looking at all the referrence photos, I came to the conclusion that making small changes or incorporating personal preferences to the instrument was totally ok. I was surprised at how many „customized“ instruments I have found – be it the shape and material of the itomaki or the decorations on a tenjin. Realizing this helped me to relax a bit and enjoy the building even more.
If you have any ideas on what you want to know more regarding the build, please let me know!
Meanwhile, happy building!
p.s. I still did not get around to take nice pictures of my finished shamisen. The weather has been extreme these past days, either it has been stormy or very hot. But I do want to take some of those „romantic" pictures of the instrument in nature… :)))
 )
)