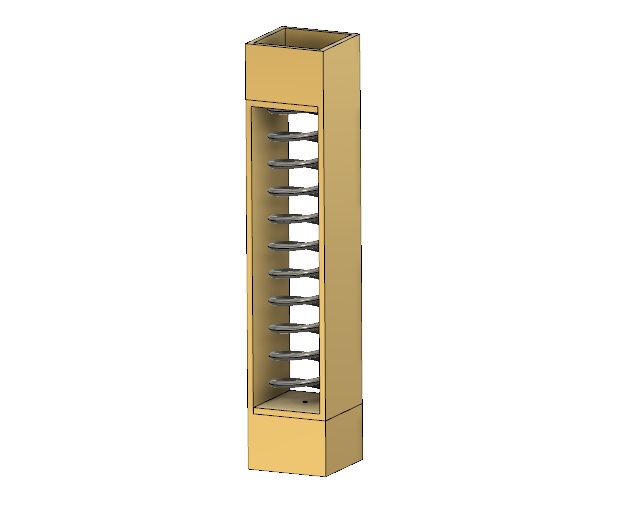
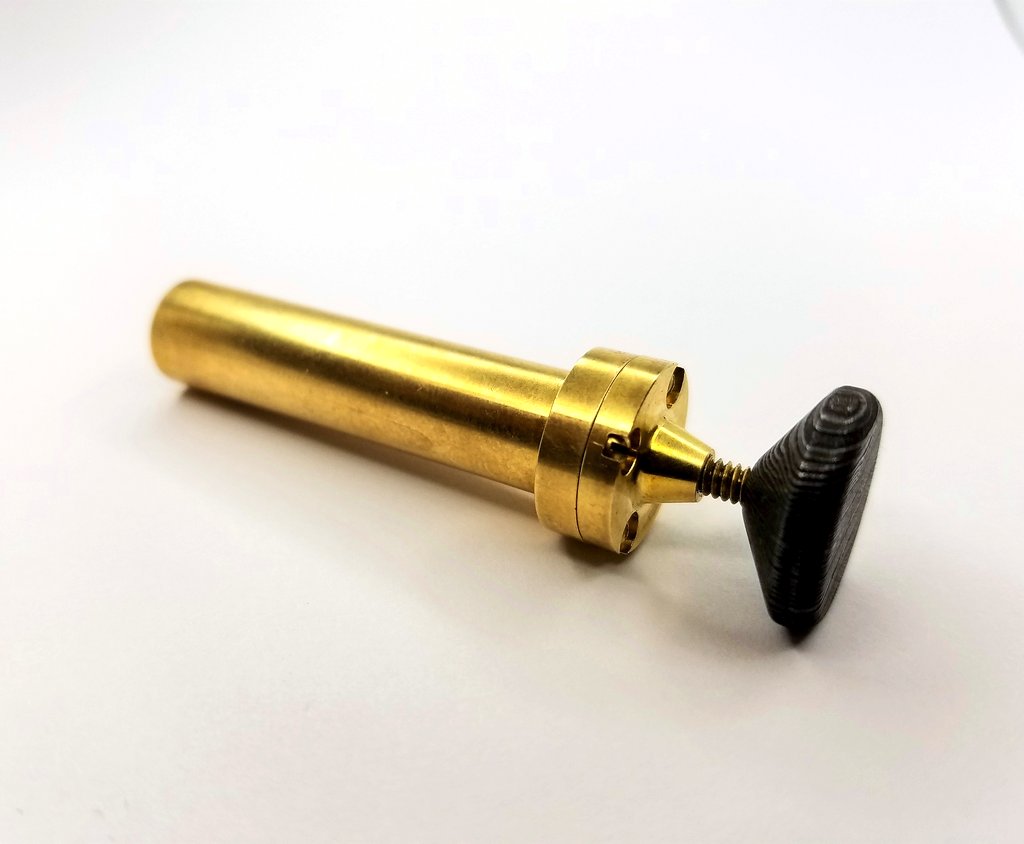
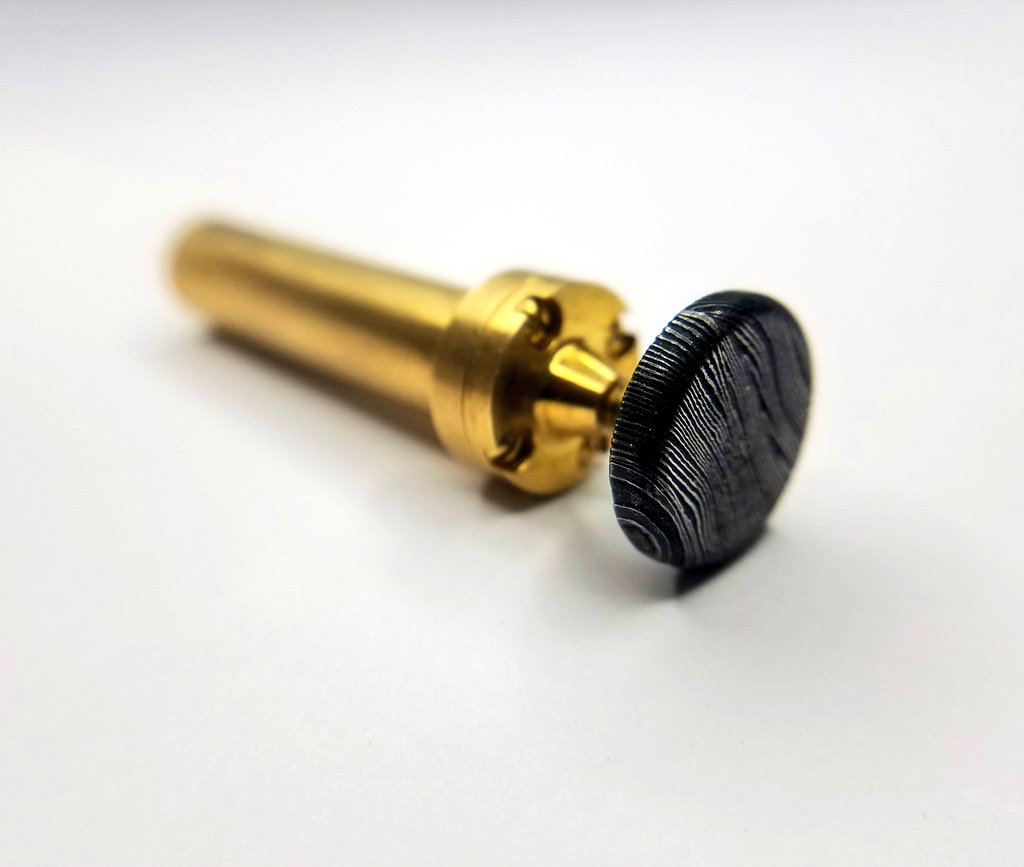
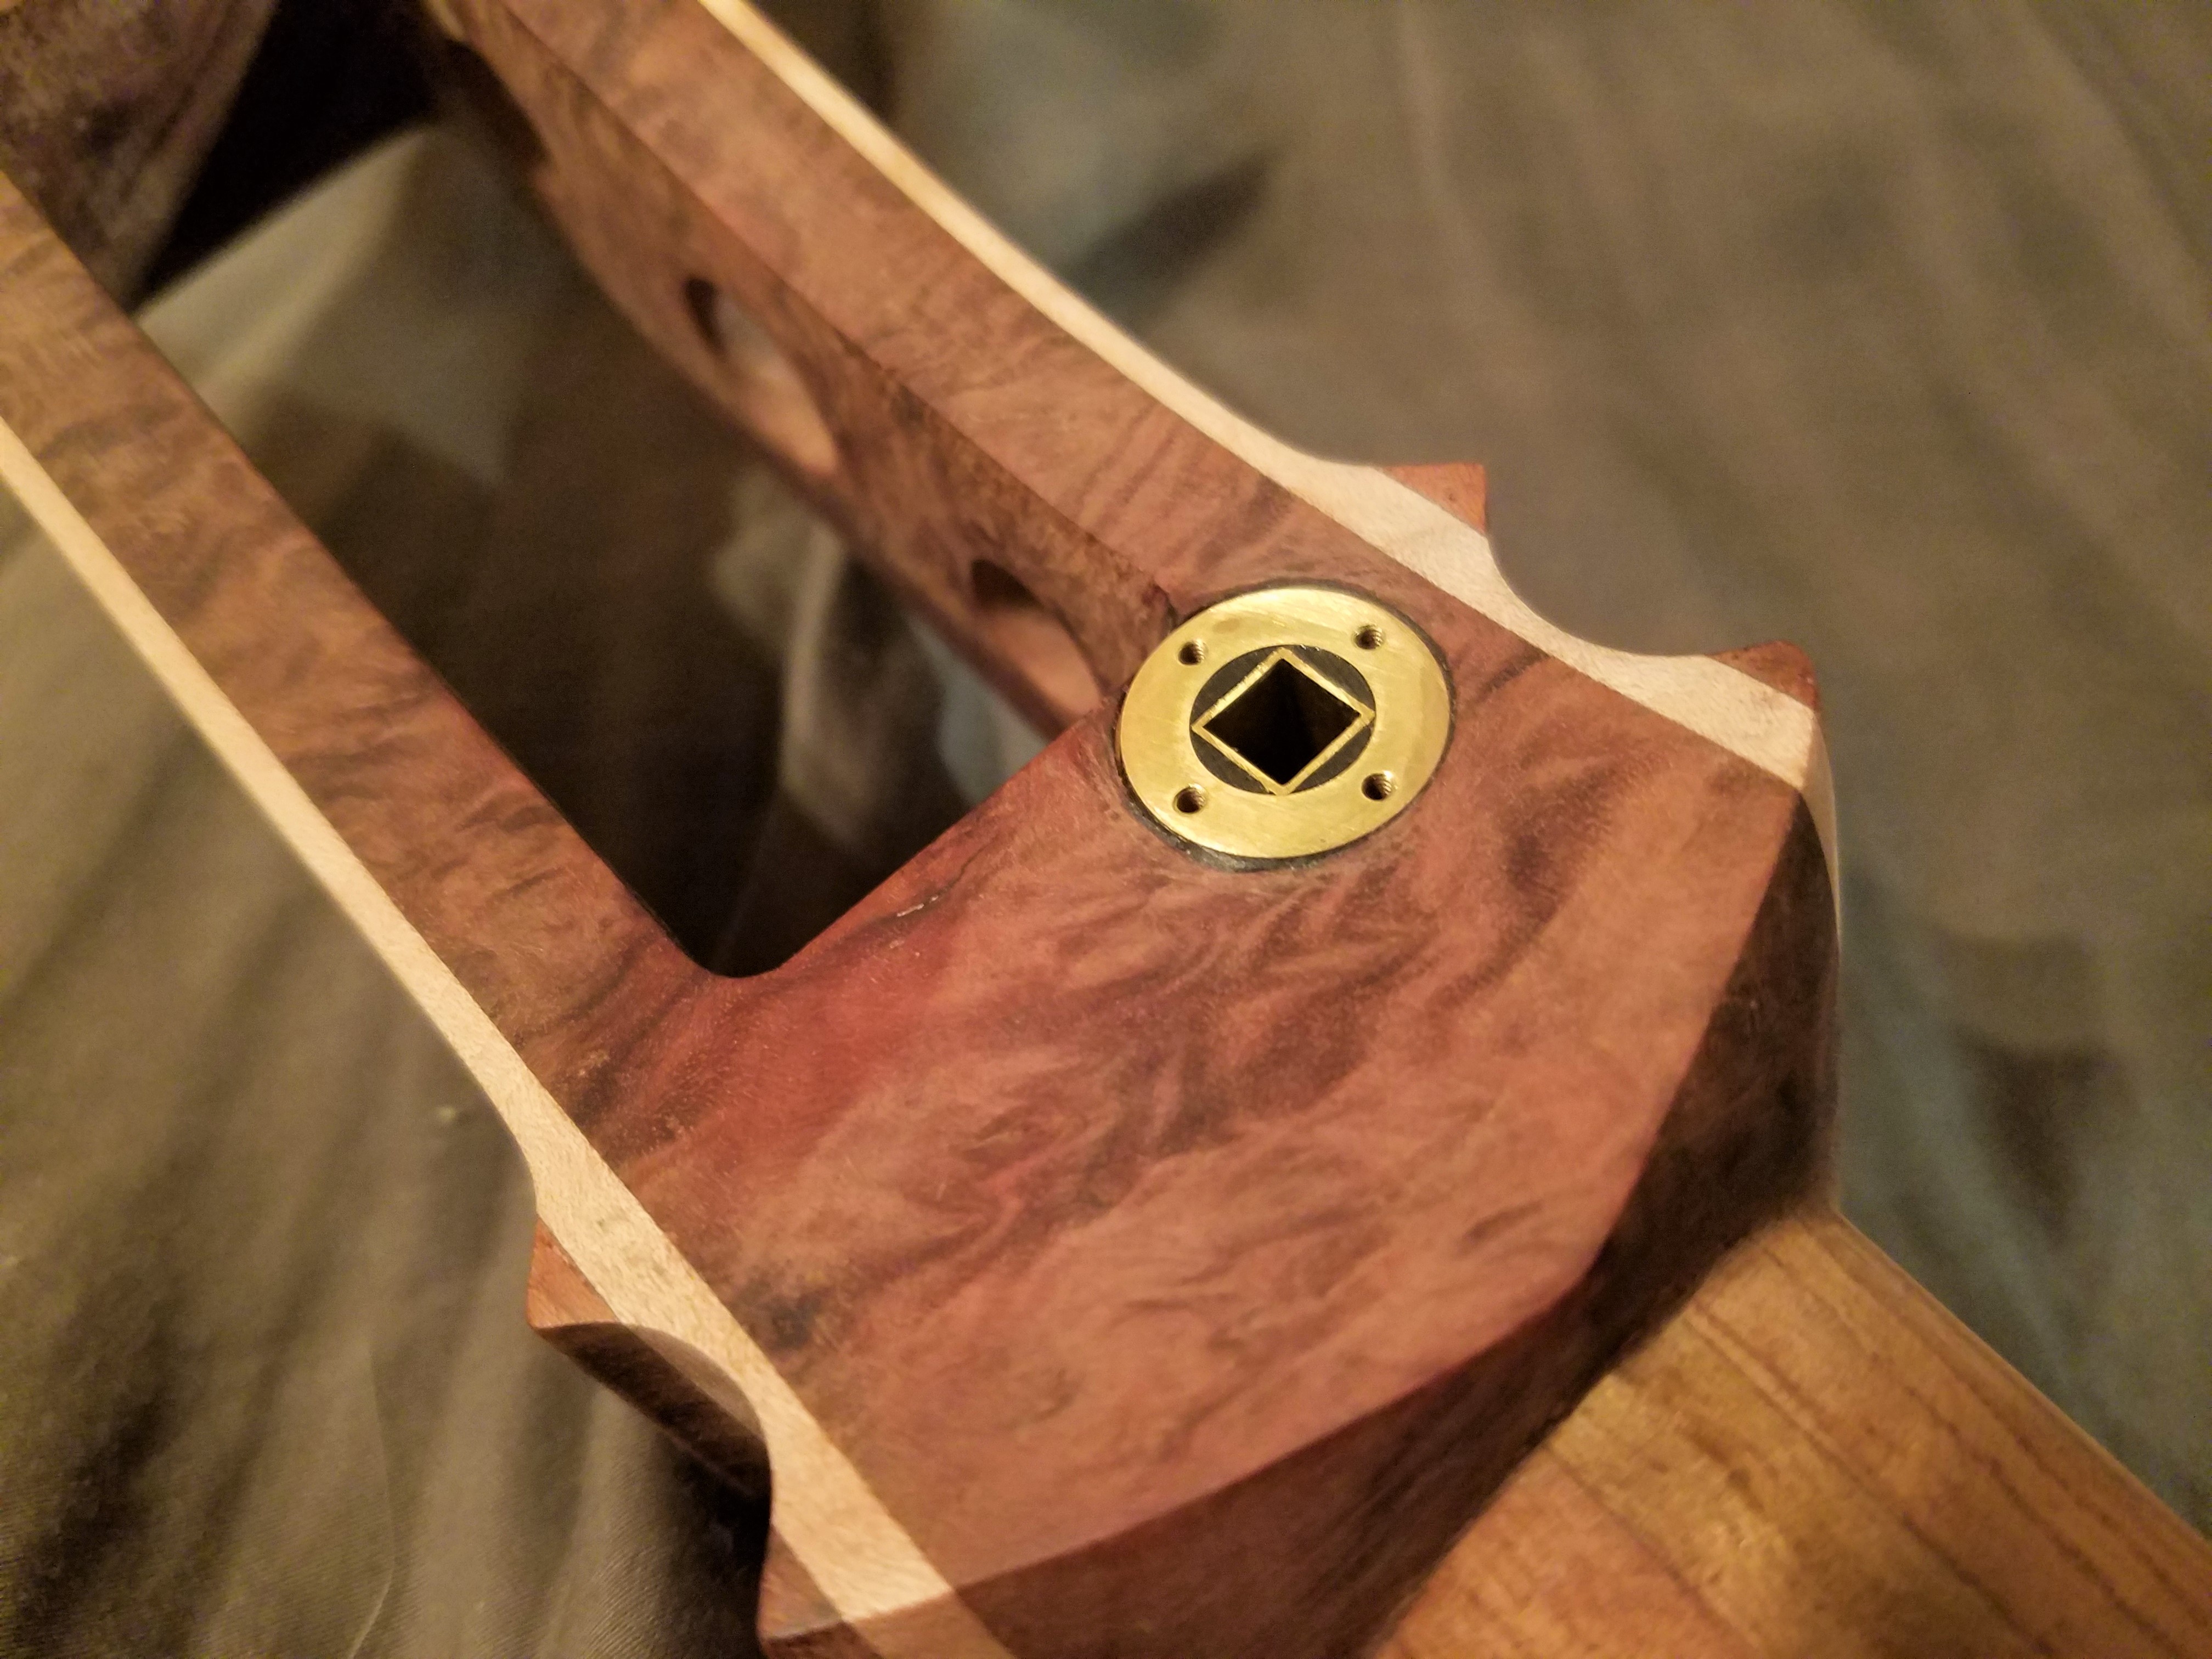
Hey! It’s been a while since my last update, the finishing process is honestly pretty grueling, and during one of the steps I messed up the finish to a point where I didn’t like how it was turning out, so I went back and redid some parts. It set me back a couple of weeks, but I’d rather take the time and do it right.
Pore sealing is arguably the most time consuming and demanding part of the whole process, and is my least favorite part. But everything is about surface preparation.
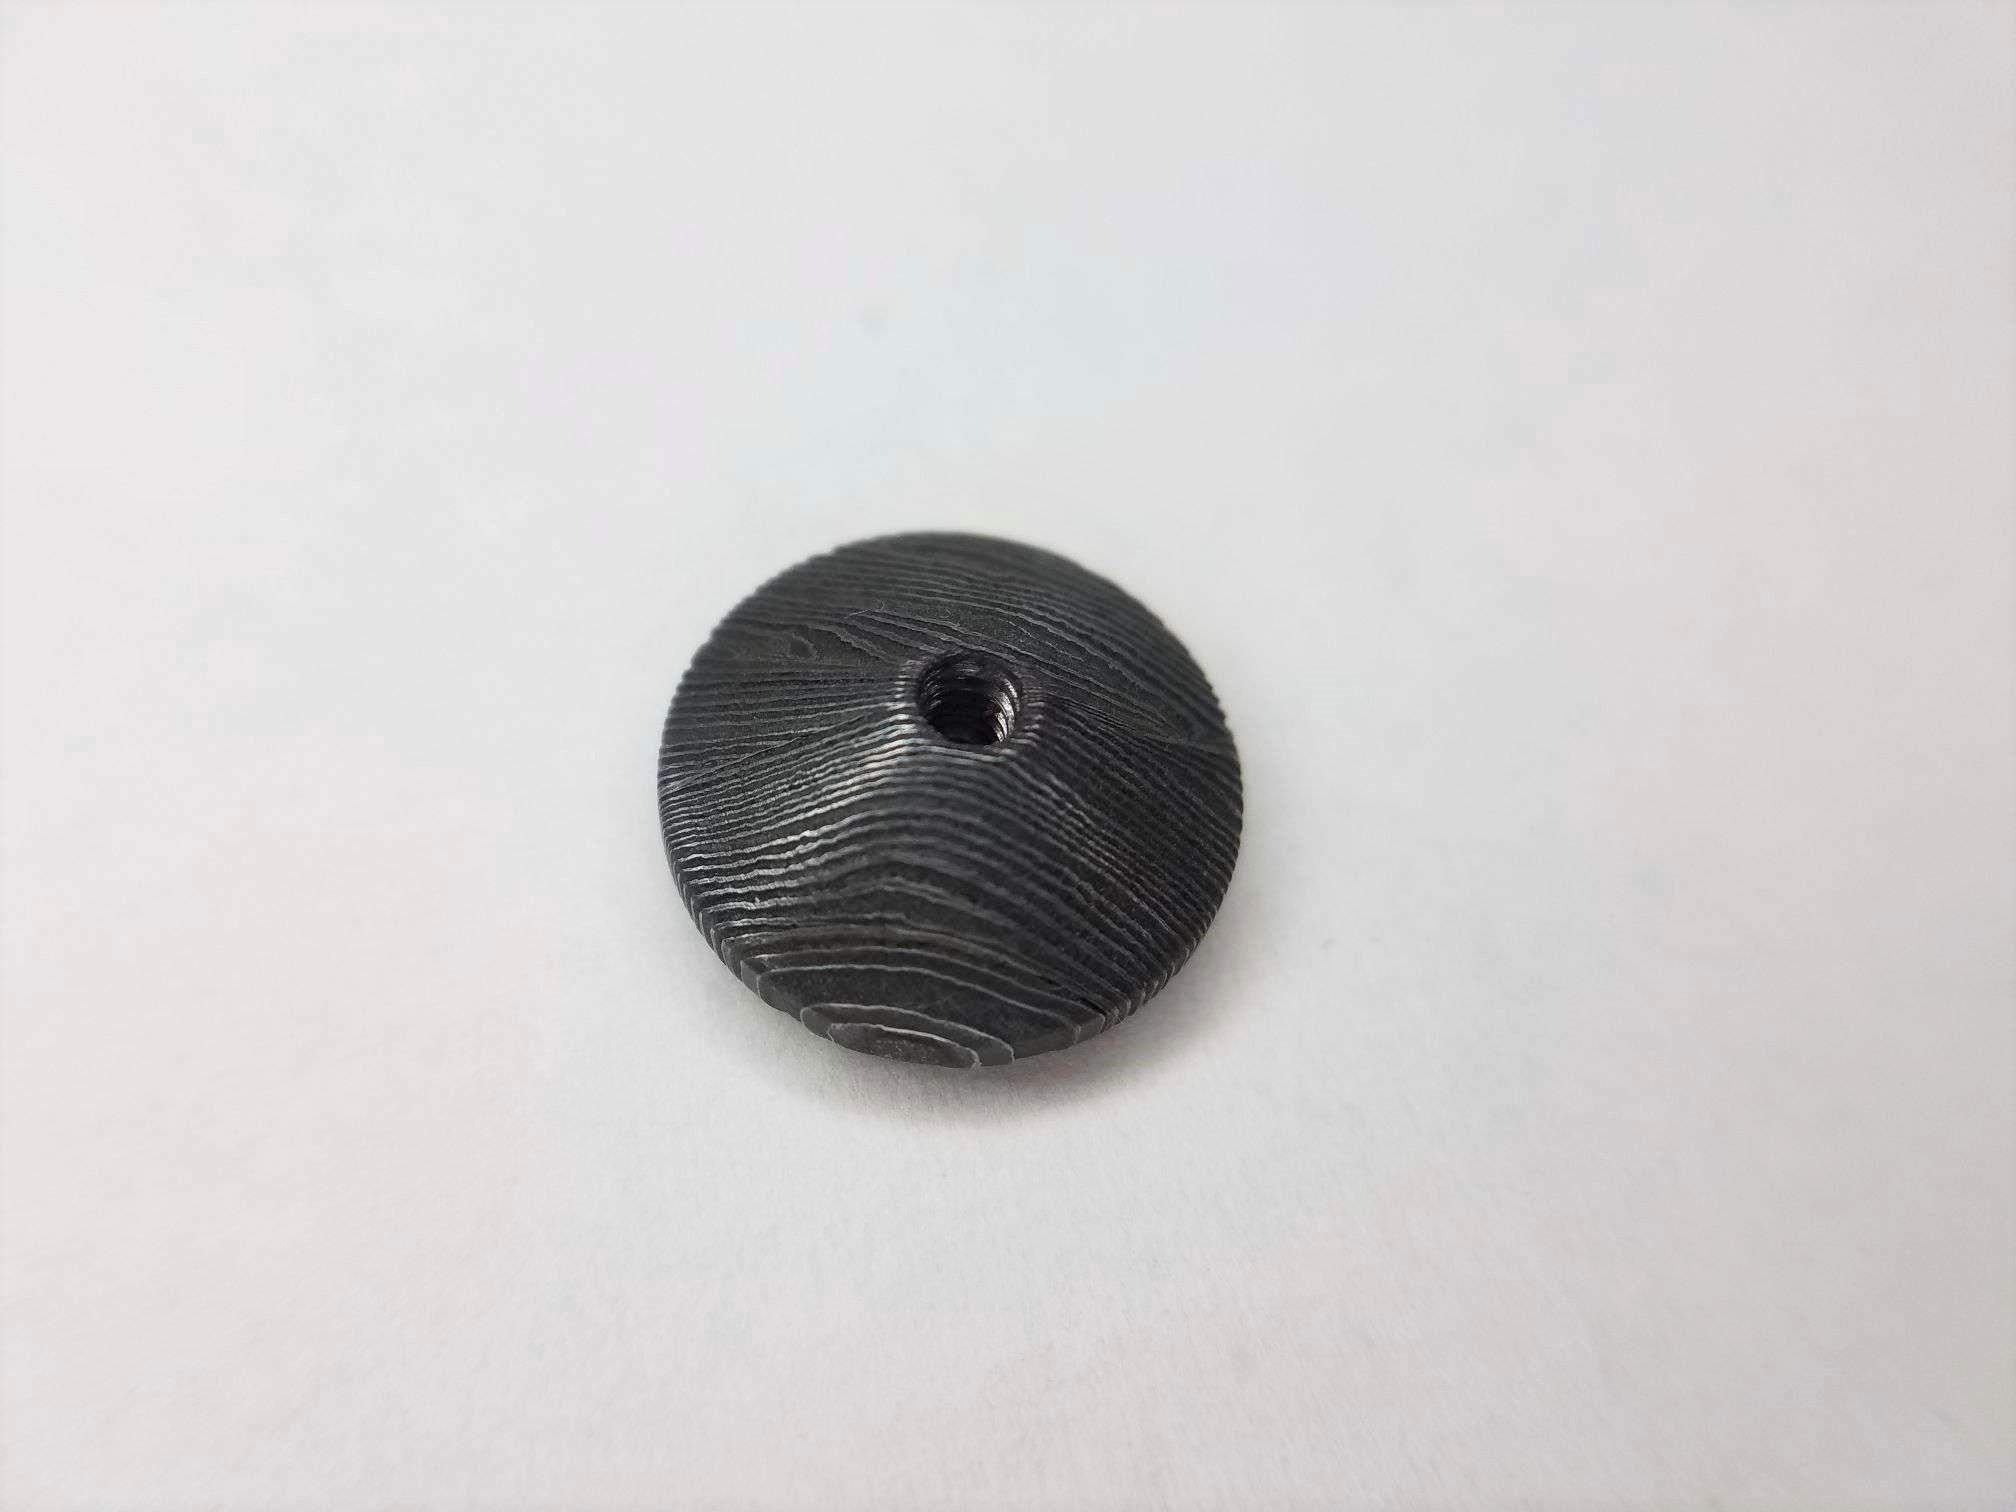
Before sealing, I dry sand the wood to 600 grit. For my process, I have found that vigorously burnishing the wood with a paper towel between grits helps make the overall feel smoother. Not only to you knock away dust, but it helps compress the fibers and results in a smoother, harder feel. After this initial sanding and burnishing, I apply several seal coats to the wood with my finishing oil (in this case, Tru Oil, which is by far my favorite finish yet and one I highly, highly recommend.) I apply these coats pretty liberally. In the case of the sao, the wood was super thirsty, and absorbed a ton of oil in the beginning. I ended up wiping on two thicker coats, then a third touch up coat after. This allows oil to absorb into the wood, harden, seal the surface, and provide a very base layer to build off of. Next, is pore sealing.
For pore sealing, there are a number of ways to do it, but I have generally preferred the method often used in French polishing. After the first seal coats, you wet sand the wood with your finish to create a slurry of wood dust and finish that fills and seals the pores. Note that the finish must be a hardening finish (shellac, varnish, etc) I begin with wet sanding with the oil at 400 grit, and work in small sections at a time. I apply a generous amount of oil, and do lots of small, circular motions in a section. When the slurry starts to have some grab to it, I wipe it off across the grain. This helps fill in pores better. After, I inspect against the light, and repeat. Over, and over, and over again until I am satisfied, working my way through each section. During this step, you have to make sure to wipe off the excess without over-wiping and opening up the pores again. Especially if you have very open, porous wood it is very demanding - I have to ice and stretch my shoulder after each session because of all the strain it puts on me. I let this dry for 24 hours, then repeat again with finer and finer grits.
During pore sealing, in my experience I would recommend to do as much sealing as possible on the lowest grit (400 in my case). The use 600 and 1000 to do the final touch ups while continuing to smooth the surface, and higher grits for smoothing.
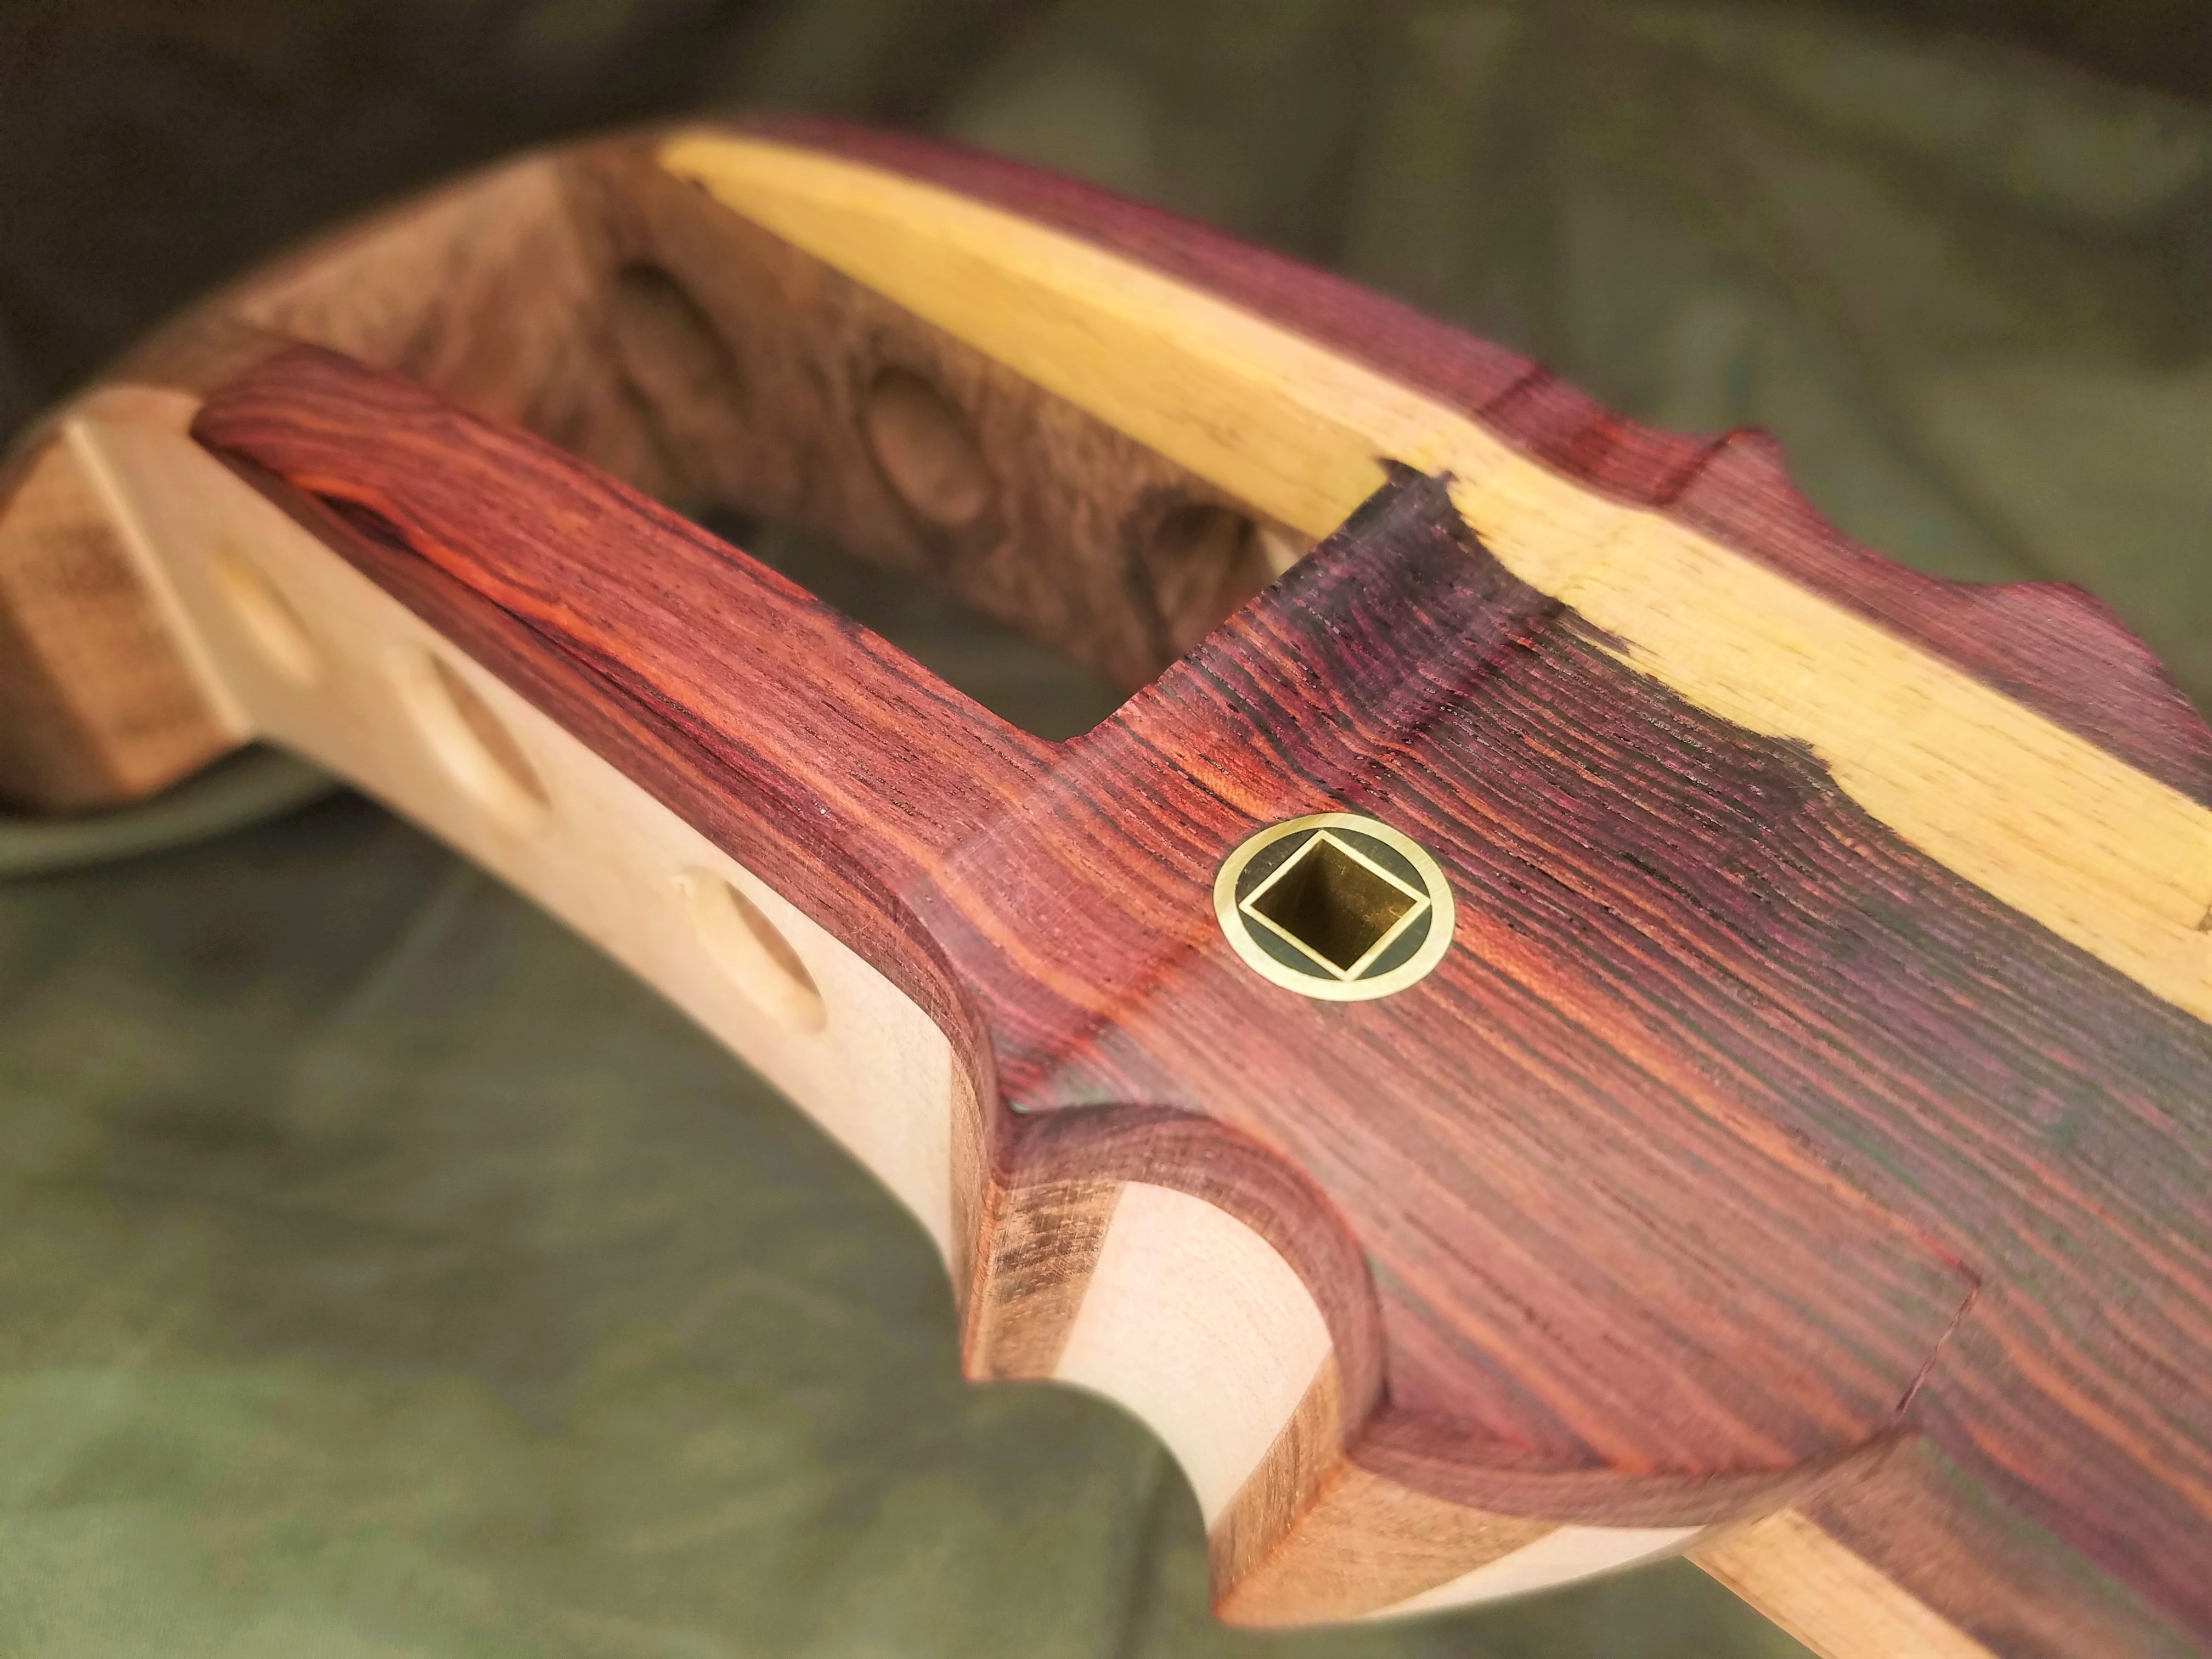
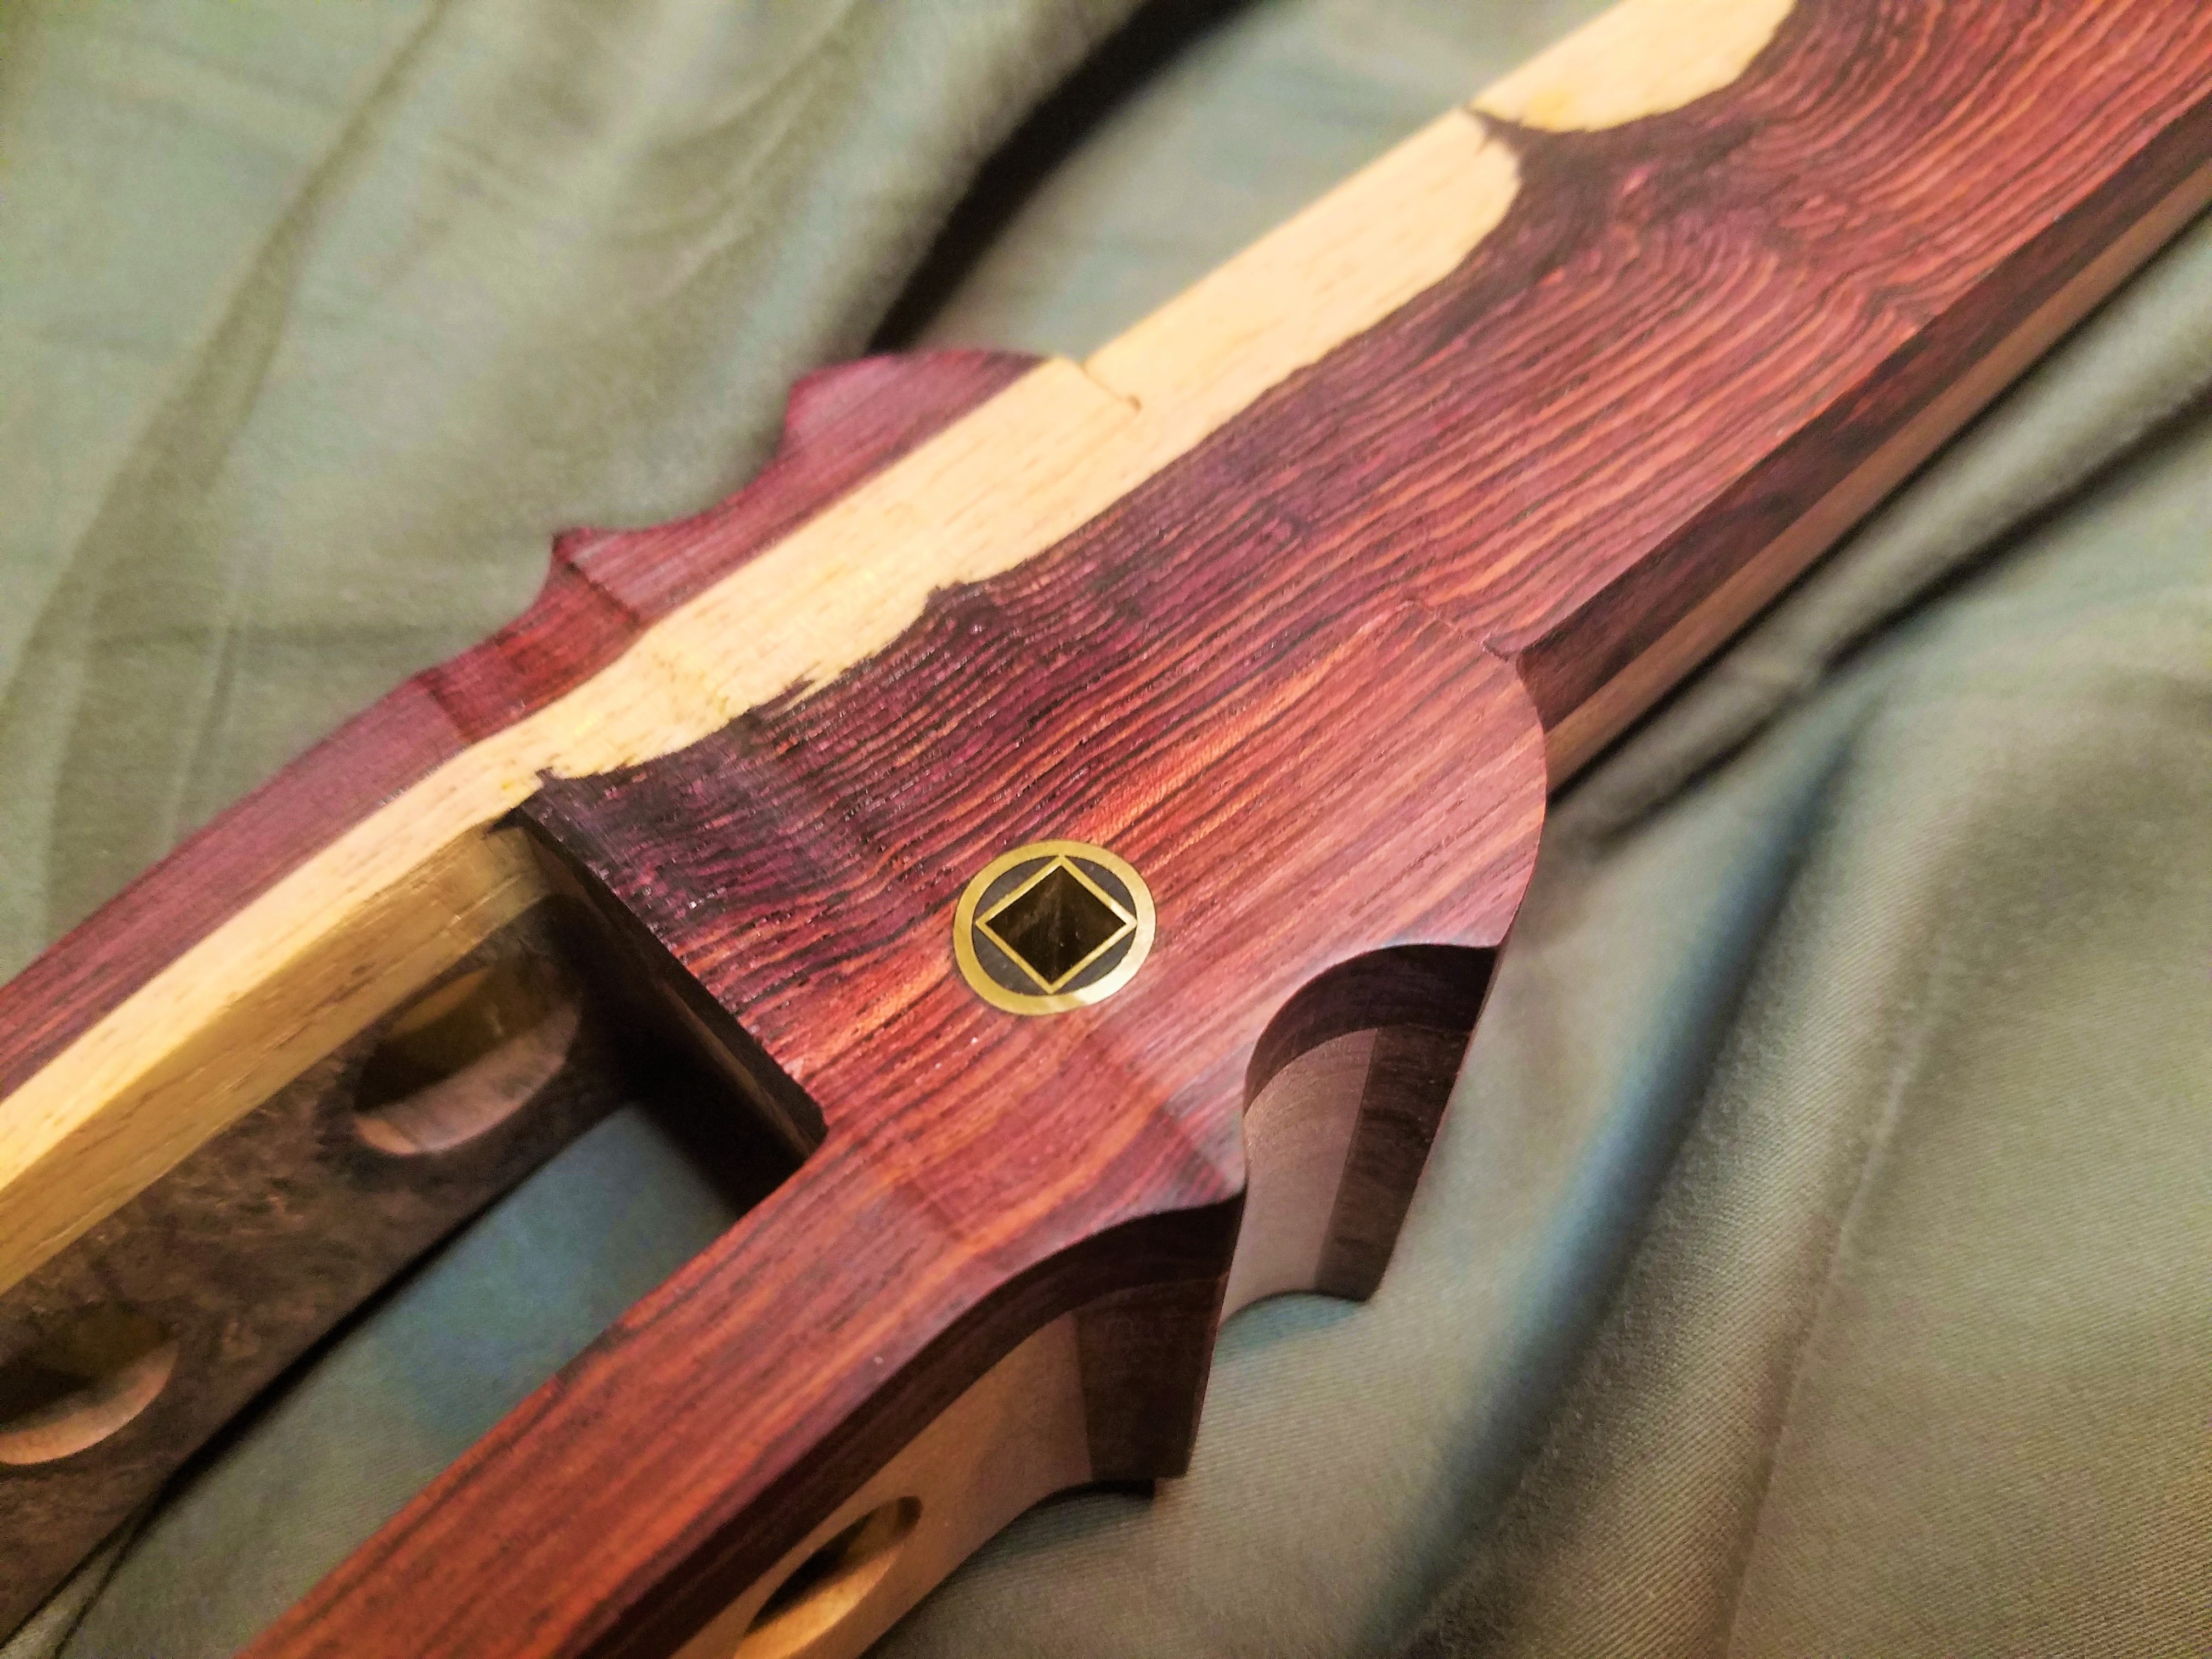
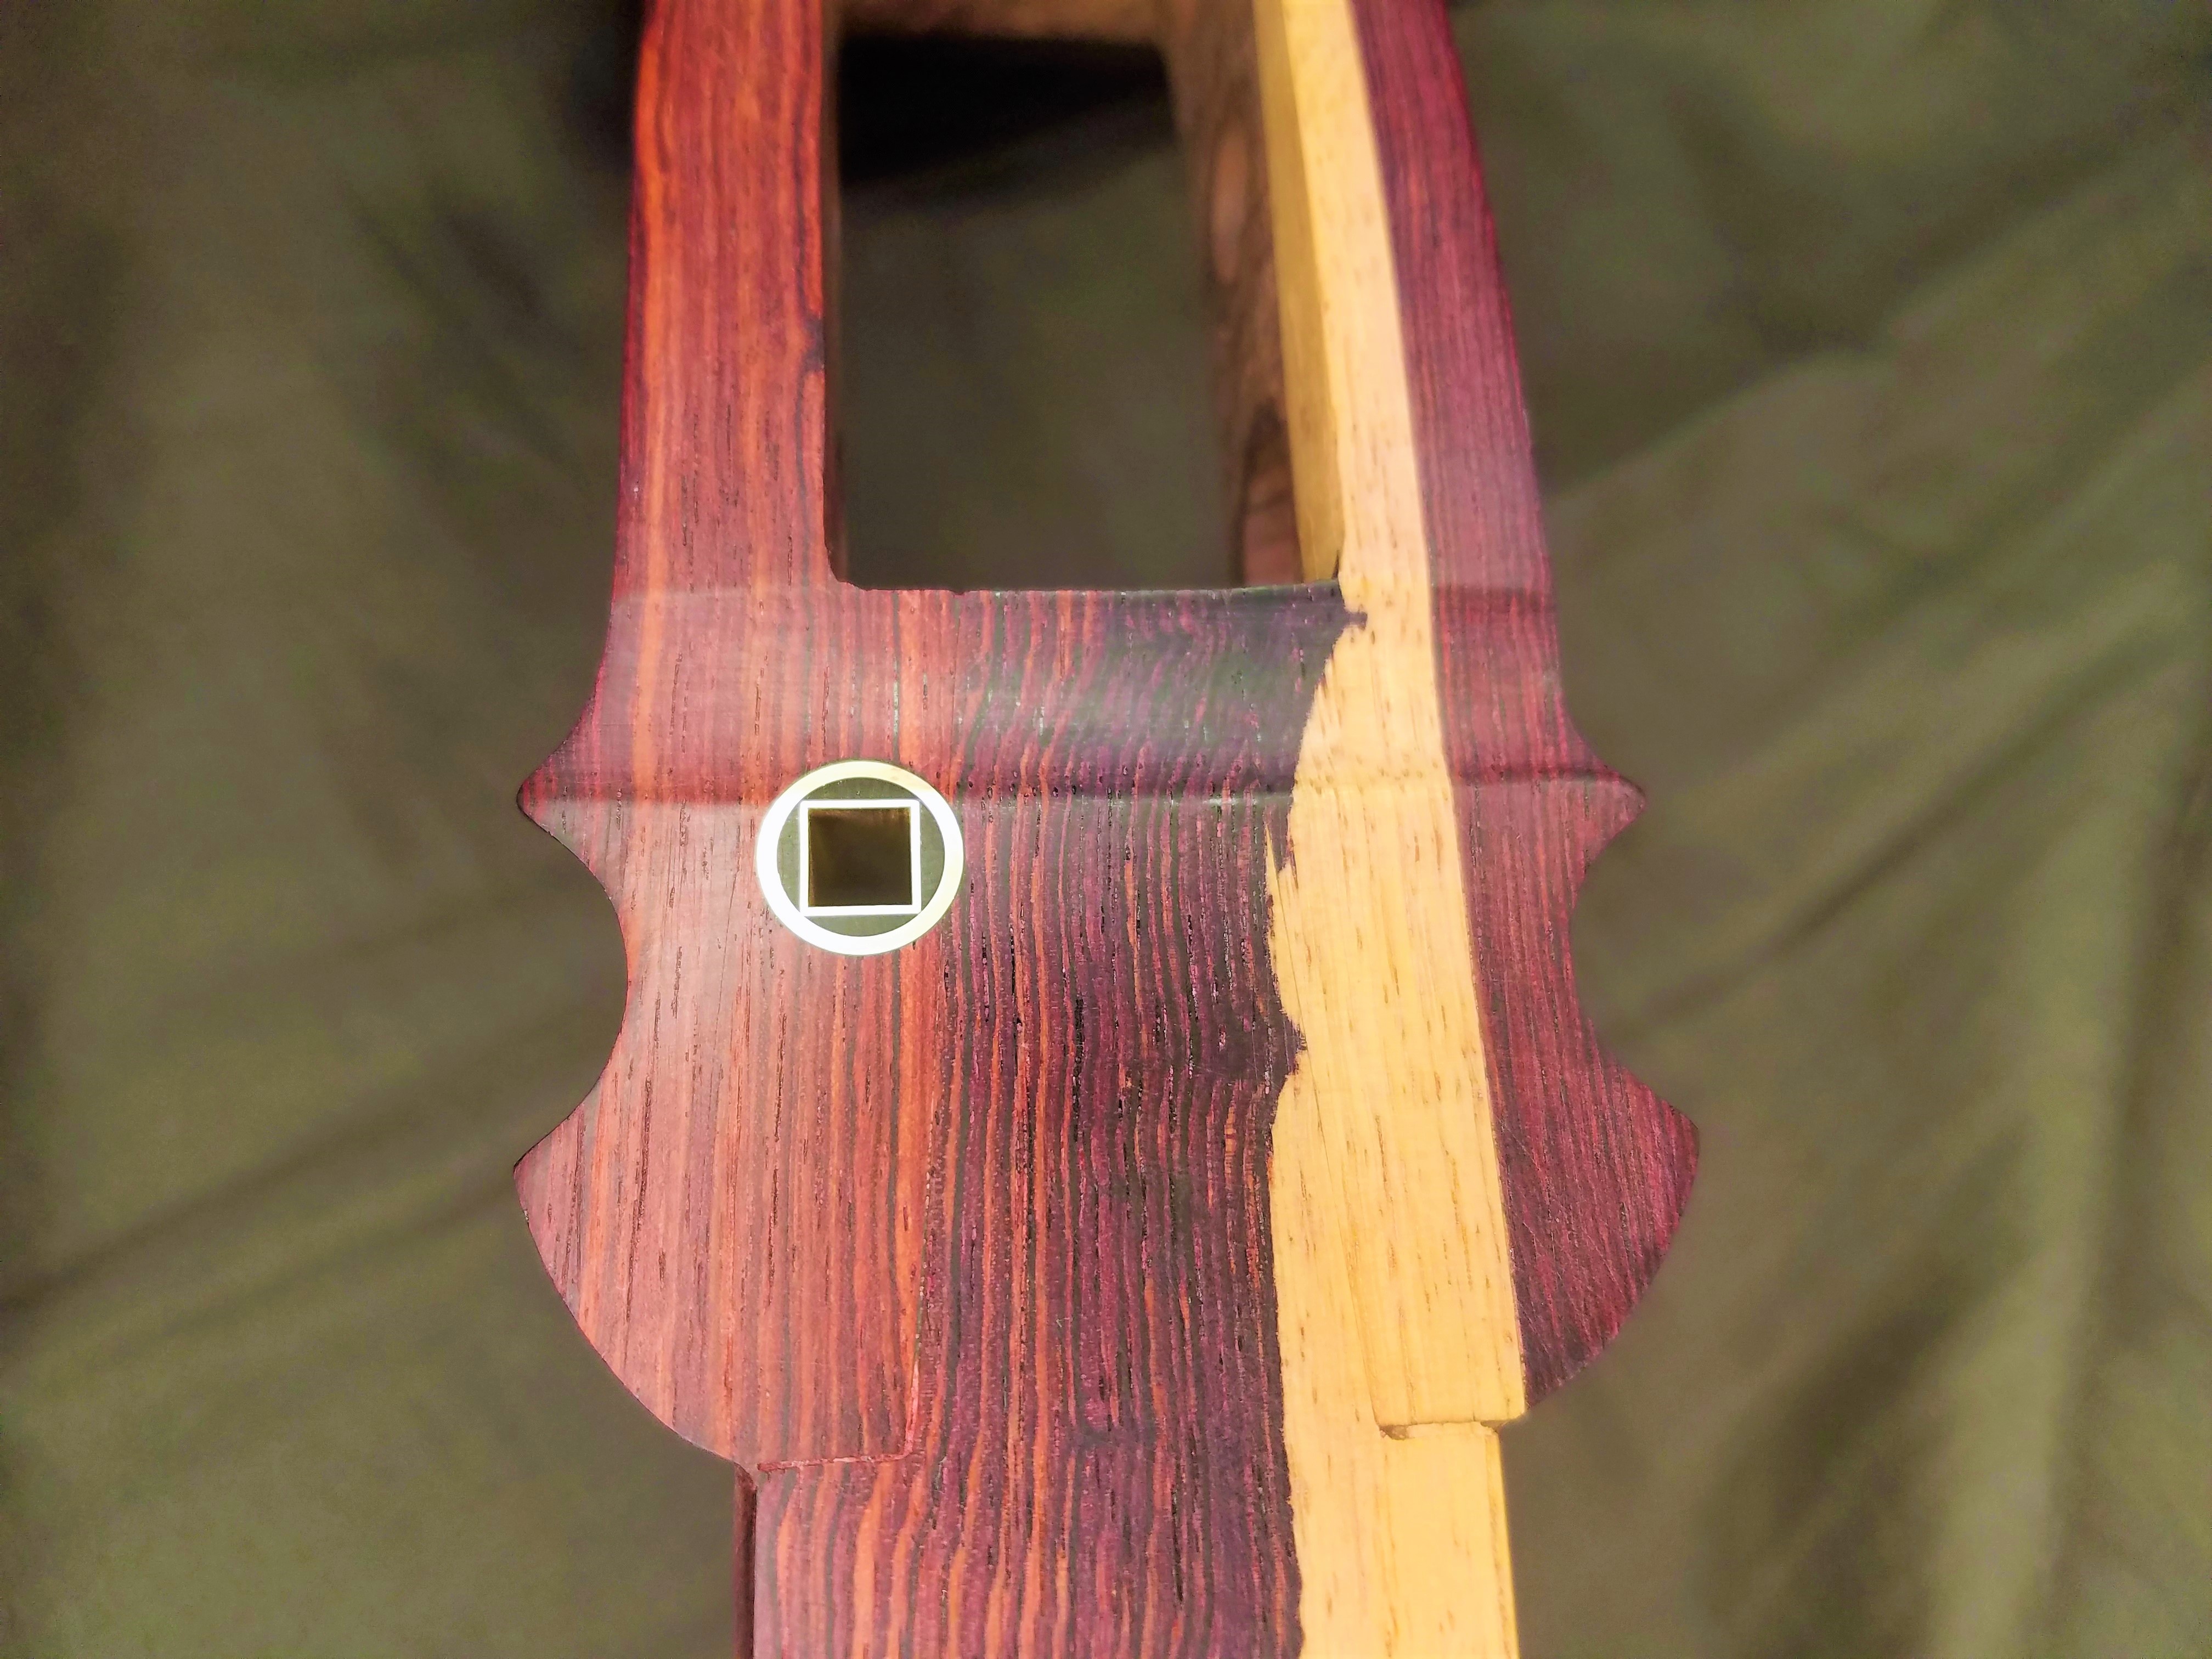
Now, here is where the learning curve comes in, and takes some practice, adjusting your process with each project you do. For the dou, I did the dry sanding to 400, 2 seal coats, and wet pore sealing with 400, 600, and 1000. After, I started building up the body. 3 very thin layers padded on with a pad similar to that used in French polishing (24 hours drying time between layers), then going back with 1500 grit first and wet sanding. I did the in-between sanding first with mineral spirits, which I found actually opened up the pores again. This forced me to go back and do pore filling. It was far from perfect, but building up layers and moving up to 2000 then 3000 grit I was able to build up a nice enough gloss before final polishing. Well, I didn’t learn my lesson, and repeated this again with the sao. The first time through, the pores were almost all filled, and I was building a beautiful finish. After this level sanding with mineral spirits, it looked awful. So I decided to go back and wet sand pore-seal with the oil for the entire sao again starting at 1000 grit. I repeated wet sanding with the oil with 1500, 2000, and 3000 grit, allowing 24 hours between sessions, and wiping/burnishing each layer.
Now that I got through all the wet sanding, I have begun building the actual finish again. Padding on super thin layers, doing a very careful level sanding with 3000 grit and oil as needed. For the final layer I will do a glaze coat like I did with the dou, a thin 50:50 layer of Tru Oil and mineral spirits. The sao will then need to cure for a month before final gloss buffing. It’s a horribly long process, and I wouldn’t recommend it for every instrument, but it’s definitely worth it on the occasional special build.
For camelia oil, I think you have to take into consideration that it is not a drying/hardening oil or varnish. The wood has to be sanded very well, and further burnished to compress the fibers to give it as hard of a surface as possible. I also wouldn’t leave a thick amount on the surface, it will probably never dry. Wiping on, then wiping it dry would probably work better. What I would recommend is possibly trying something similar to what I have done. After dry sanding and pore sealing, I would wet sand with the camelia oil progressively up, maybe from 400 to 3000 grit. Each layer I would wipe away any excess, and really rub it down and burnish with a cloth or towel. After the final wet sanding, I would do similar to what Kyle has done and do a final surface burnish with the oil and a smooth, hard stone. You can then further wipe camelia oil on and burnish with a cloth after as needed.
One reason why I recommend Tru Oil is that it is a very good hardening varnish, that adds extra protection while bringing out the color of the wood. Unlike other hardening oils however, Tru Oil is able to be brought to a very high gloss, and gives you the flexibility to have anywhere from a satin to ultra-gloss finish depending on your taste. It is also incredibly forgiving, and very easy to touch up and maintain as needed. And you do not have to follow the steps I outlined above either, it can be applied as easily as just wiping on a couple of layers with a rag.
Definitely look forward to meeting up and seeing how your builds come out! There is definitely a big temptation to rush through sanding and finishing, and I am definitely guilty of it myself, but sometimes rising through will just force you to go back steps to fix it up. Finishing is a patience game, but it also means you are almost there!