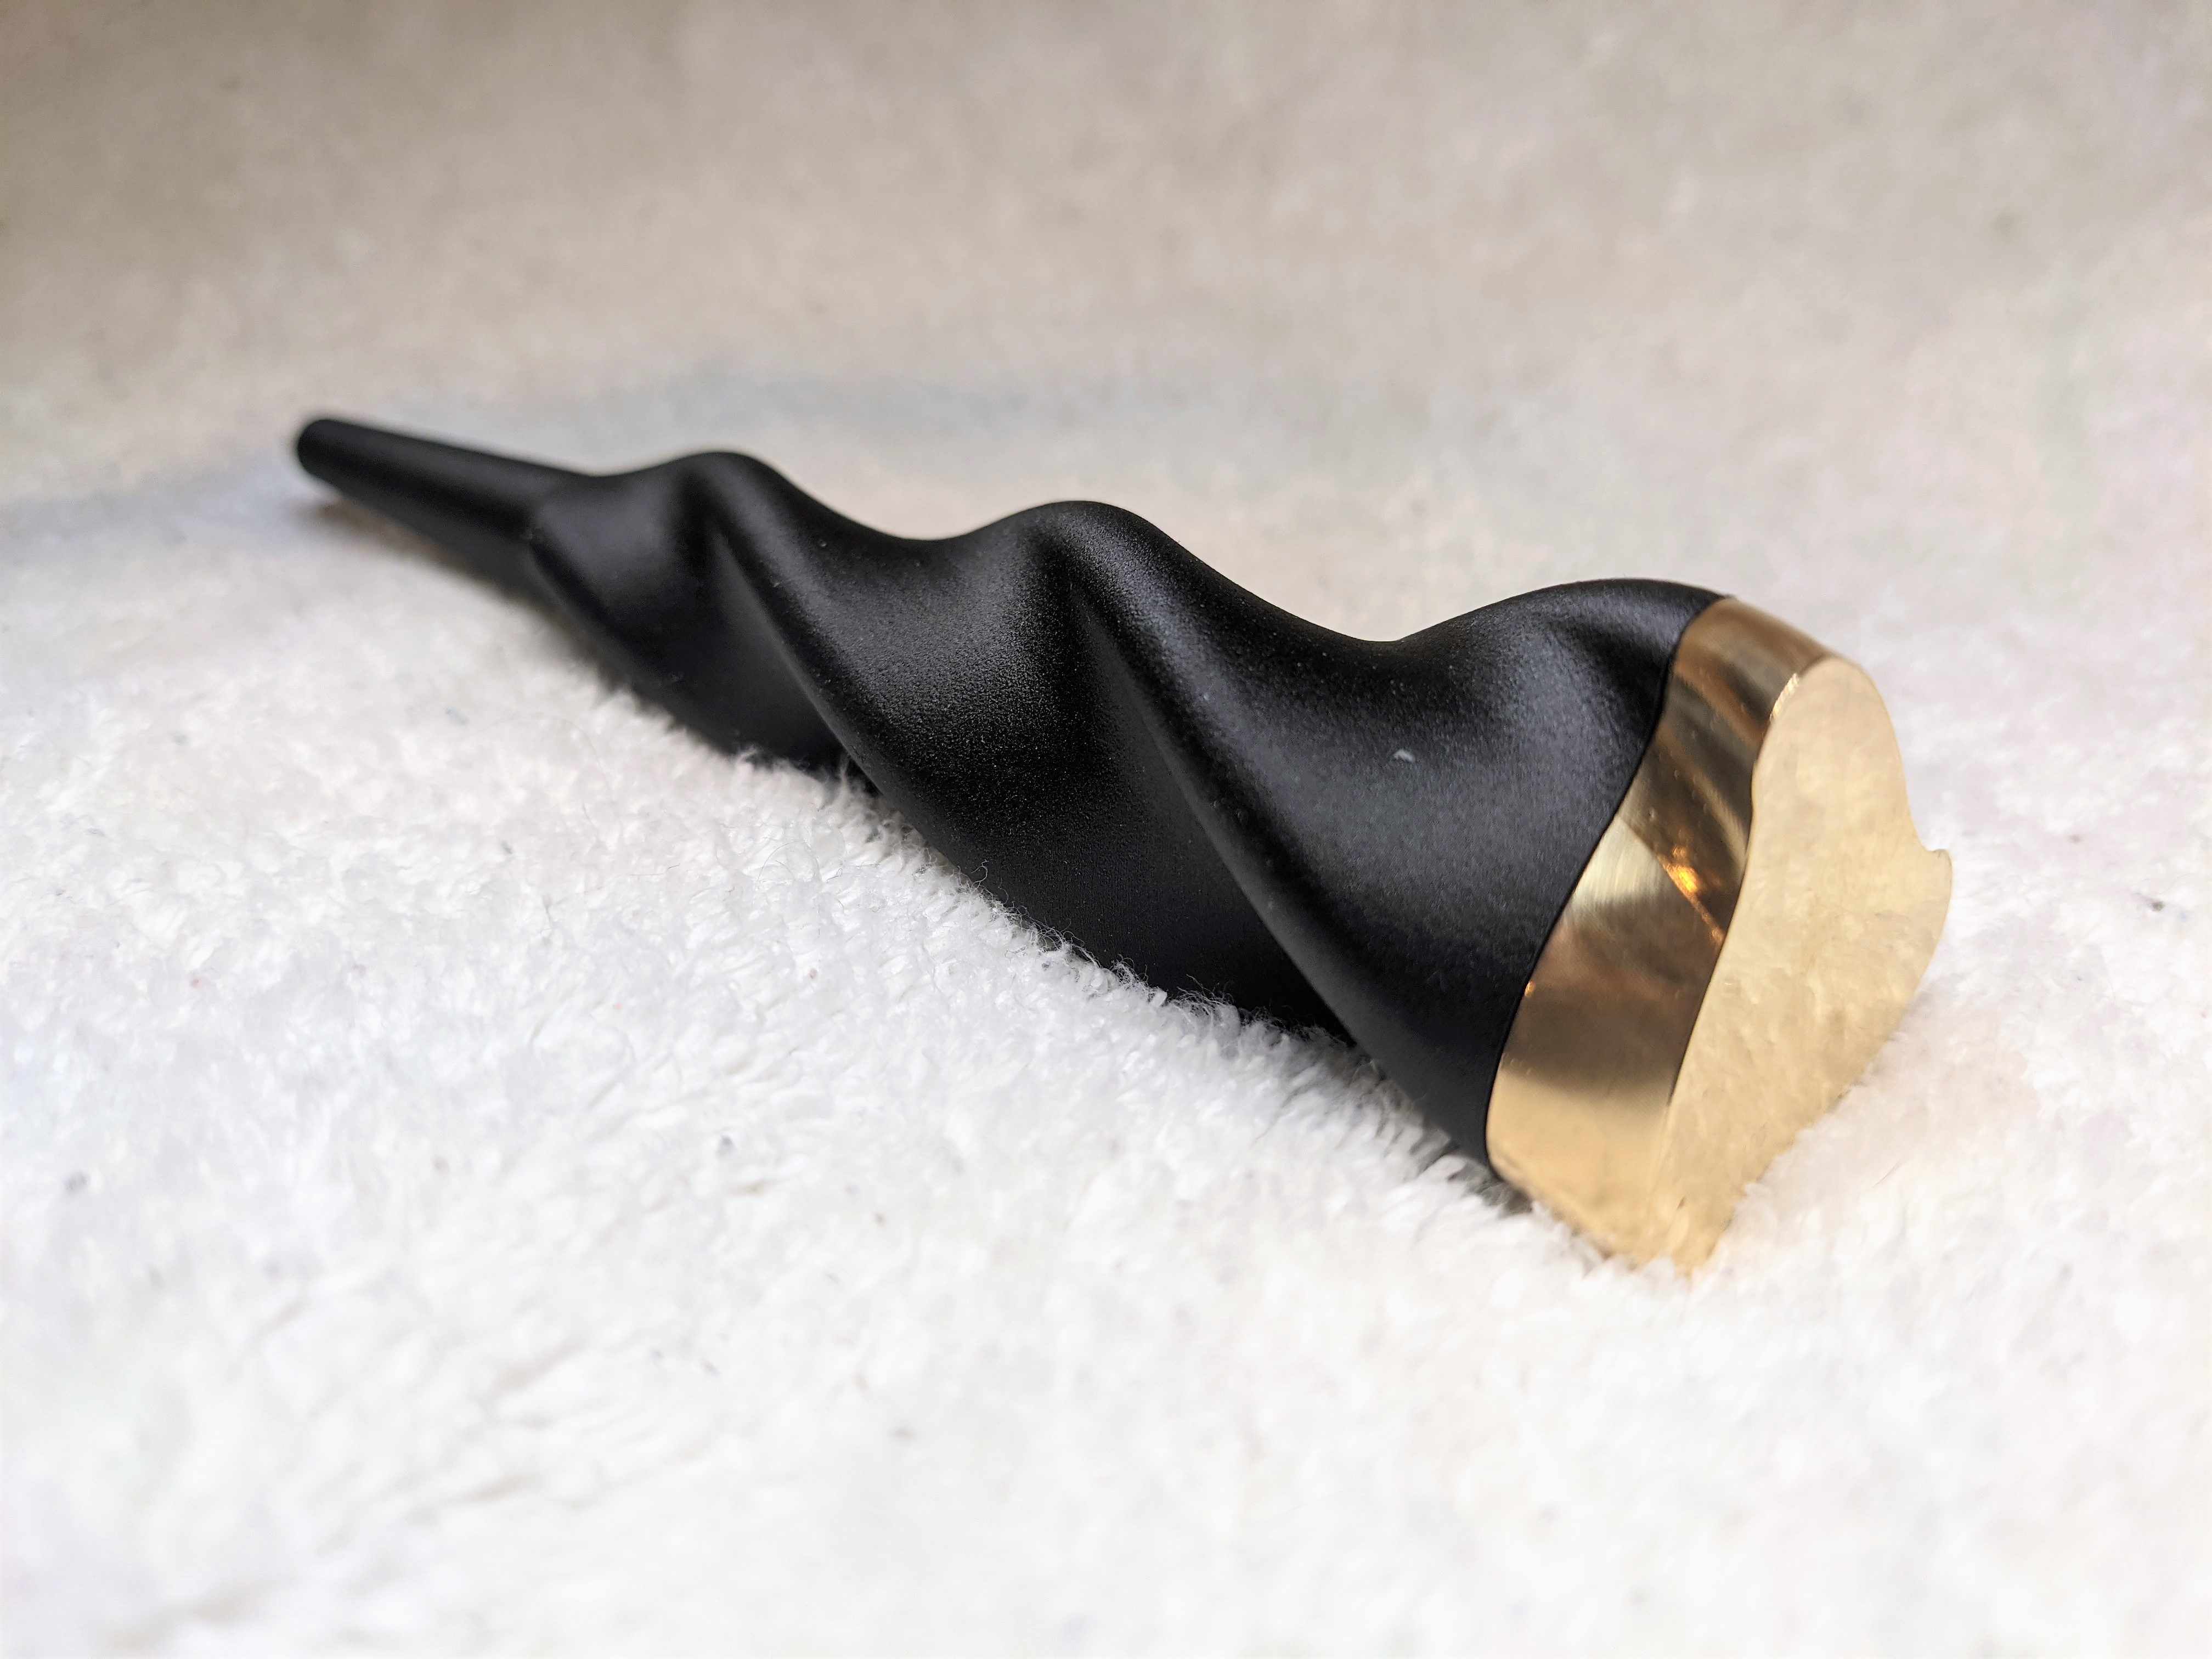
This past weekend I had a chance to get some real shots of Masamune for the final build reveal! My younger brother who does some amazing amateur photography on the side, along with my incredible wife, and I spent many hours getting the shots in late at night in my parent’s computer room, playing around with a super pop-up and makeshift studio. Because of the odd curves and super high gloss finish, it ended up being a massive challenge to keep the glare, reflections, and lighting under control, however we pulled it off, and I think we got some really nice shots in. Before I do the final reveal however, I want to share where this journey all started, with my very first shamisen build.
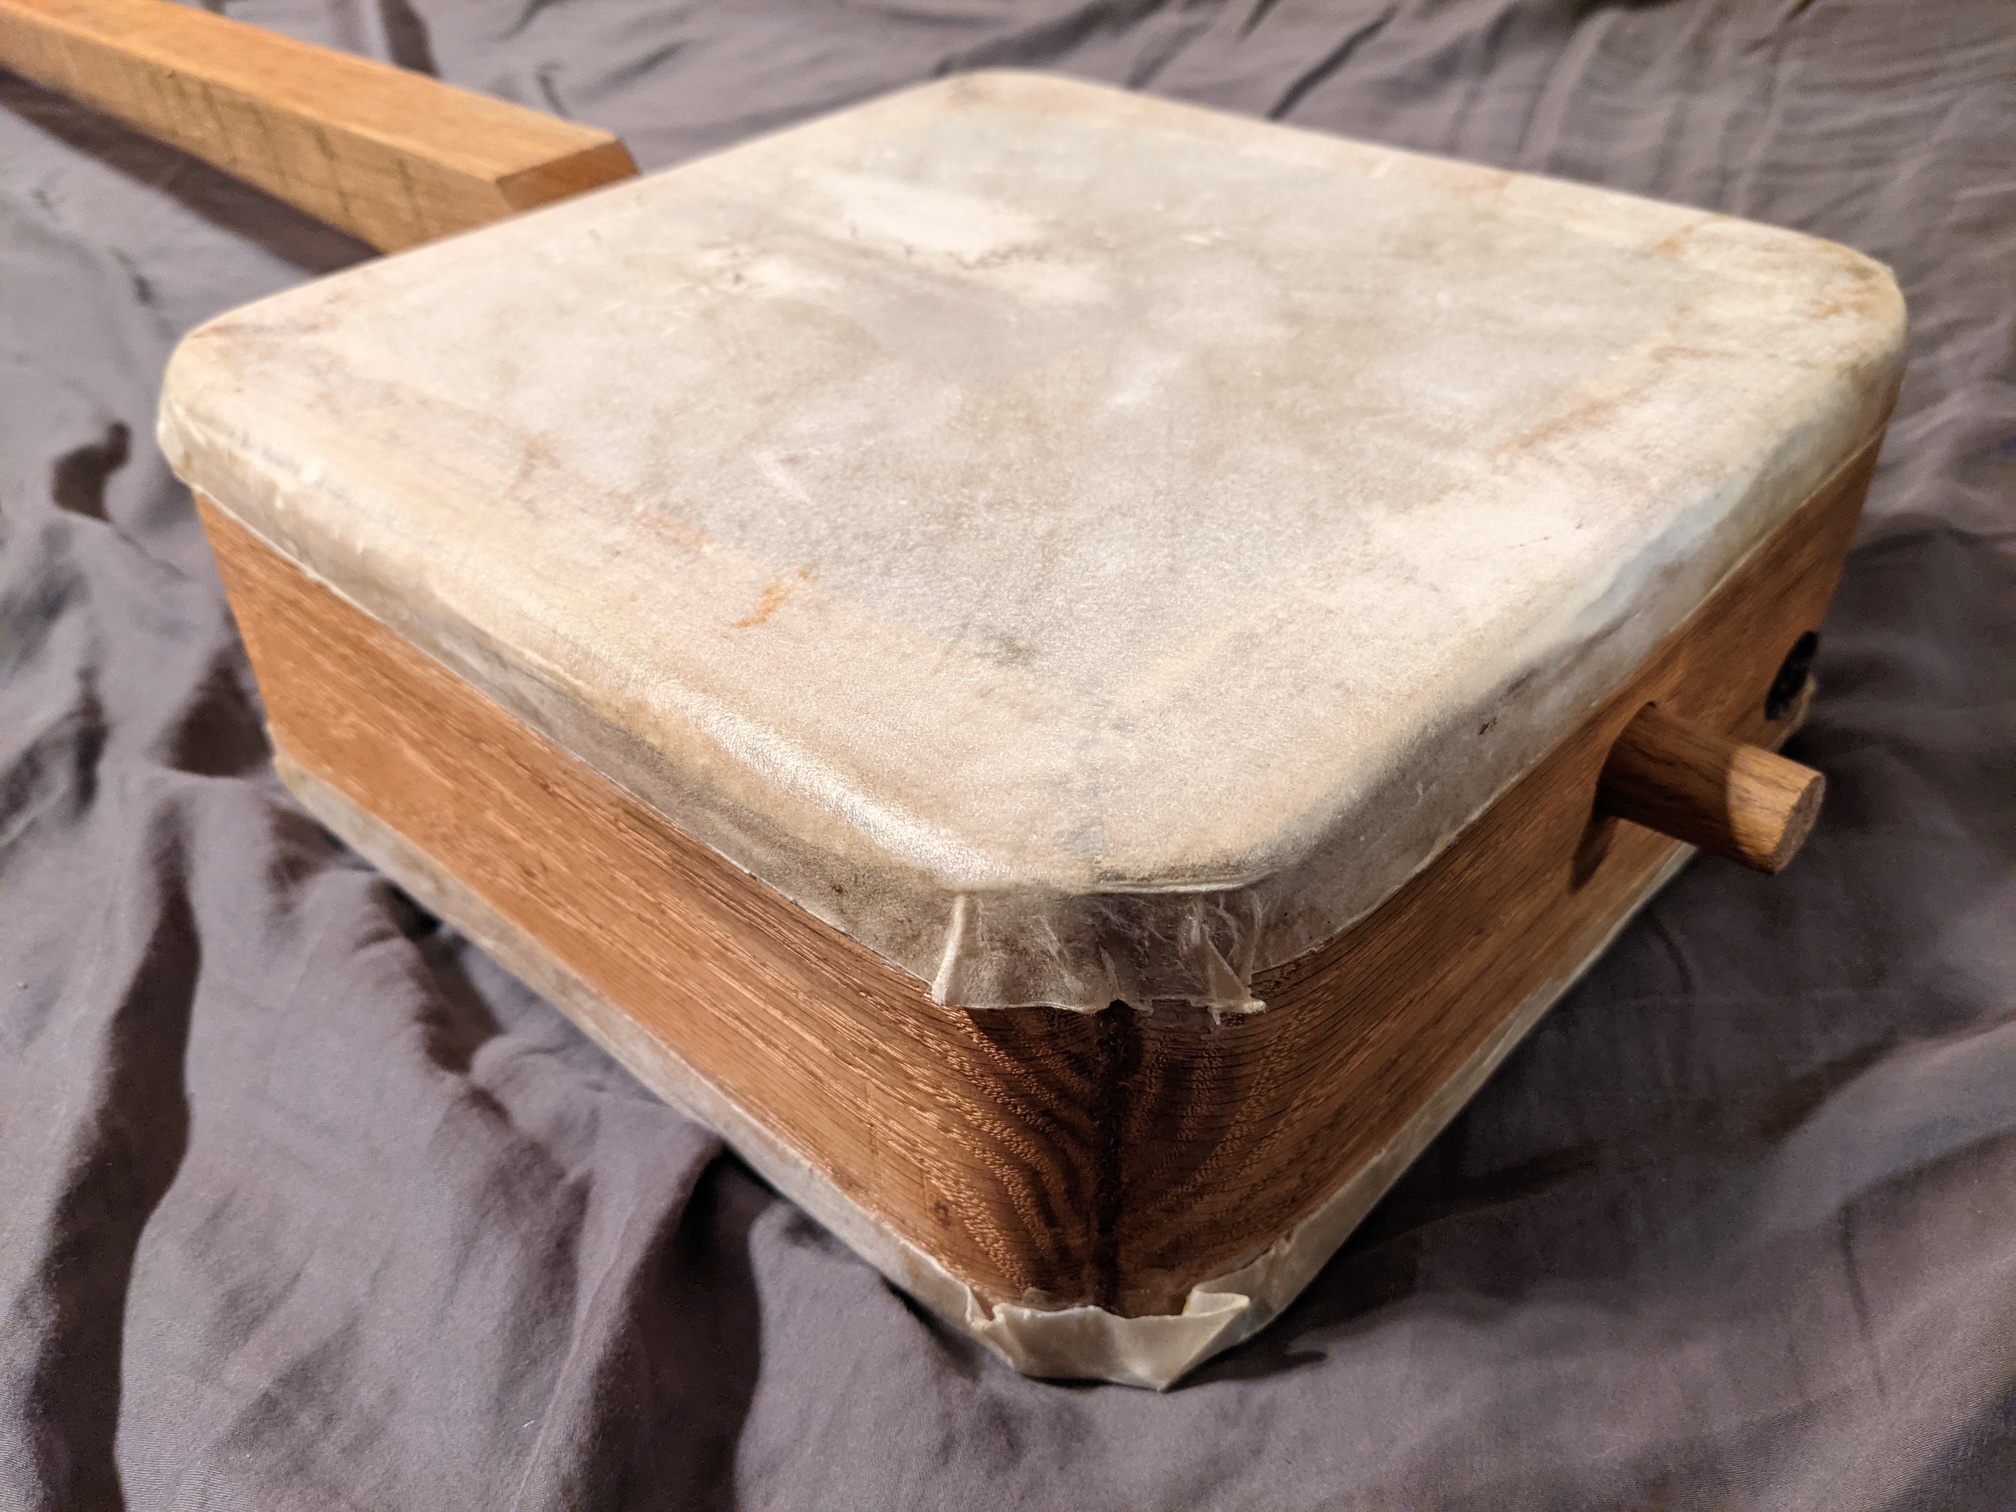
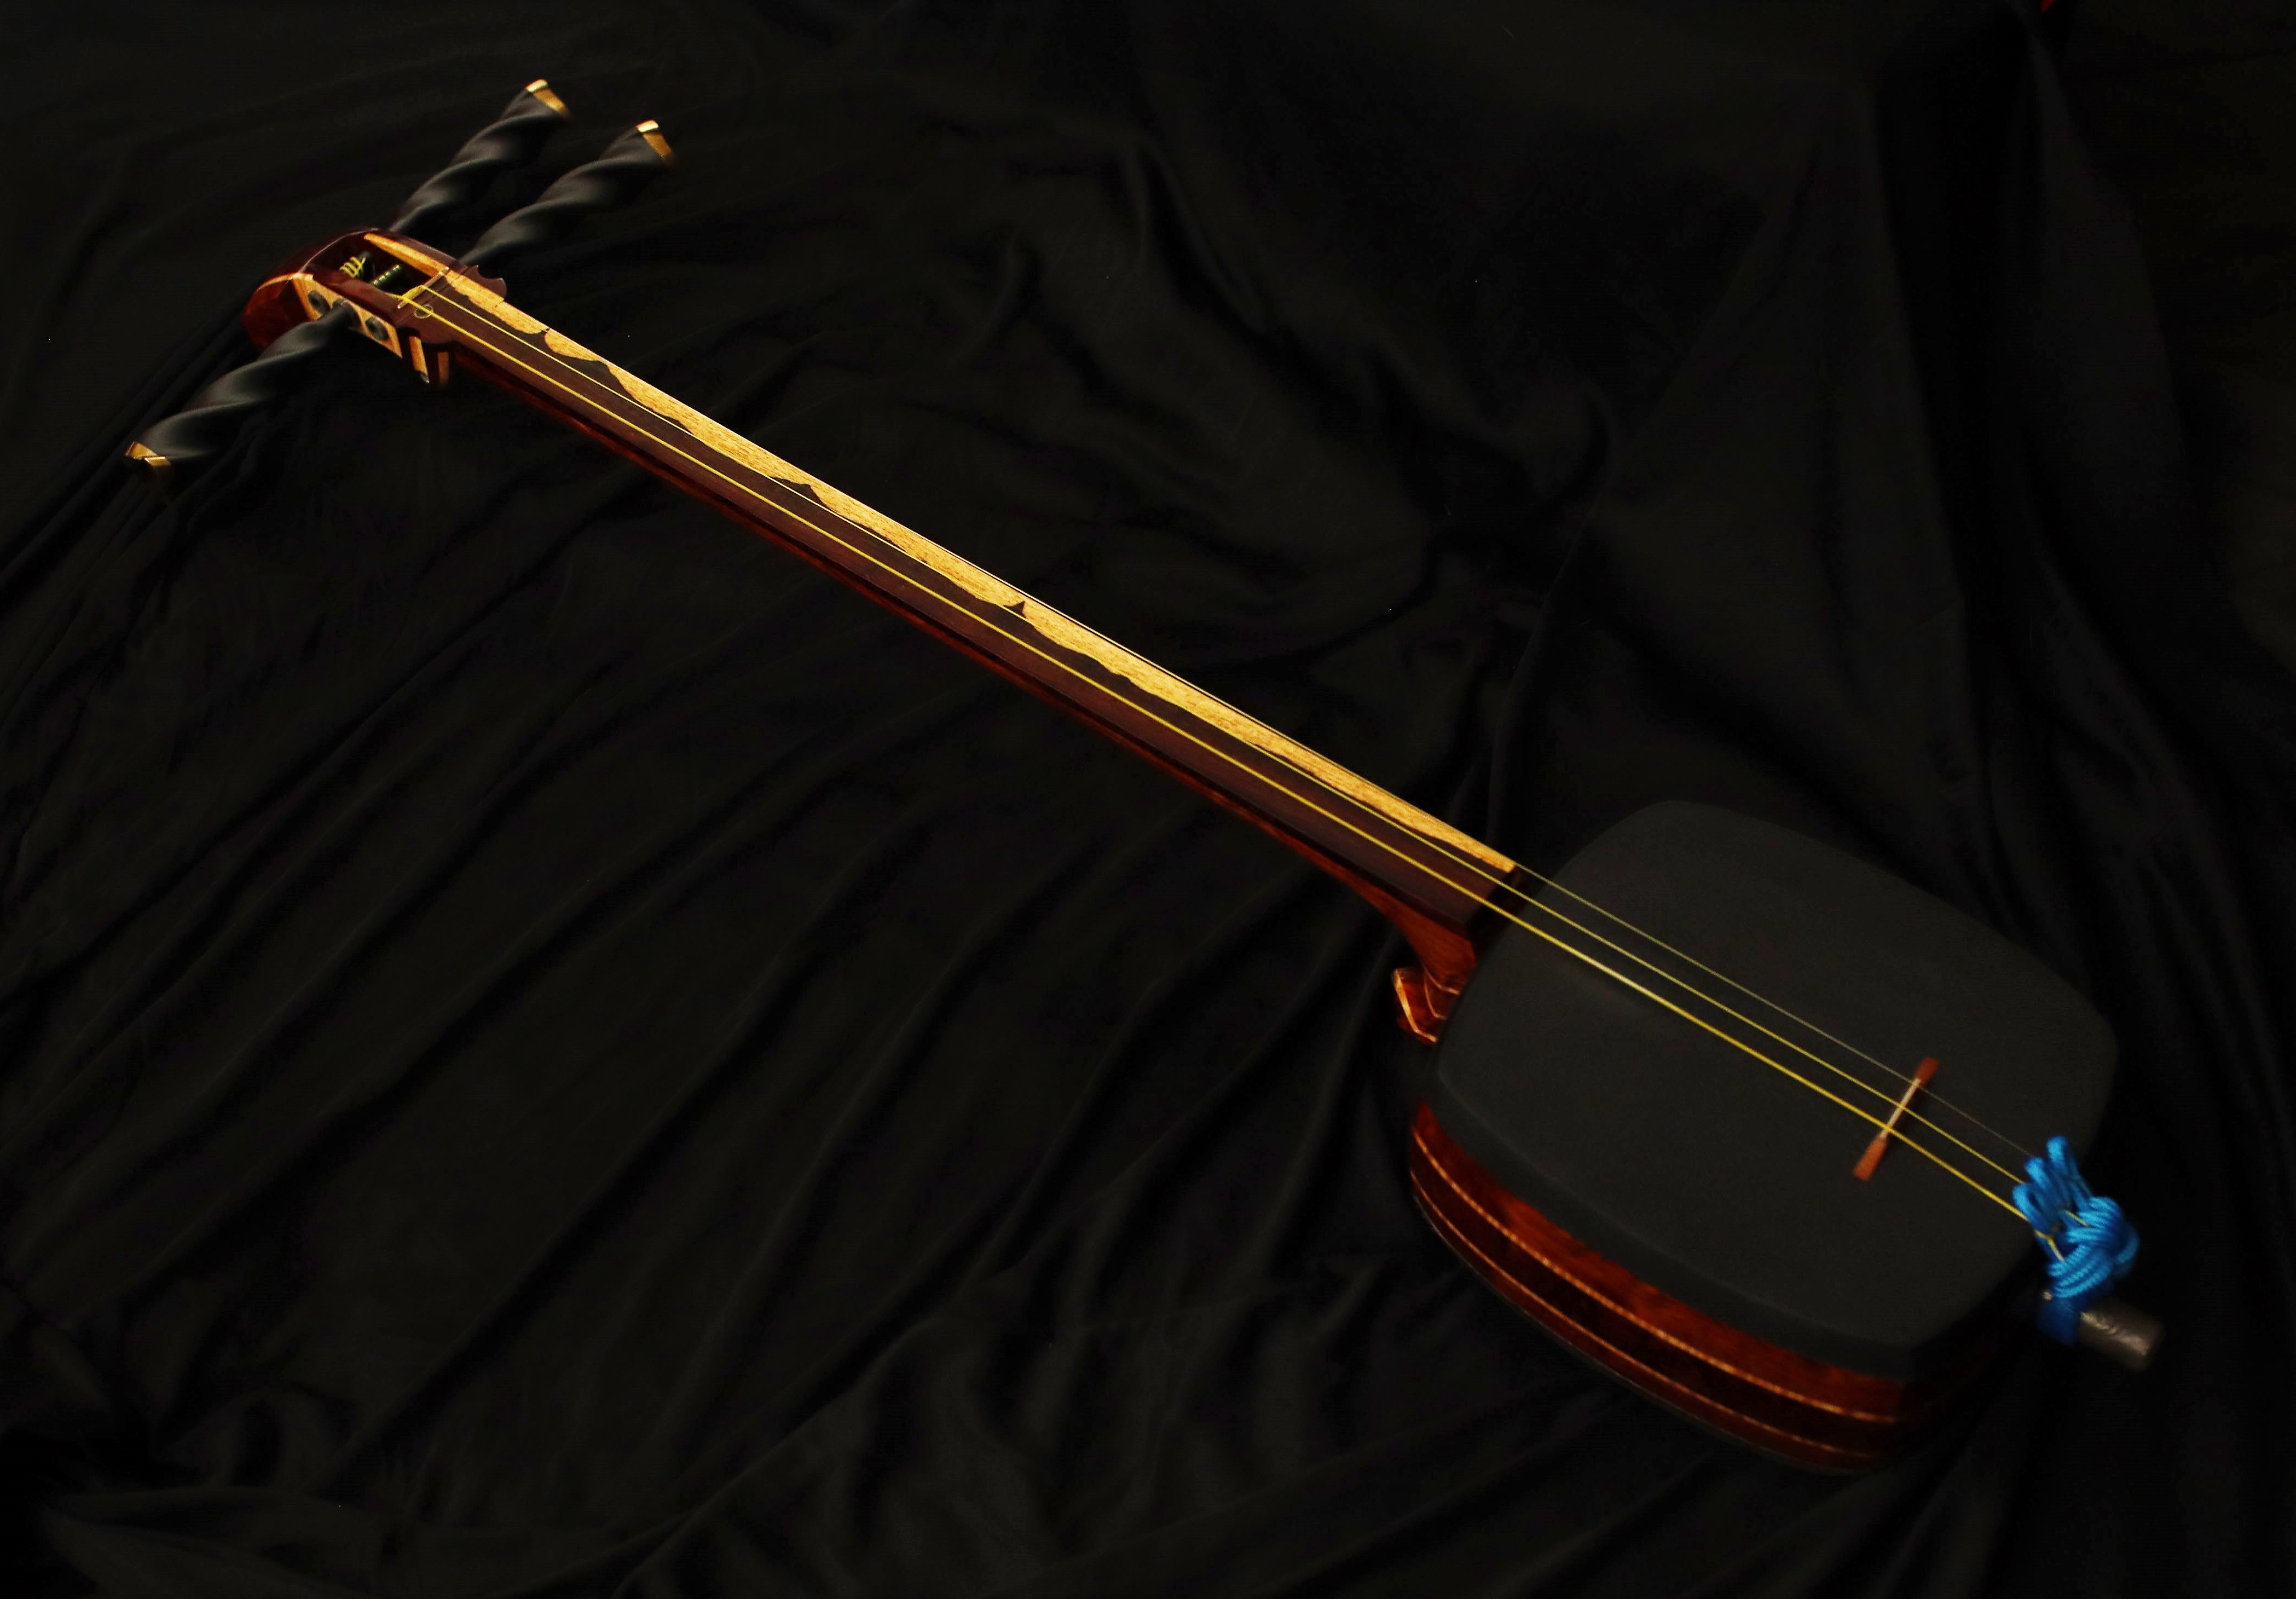
I made this first shamisen over a decade ago back in high school, before Kyle’s Shamisen of Japan was published (though I actually reached out to him then, which I was just blown away by what he did as someone the same age as me with it, and watched some of his first build videos on YouTube for reference.) This shamisen was very crude, made from whatever red oak I could get from Home Depot, using very few hand tools, almost no woodworking experience, and paid for through my very first job working part time at McDonald’s. Overall, for the entire shamisen, tools, and accessories, the whole thing cost less than $150.
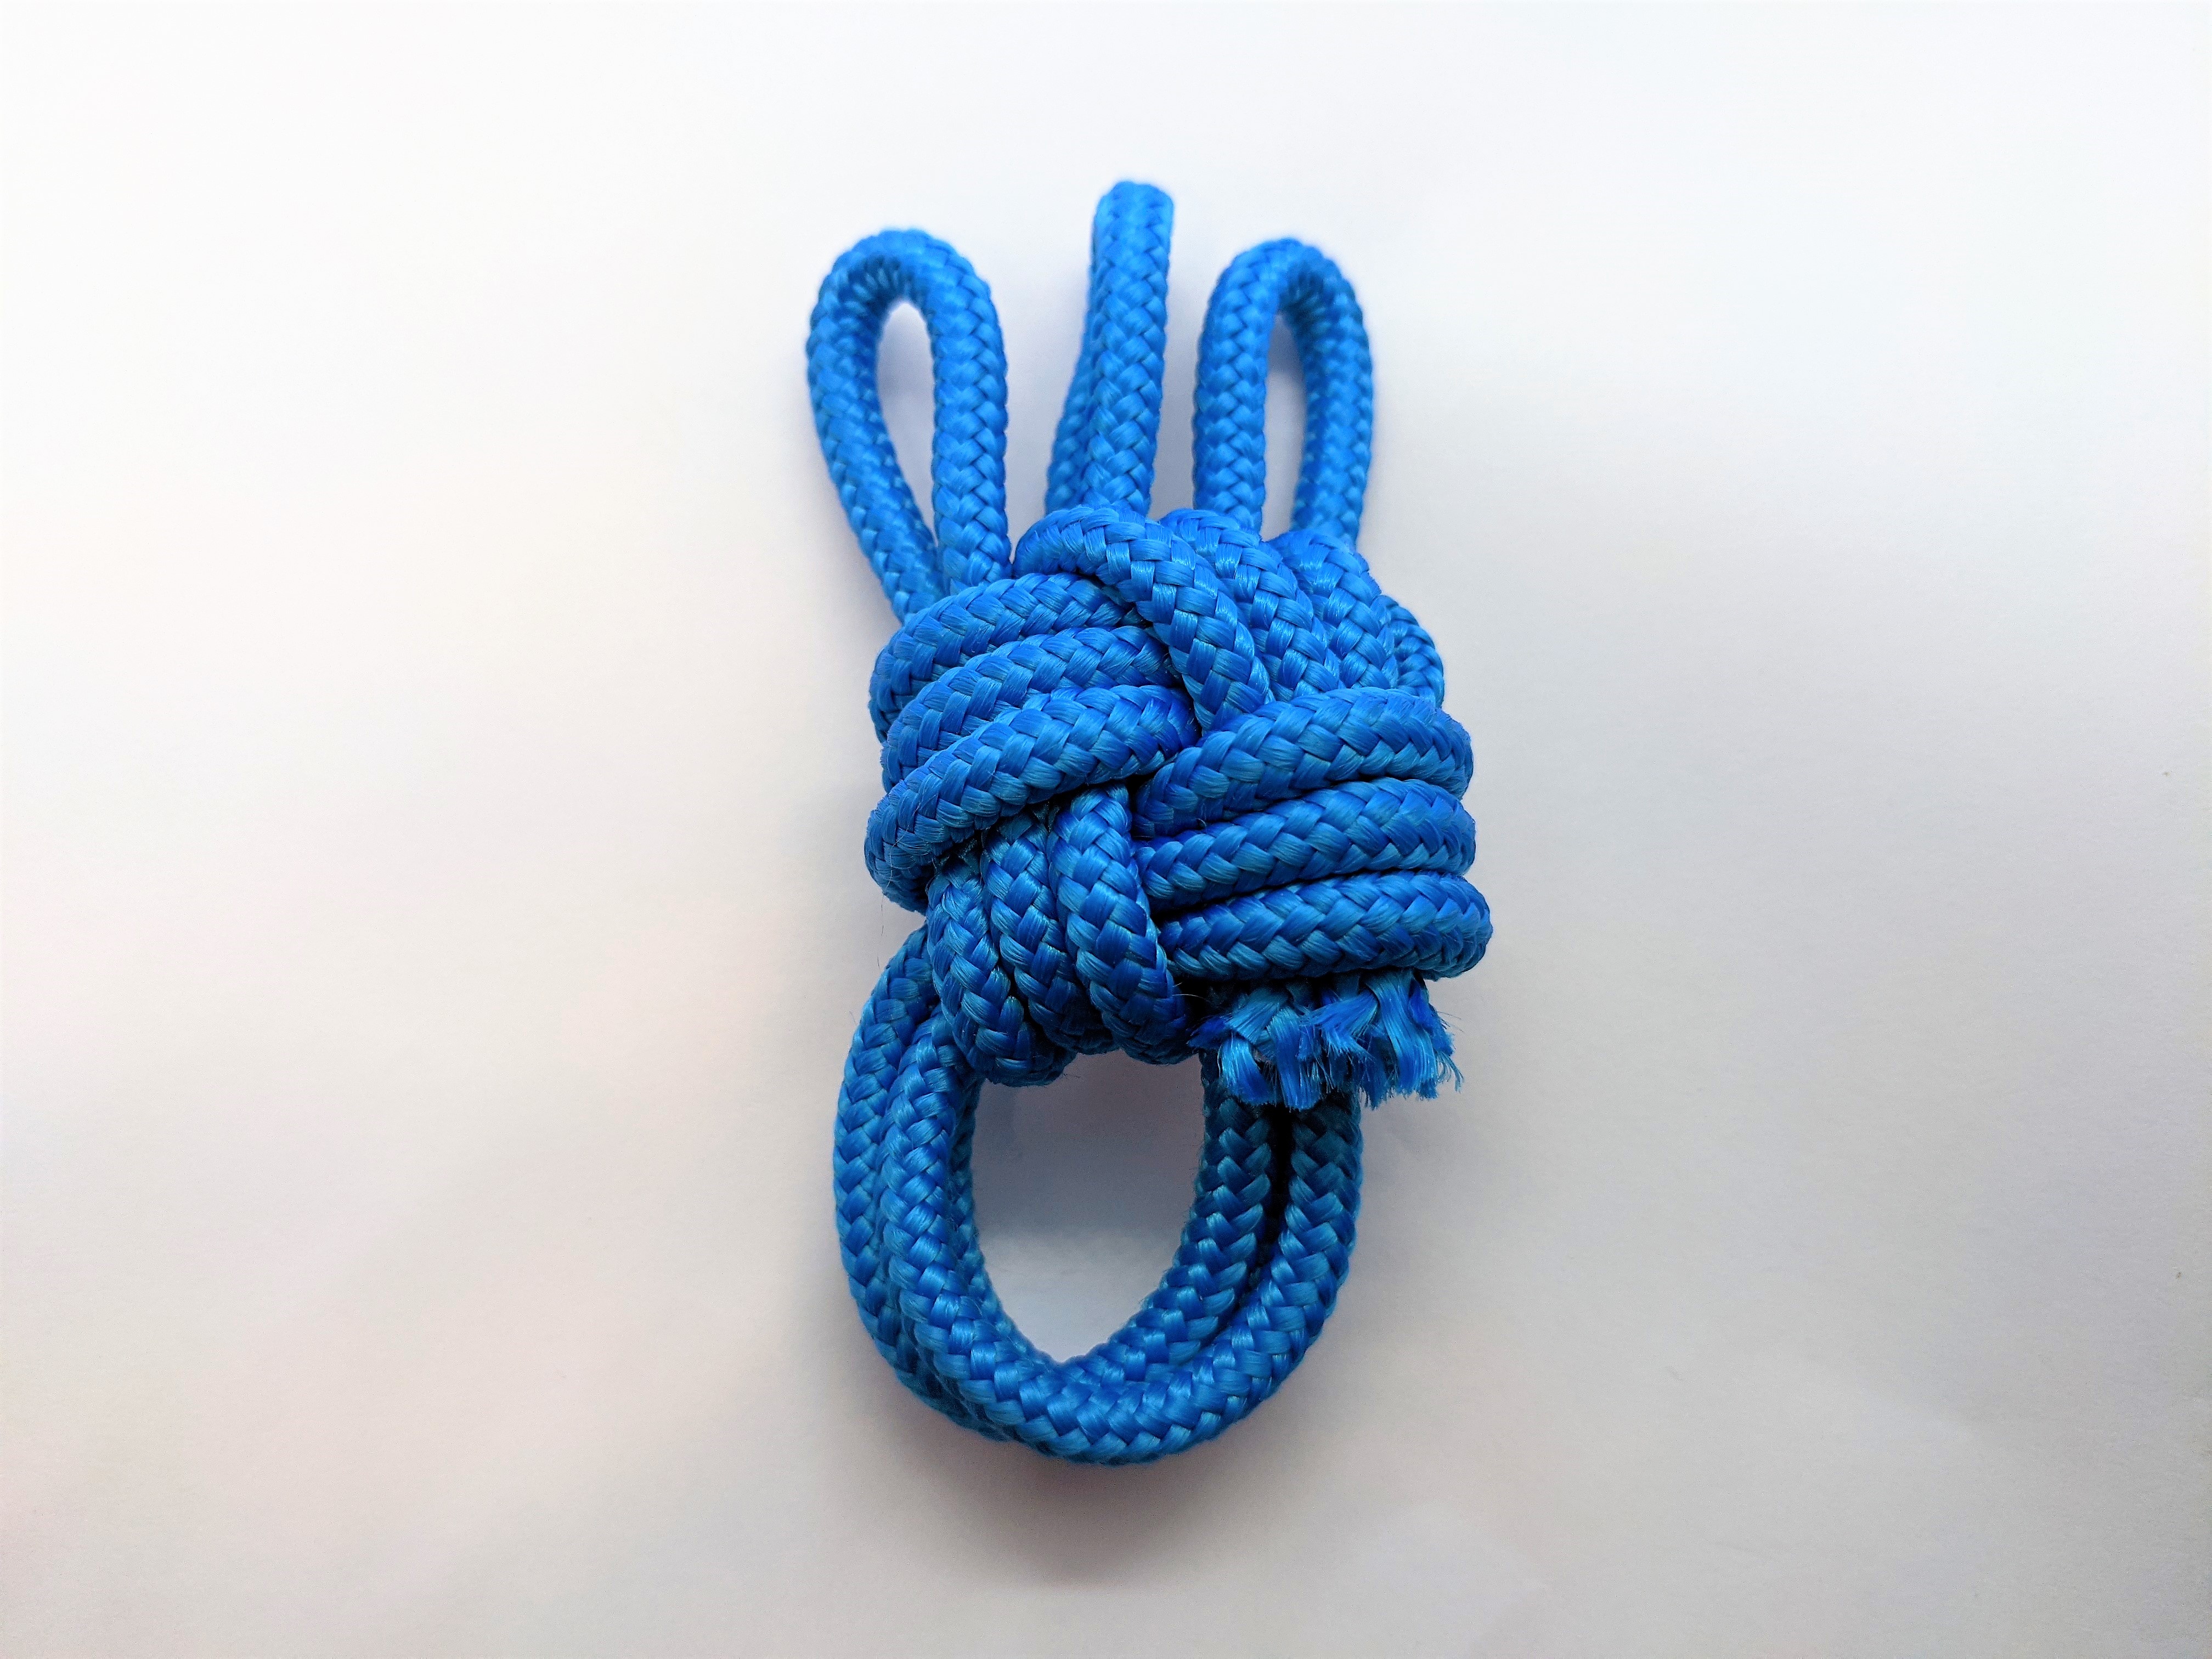
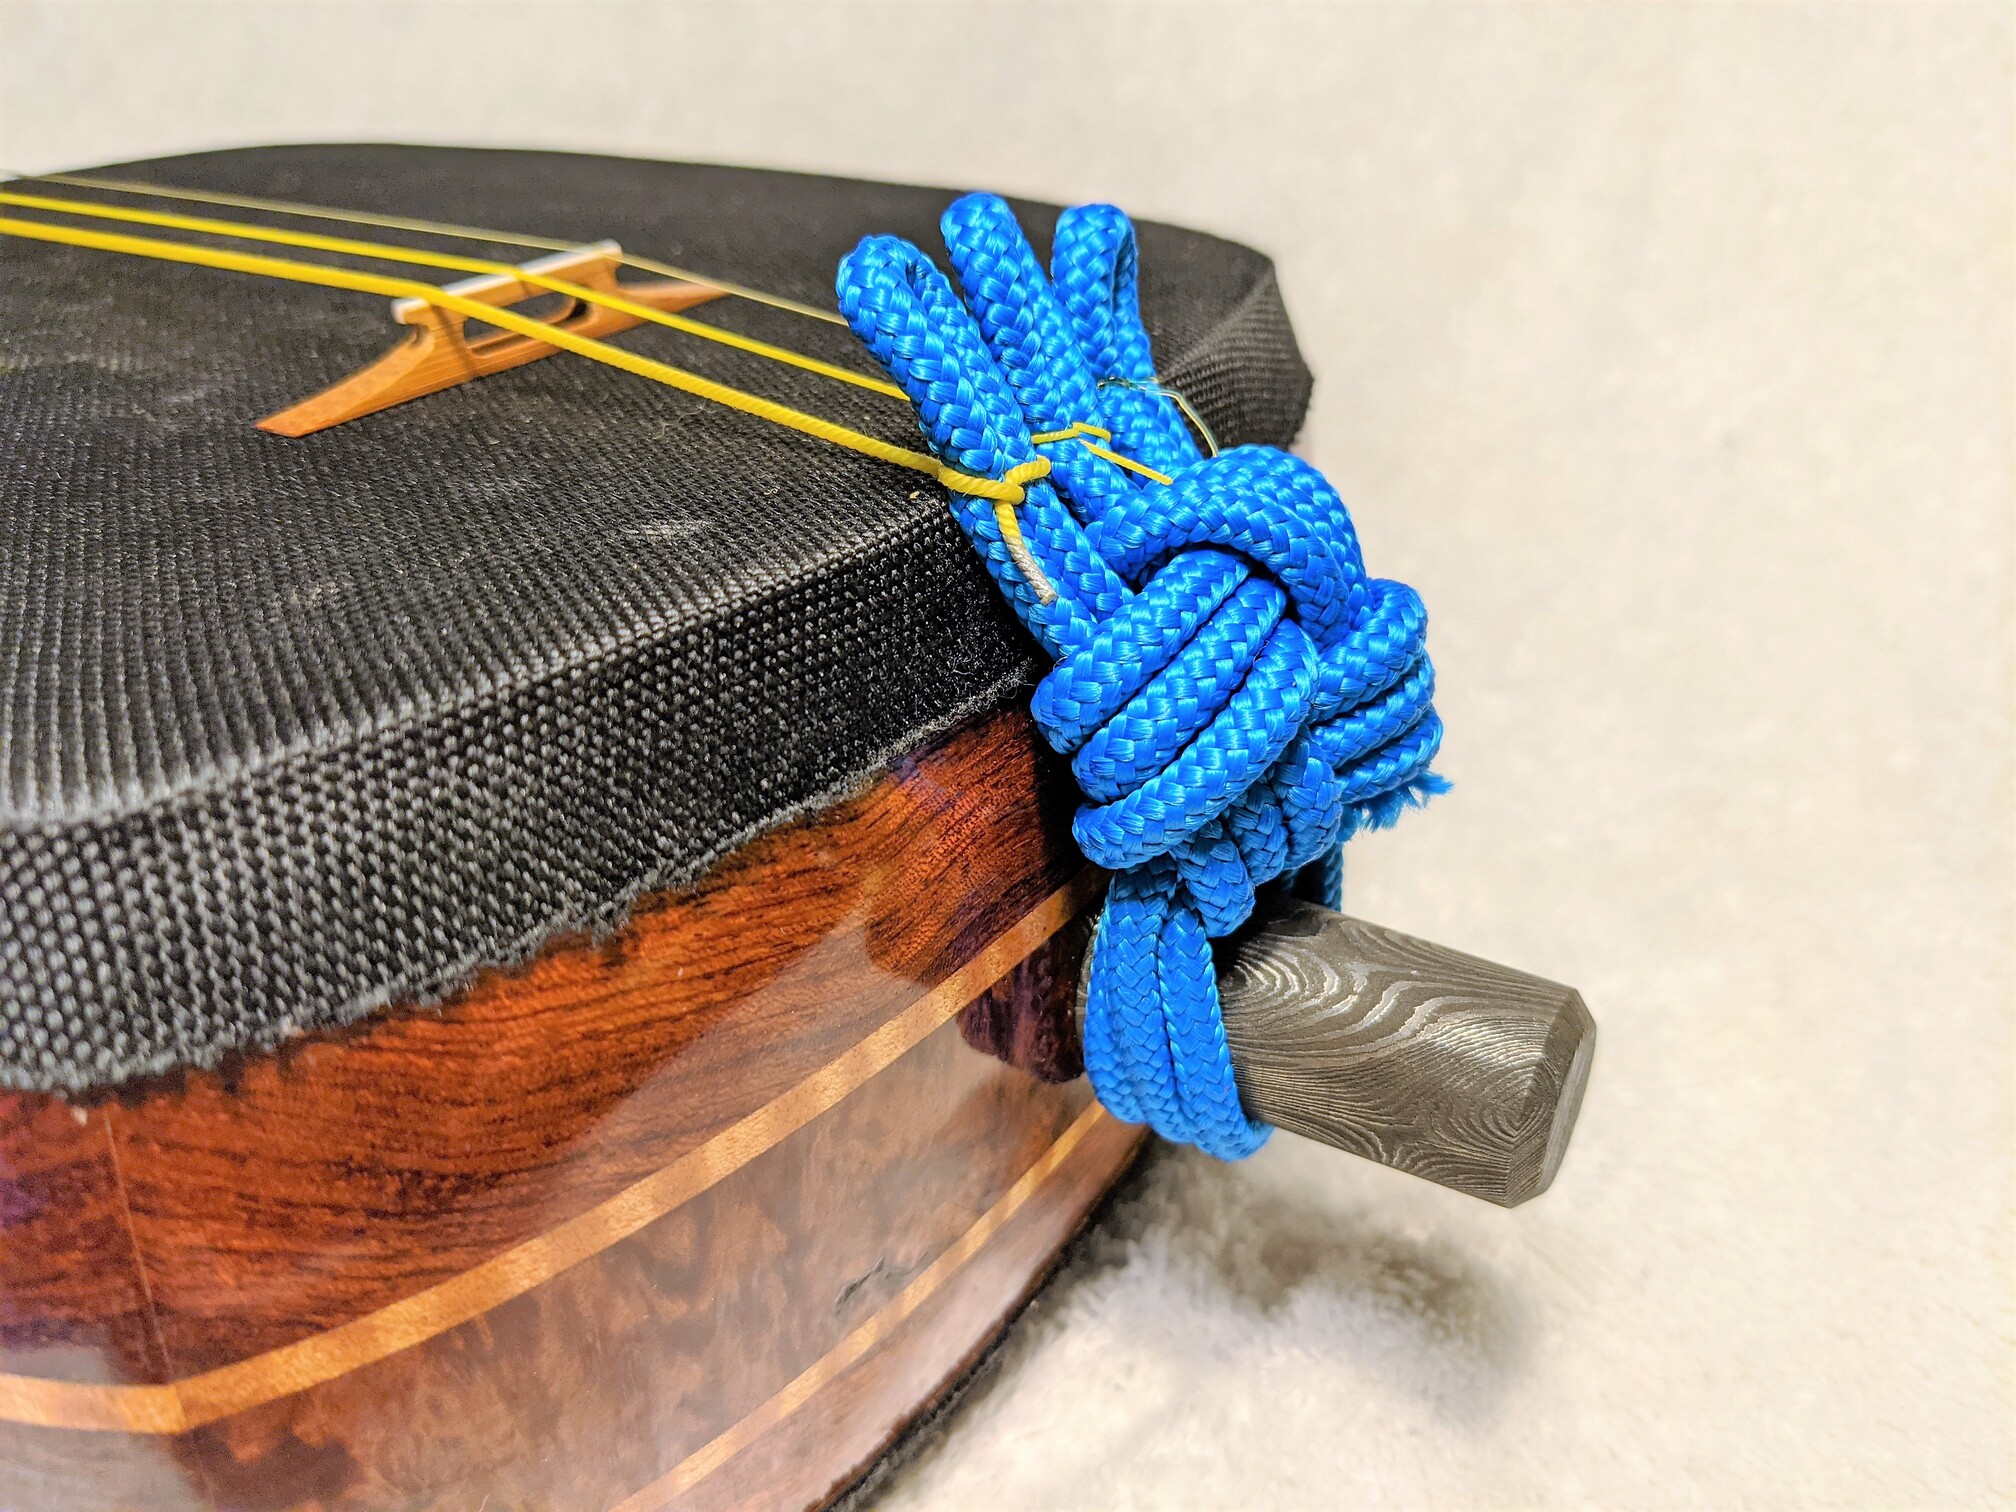
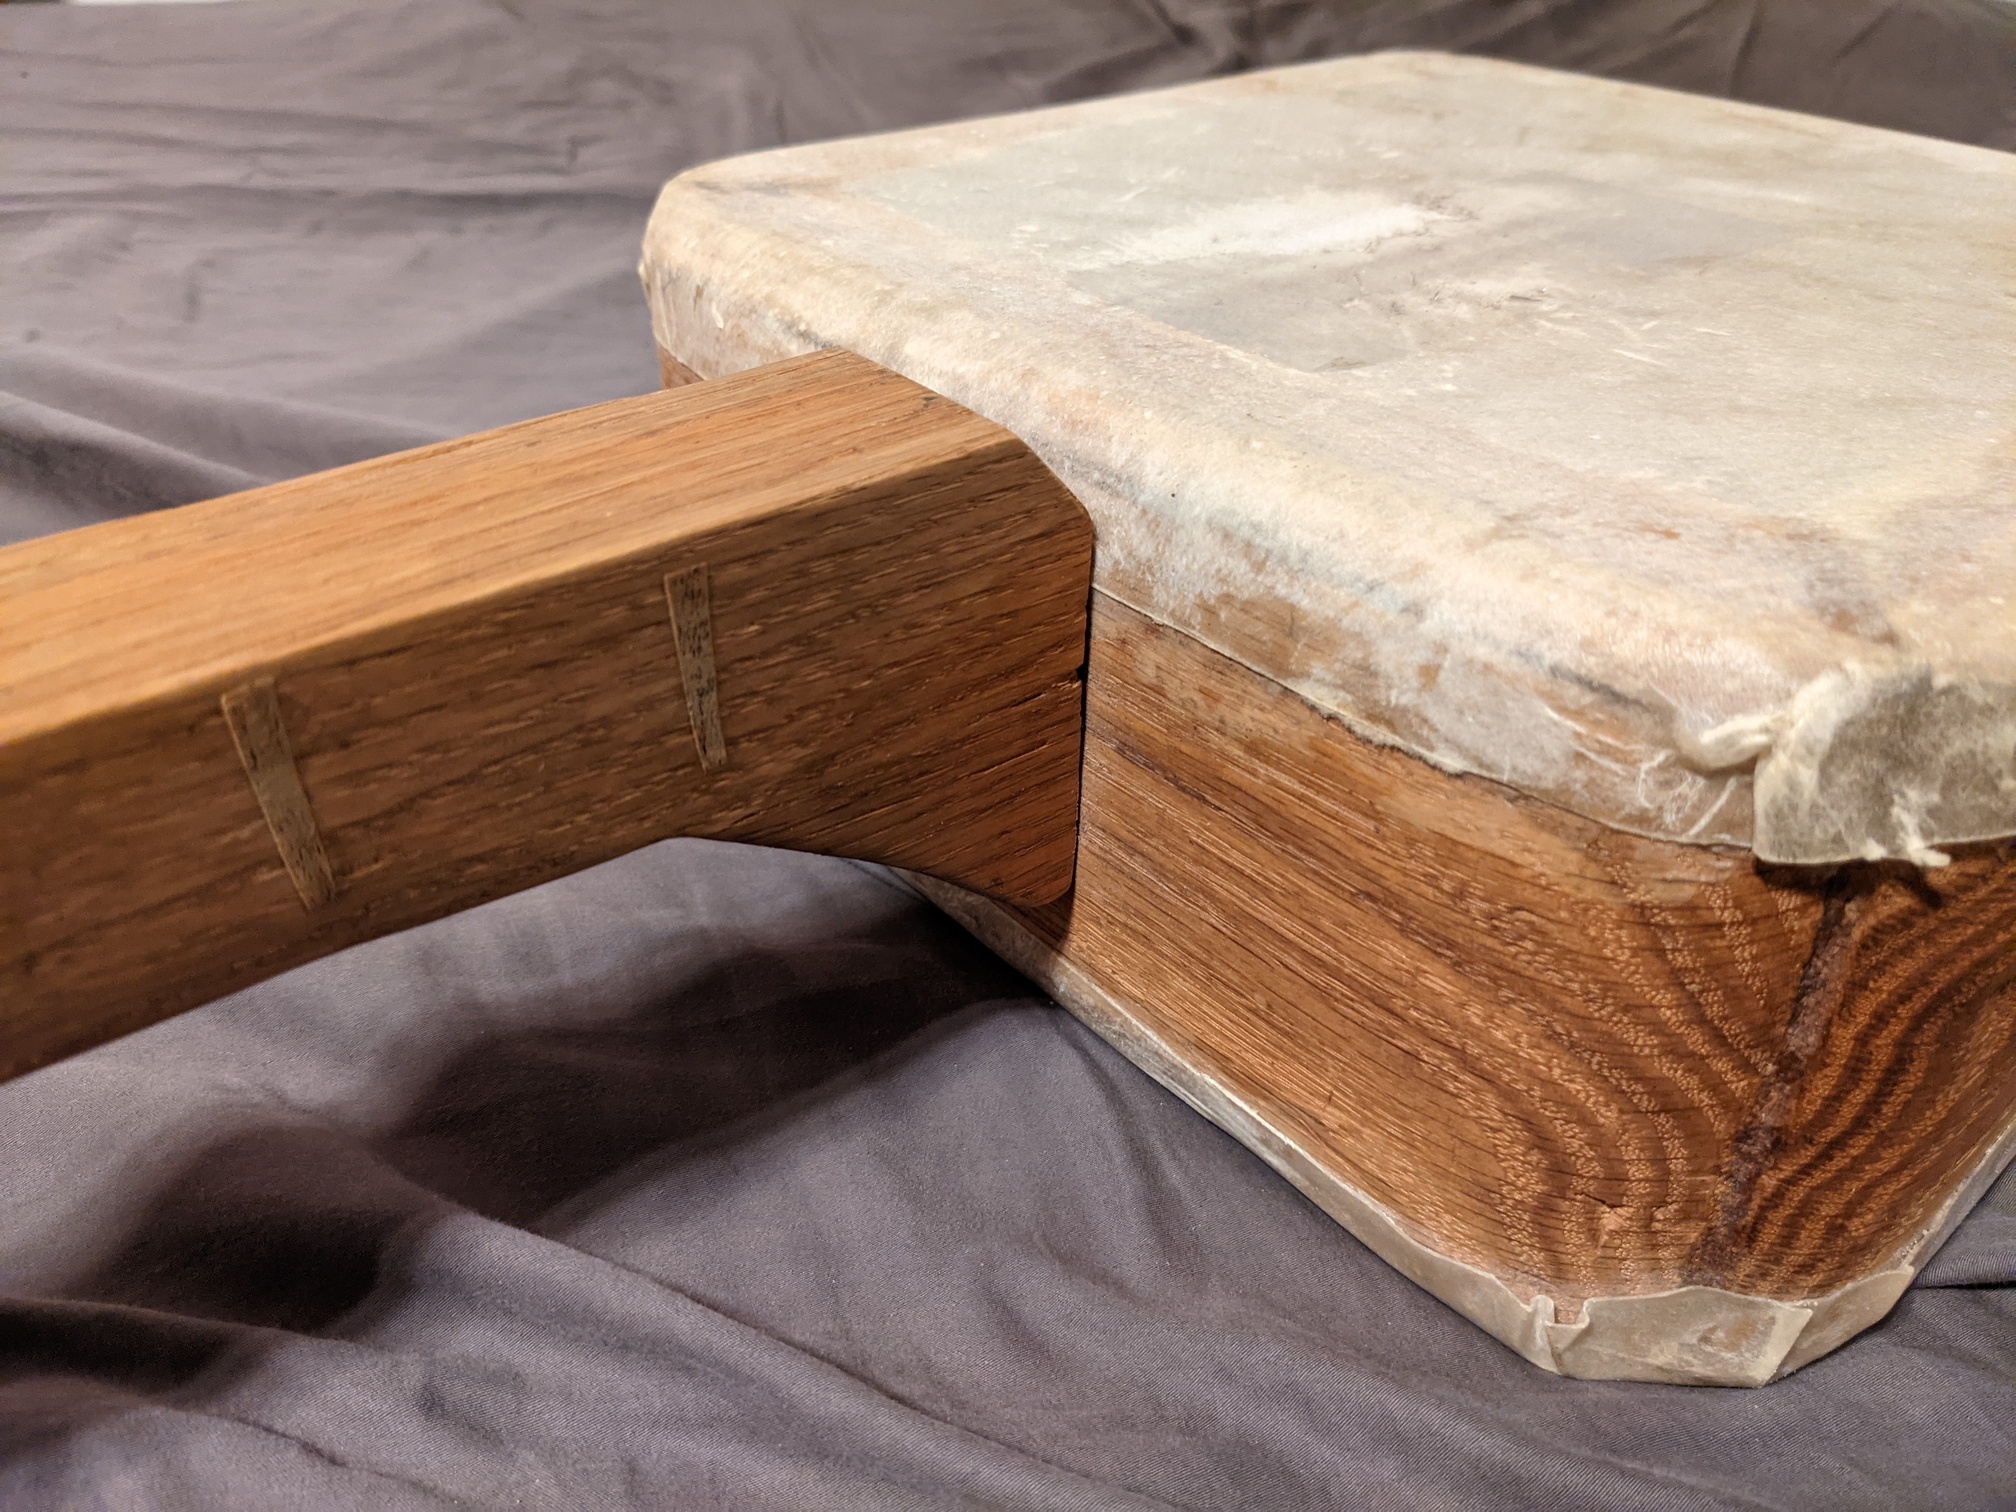
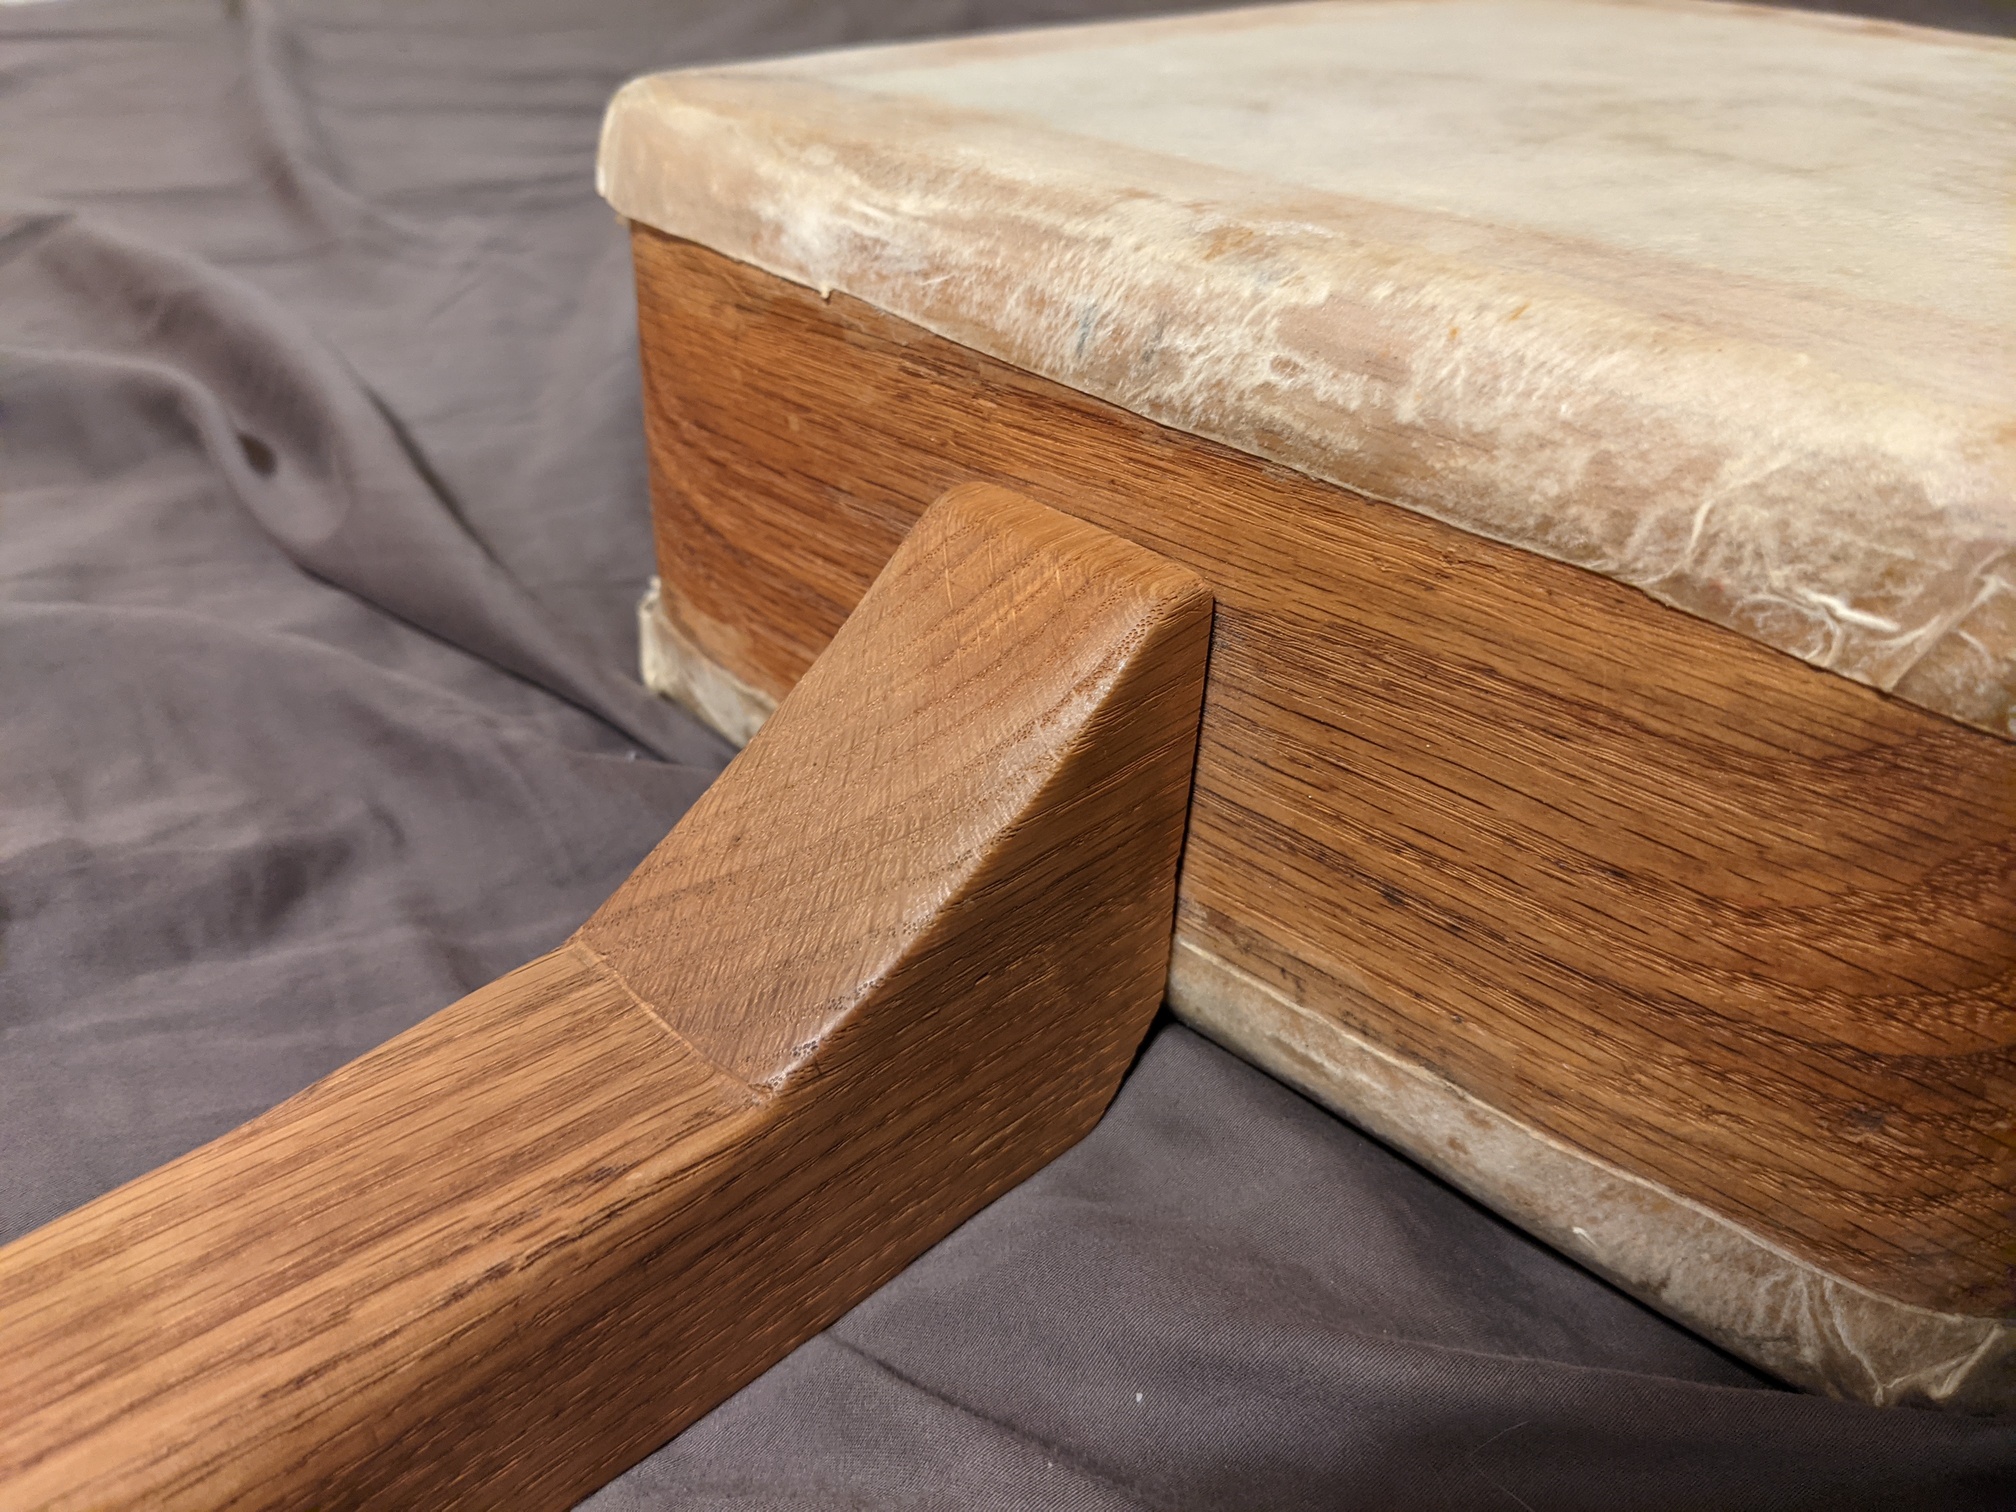
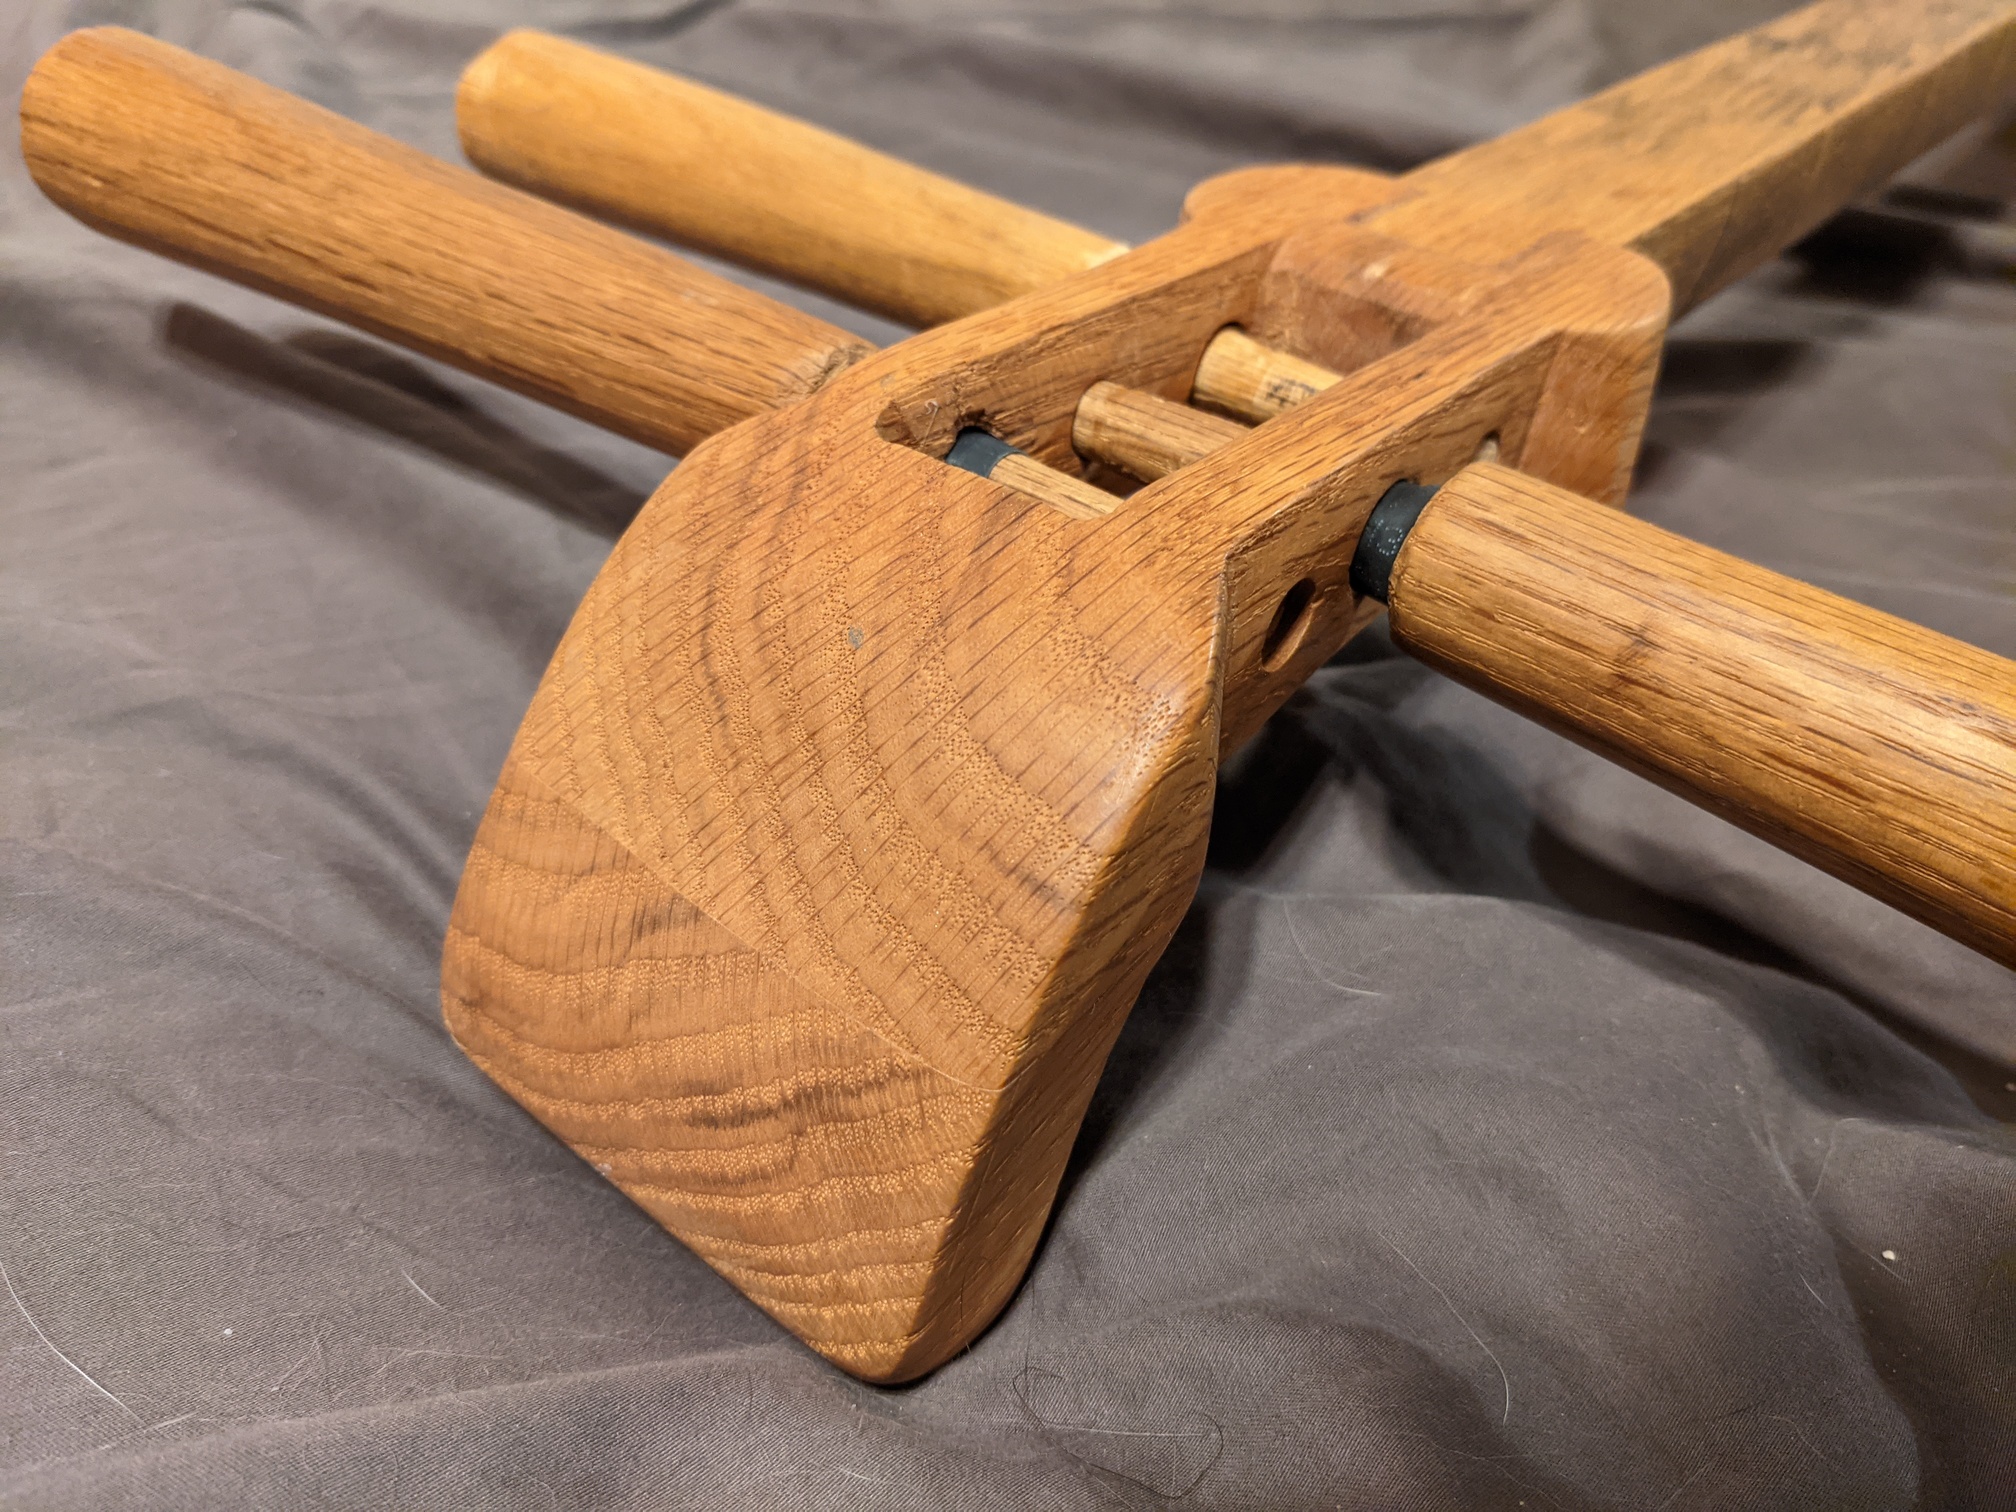
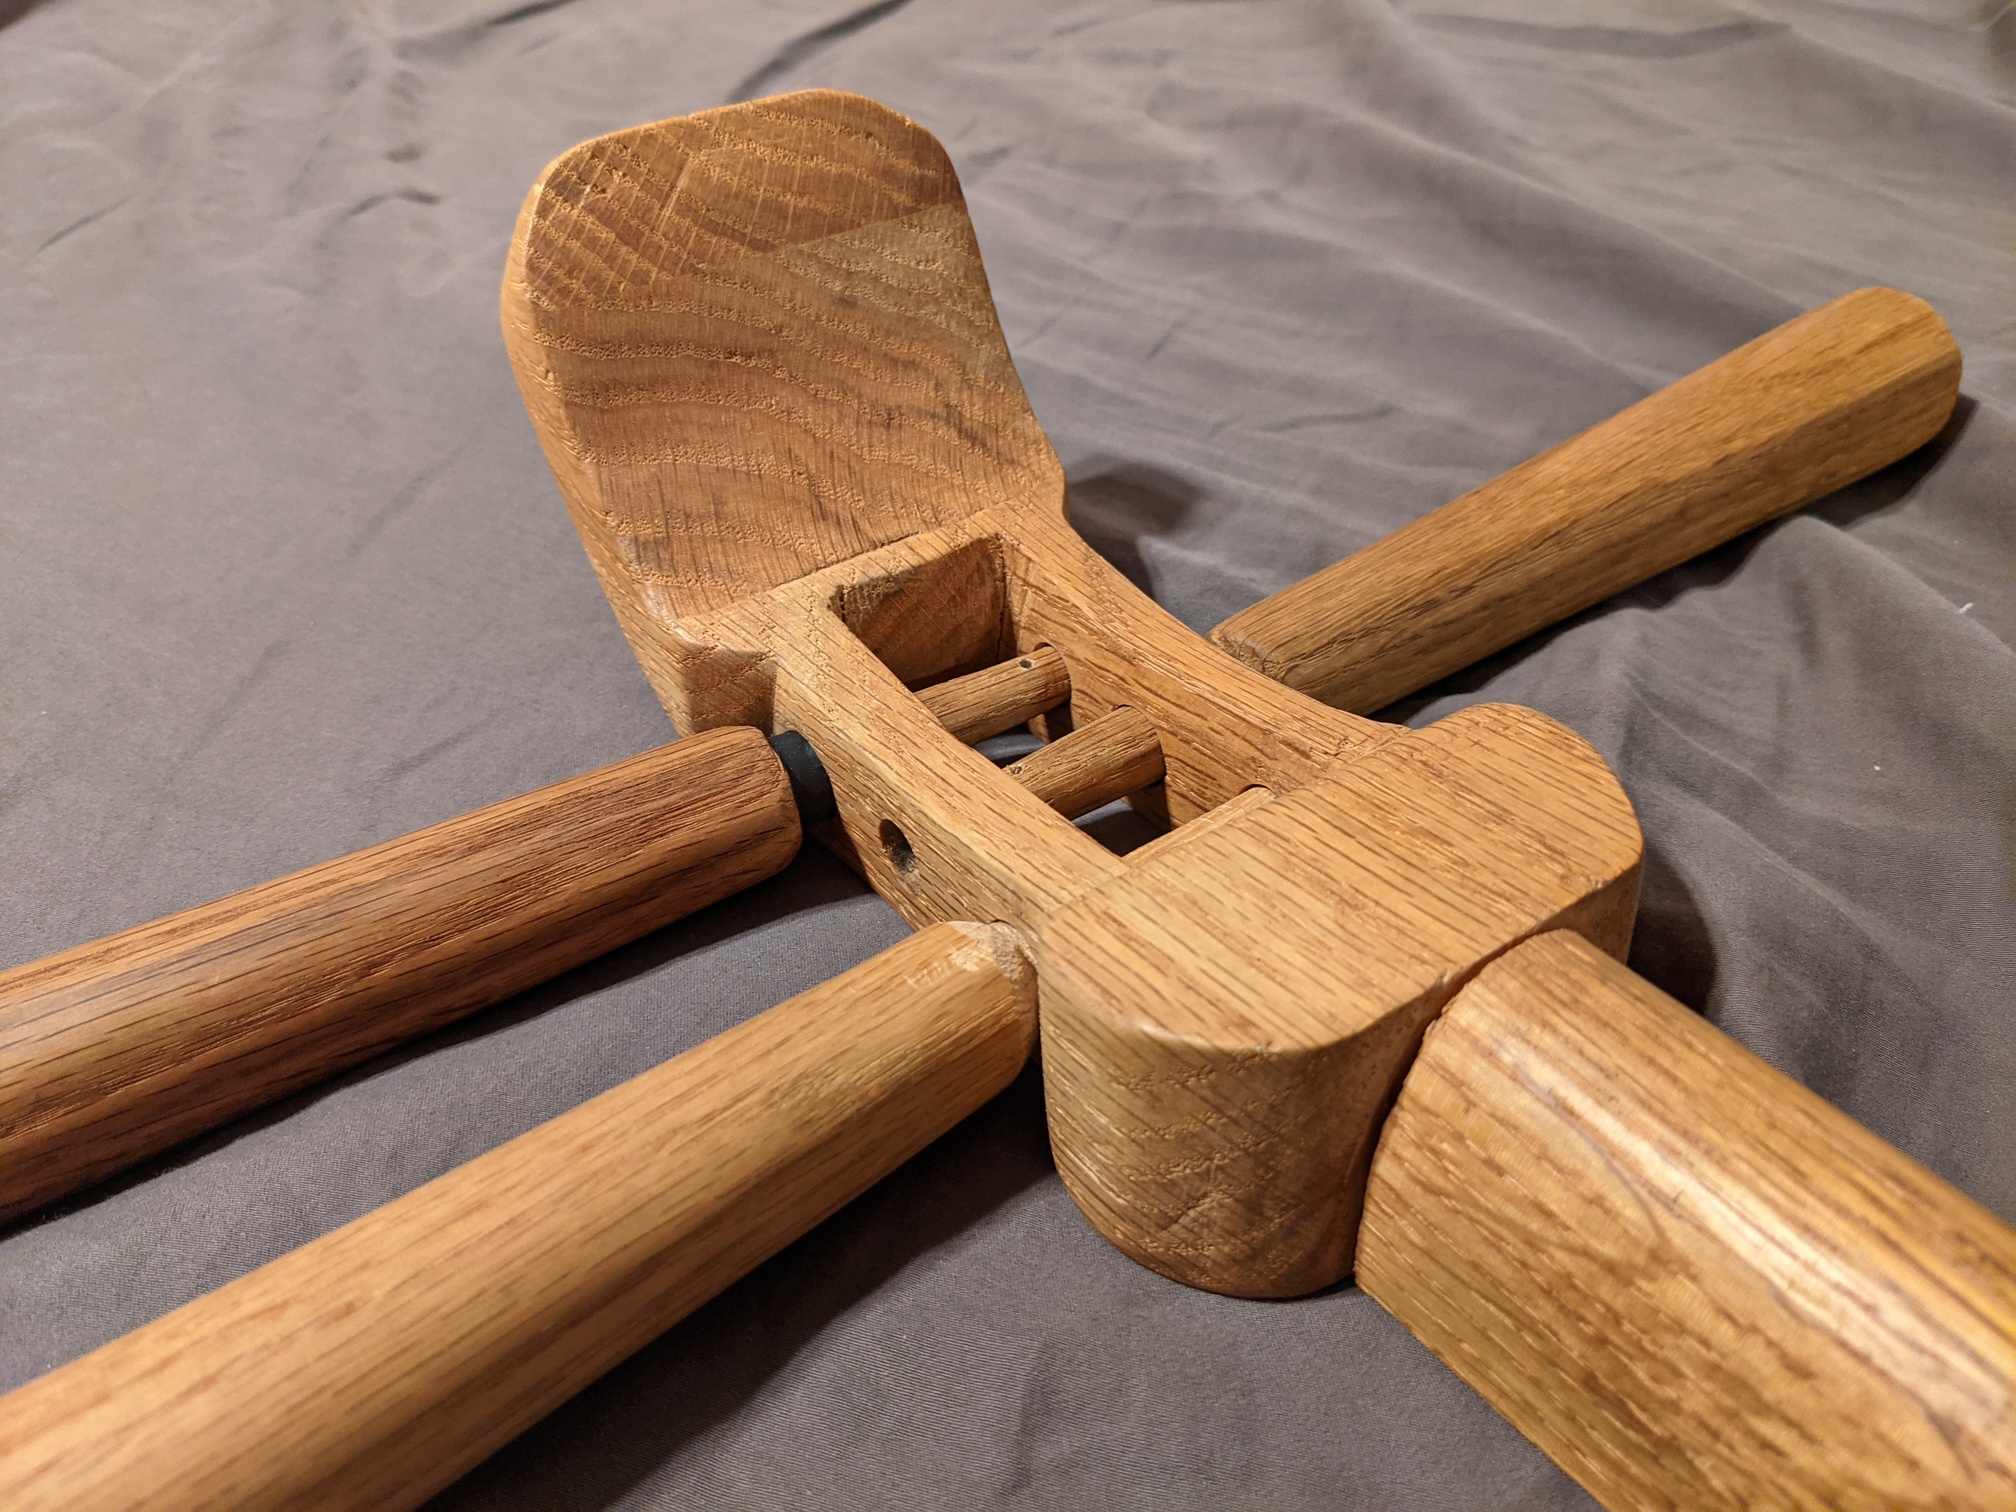
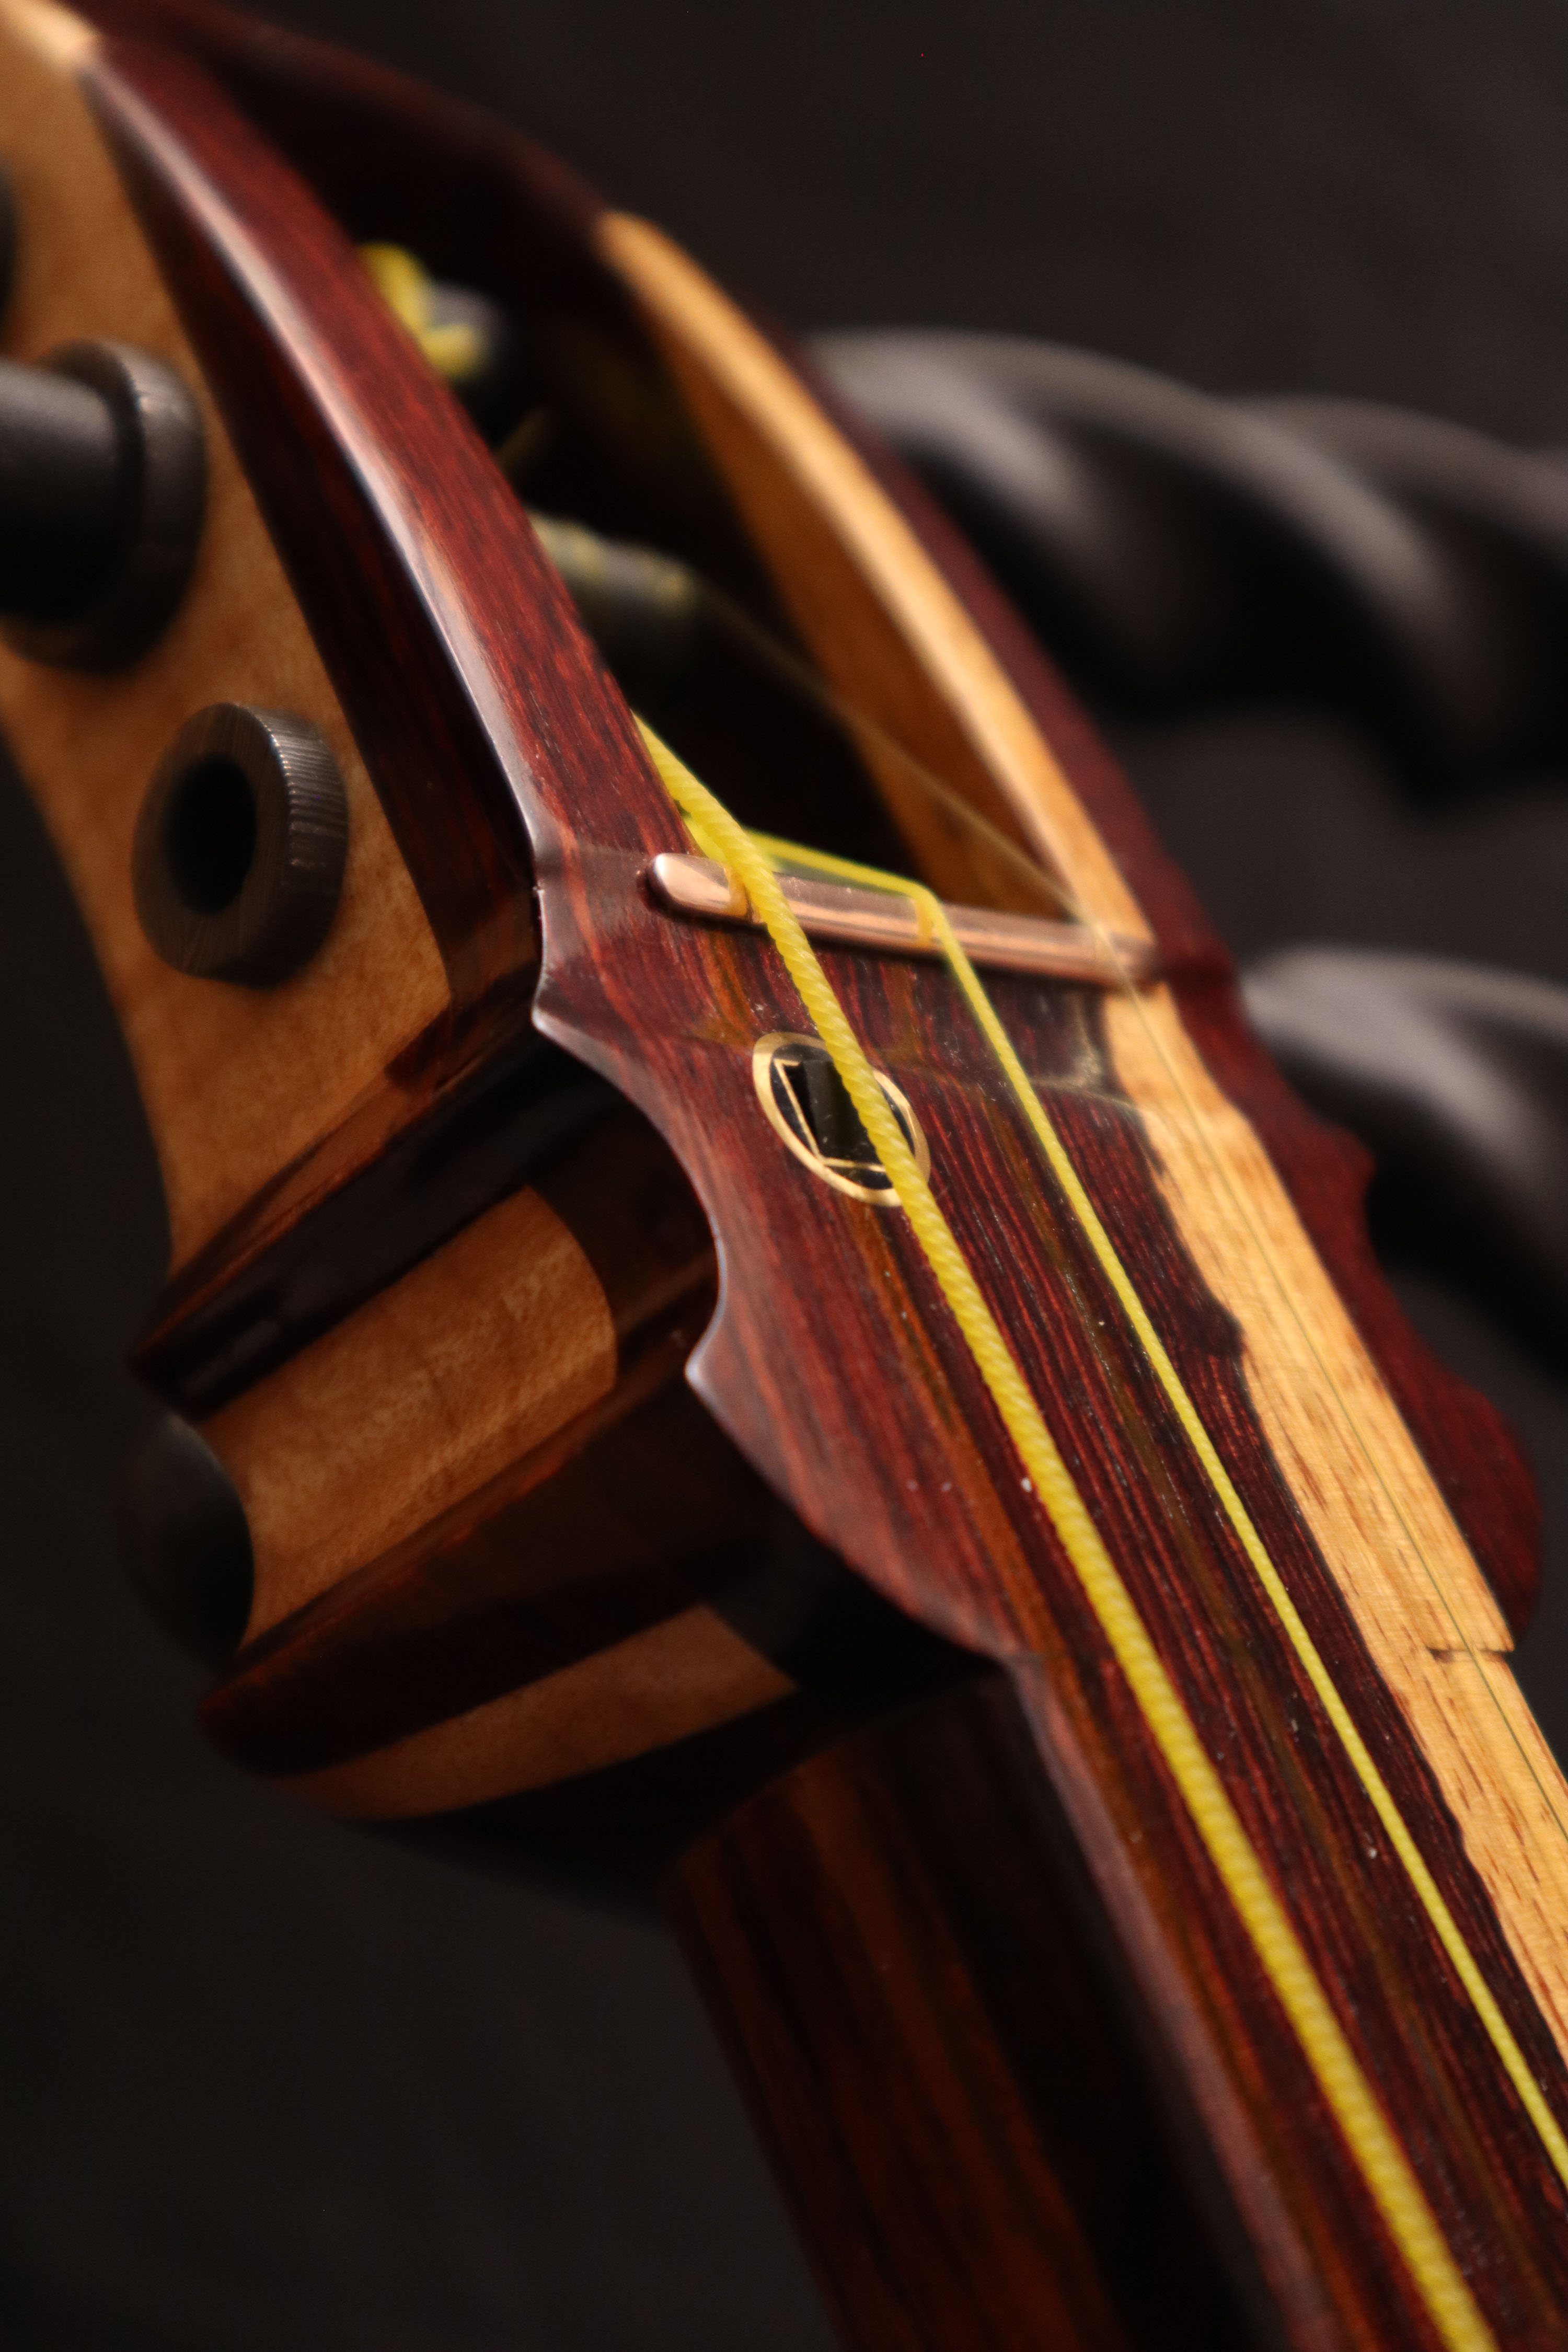
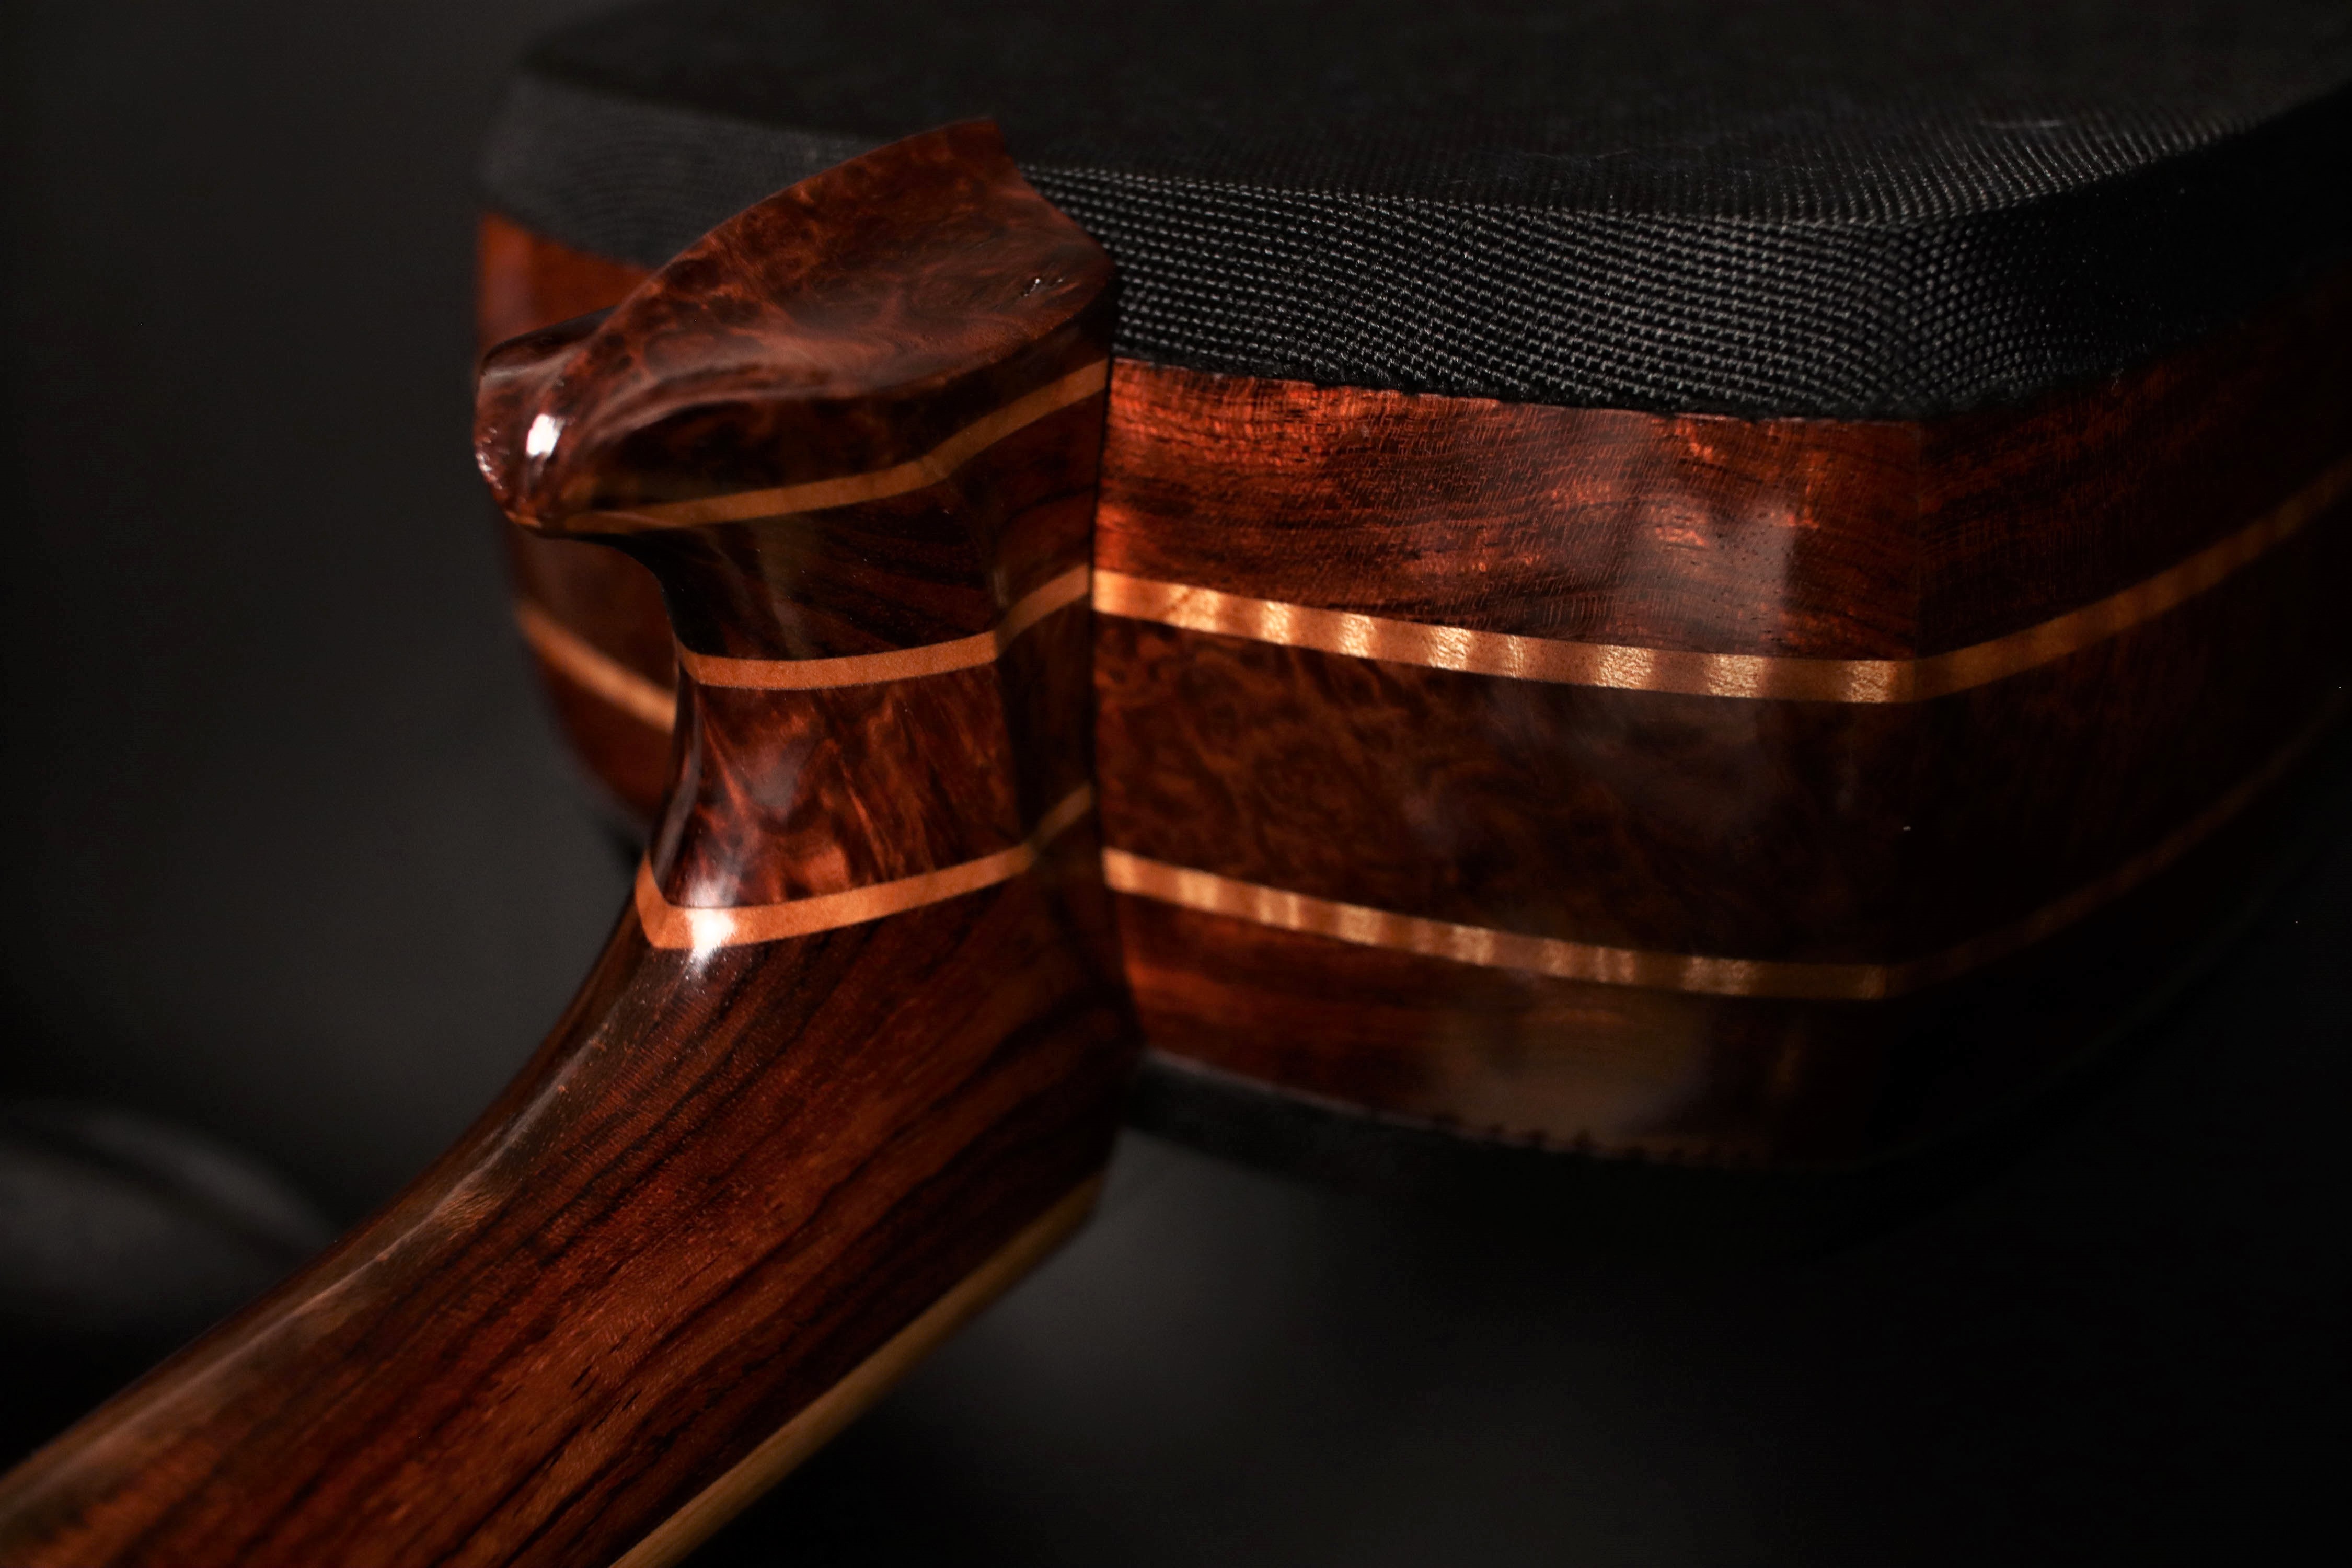
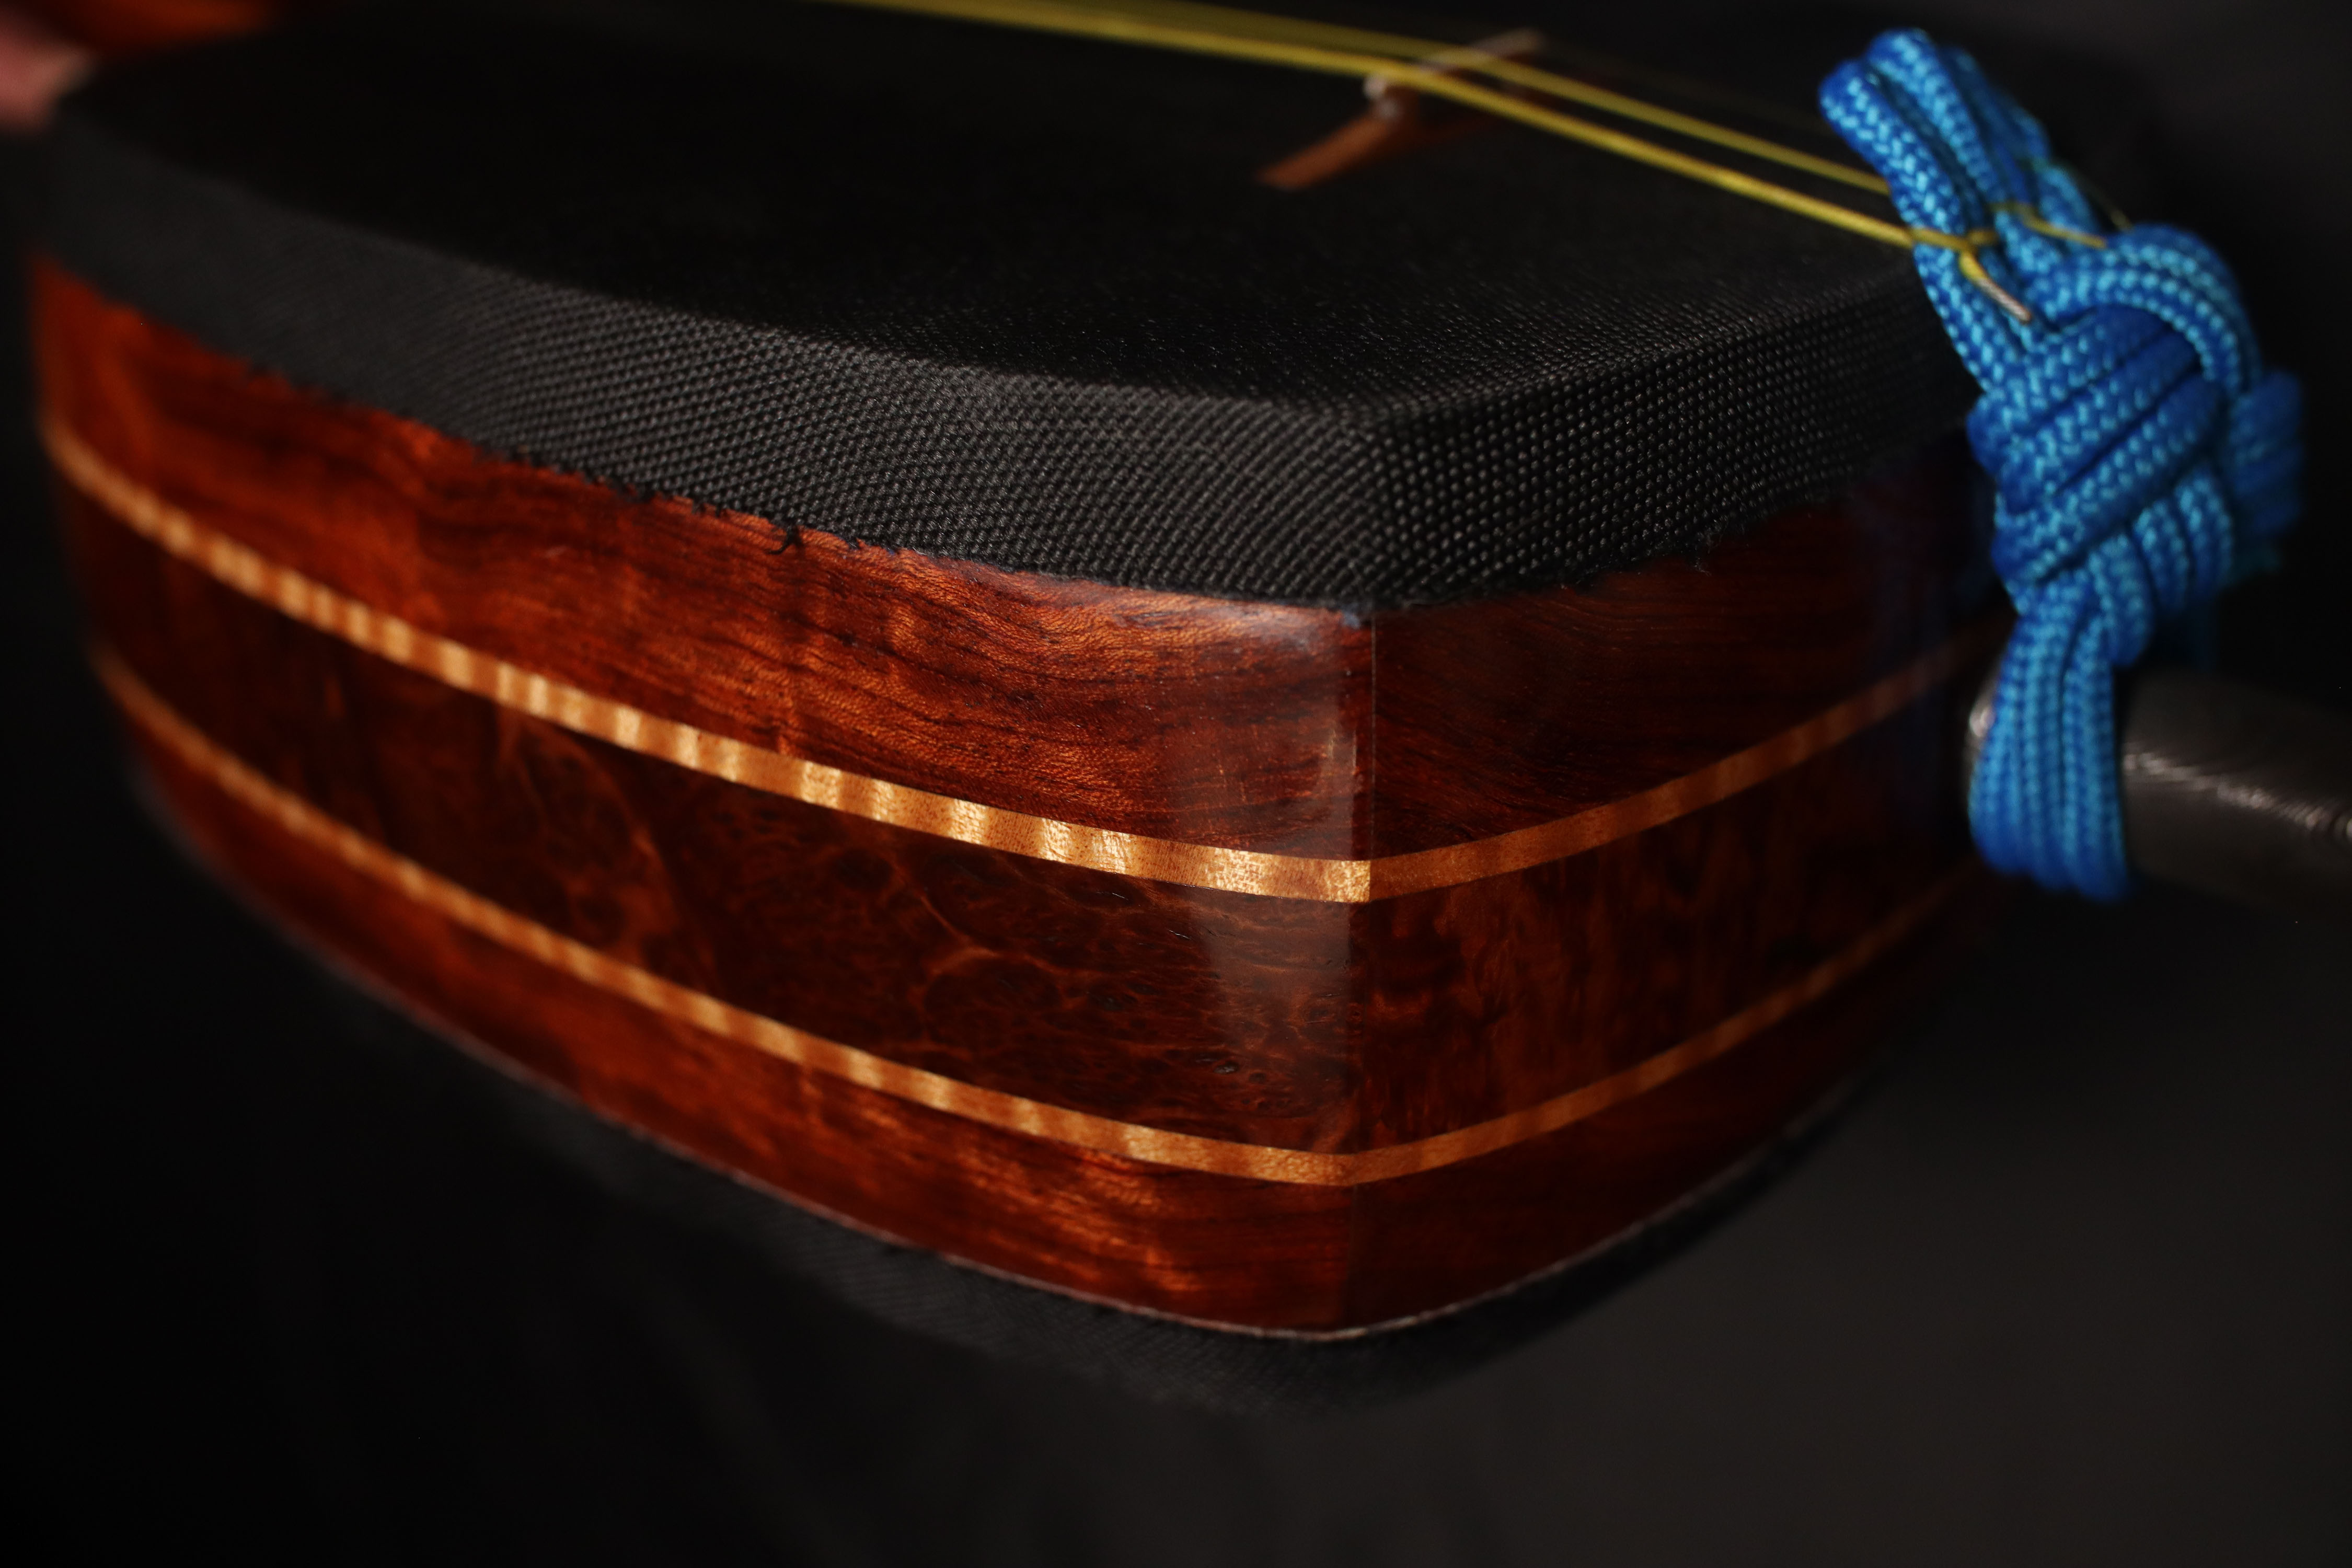
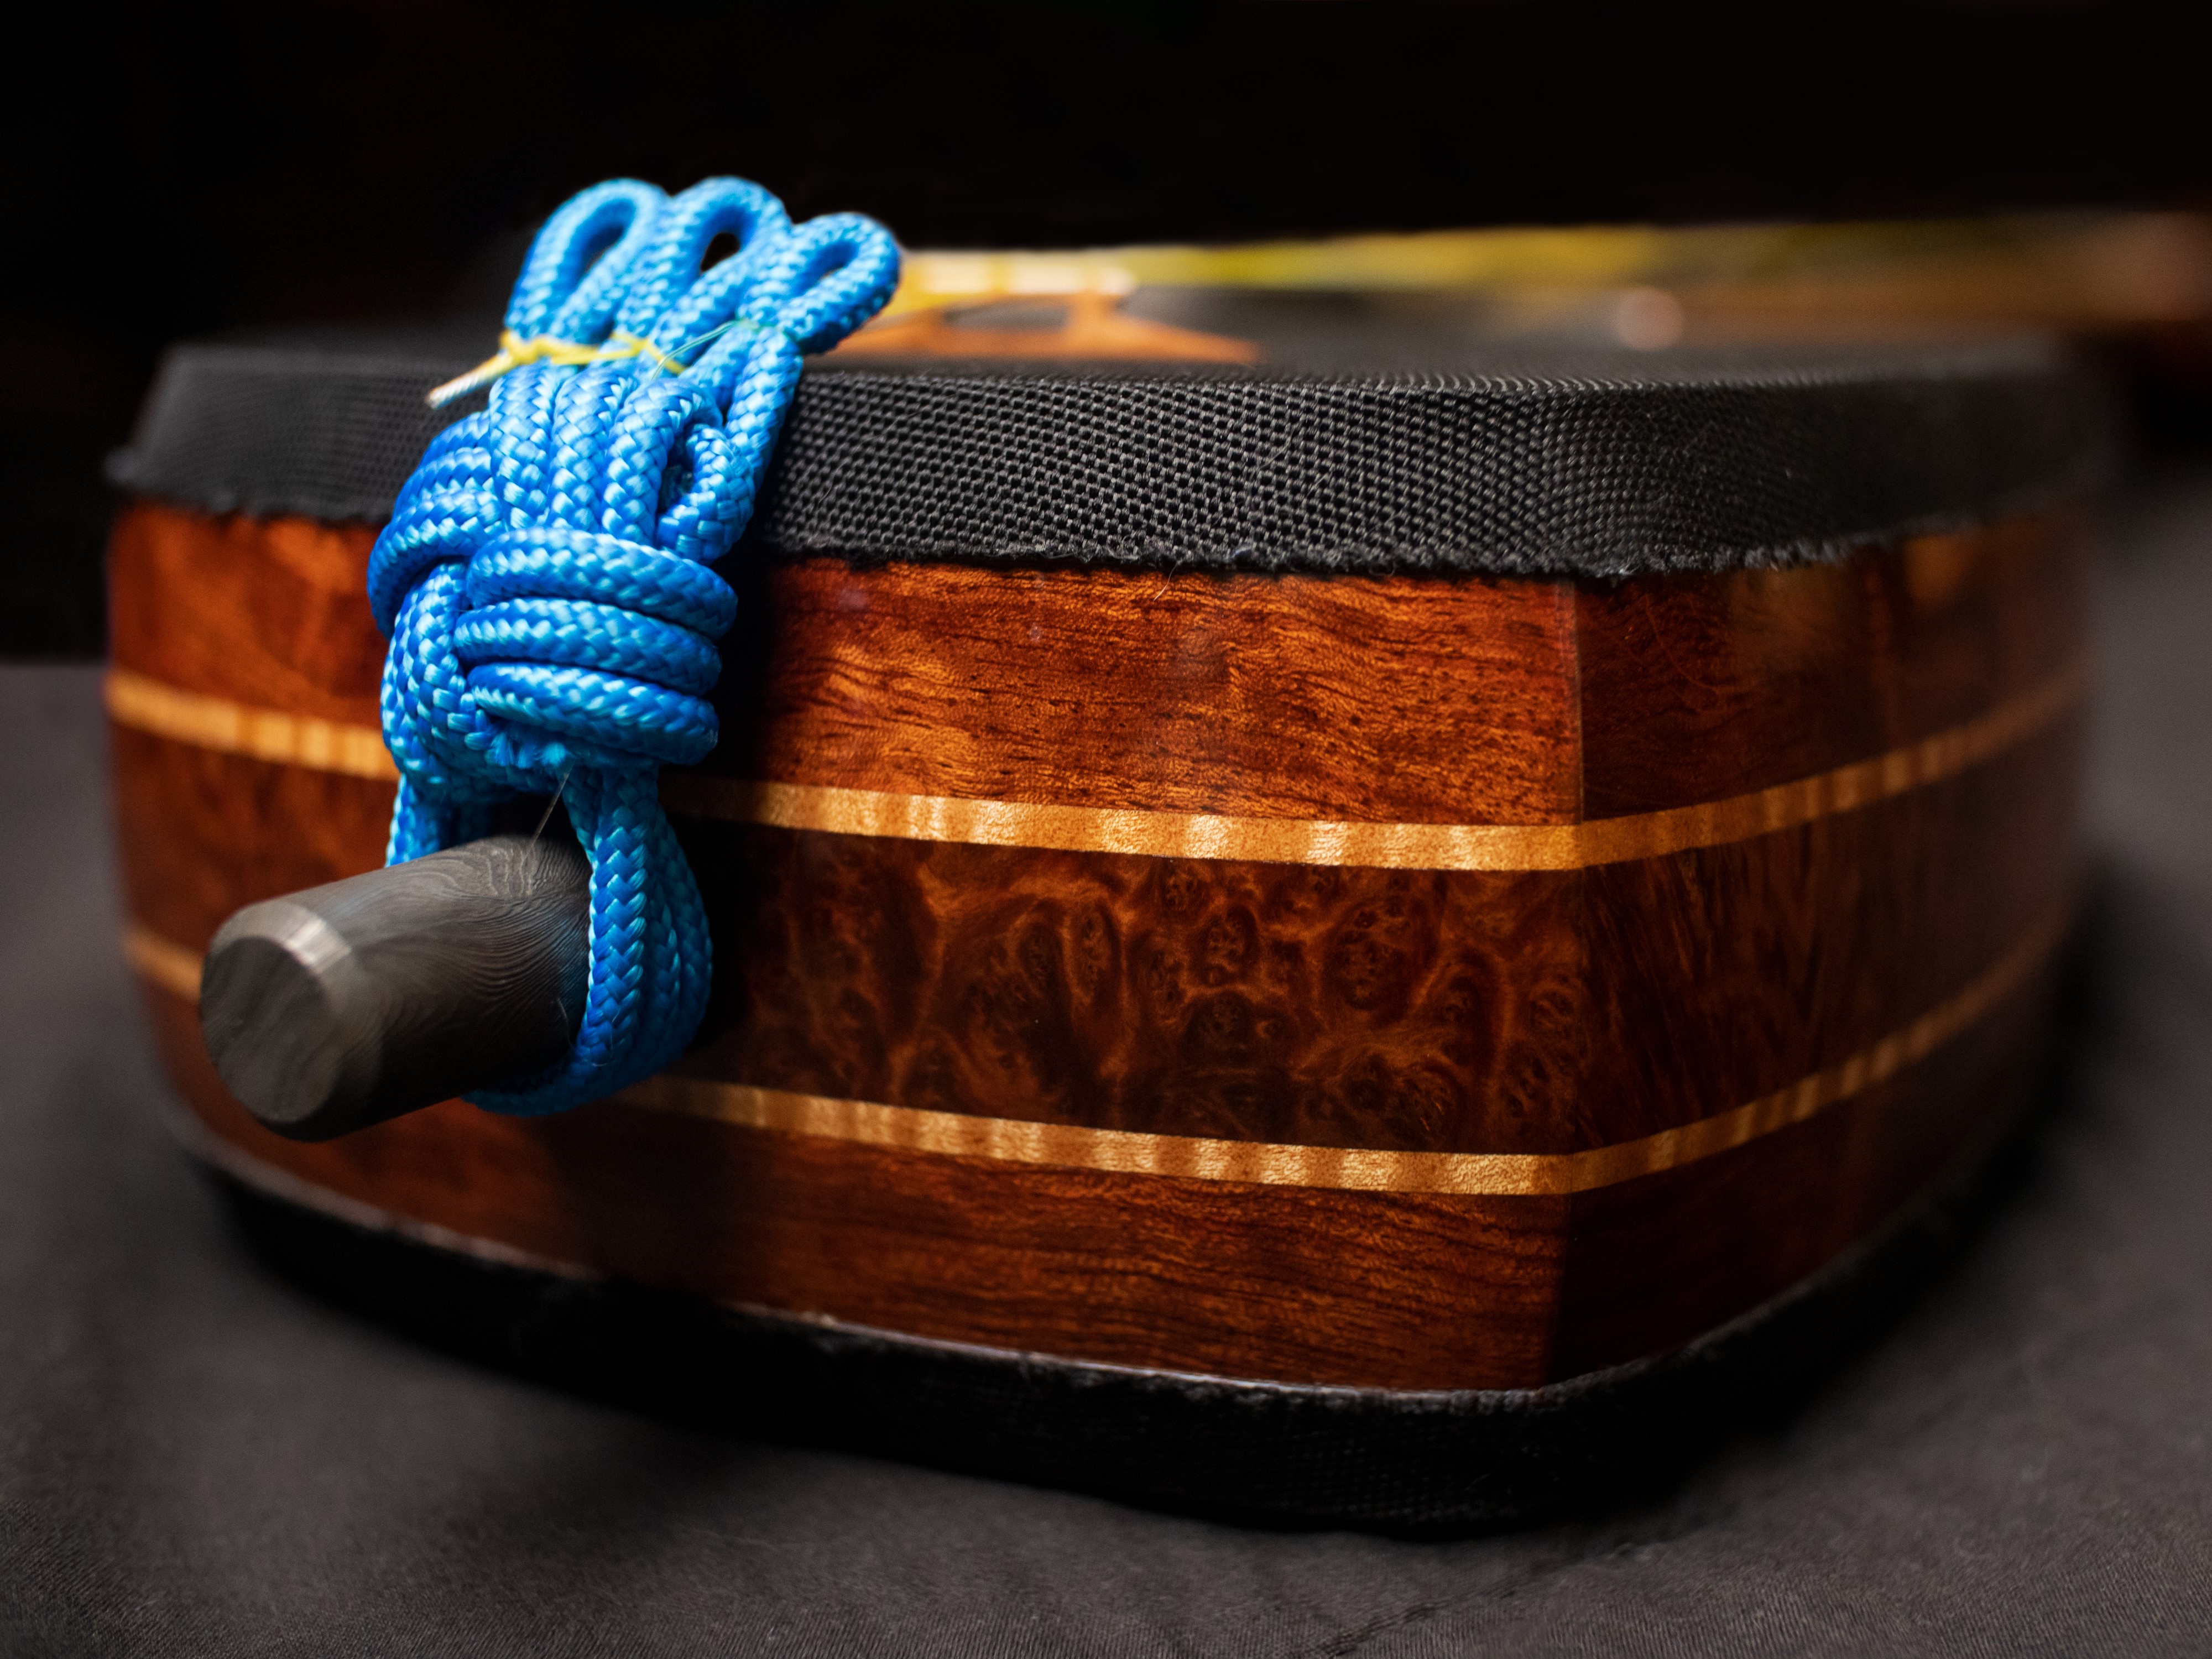
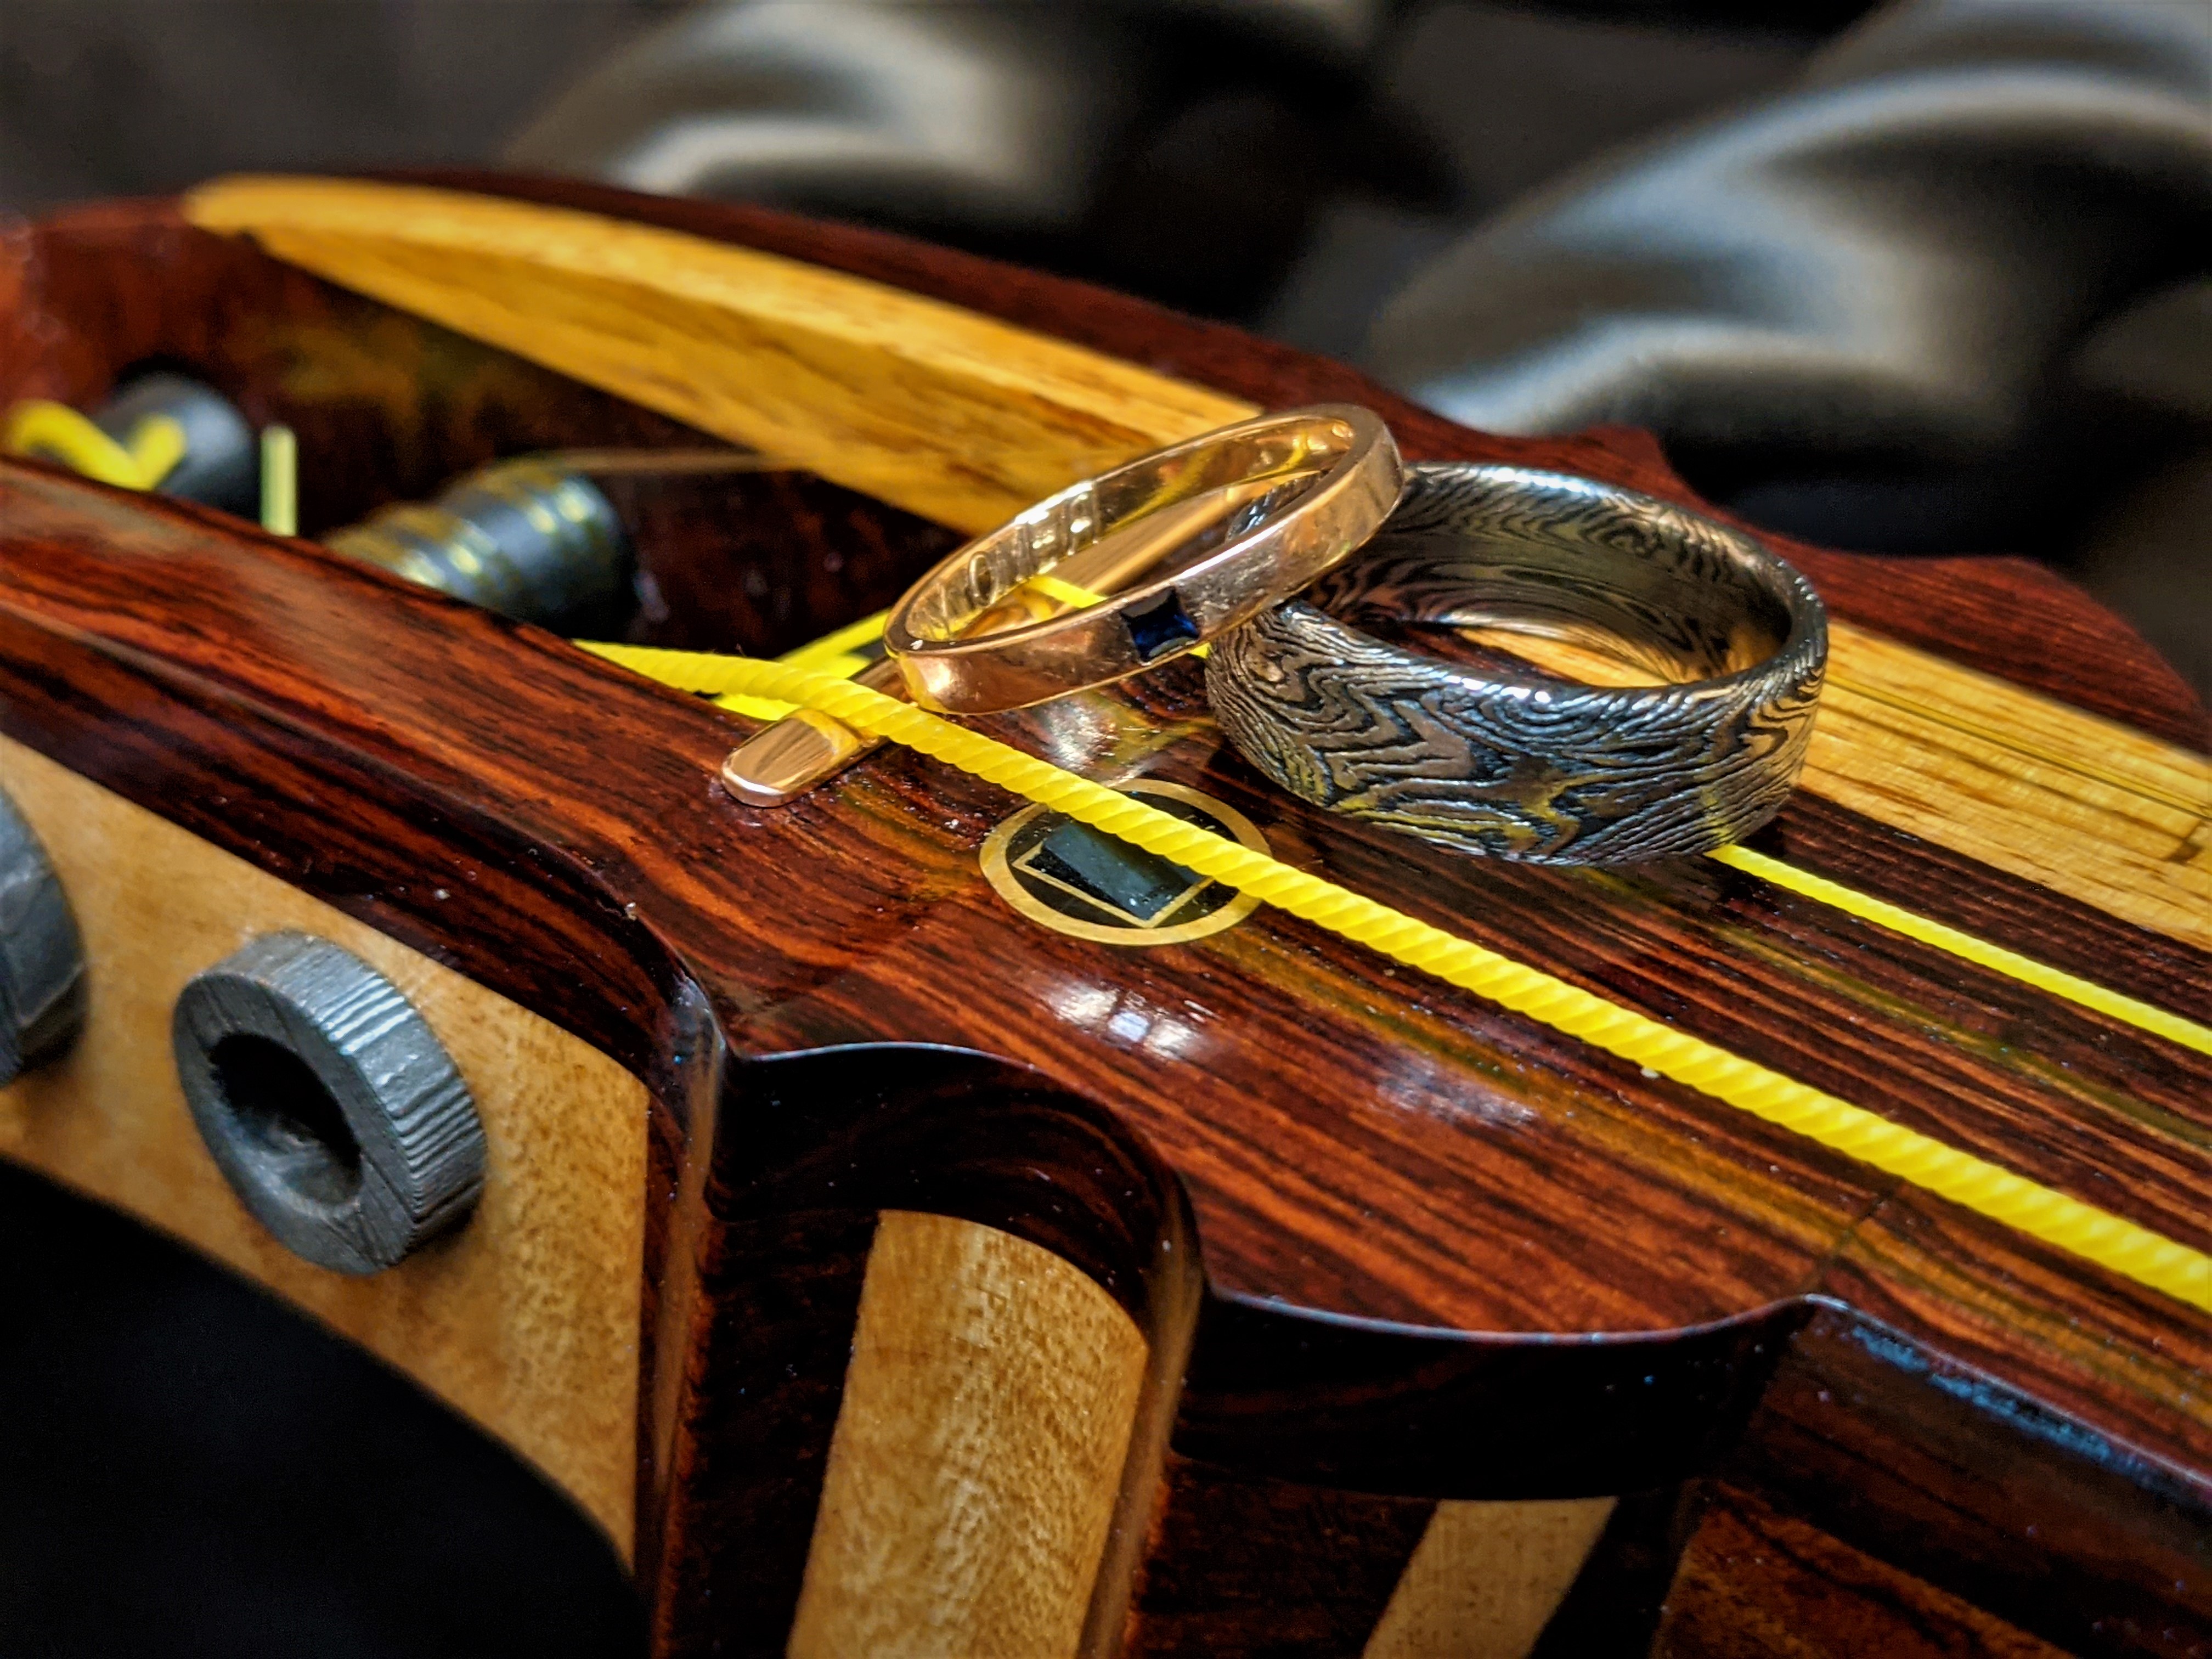
The body ended up being quite larger than typical, but overall the sao and tenjin were fairly close given I was making some best educated guesses looking at proportions from videos online. For skins I used calfskins for banjos, stretched using some crude wooden clamps, rope, and a base similar to a traditional stretching base, glued on with Elmer’s white glue. These are still the original skins, which have not been changed, and though rather loose, worked well enough to start learning on. Because the joints were pretty crude, you can see a lot of filler, made from wood glue and wood dust, to close the gaps between the boards making up the dou at the corners.
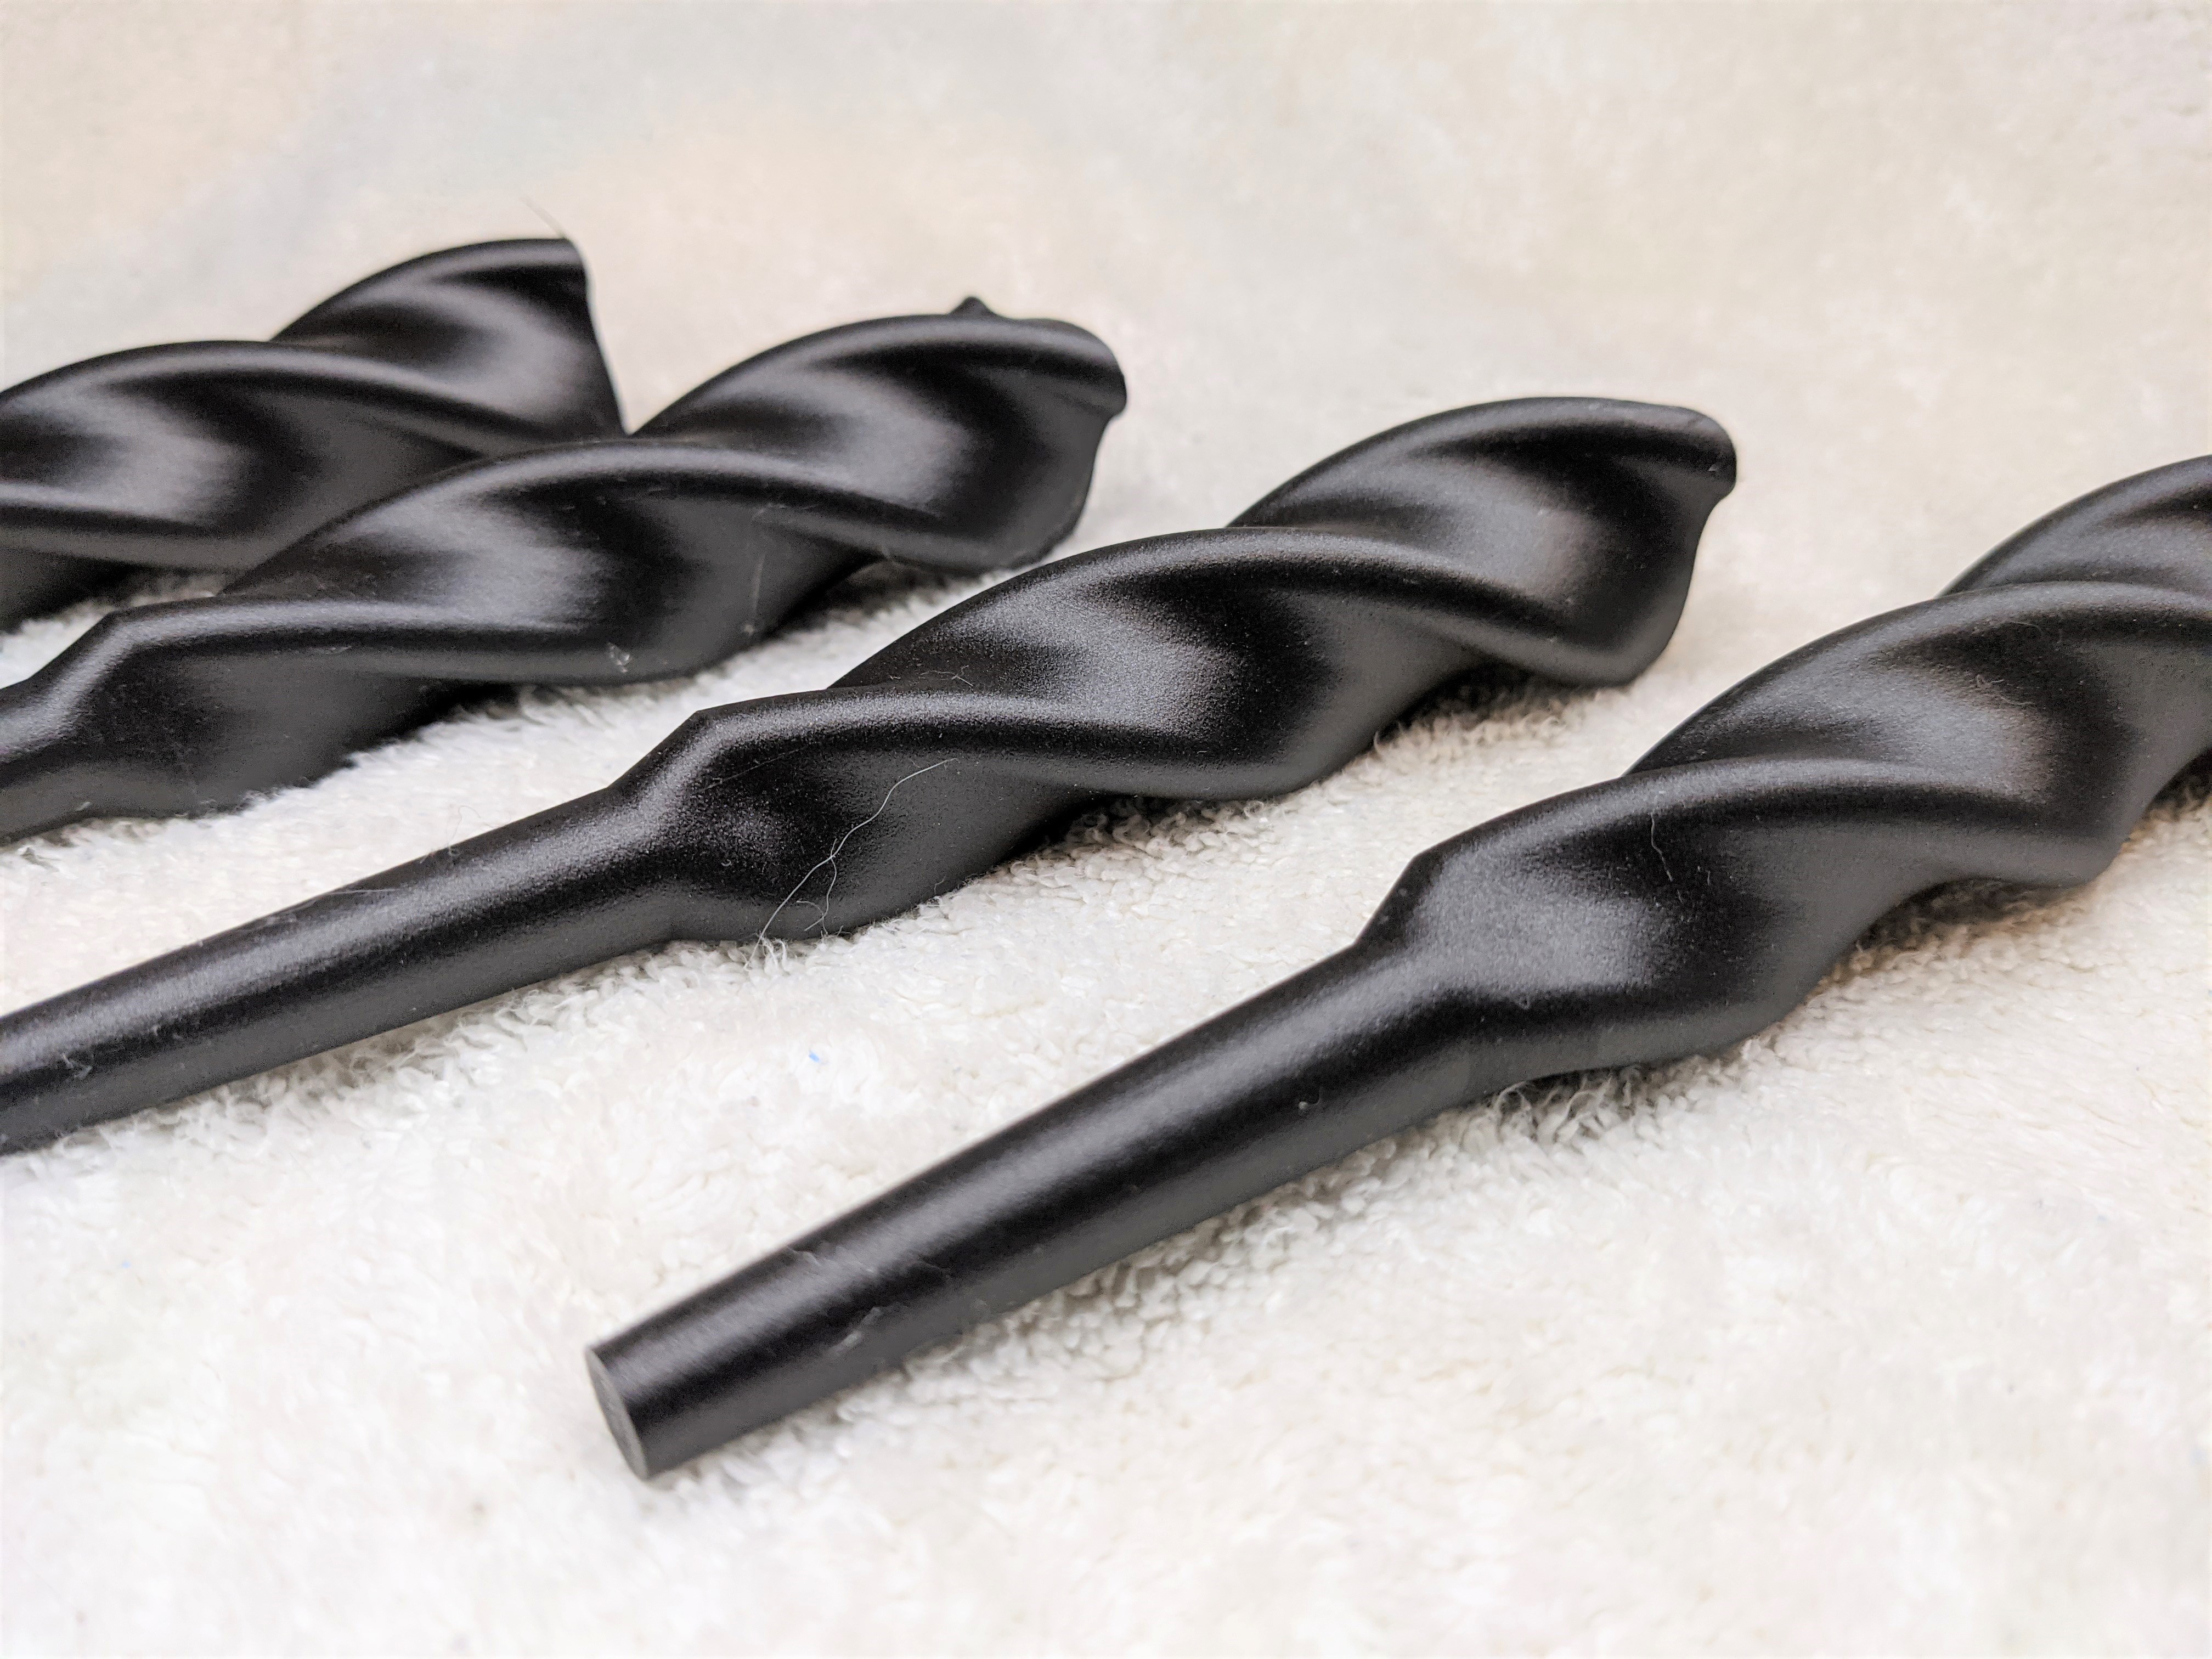
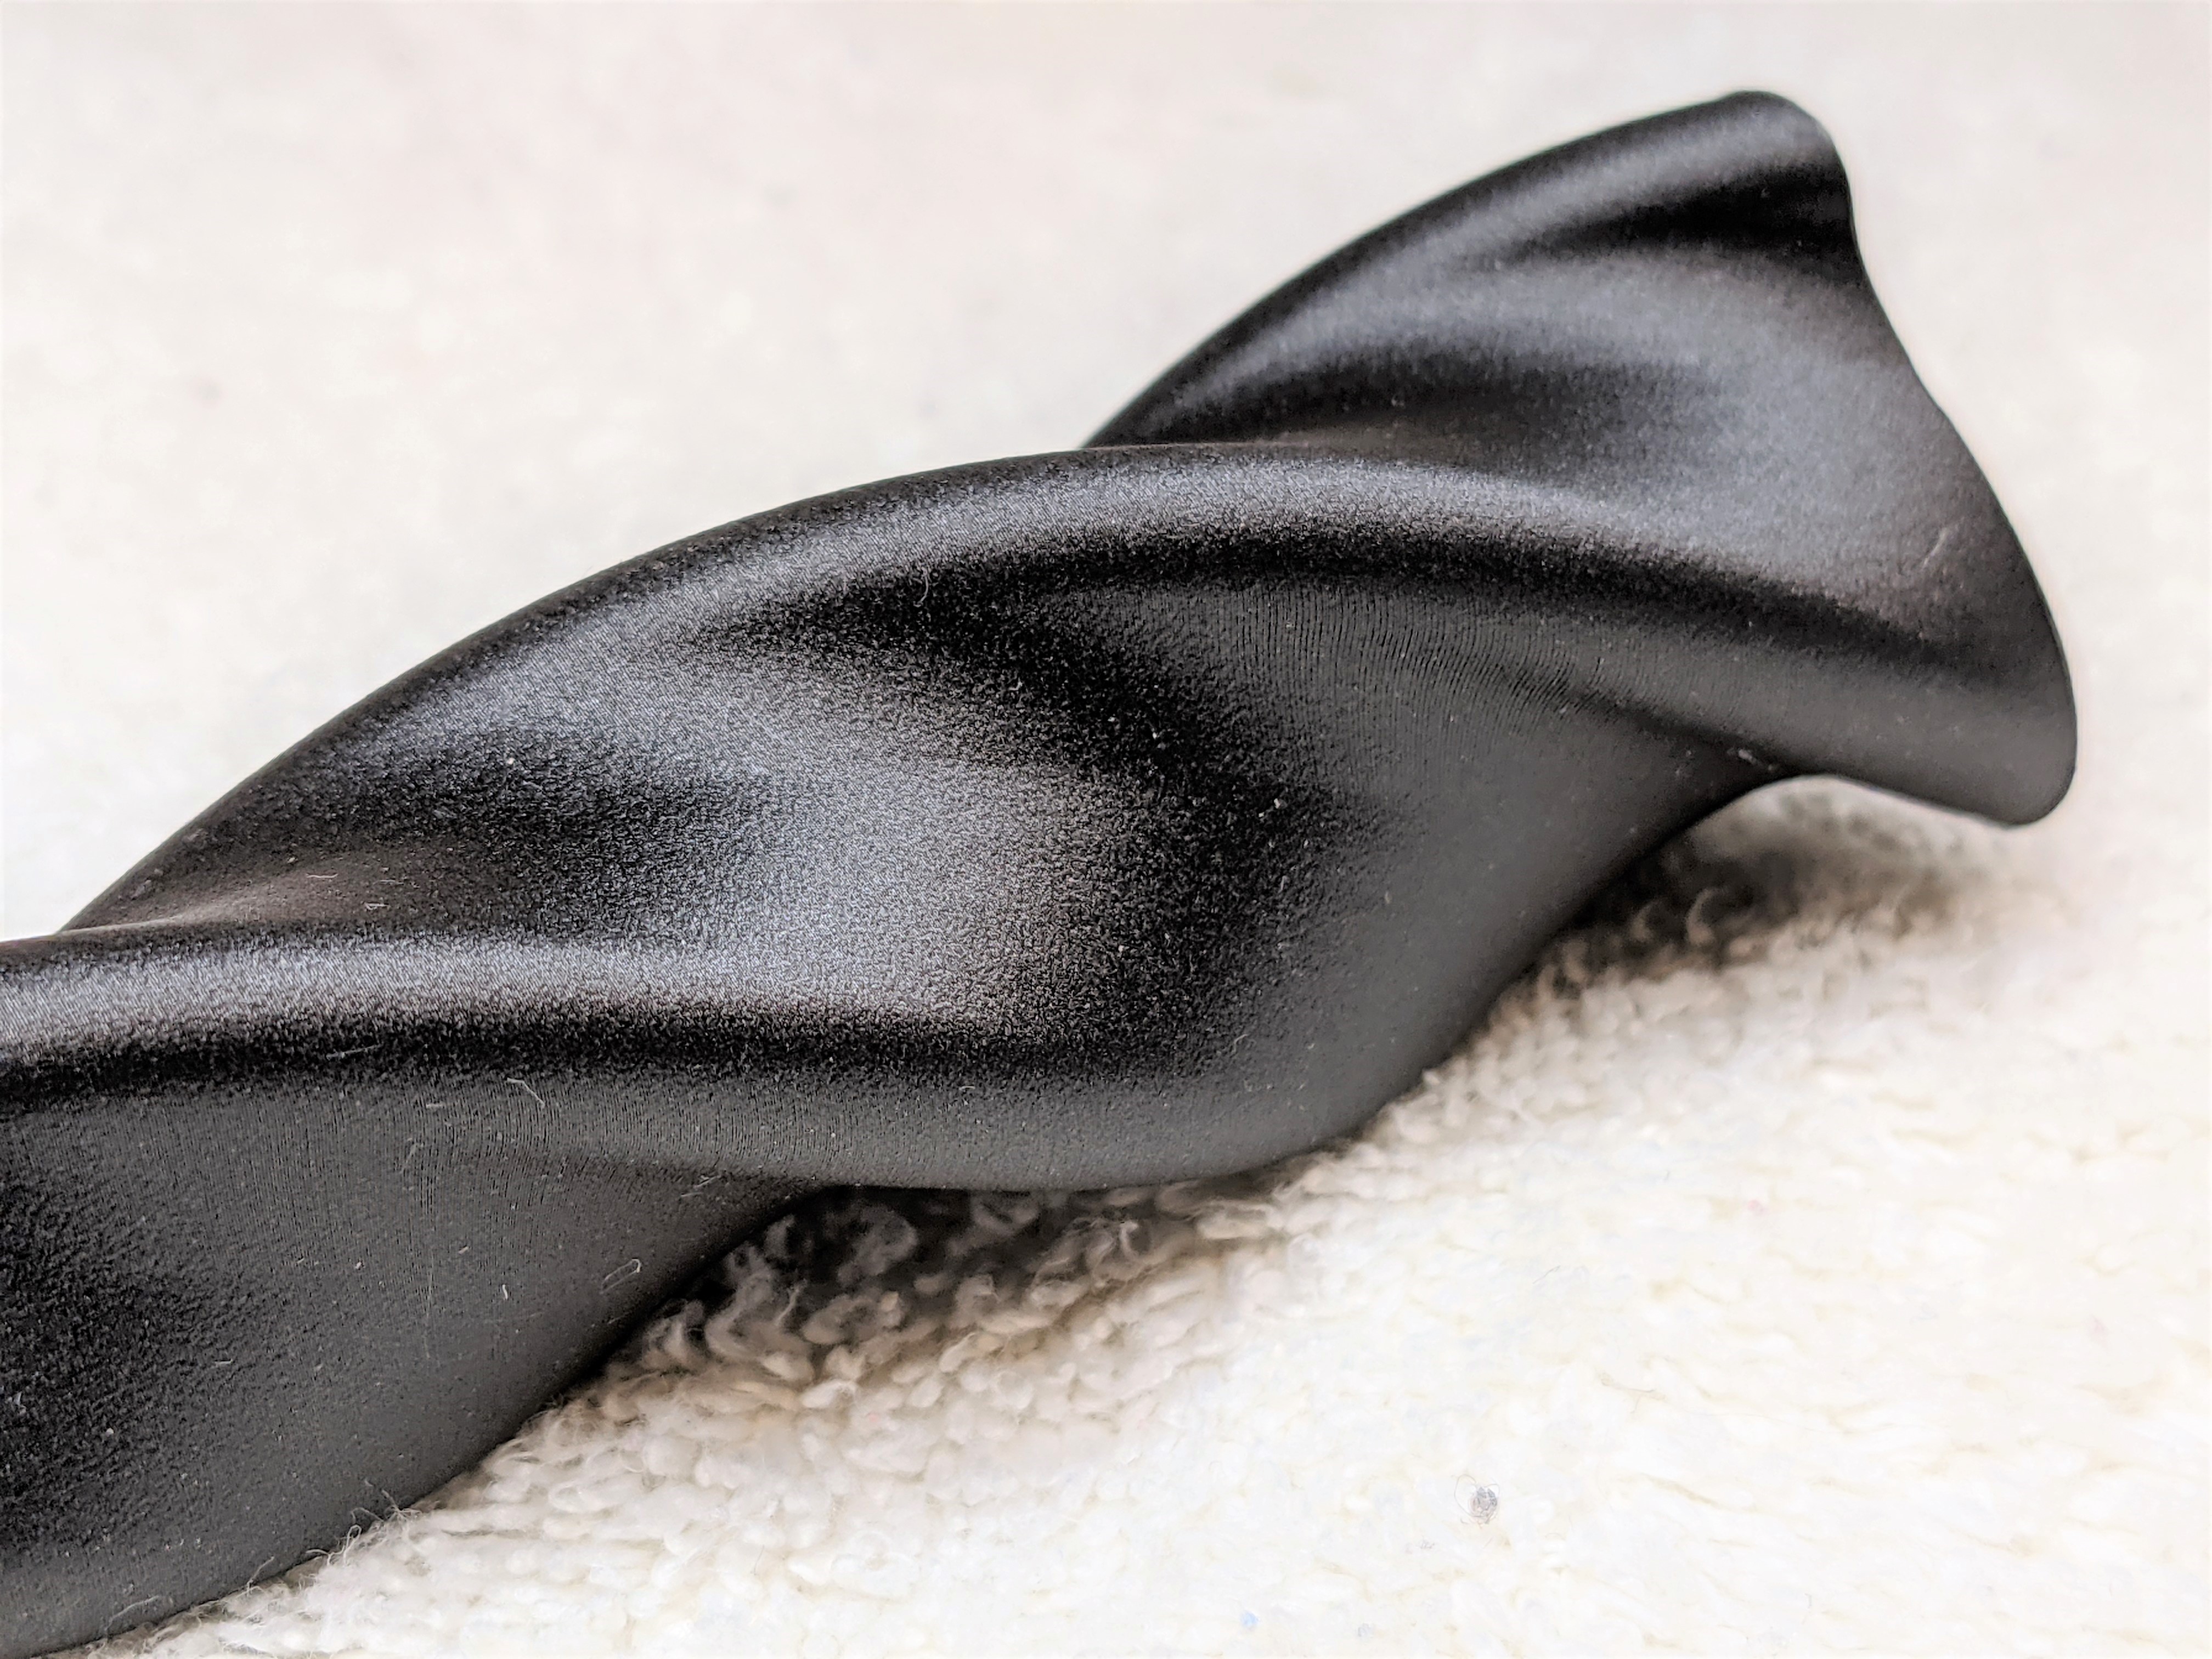
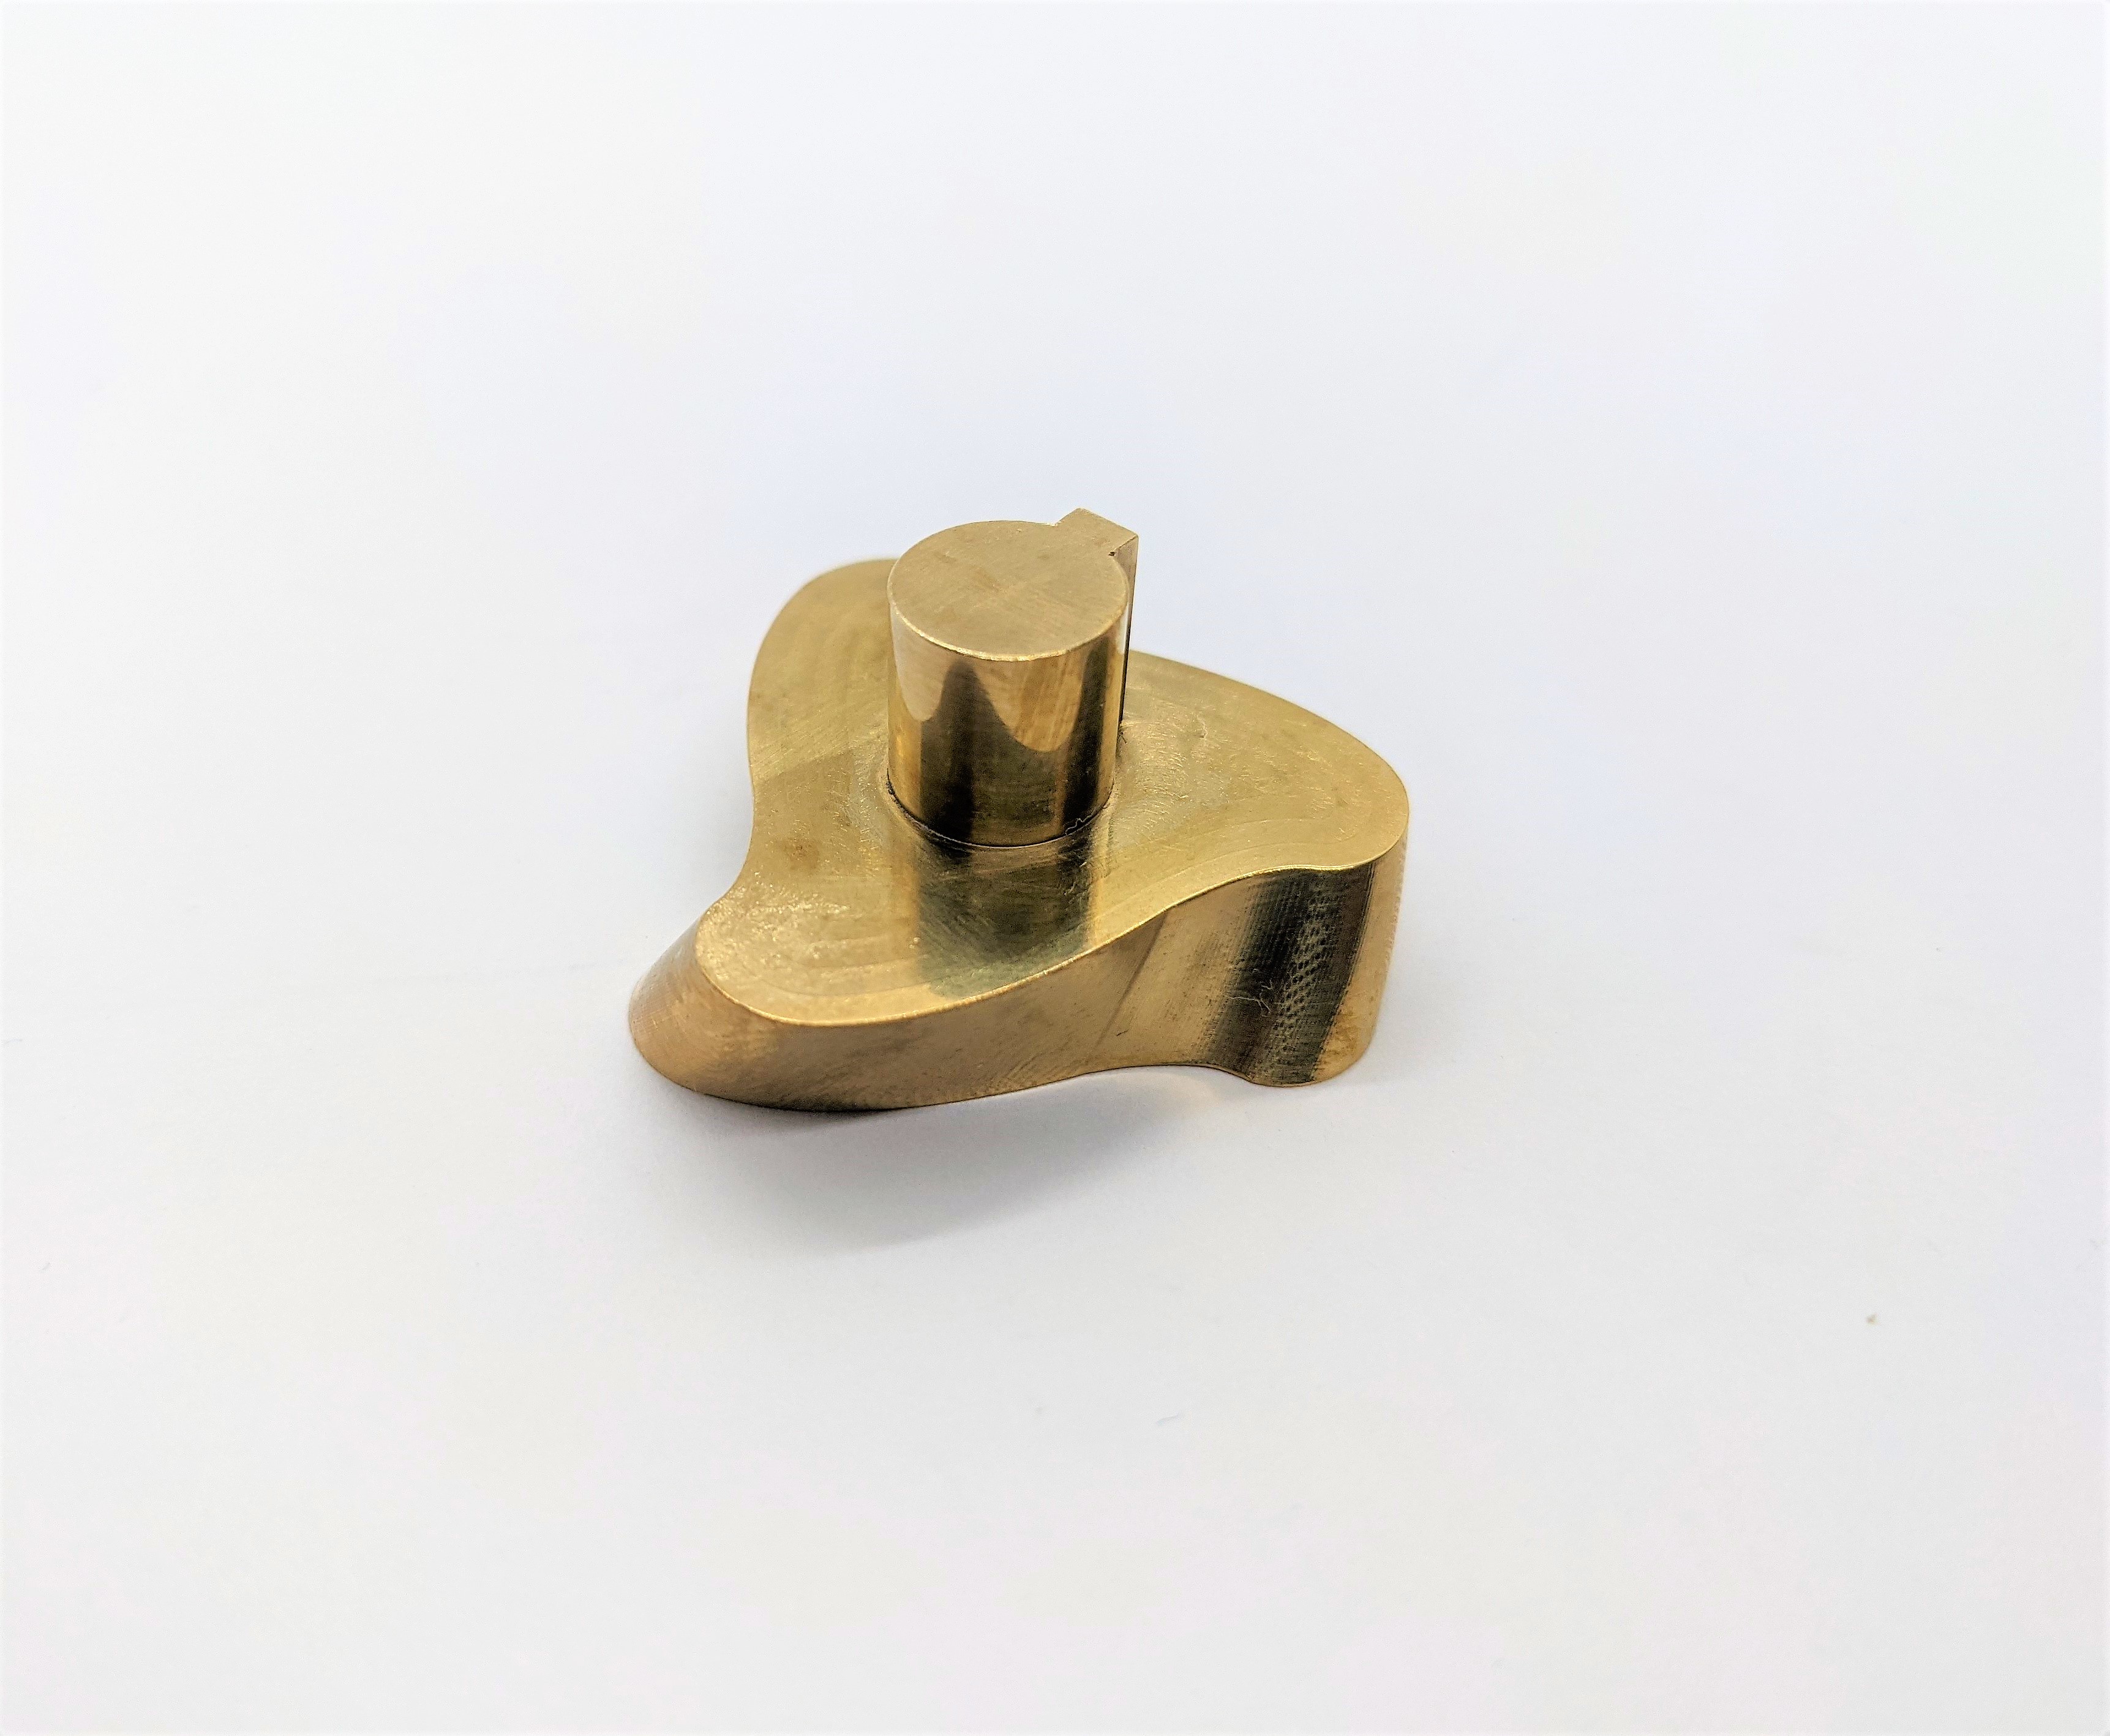
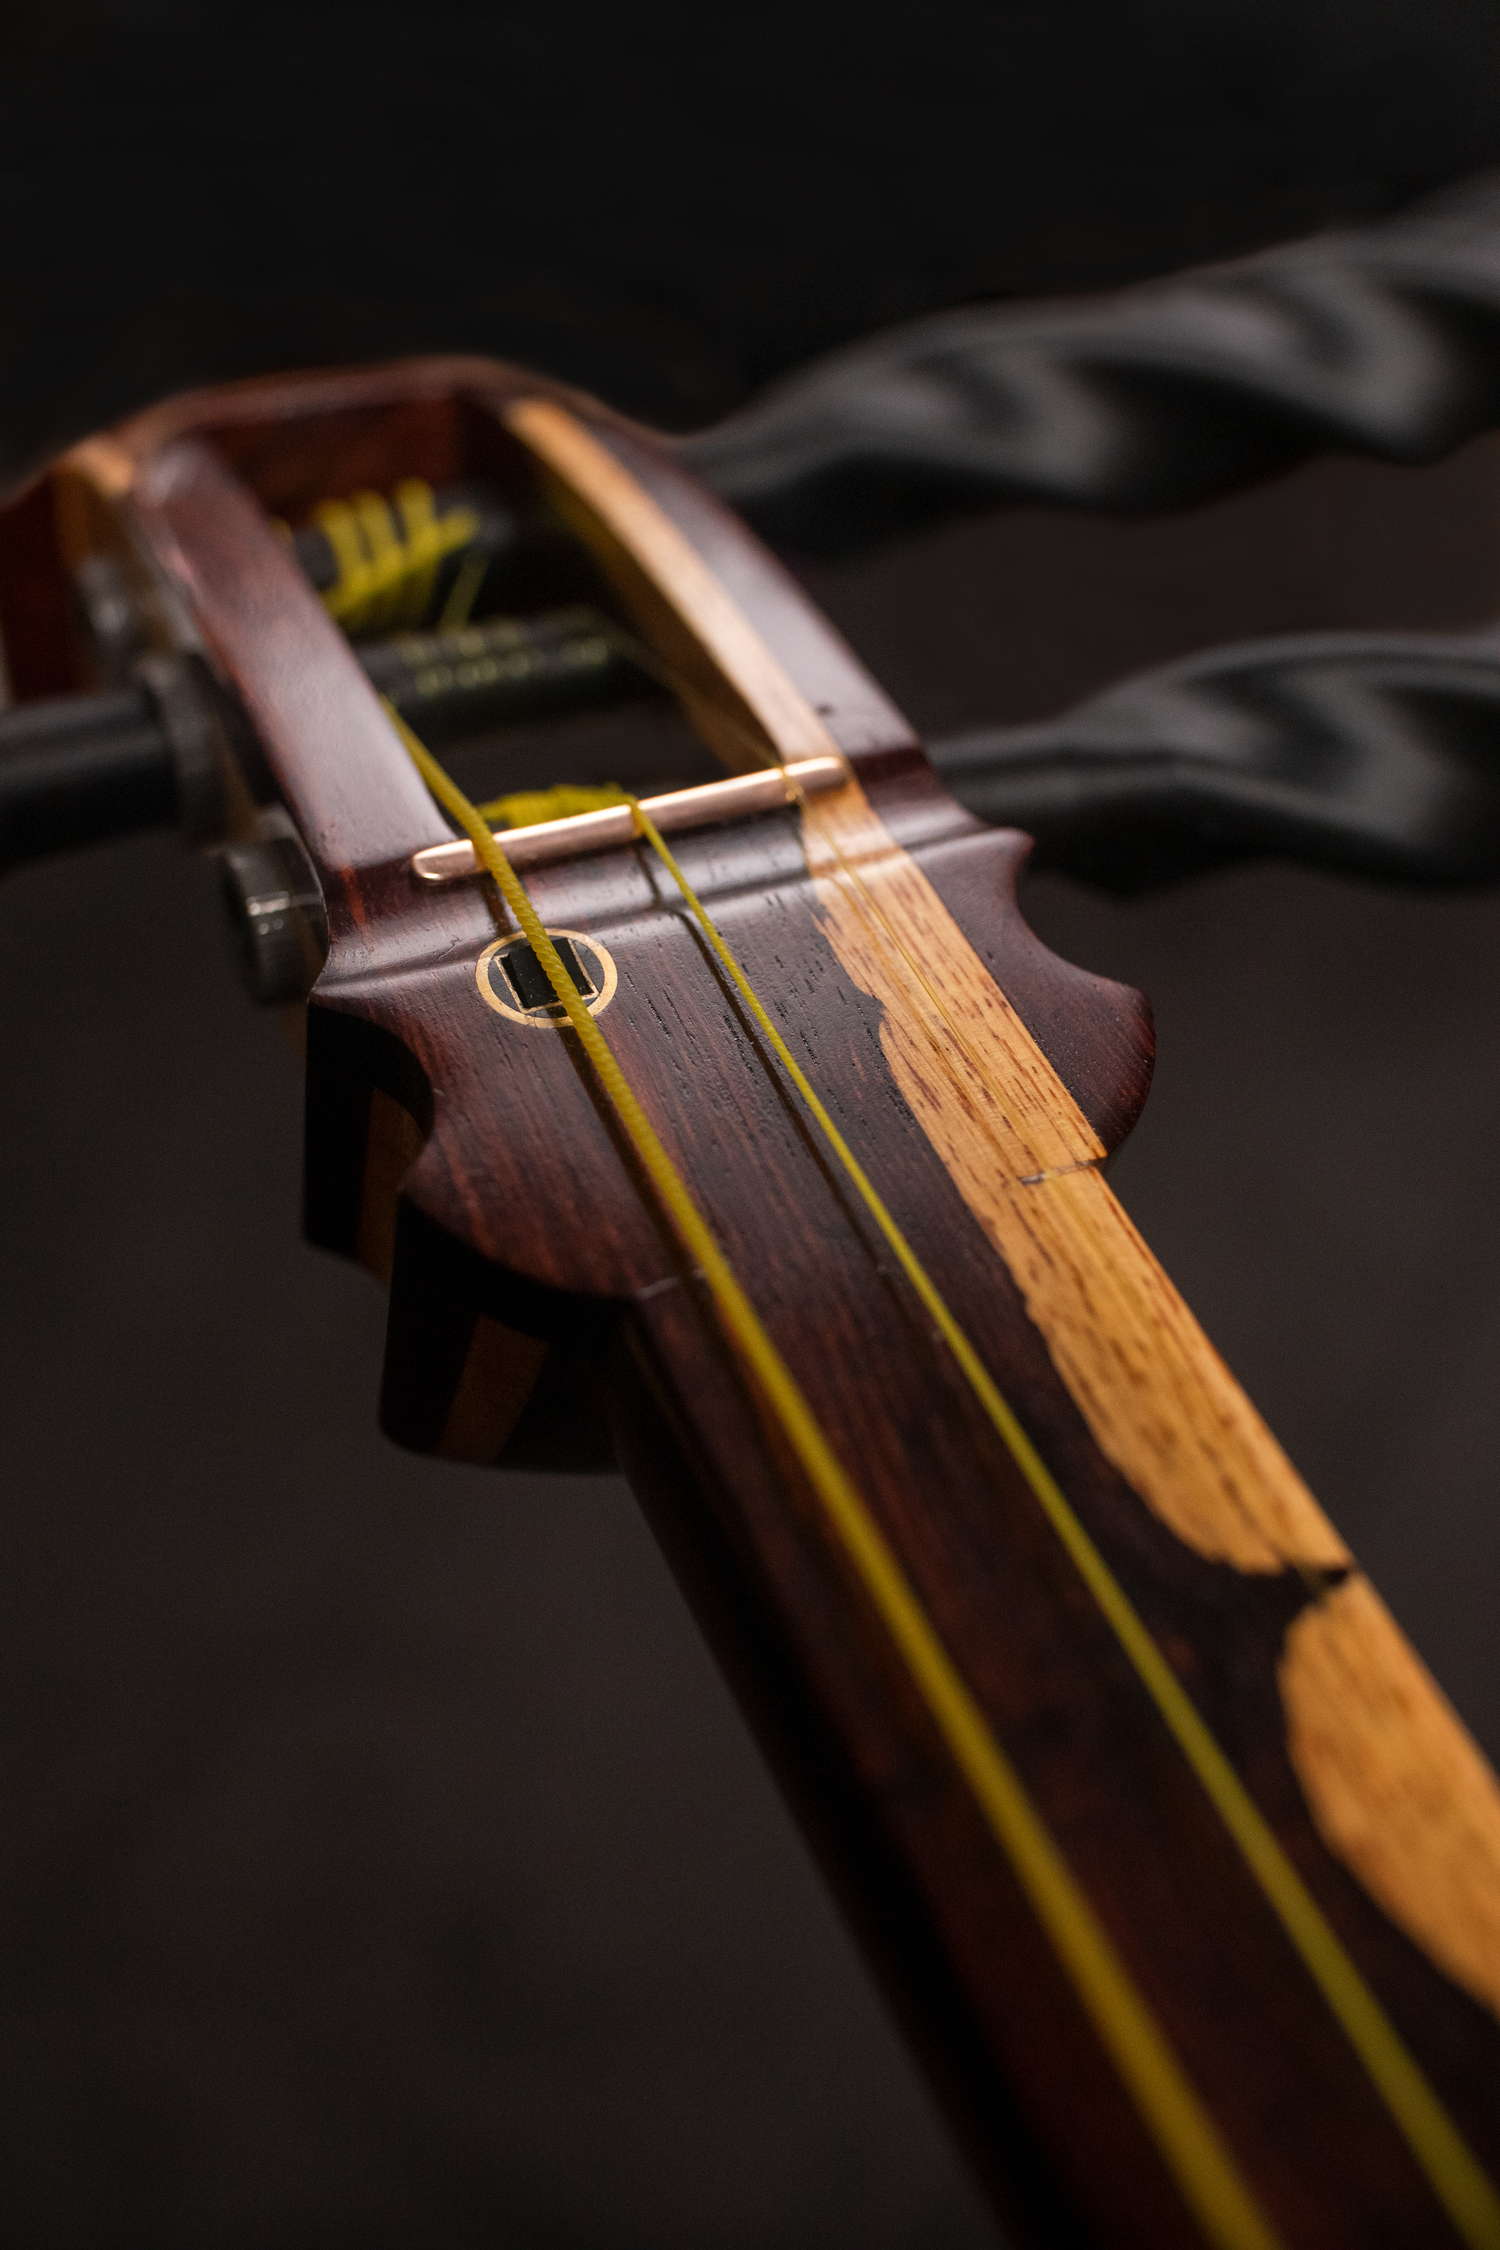
Looking at features like the saruo, you can see it was a simple beginner build, with a block glued to the sao and shaped to a very simple squarish taper.
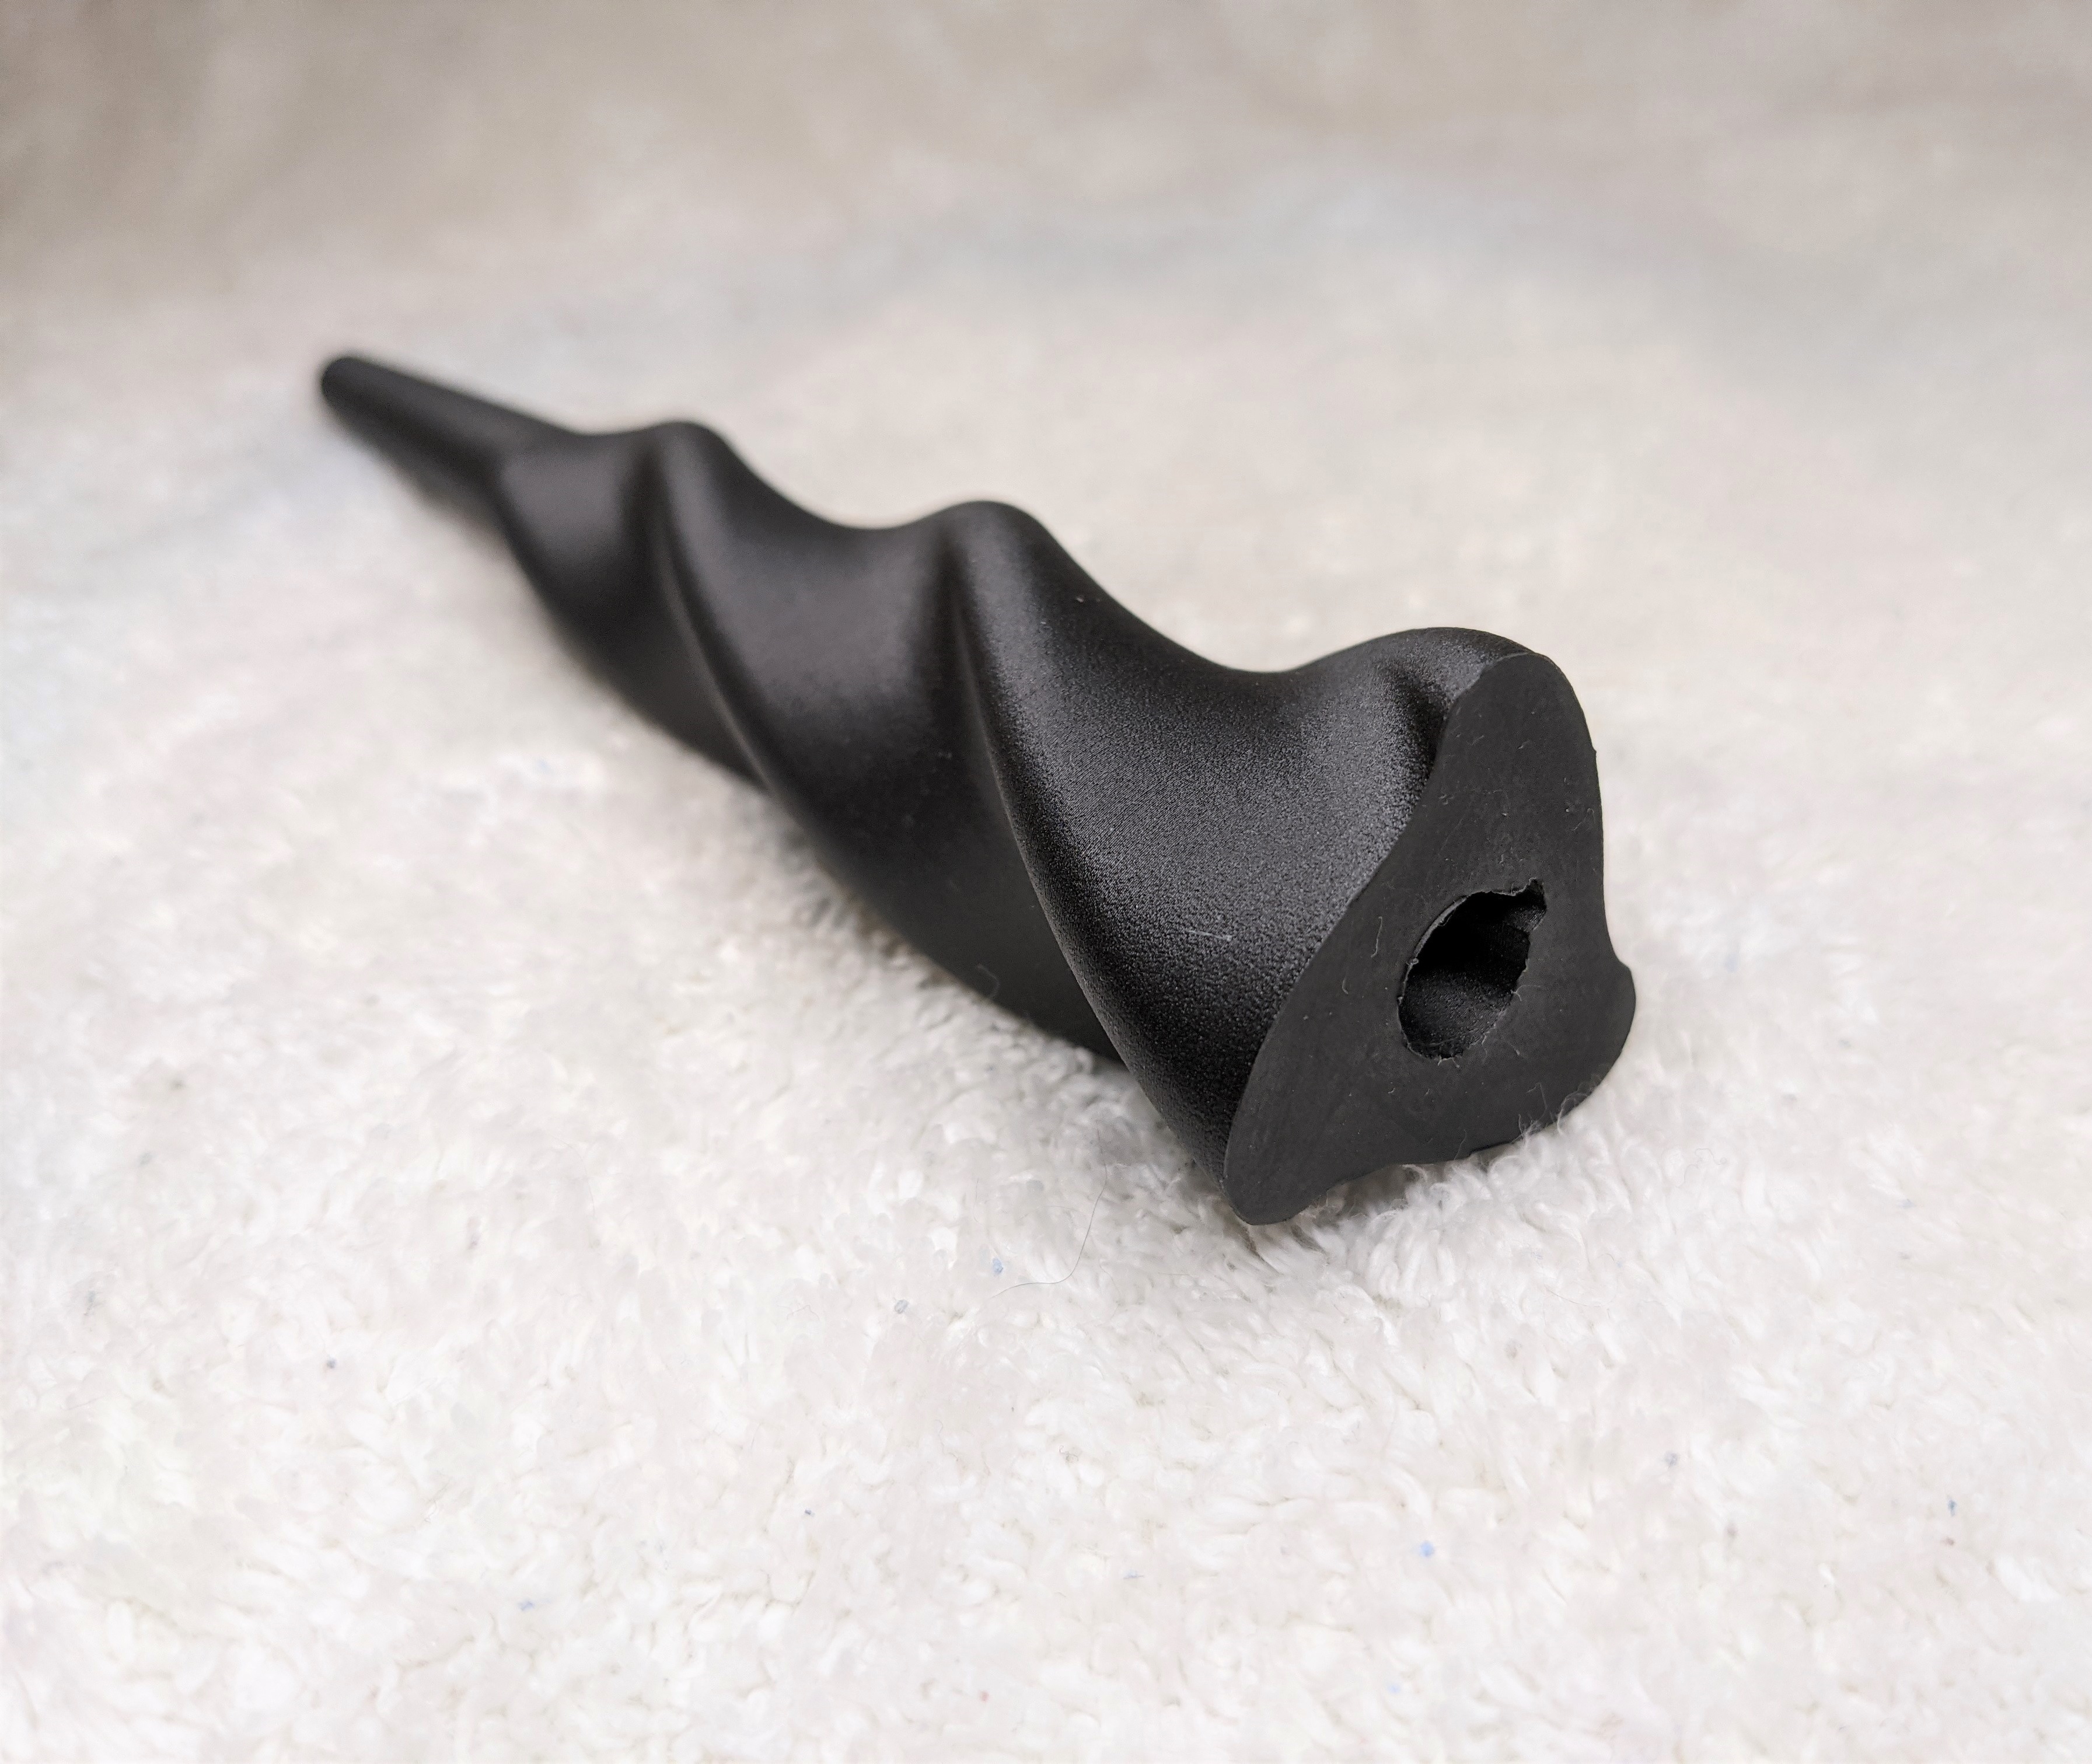
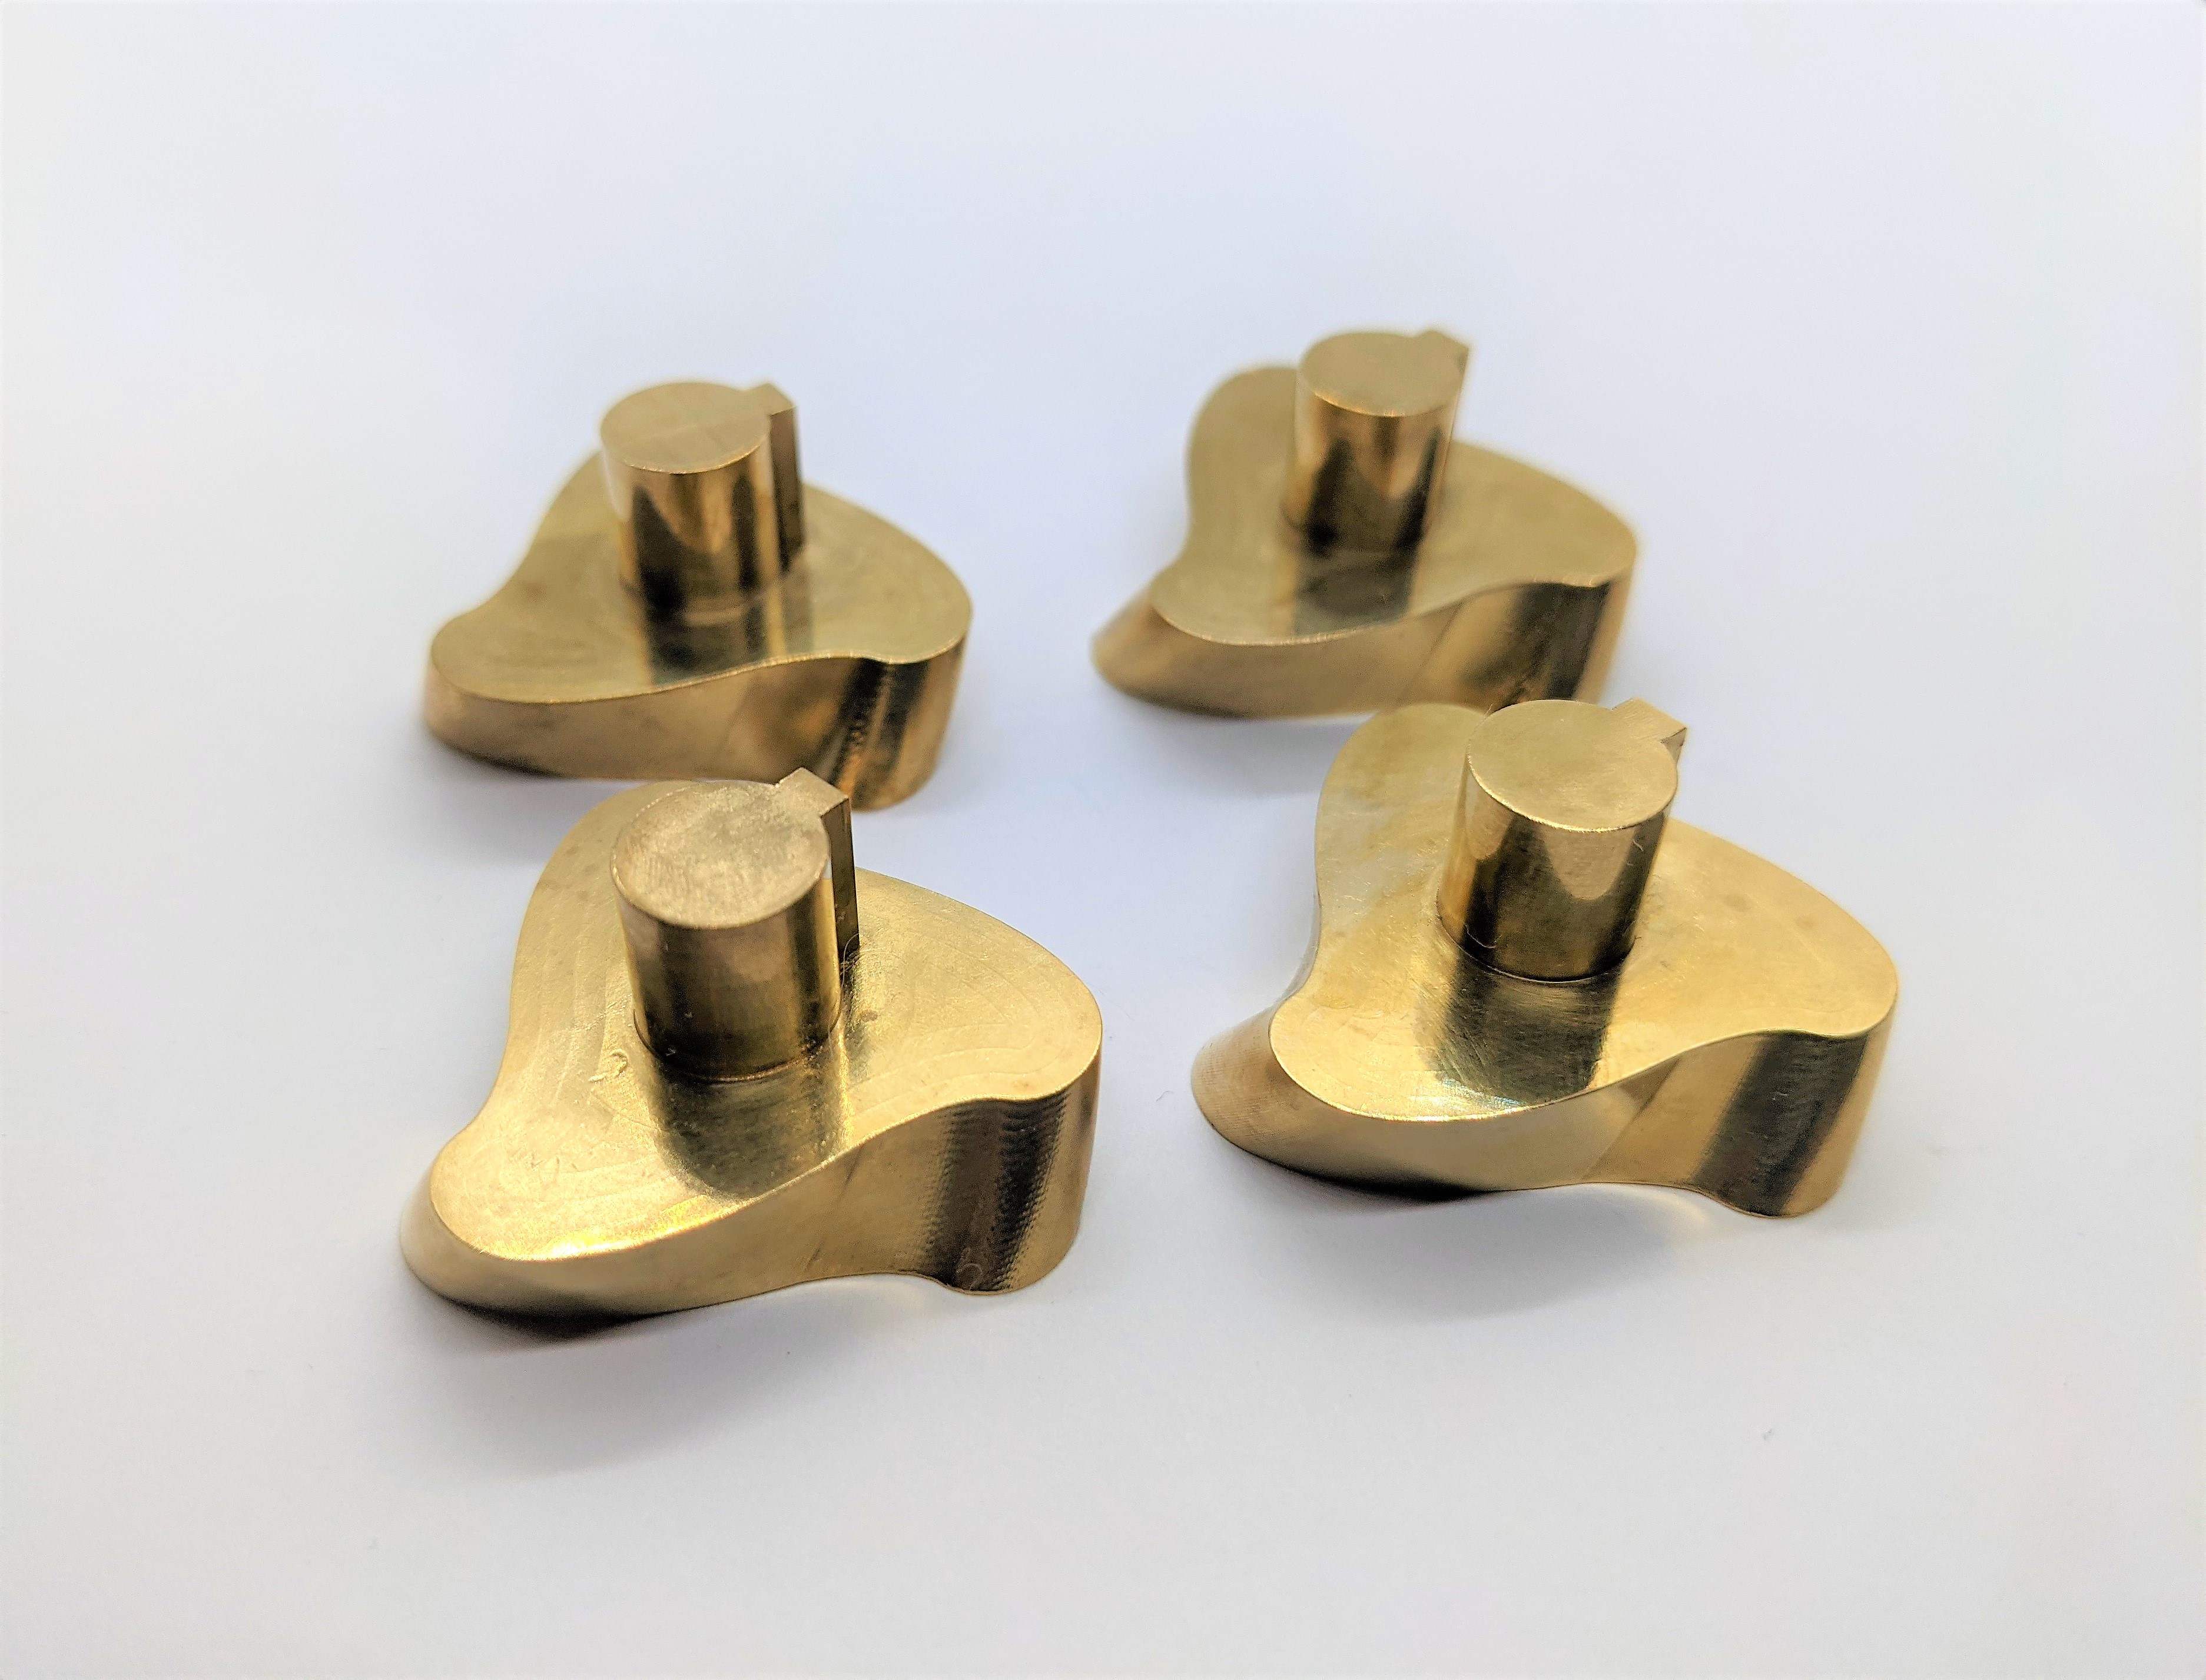
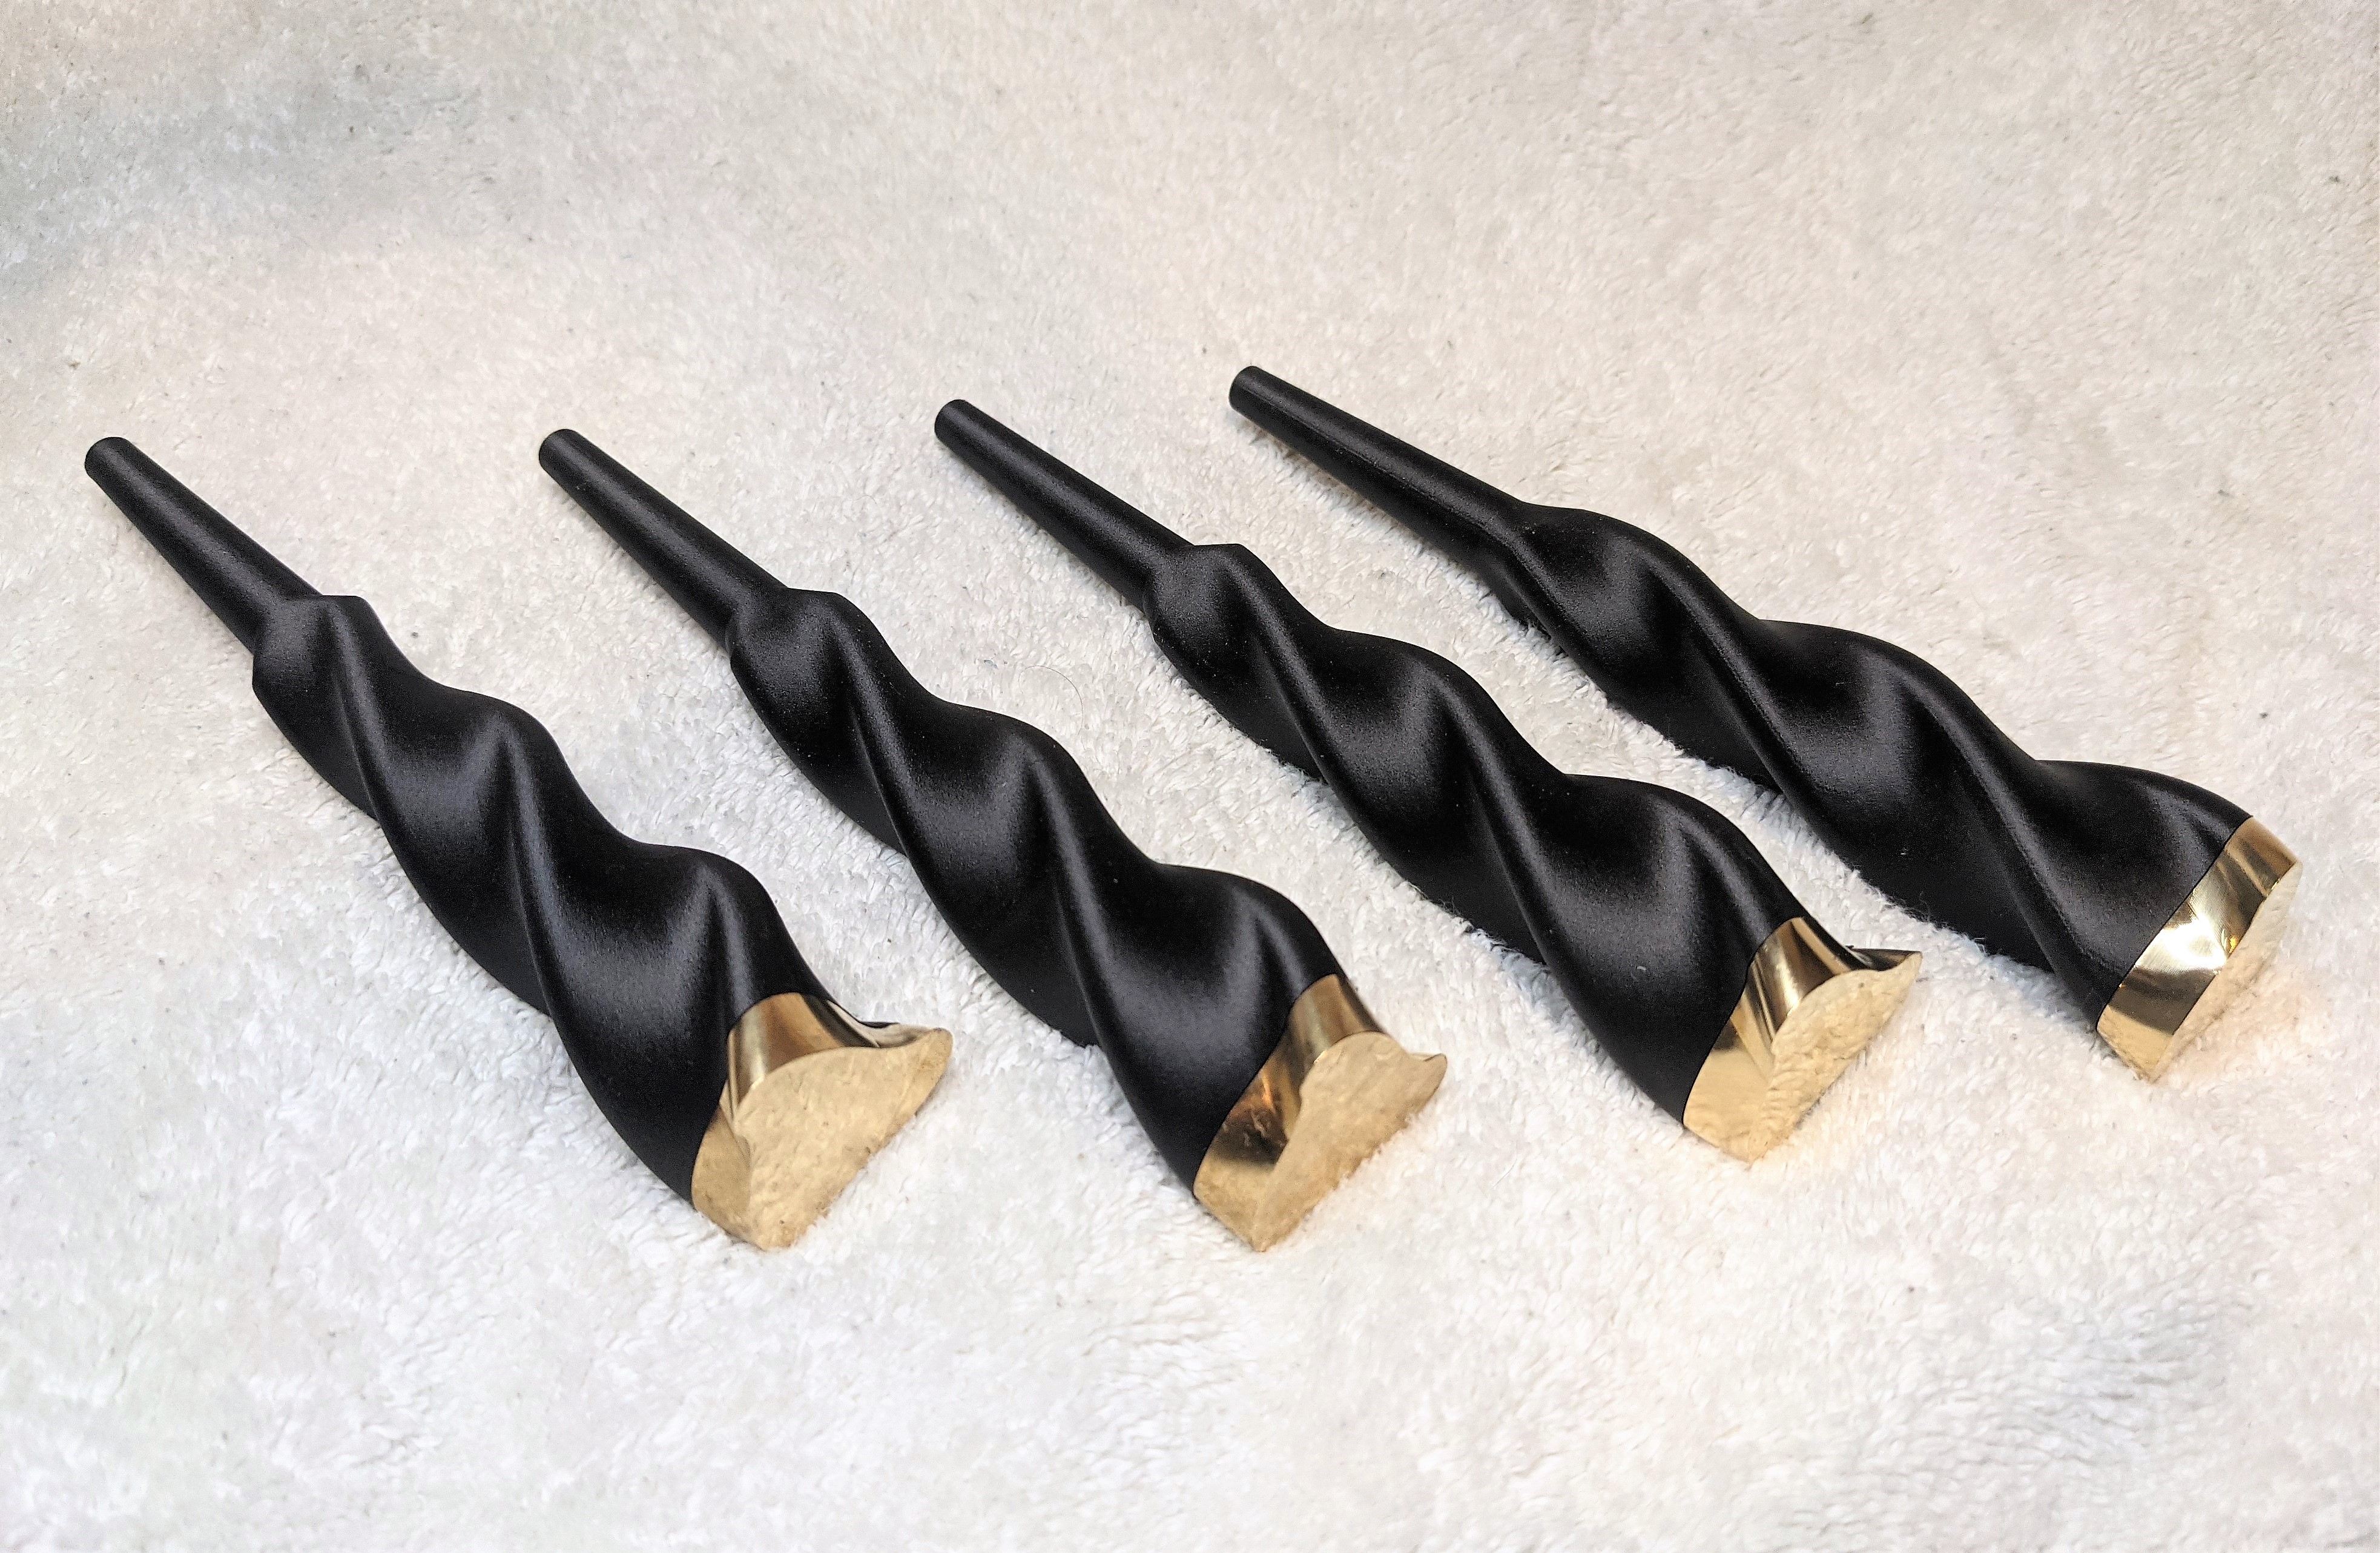
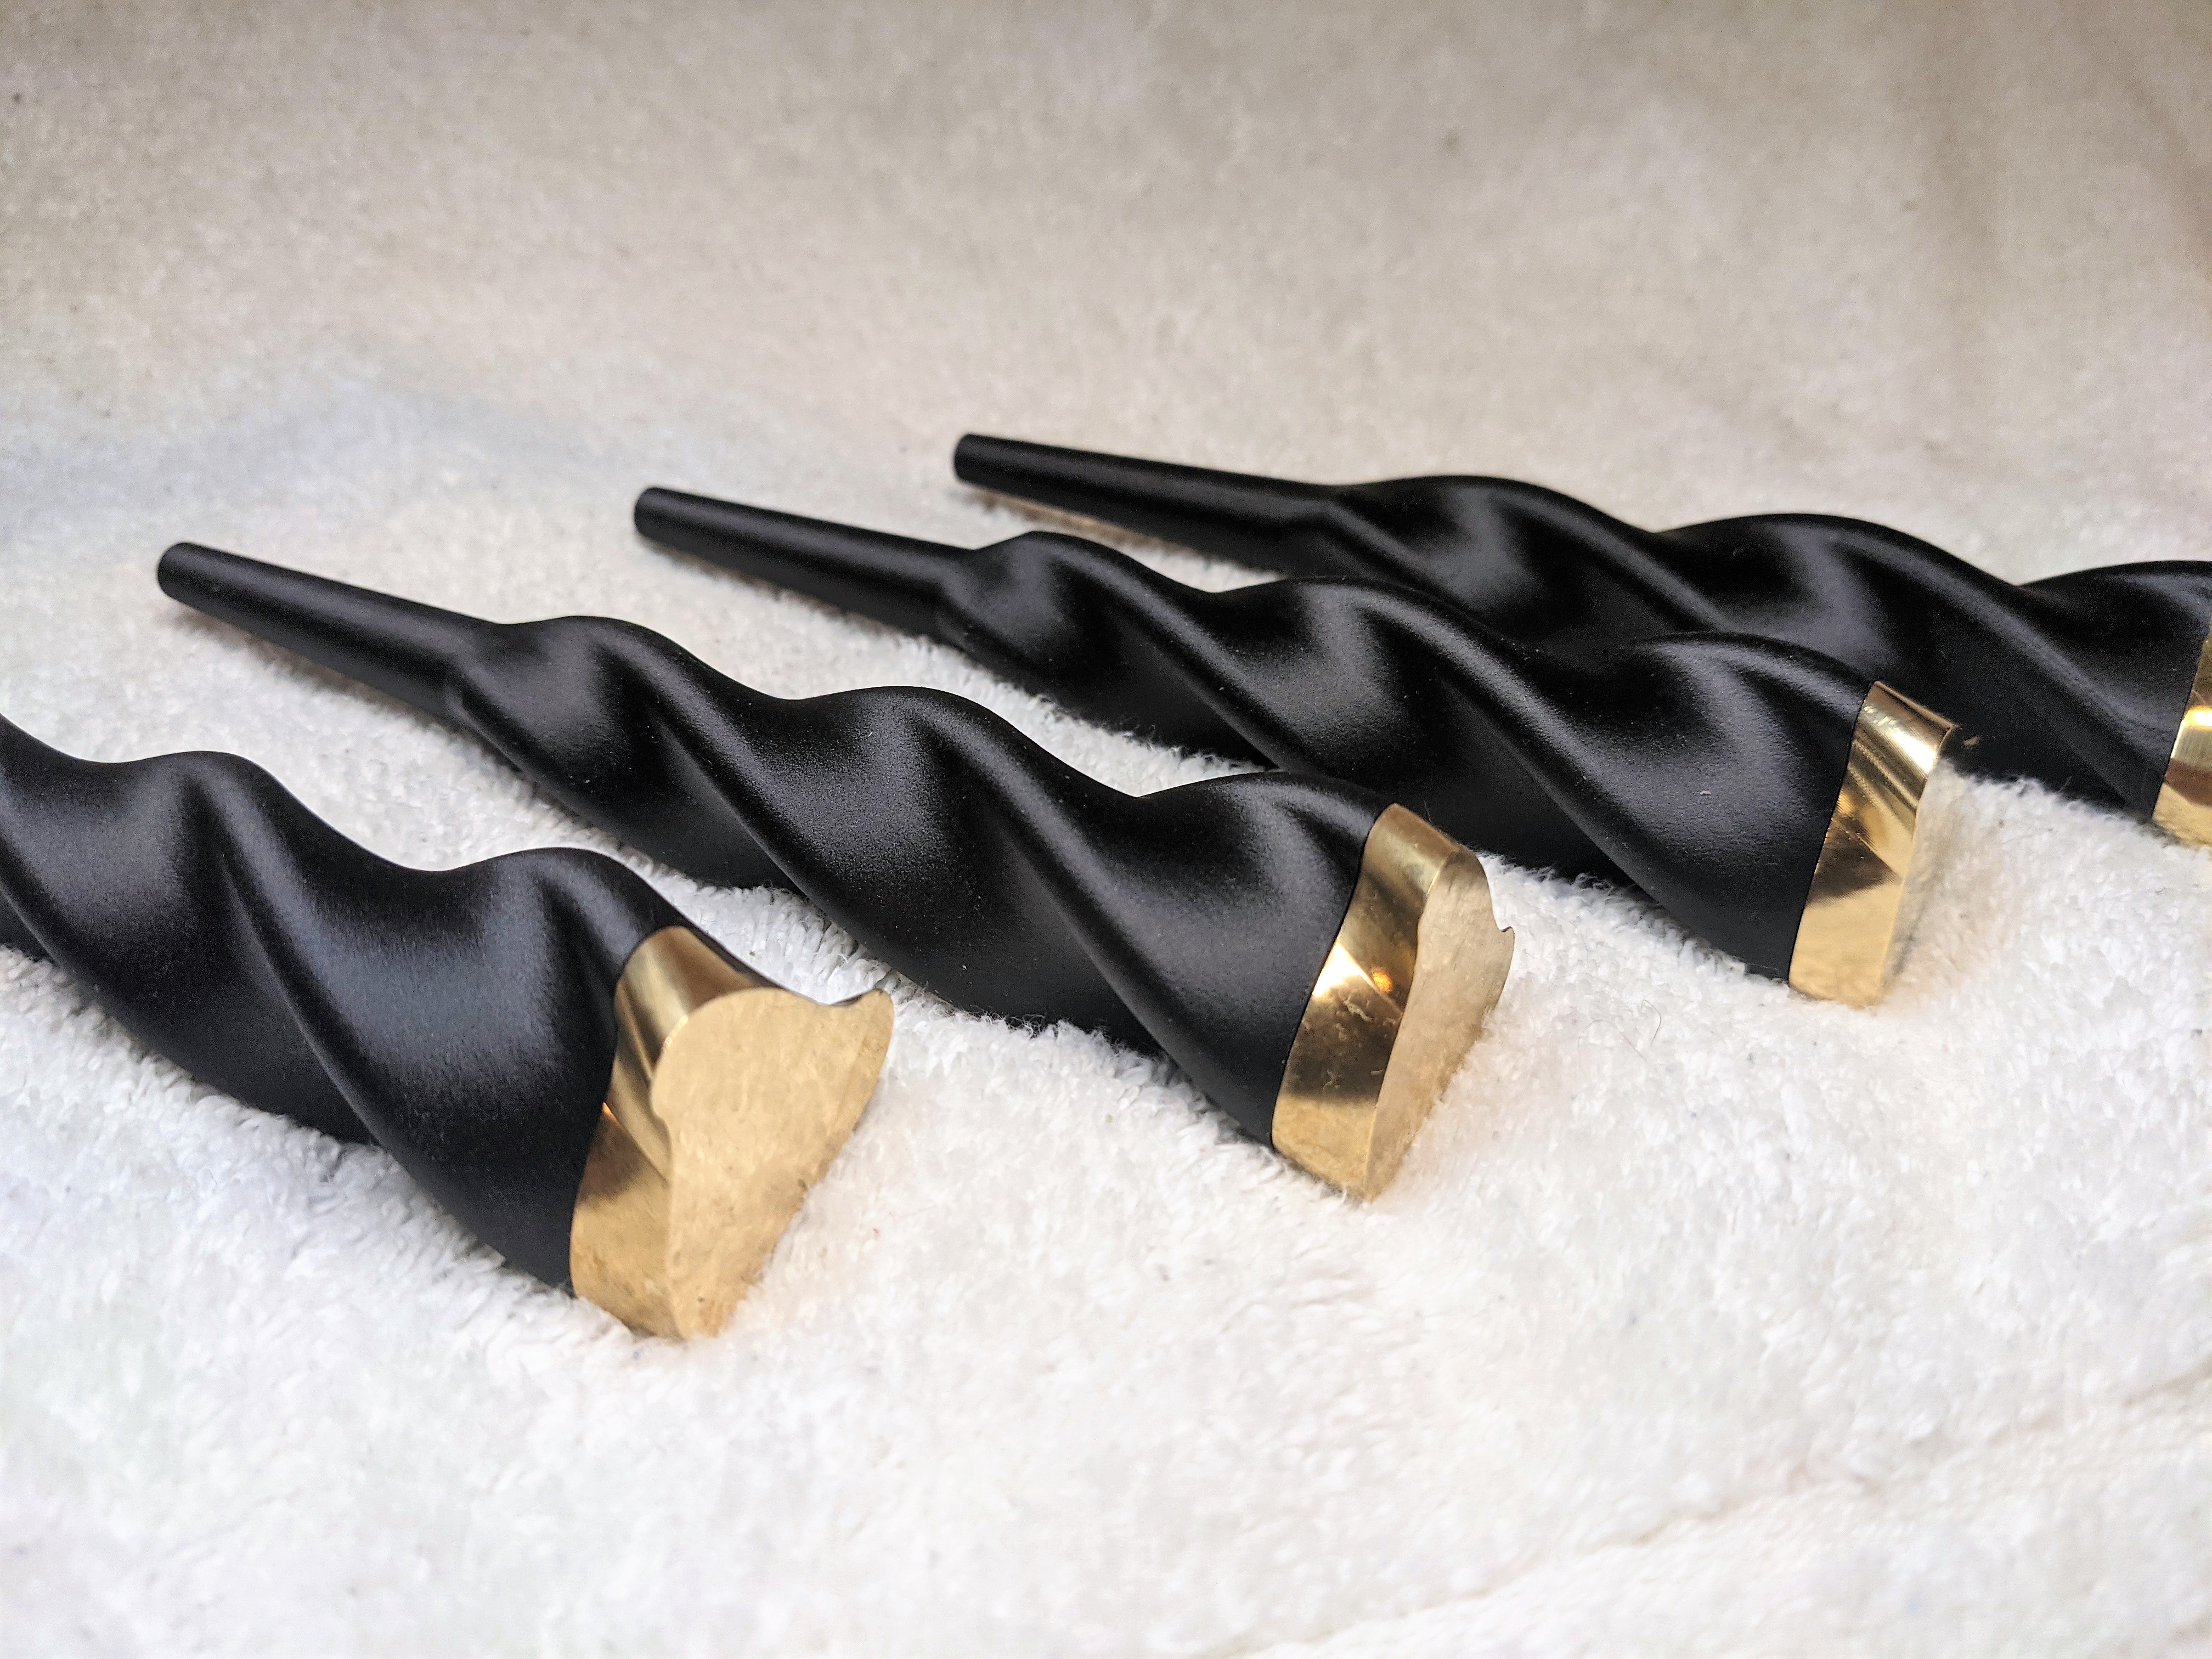
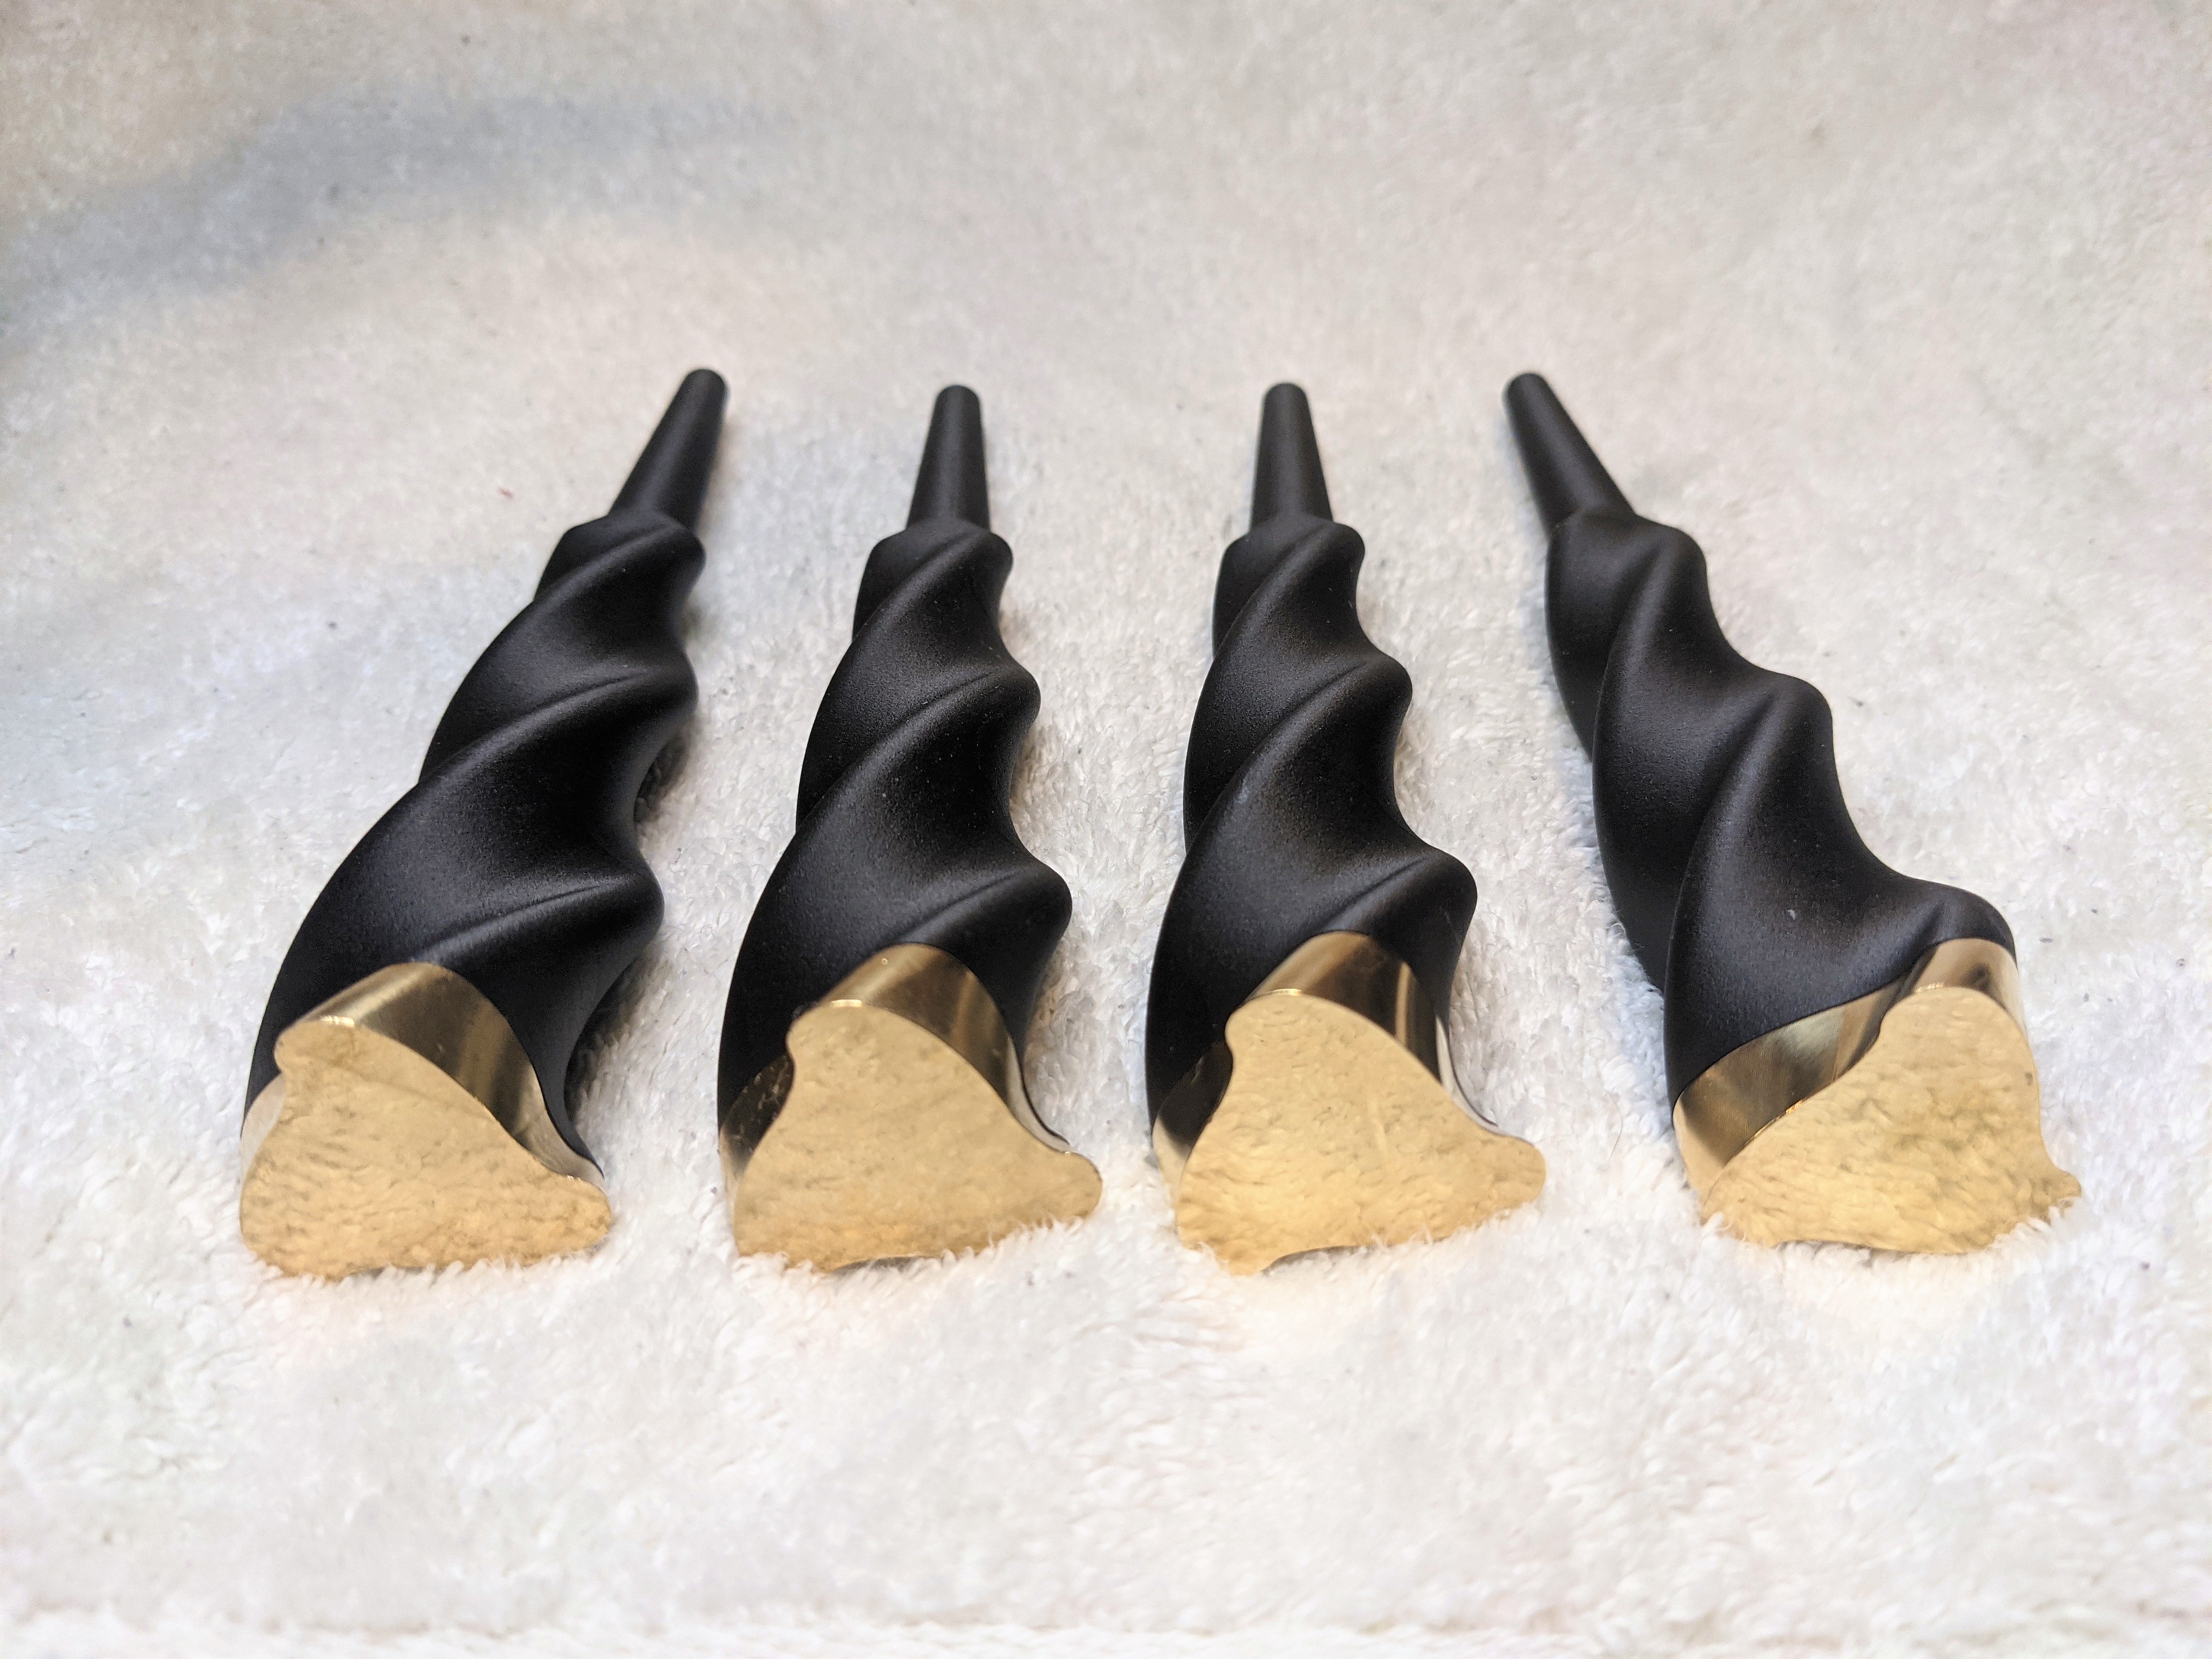
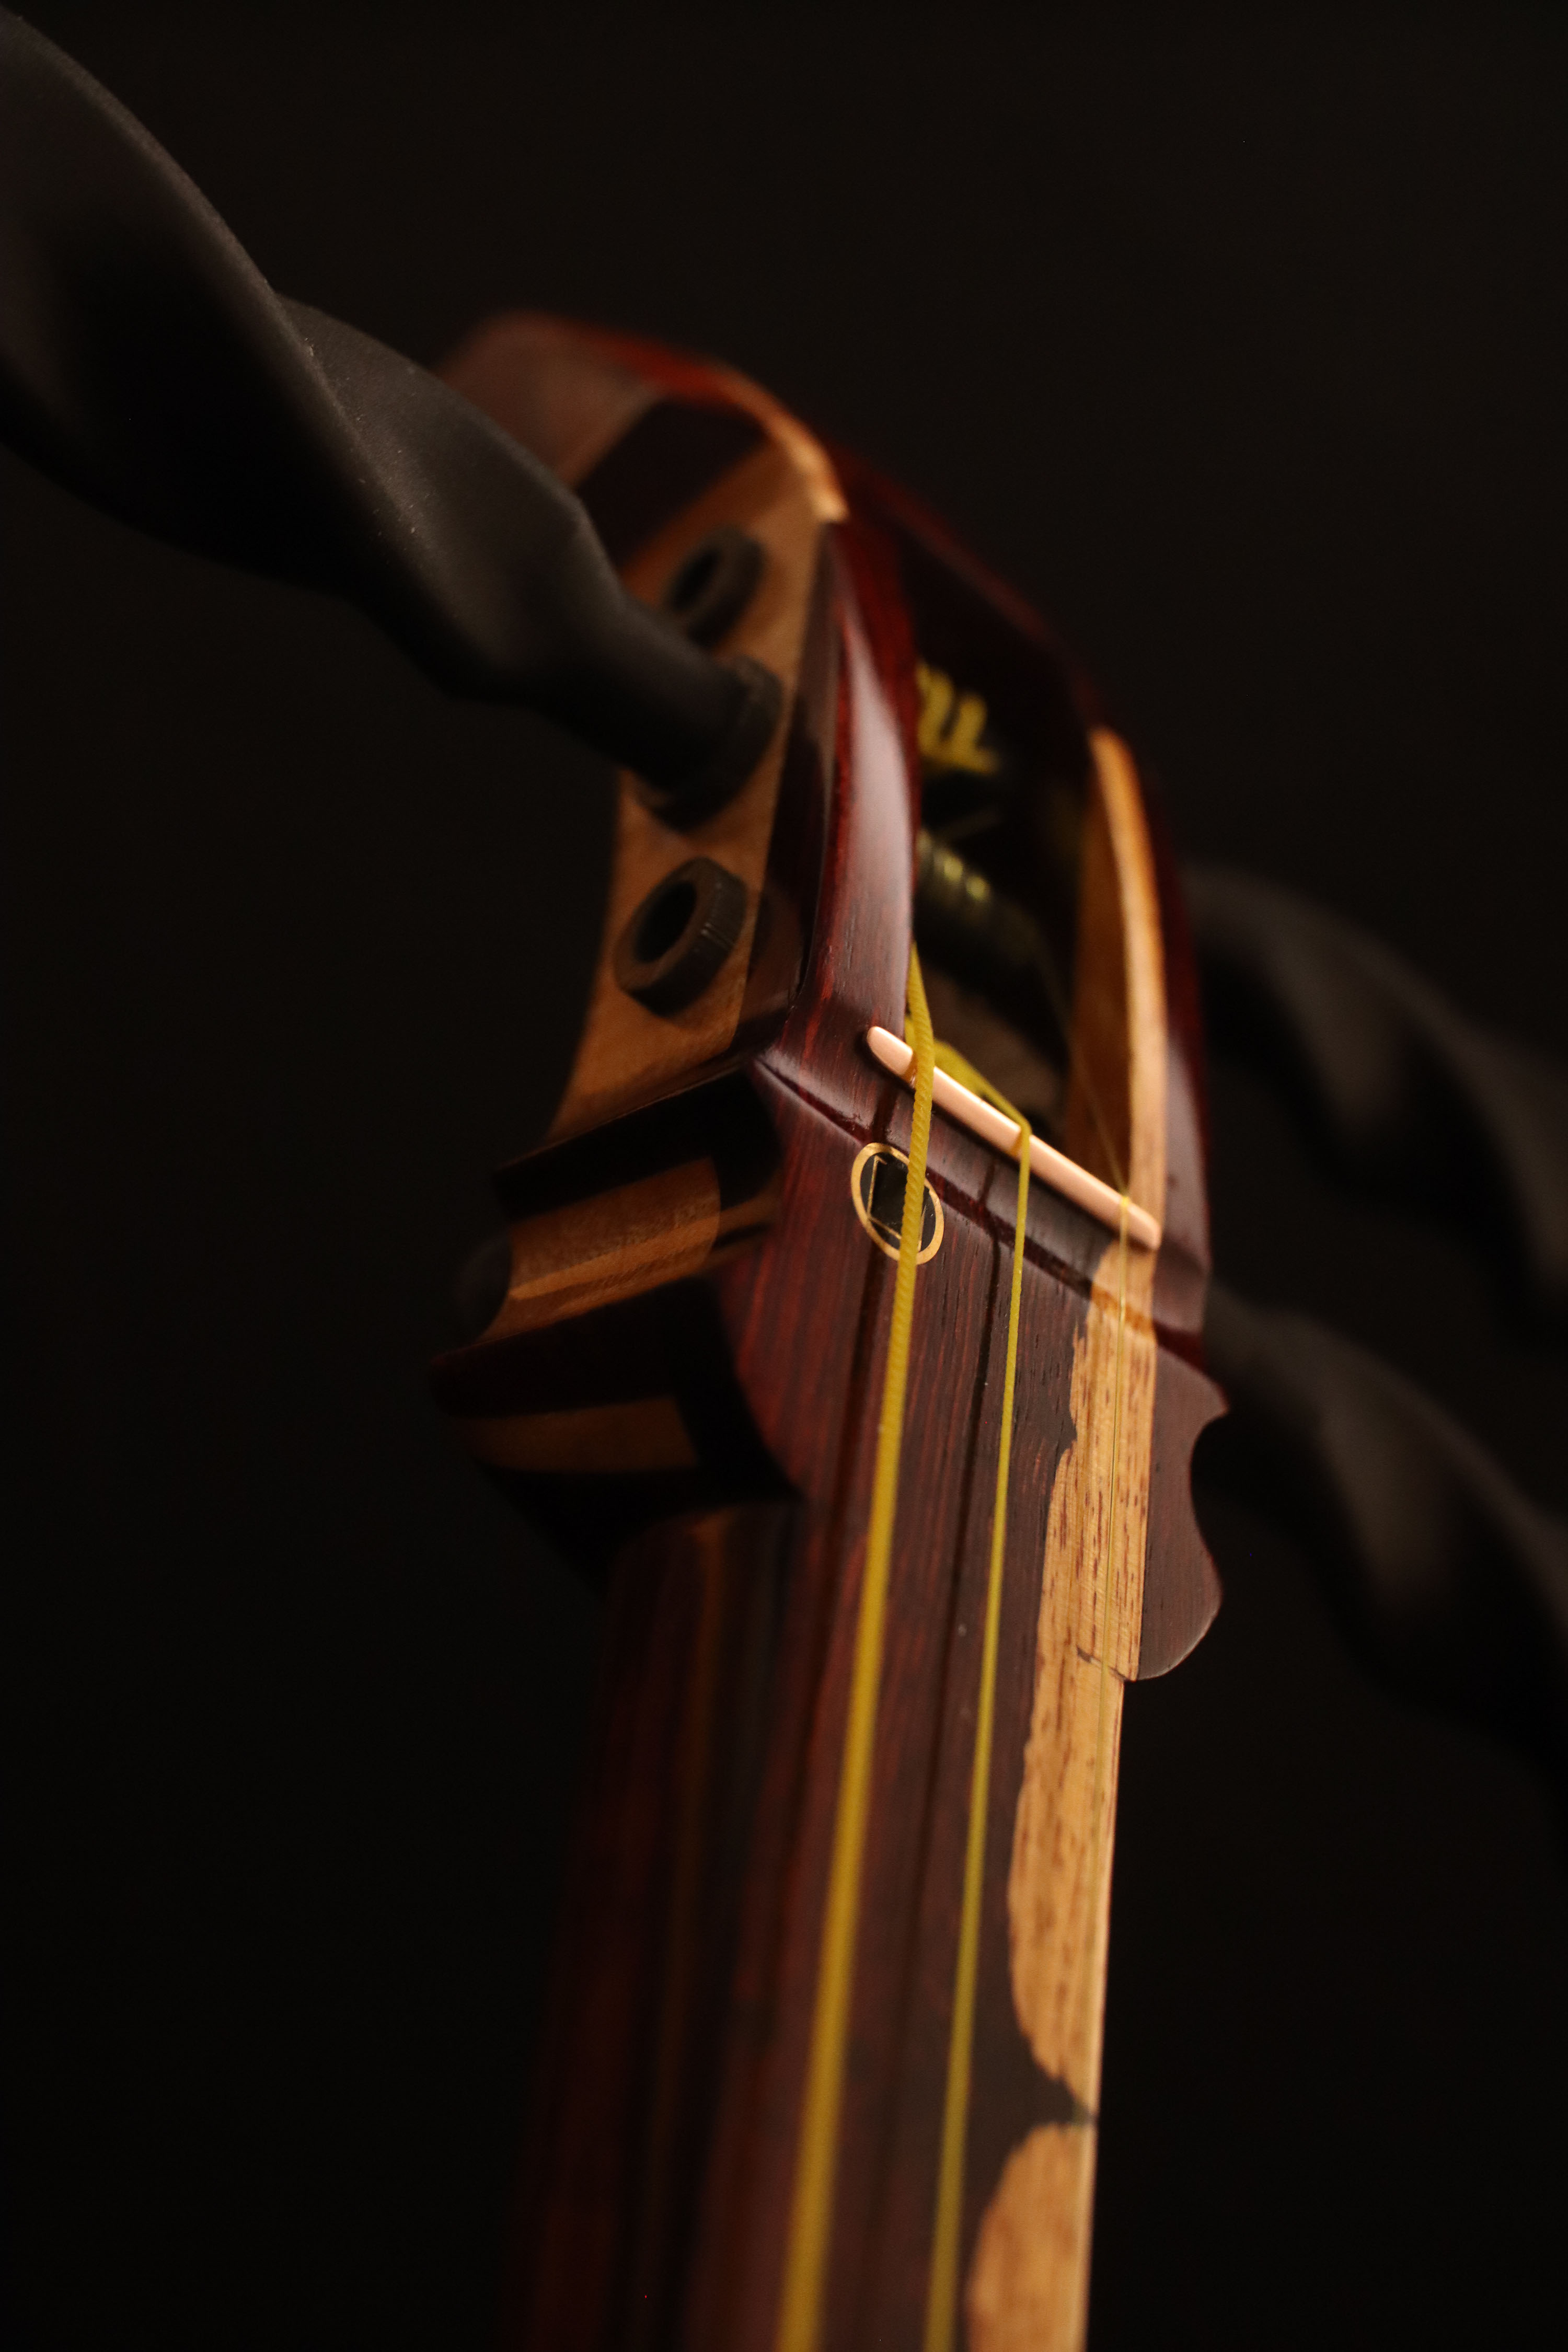
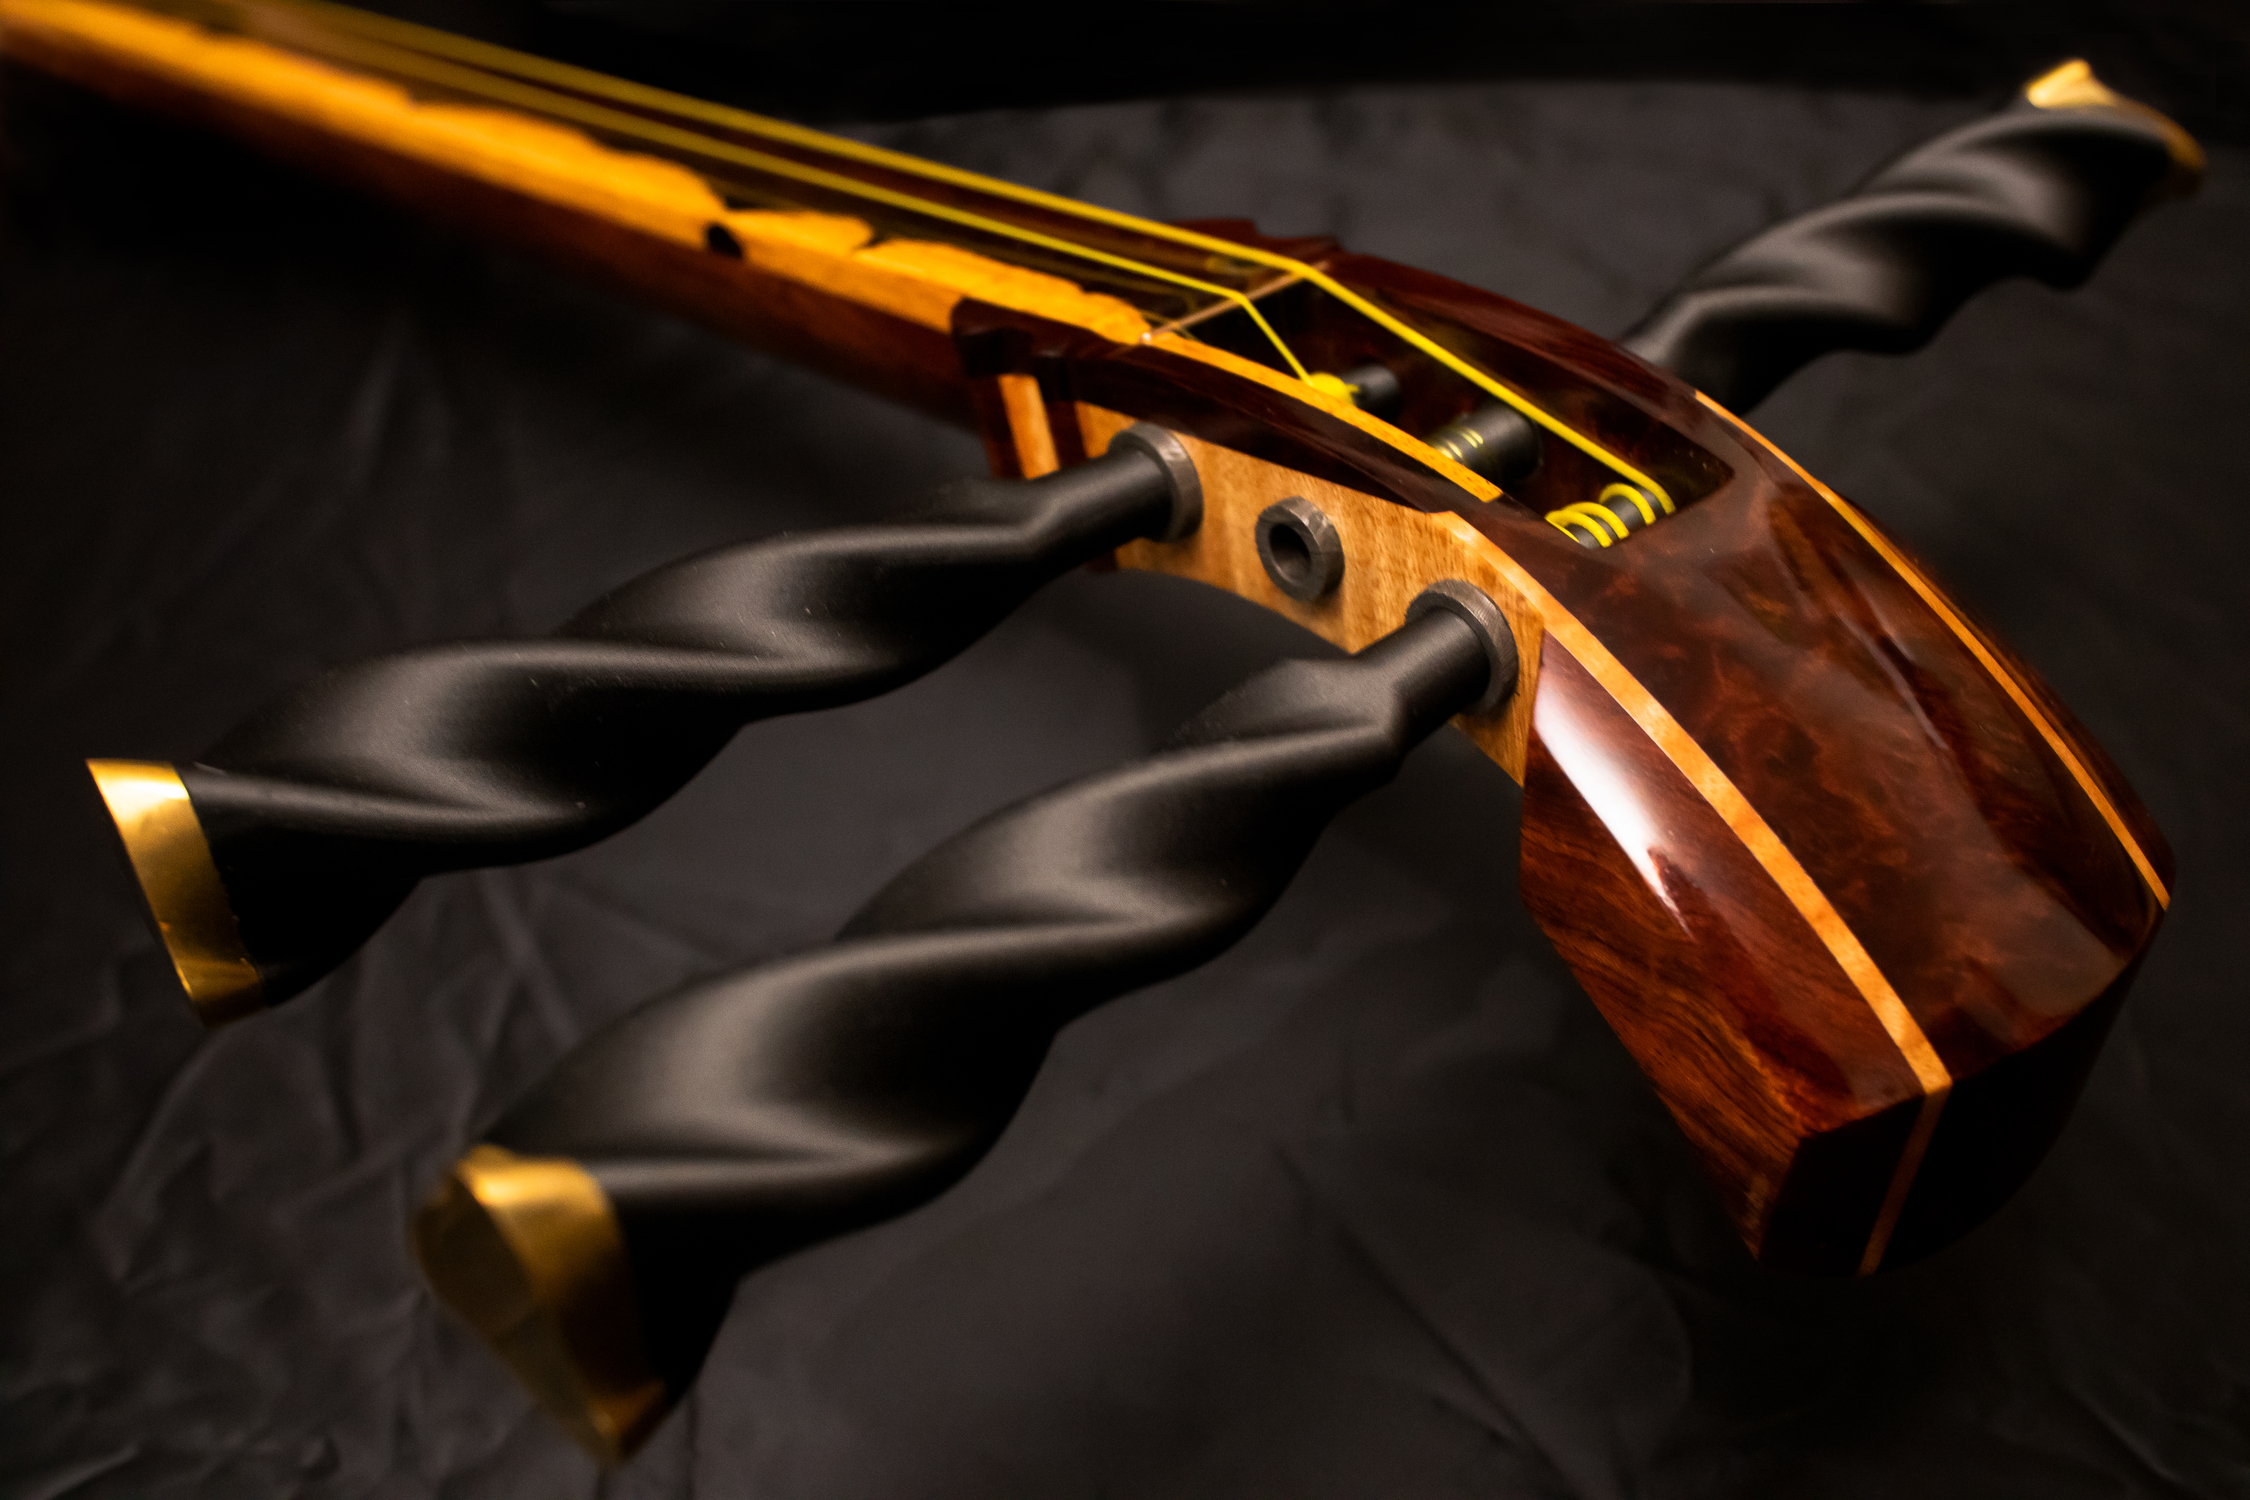
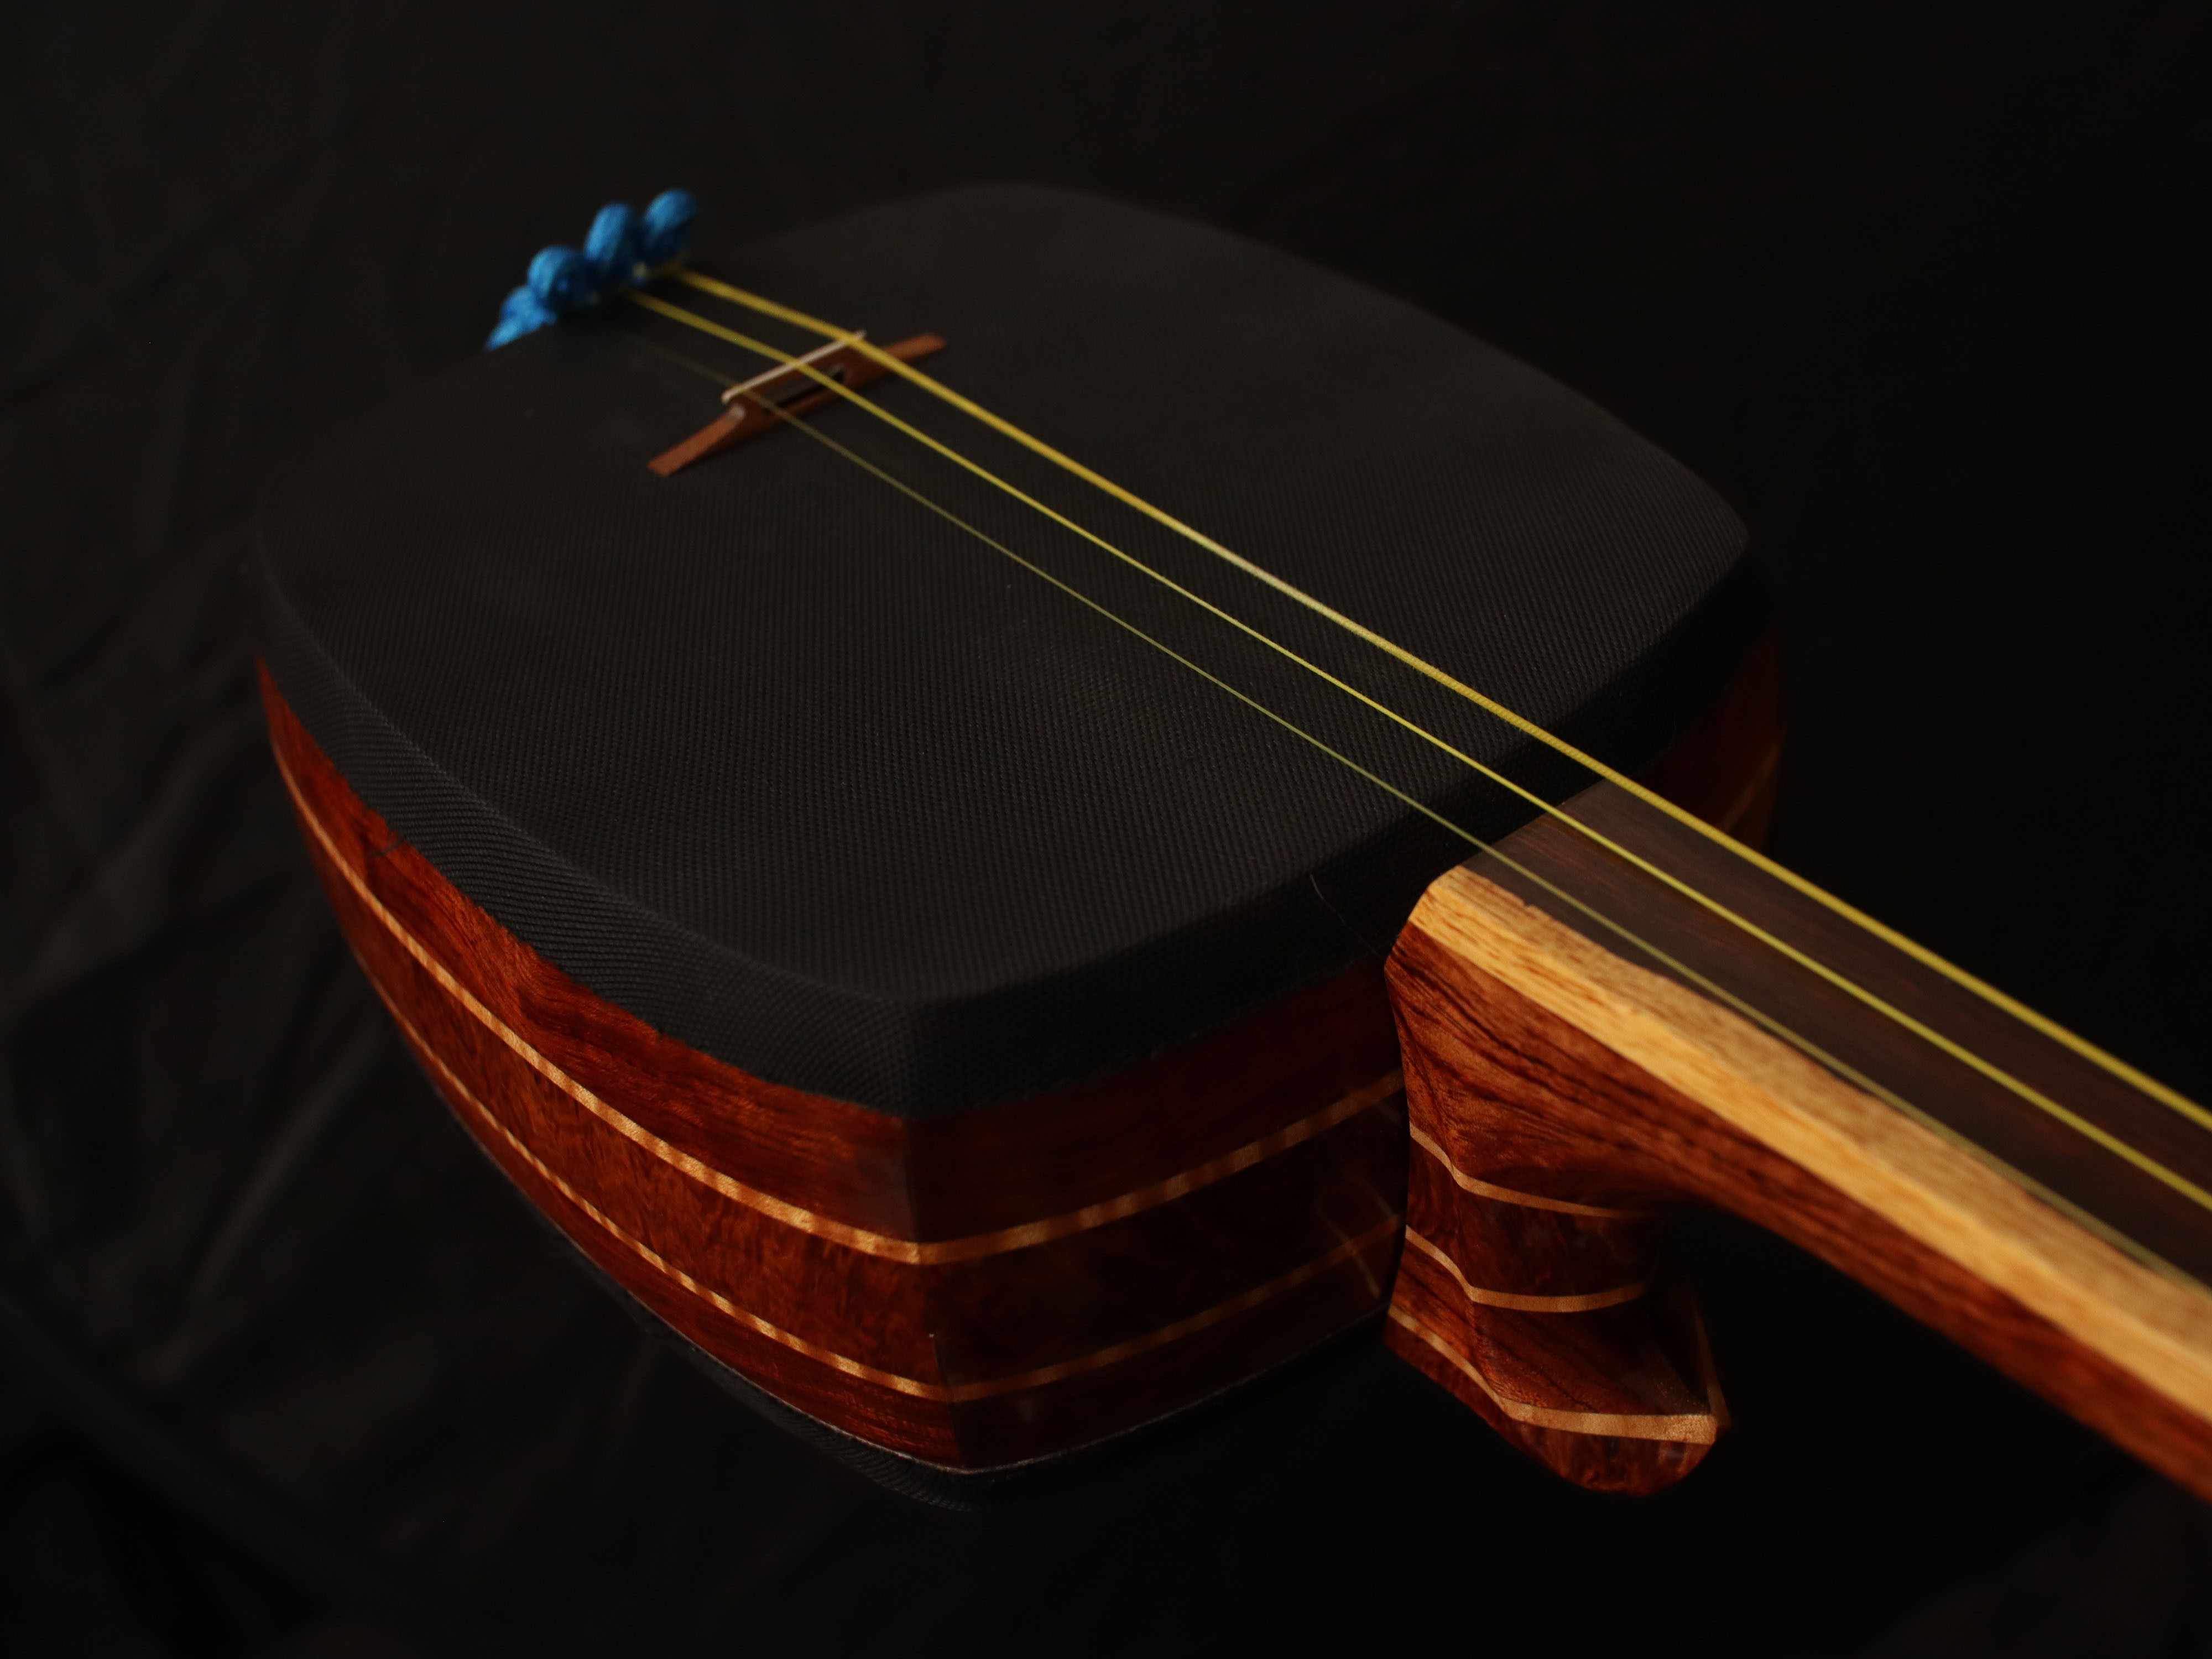
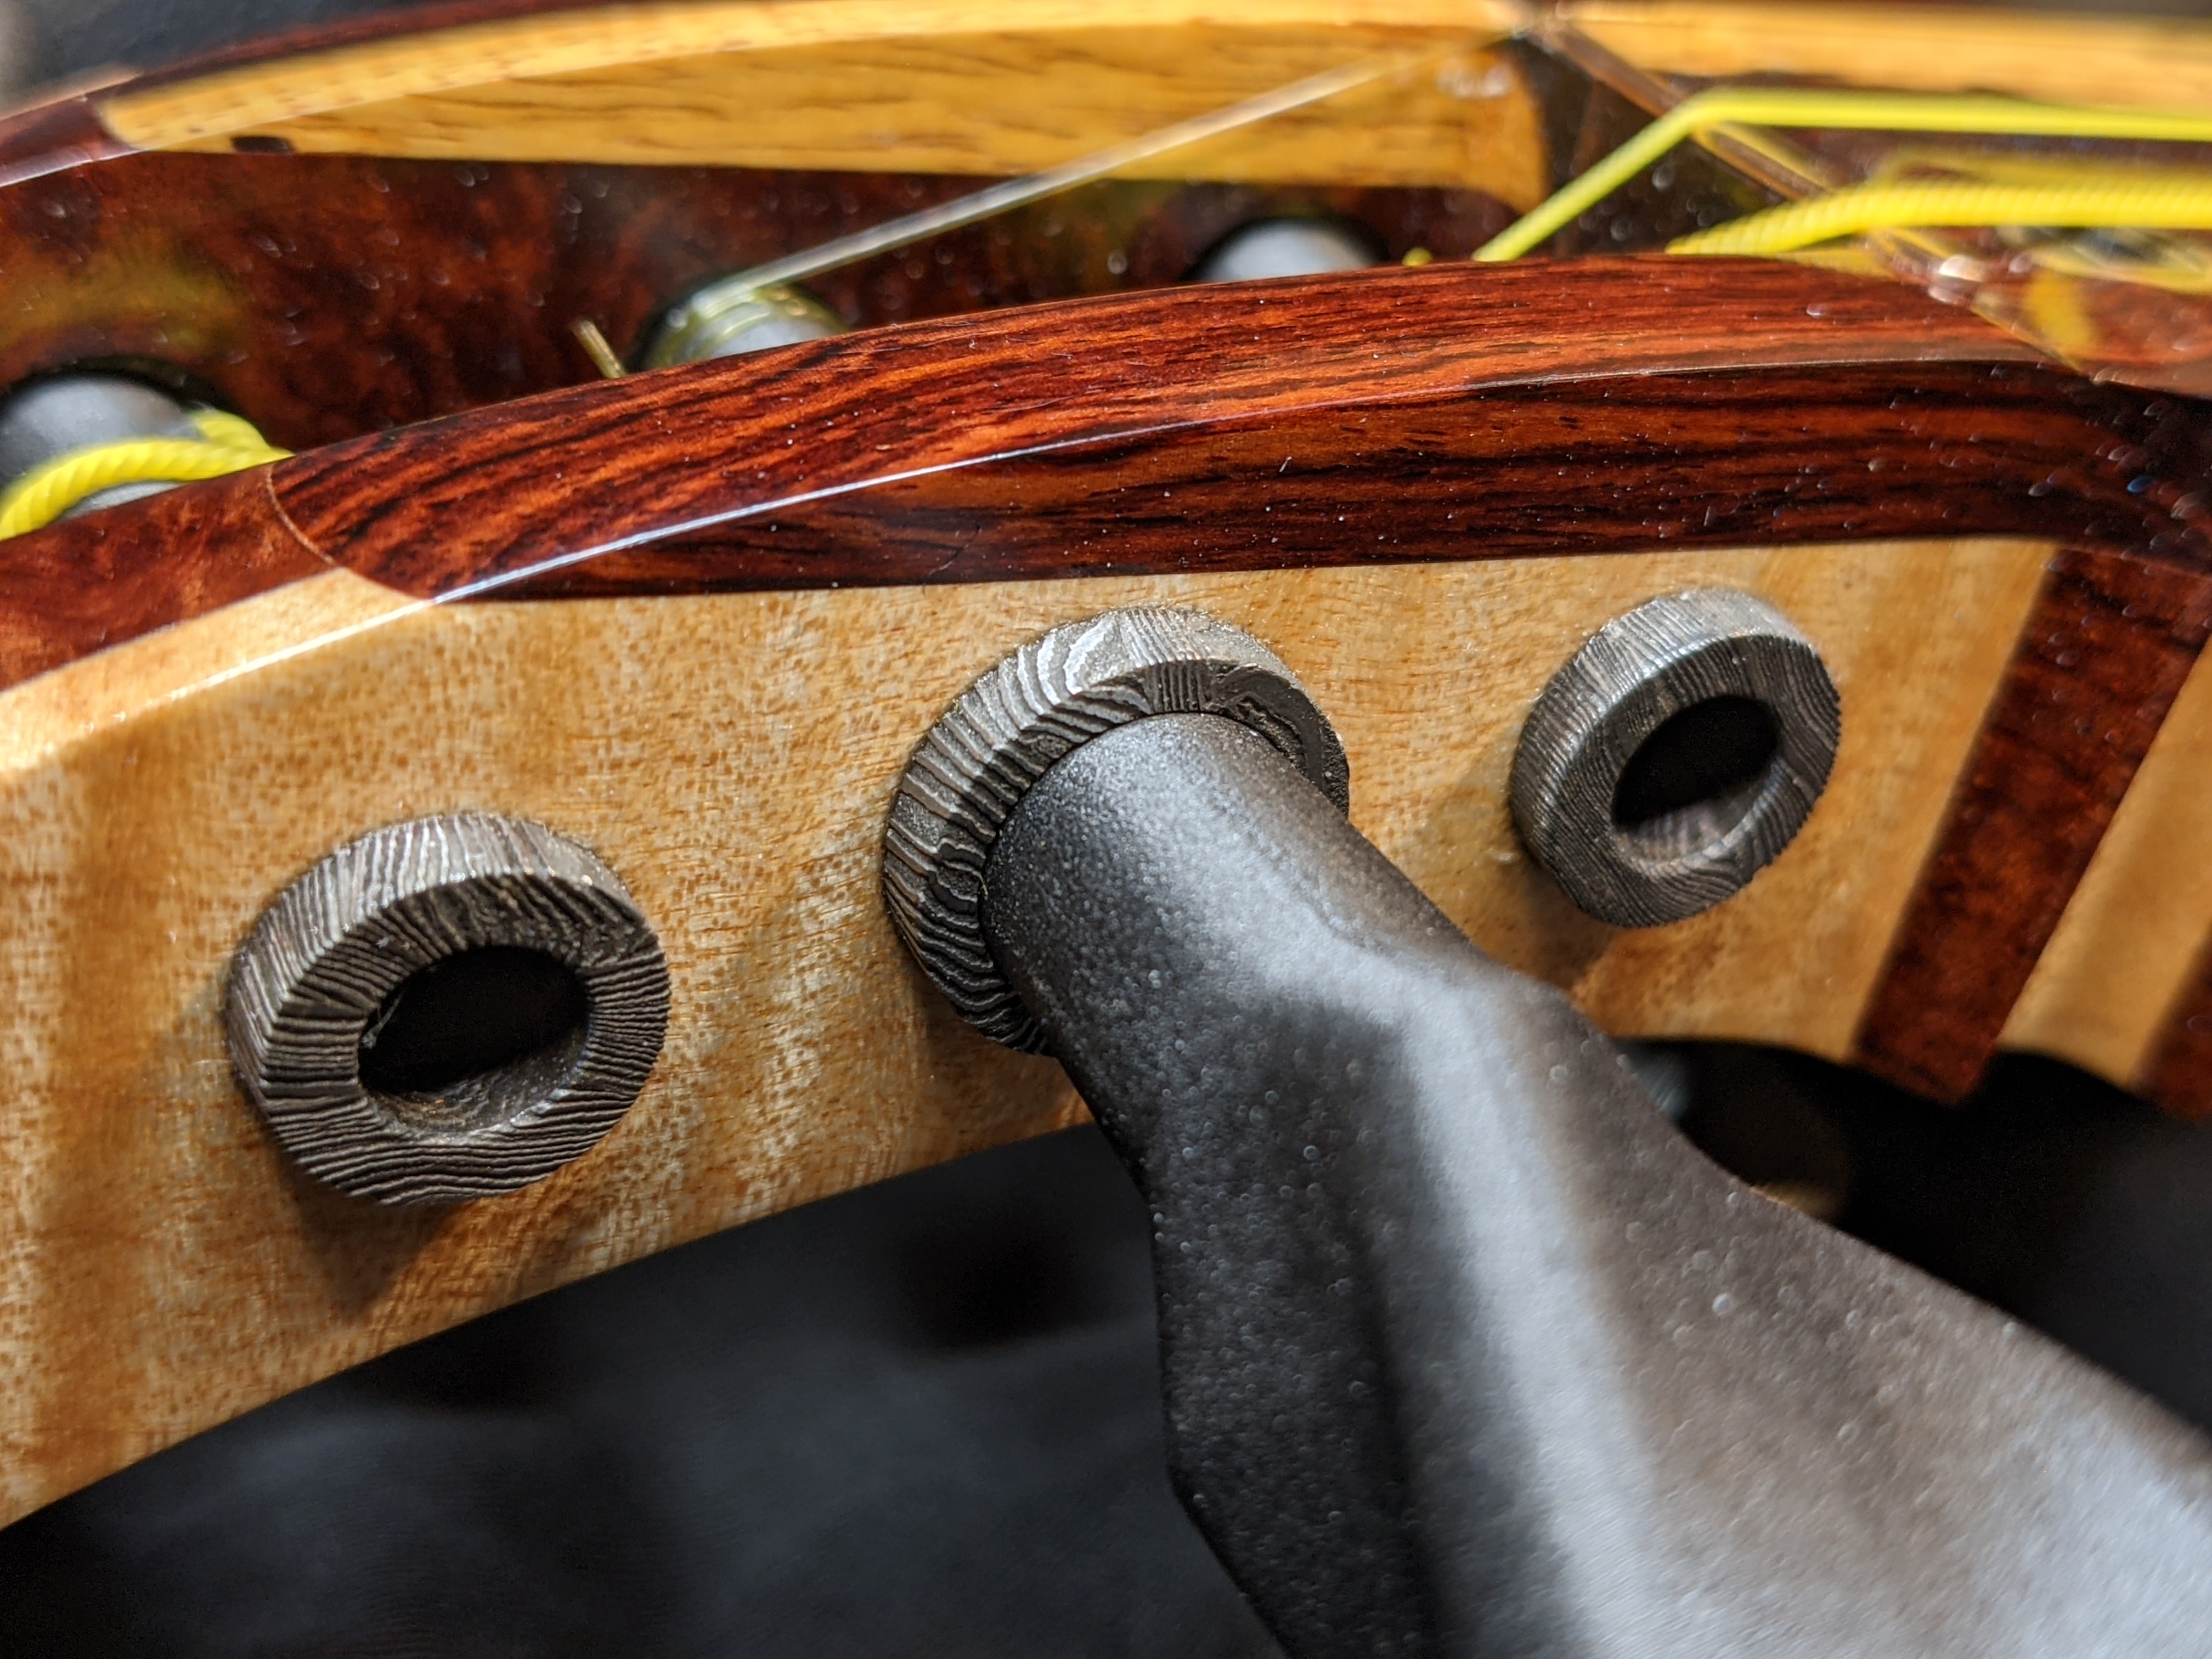
On the tenjin, I glued two blocks together for the full thickness. The joint was also a simple square joint, and the tenjin followed a very basic curve. The itomaki pegs were massive on the handle, and way too small on the taper for the holes in the tenjin, and as a result I had to resort to heat shrink tubing to get the itomaki to stay in tune. Even with this, it slipped often, and was kind of a pain to tune.
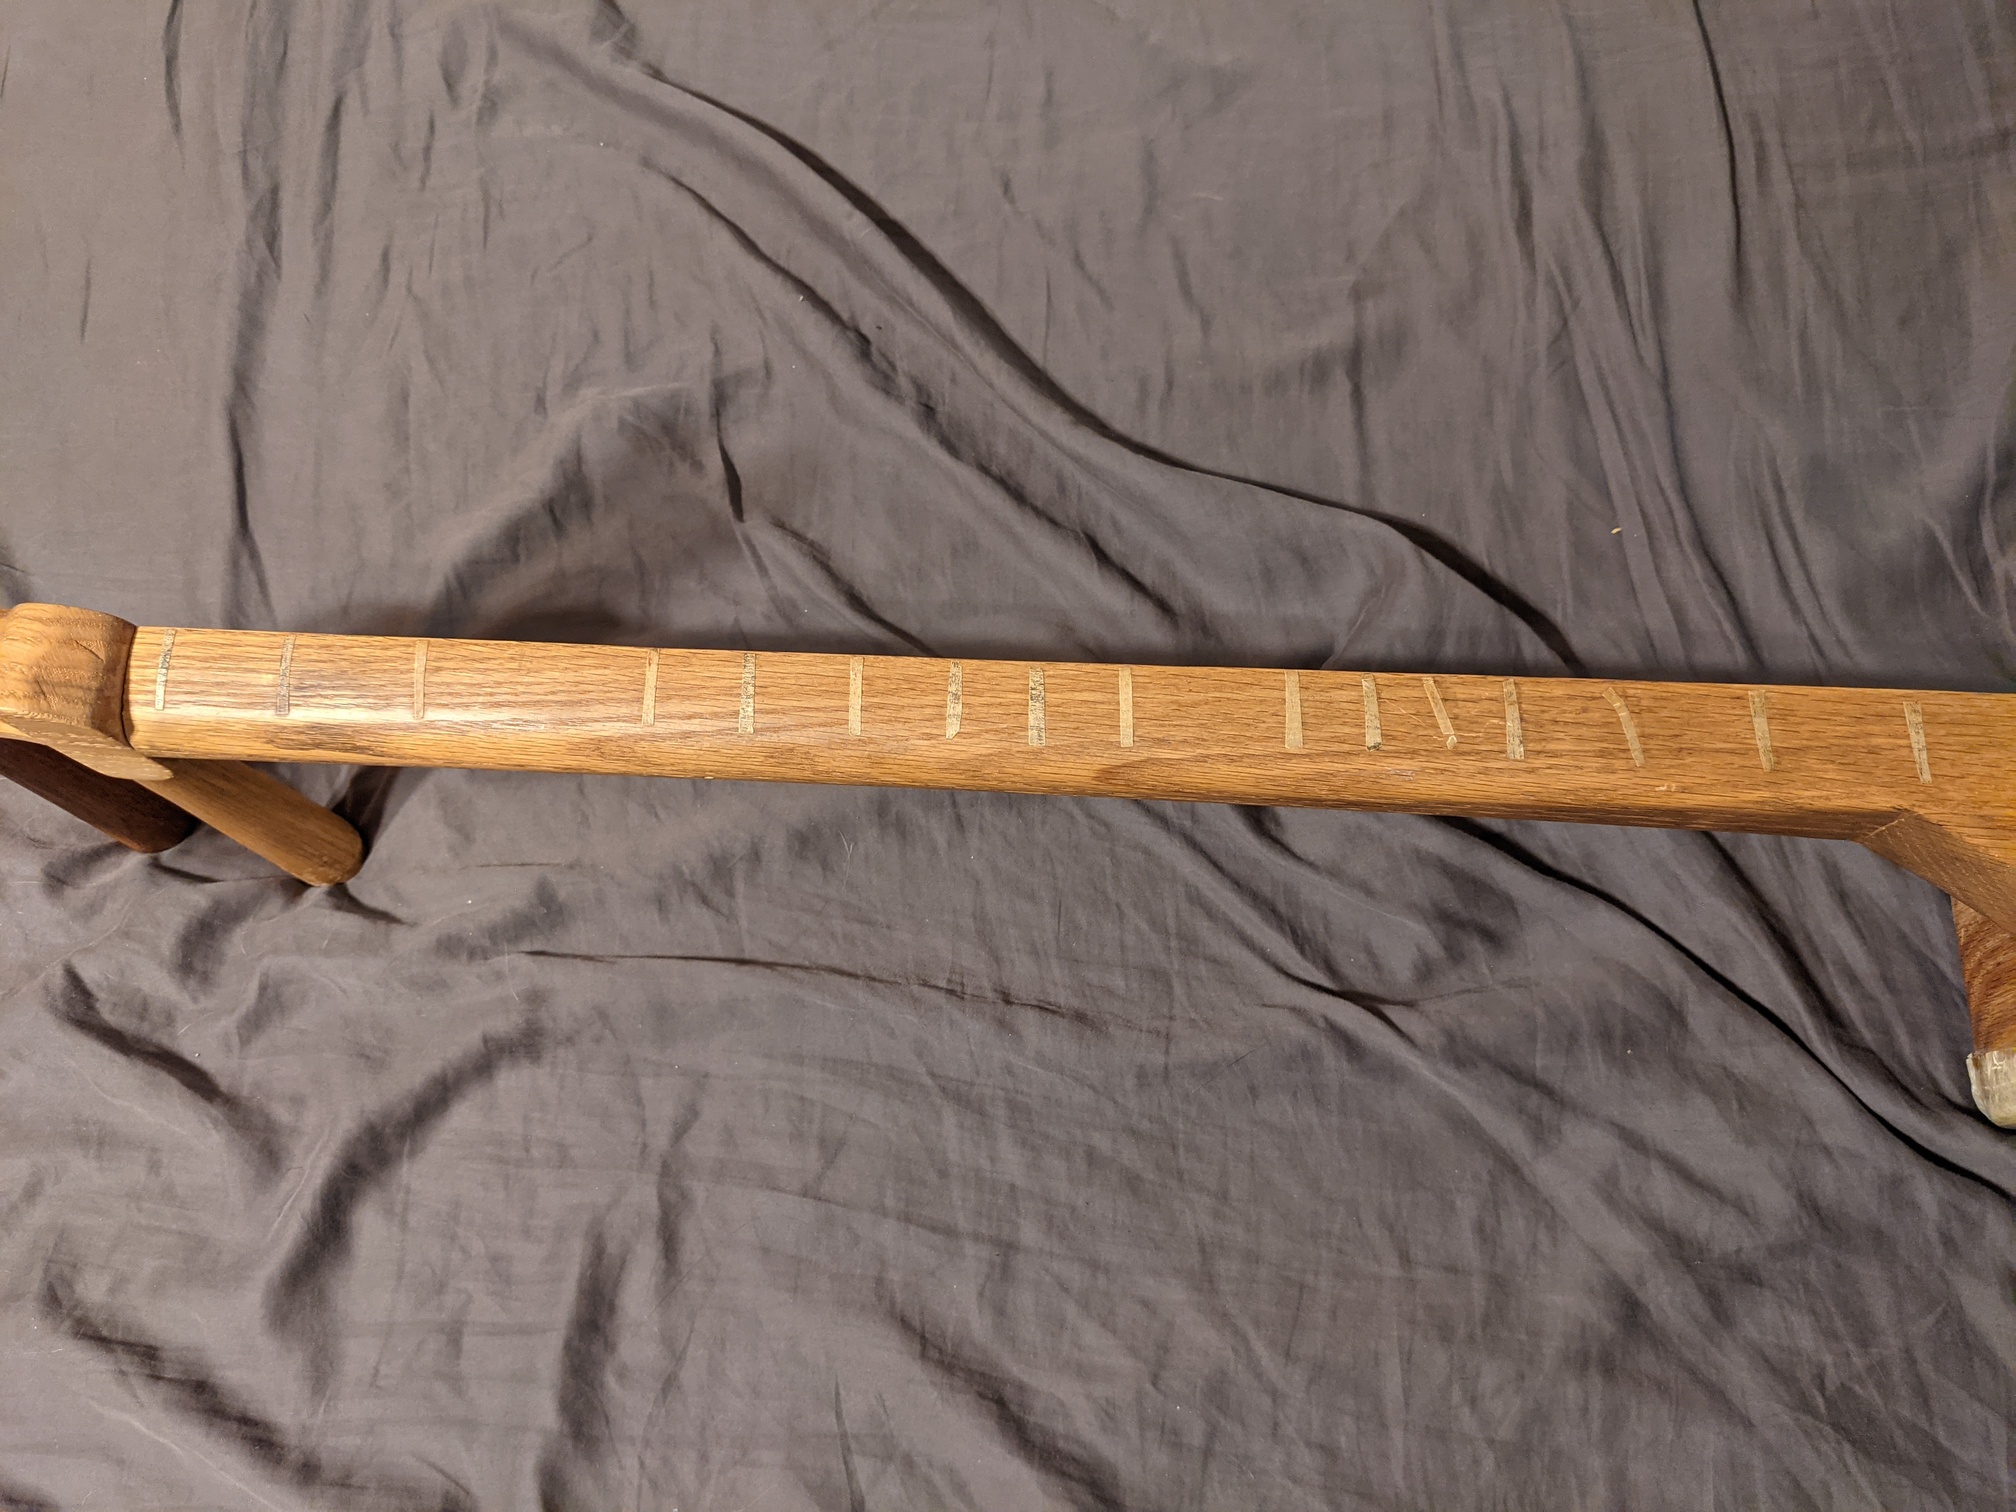
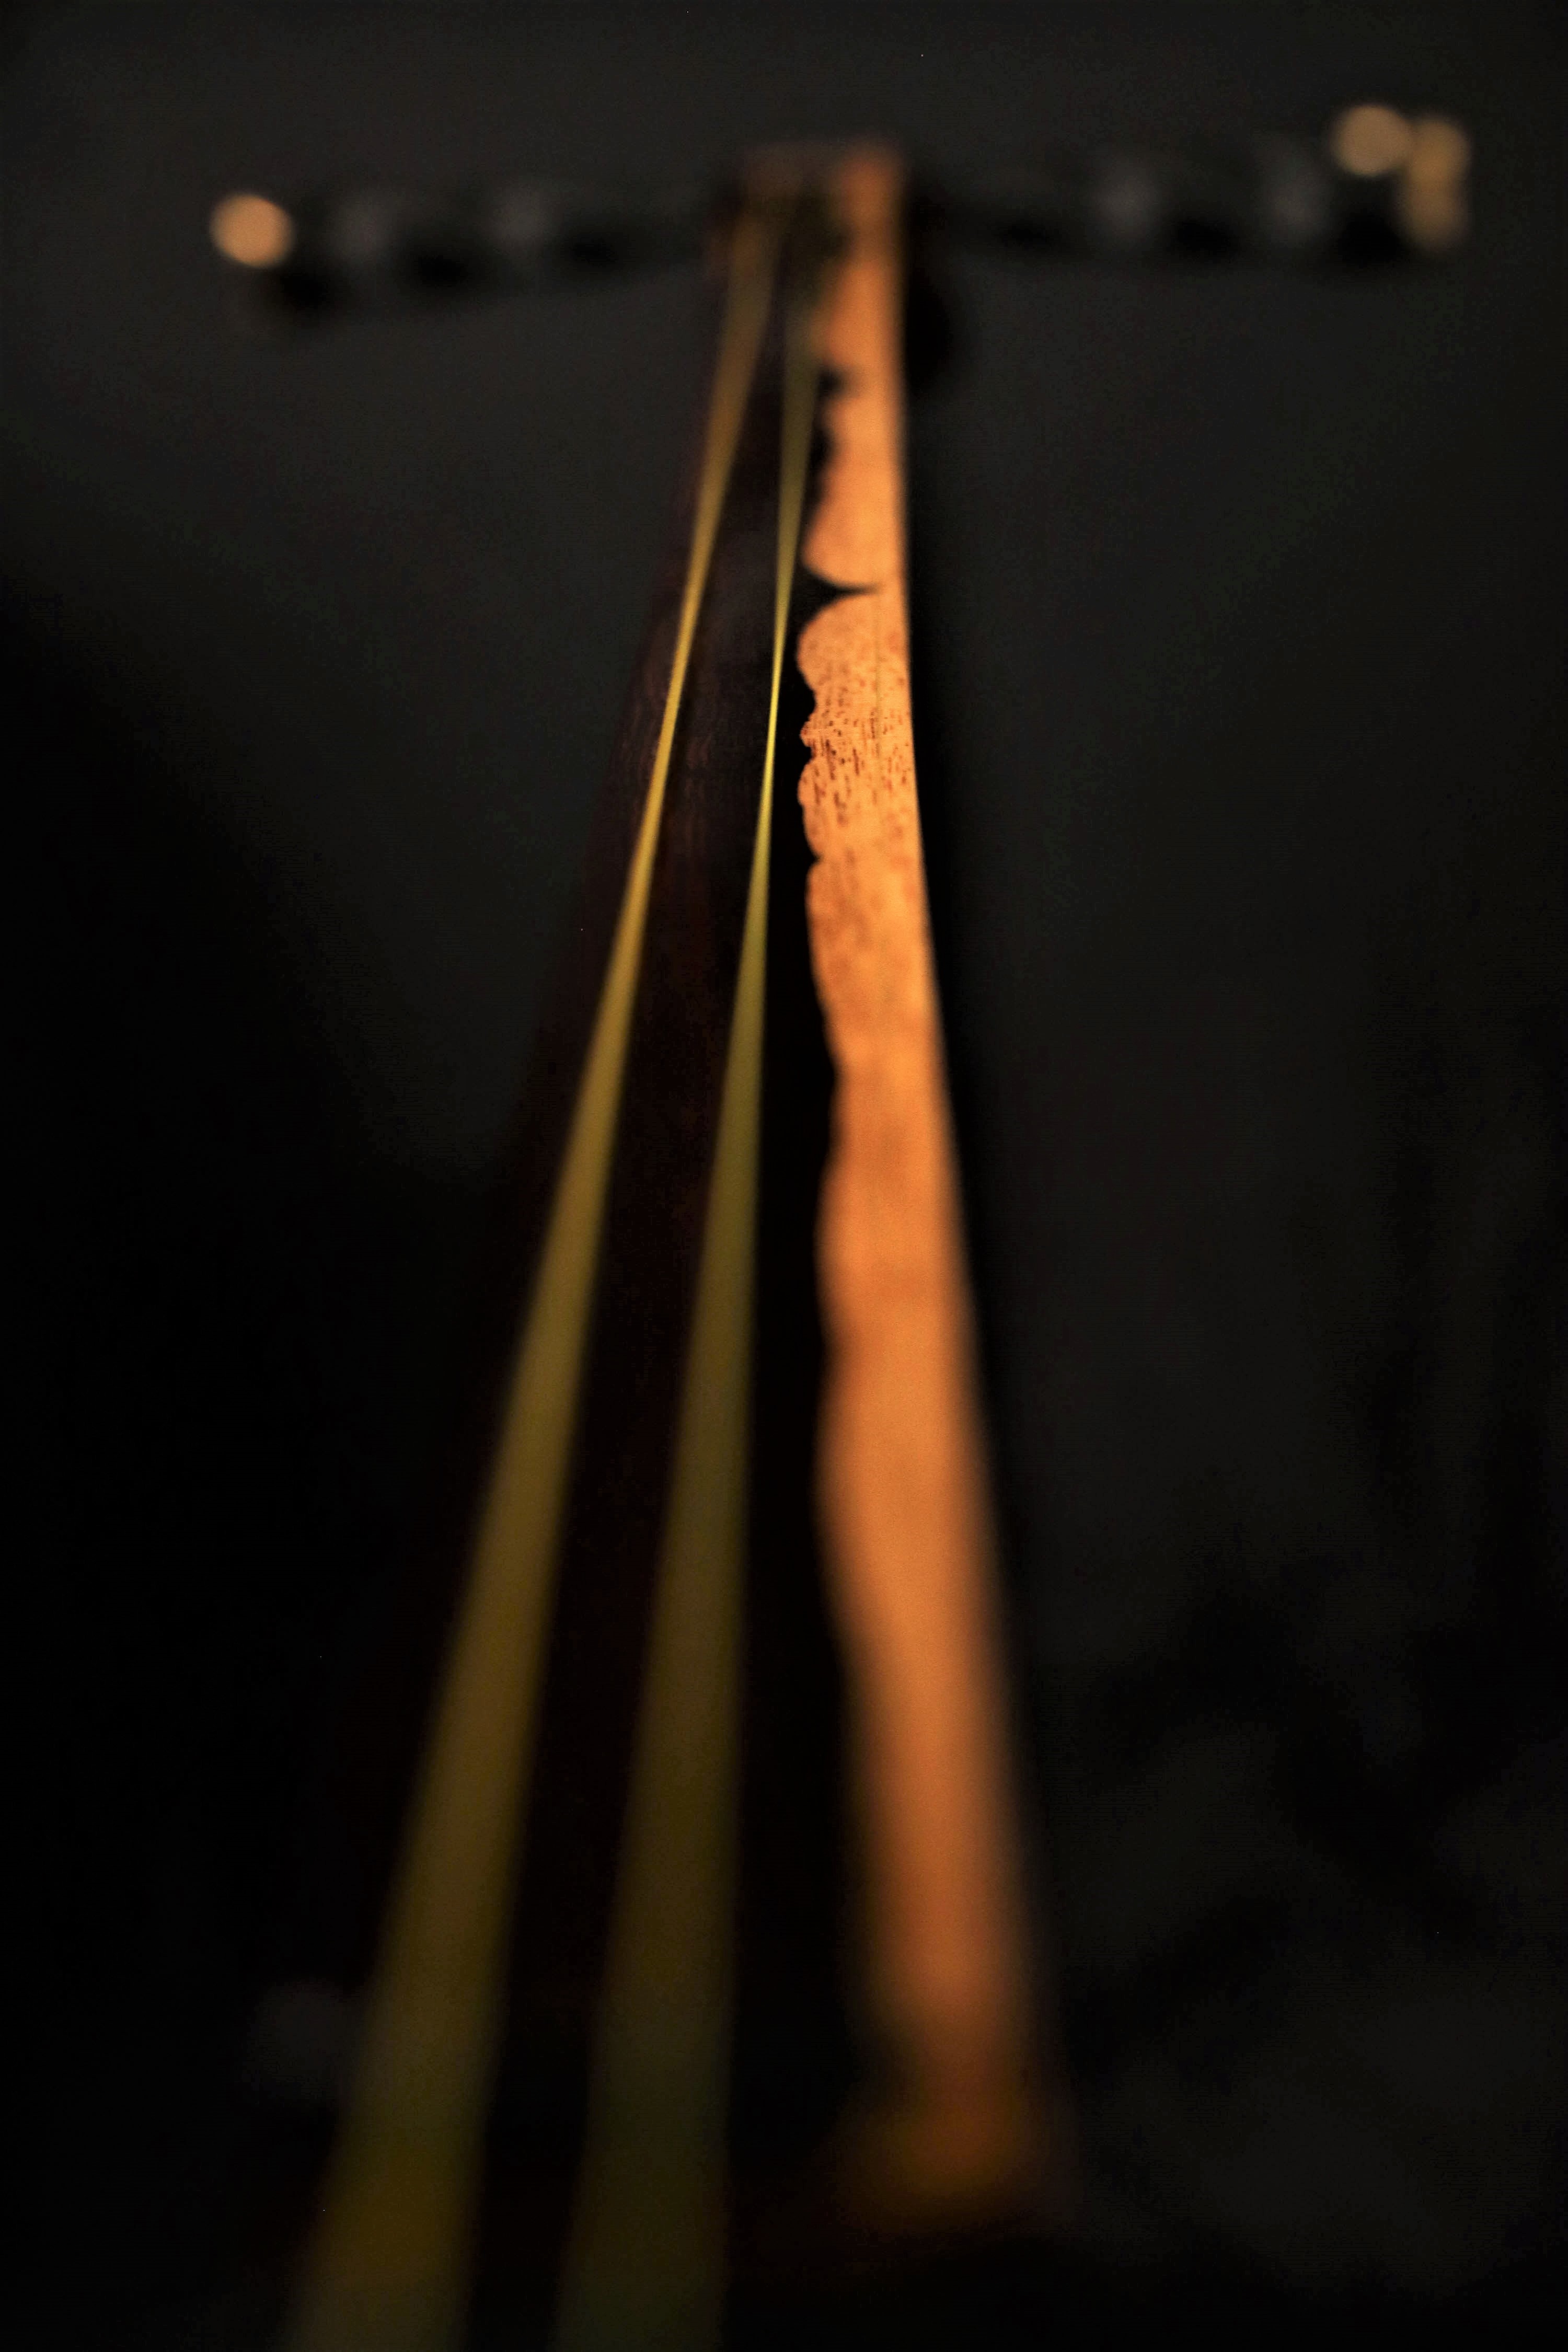
On the sao, you can still see the original position markers, made from masking tape and colored with red and black permanent marker, which has faded over the years. The entire shamisen was finished with a simple coat of Watco Danish Oil.
Despite how crude this first shamisen was, it was the beginning of my journey into the world of tsugaru shamisen, and allowed me to start getting into it, especially at a time before resources like Bachido made access to low cost beginner’s shamisen widely available. Somehow, I even managed to get the sao dead-on straight, with very low action and no string buzzing, even without the lengthwise taper. It didn’t sound all that great, but it was built solid and heavy like a tank. I learned a lot building and playing it, and it played a significant role in my life in the following years. It got me through some difficult times in college, allowed me to make some awesome friends, helped me get out of my comfort zone a bit, and is the reason why I met my amazing wife. A big reason why I put so much into Masamune is because of how much this first shamisen has impacted me. After college, I stopped playing, but always wanted to make a really high end one to get back into shamisen. Now, years later, things have come full circle again with Masamune.
I will be sharing the final reveal pictures of Masamune at the end of the week, so stay tuned for the conclusion of this build!

 ) Congrats on the finished build!!! Can´t wait to hear the sound! AND see the matching accessories

 (I’d give you a standing ovation but you wouldn’t see it!)