Spalted sao shamisen build

So I took my first cuts into building my shamisen last night…wow!
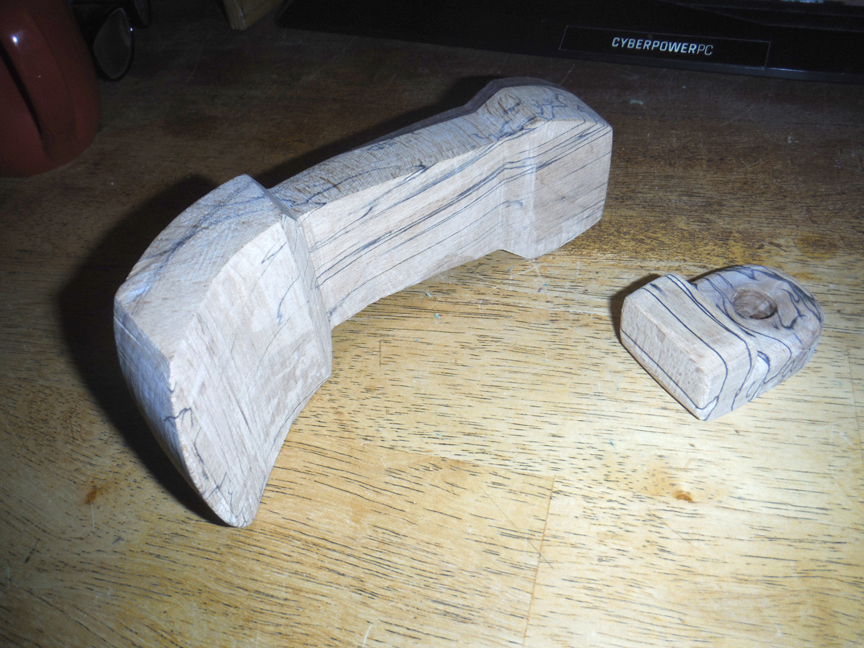
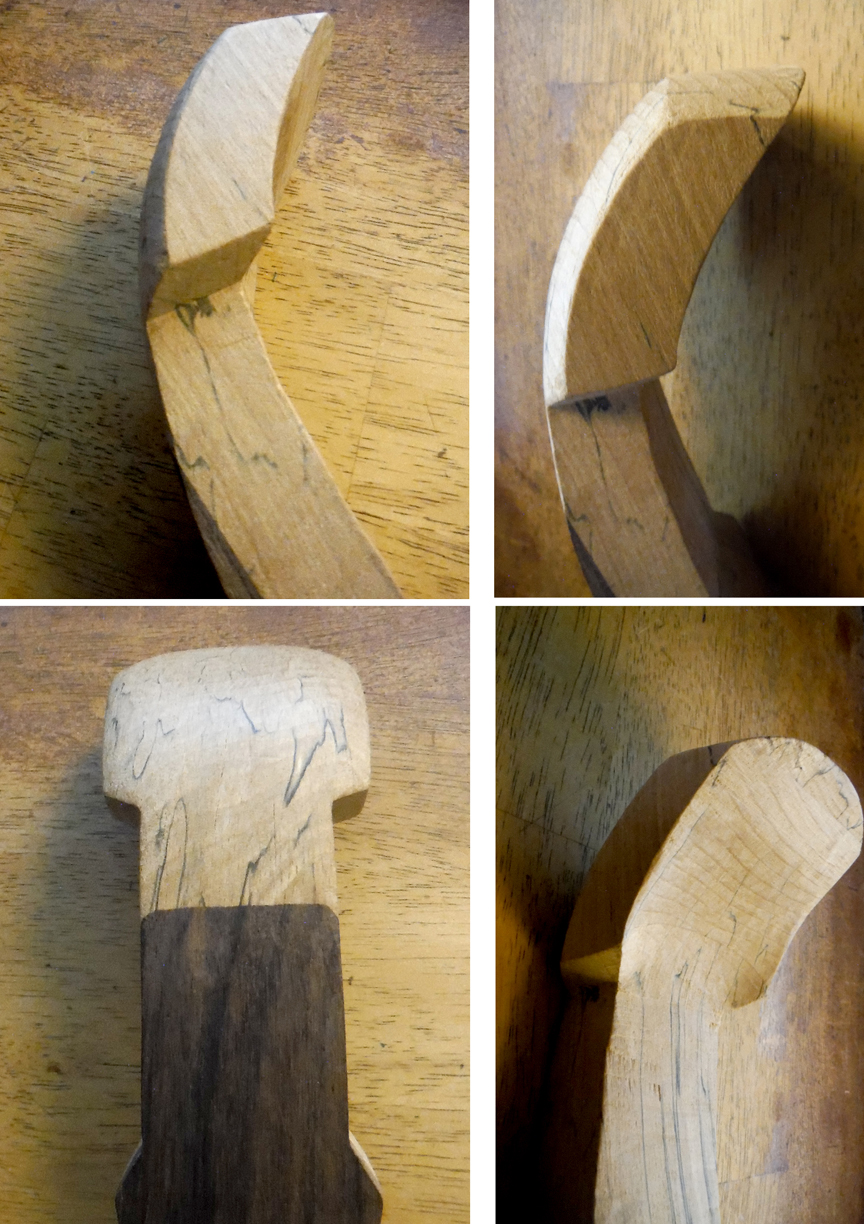
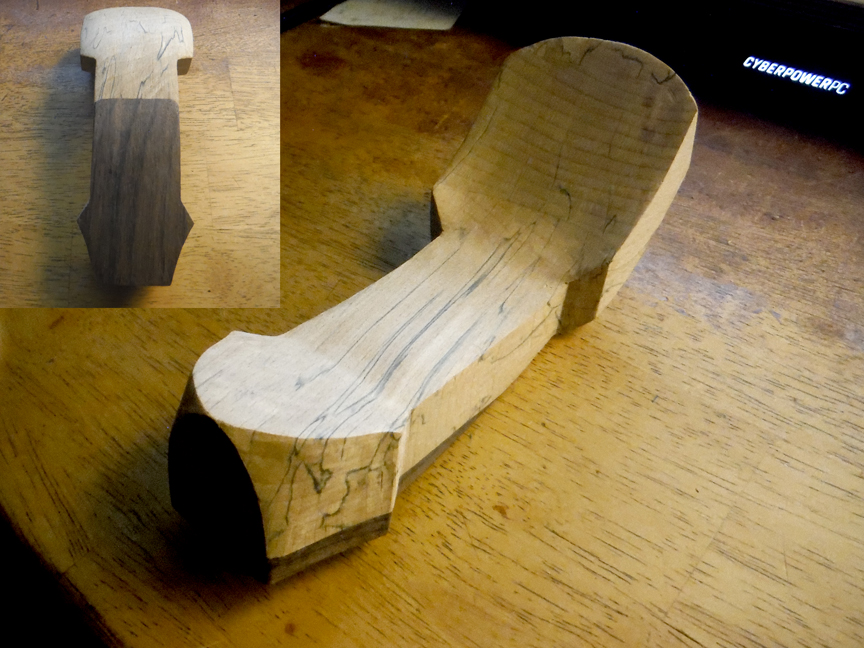
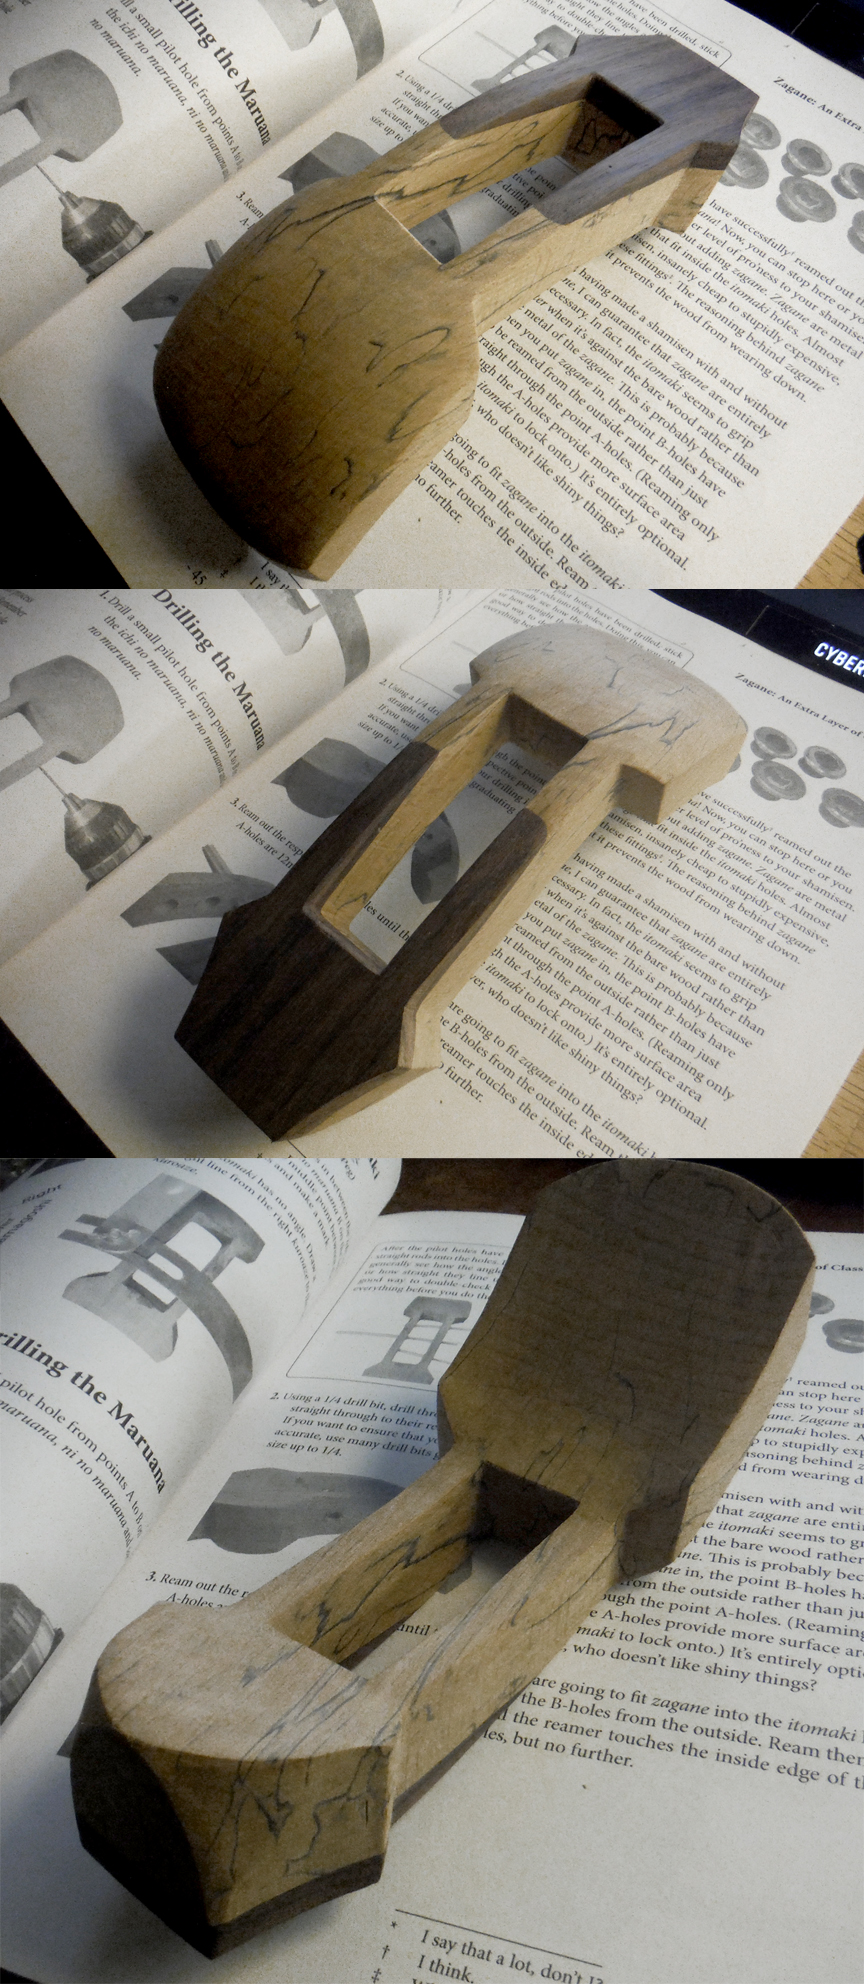
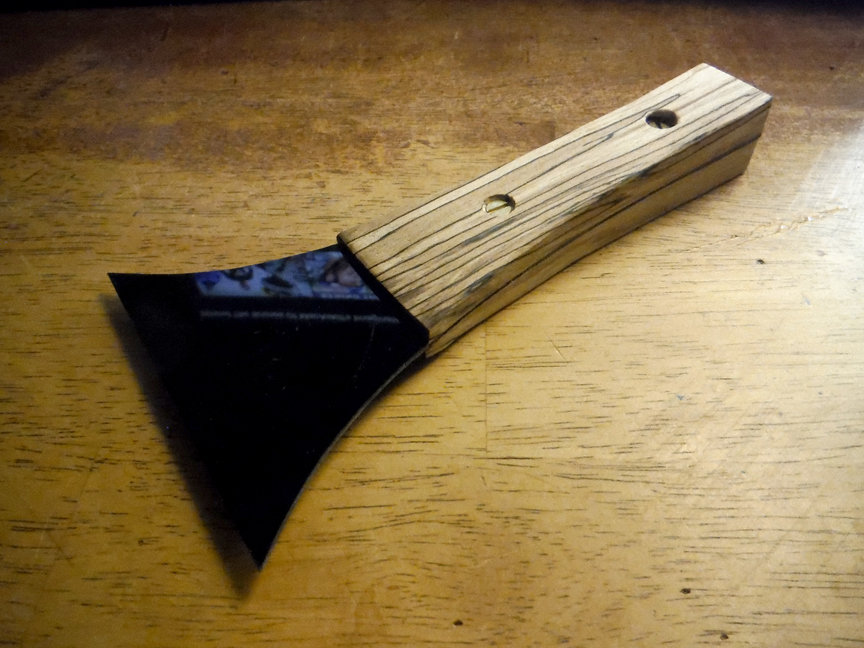
Spalted beech sao…

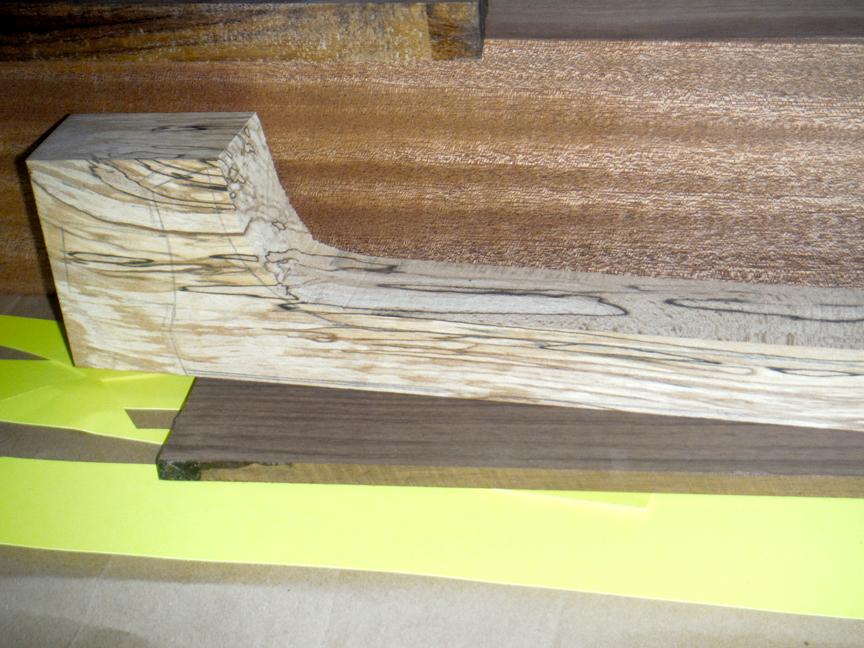
The wood was flat sawn so I used the edge as the finger board and the angle of the board was off of the grain by 3 degrees so I had to cut out a giant door stop that will be used for the nakago.

It will have a 8mm x 8mm carbon truss rod, rosewood fingerboard, khaya mahogany dou, spalted beech/rosewood itomaki, and spalted beech neo and bachi handle.

4 Likes

:heart_eyes: I can´t wait!

1 Like

Awesome. I’m really excited about it. Shaping the spalting is exciting. Plus I’ve never played a shamisen. hehe

I glued up my tenjin, cut out a bachi handle, cut, glued, and drilled a neo, and cut out the nakago today. I think I’m about 6 hours in so far.

I can’t get much more done to the sao until I get the carbon fiber rod next week. Overall it is going at a decent pace. I feel like If I had a few weeks vacation I could tackle this pretty quickly. I imagine the joints and sanding will take more time.

So I roughed out a good portion of my tenjin. ~ 6 more hours. The bandsaw twisted when cutting the underside and took out some needed material but If I reduce the spoon shape to a slightly more flat design it will be fine. I left the top side 1mm larger the whole way around in case I need to dial it in later. Wiggle room. Time to spoon it out!

The second piece is my Neo! I drilled out a knot. It will be thinner and rounder when it’s done.


It grieves me to cut out this beautiful spalting but it will be worth the sacrifice. Using spalted wood for such a project is a bit of a gamble but I got lucky with my source and it appears to be 98% hard wood. Beech is supposed to be 1300 - 1450 janka. I found very few spots that I could push my fingernail into. But bearing that in mind I’m using a rosewood fingerboard, carbon rod, and polyurethane as a precaution for rigidity and added sustain.

3 Likes

3 hours later…So I started spooning my tenjin…yeah we’re getting intimate. lol The missing material I took out with the band saw seems to be okay. The tip could have been larger but I think it still looks somewhat proper. I have a little more to do here but I think it’s on track and that’s a huge relief.


If you saw the marginally small misaligned blocks glued together that I started with you’d know how much of a miracle it is that I got it this symmetrical.

3 Likes

2 hours later…I saw the Akatsuki’s ogi cut chibukuro. Had to have it!


I’m hoping to make some more progress this weekend. Hopefully finish the tenjin and get into the sao.

3 Likes

6 hours later…Having no key hole saw I had to drill and use an oscillating tool to cut out the center. Since it’s so aggressive, I gave myself some extra padding but that left me a lot of filing and sanding.

3 Likes

2 hours later…mortise was surprisingly easy. I used a Silky Pocketboy flip saw with fine teeth. It has a wider edge then a hack saw so it makes chiseling out a little bit easier. I did what Kyle did in the video and it went real smooth. I can foresee the tenon taking a little longer to shave down to a tight fit.

My best advice here is to carve the mortise inside the lines, and the tenon outside of the lines, which should leave 1-2mm to shave down the tenon to fit.

1 Like

Yesss!! Nice job!
It took me forever to cut all the joints because I was so afraid to miss the point when it would not hold anymore. But taking time was key. :slight_smile:

1 Like

2 hours later…cut dou pieces, cut itomaki pieces, started shaping the nakago and only have one edge and the tip to finish it.

It’s easy to loose your patience and remove too much material so you have to gauge a reasonable amount of padding to be filed/sanded after the cuts. It helps to have a variety of course/fine files and sanding paper/blocks.

1 Like

I’m excited to see the results. Thanks for sharing your continuing shamisen construction adventure :owl:

1 Like

Thanks. Builds aren’t fast or frequent so the more to be shared the better.

I just want to point out that I would have done things in another order if I weren’t waiting on parts/supplies or help with a few things. I did get help with the dou corner cuts to ensure accuracy, and will as well for the truss rod slot. I need the help of someone who knows how to compensate for the unforeseen inaccuracies with table and miter saws that aren’t high grade. With less expensive wood I might figure it out on my own, but in this case I don’t want to risk it.

1 Like

So some 8 hours later…I finished the nakago and fit the neo on the end which will need tuning as it is fit to the dou.

And my first itomaki! I started by tapering dowel in a mini metal lathe and then hexed it on the beltsander.

3 Likes

4 hours later…finished 2nd itomaki, and lathed the 3rd.

Then assembled a bachi!


I found some nylon ( I assume) from electric guitar pickguard/coverplate material. It seems to be decent so we’ll see how it holds up.

3 Likes

Ooh, I like it. Very shiny.

8 hours later…Corrected the thickness of my dou pieces (from 4 3/8" to 4") after cutting the curve in them. Not fun. But went well. Finished my third itomaki and filed my dou pieces to a smooth curve.

2 hours later…We routered the sao to install a carbon truss rod. I glued it in with epoxy.

Can anyone tell me is the base of the sao 5cm at the widest point? My wood is 41mm wide and I think I need to glue on some panels to make the sarou shaped right.

Just going by the thickness of the wood required for the sao in Shamisen of Japan it looks like it should be 5 cm at the widest point. I’d use the measurements from my own shamisen, but it’s nagauta so it would be smaller.

Thanks. That’s what I was thinking. If it’s not 5cm I can always shave it away till it looks right. I glued one side on just now and will glue on the other side tonight.

I also found enough auto body filler to fill in the ~1mm depth of the truss rod channel which should work well. I’ll take some pictures since this part is a little experimental.

1 hour later…

I glued on the two side panels to widen the sao.

In the pictures below is my 8x8mm carbon rod set 9mm deep in a bed of epoxy. I then skimmed over it with bondo body fill. And to get it filled flush, I put it on thick and when it started to harden, I shaved off the top with a box cutter.

And this is my work station…I’ve been doing all my work on, or clamped in, this little bench.

4 Likes